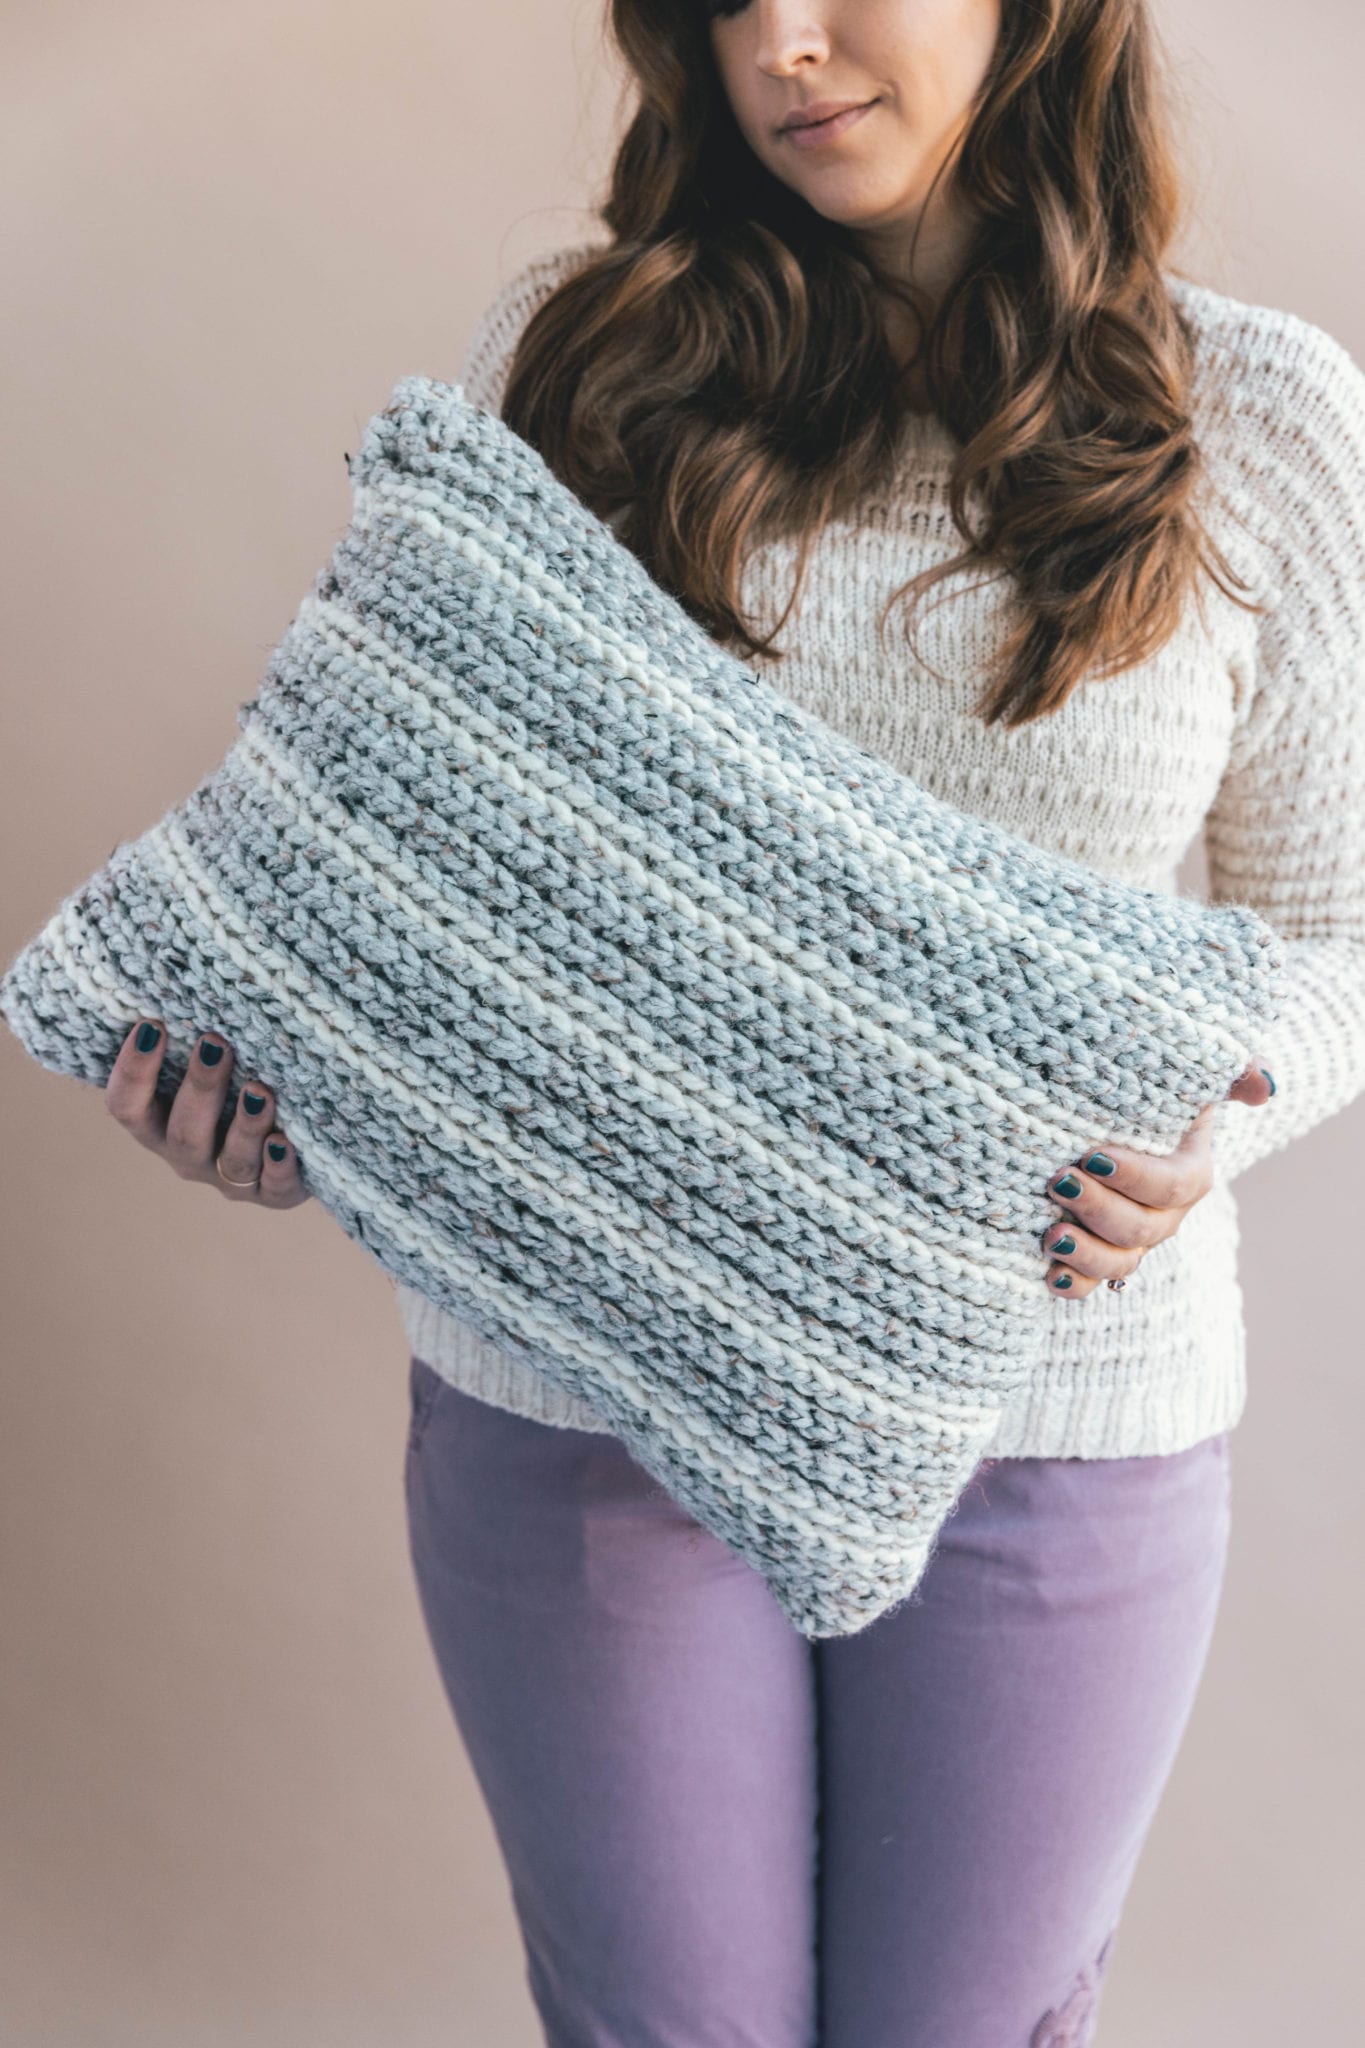
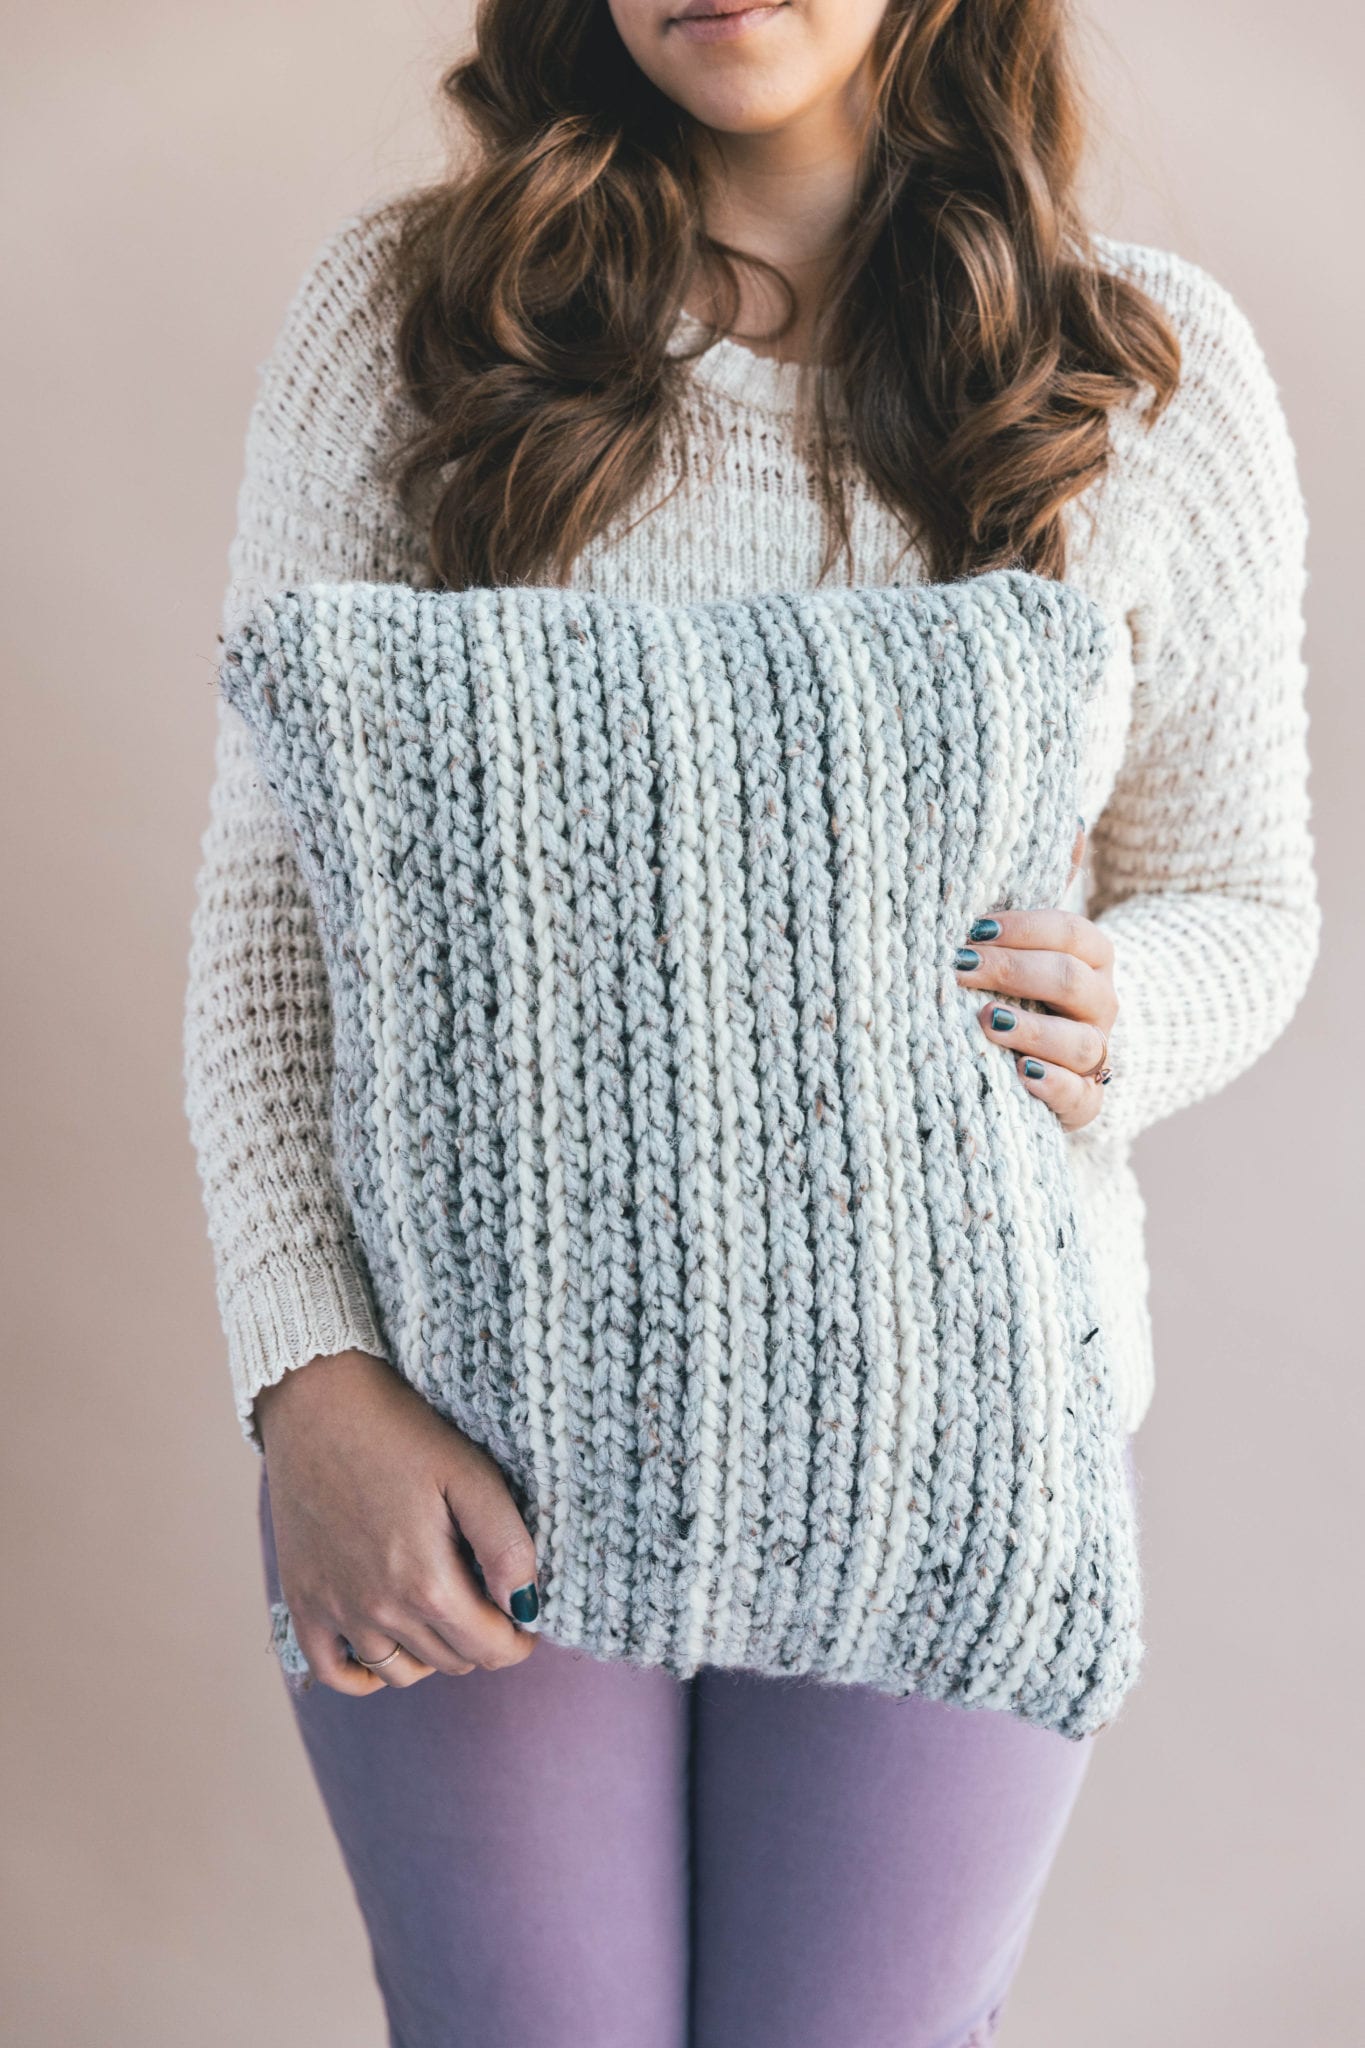
Hi friends! I’m so excited to introduce you to Sierra from Sweet Everly B today. She’s the sweetest gal that I have the pleasure of chatting with, and you HAVE to see this pillow she made, I just want to keep it for myself. Show her some love!
If you’d like to see the last Guest Designer Program post (a mitten pattern!) from another great yarnie, click here.

Hi there! I’m Sierra from Sweet Everly B. Iced coffee, good wine, and textured knits are a few of my many weaknesses.
I adore the classic texture of knitting, but I’m better with 1 hook than 2 needles.
Try to look at your weakness and convert it into your strength. That’s success.- Zig Zigler
I decided to turn my weakness, knitting, into a strength. Designing knit look crochet patterns. I’m still searching for ways to turn my love for wine and coffee into strengths. For now, I’ll share this knit look crochet pillow pattern with you.

PATTERNS I LOVE (& you should too)

1. Crochet Homemaker Gingham Throw / 2. Crochet Everyday Cardigan / 3. Crochet Le Nuage Wrap/Triangle Scarf
The knit look crochet pillow is where my two loves meet. A crochet pattern that meets your desire for all the knit texture loveliness, without picking up a pair of needles.
All you need is a crochet hook, a pillow form, and whatever yarn you have in your stash.
The pillow is crocheted solely with slip stitches. This is what creates the squishy knit look texture. The slip stitch is a short stitch that is slow to grow.
Here are a few tips I’ve learned along the way.
-Use a hook that’s 1 or 2 sizes larger than what is recommended for your yarn. If your work starts to curl up that means your tension is too tight. Go up another hook size.
-Crochet loosely. The slip stitch is a tight stitch. It will be easier to insert your hook into the next stitch if your tension is loose.
-Count your stitches. This may seem obvious, but it’s easy to miss a stitch at the end of your rows.

The fun thing about this crochet tutorial is you can use any yarn from your stash and any size pillow form you’d like. I prefer #5 bulky or #6 super bulky weight yarn. If you want to use a worsted weight or lighter yarn be prepared for the extra time it will take, or hold 2 strands of yarn together.
To choose the correct hook, look at the recommended hook size for your yarn. Choose a hook that’s 1 to 2 sizes larger.
Don’t forget to check out the my other favorite home decor patterns here!


PATTERN
- Get the ad-free, large print, printable PDF pattern HERE.
- PIN this pattern to your Pinterest boards for later HERE.
- Add this pattern to your Ravelry queue HERE.
Materials:
–1 skein Lion Brand Wool Ease Thick and Quick in the color Fisherman (6oz/106yds per skein)
-12”x18” Pillow Form
-Tape Measure
-Tapestry Needle
-Scissors
See all of Ashleigh’s favorite tools here!
Abbreviations:
sl st = slip stitch
(BLO) = back loop only
mc = main color yarn (Grey Marble)
cc = contrast color yarn (Fisherman)
ch = chain
Notes:
-Your beginning chain will shrink. Start with a beginning chain 5”-6” longer than your pillow form. As you start working the slip stitches your piece will begin to shrink. I found after 6-8 rows the piece evened out and the final width stayed the same for the rest of the pattern.
-At the beginning of each row you will see “mc or cc”. Work the entire row in that yarn color.
-After row 1, the rest of the pattern is worked in the back loops only.
-When changing yarn colors, you can carry the yarn along the side without cutting the yarn. This will create “yarn floats” along the edges of your pillow case. Don’t worry, they will be on the inside of the pillow case when we sew it all together.

Pattern:
Using the mc yarn, crochet a chain 5”-6” longer than the width of your pillow form. Write down the number of chains so you can have the same size front and back panels.
Row 1: mc, sl st in the 2nd ch from the hook, sl st in each ch across, turn.
Rows 2-6: (mc) ch 1, (BLO) sl st in each st across, turn.
Rows 7-8: (cc) ch 1, (BLO) sl st in each st across, turn.
Repeat rows 2-8 until your front panel is the same height as your pillow form.
Repeat the above steps to make the back panel. Start with the same number beginning chain and end with the same number of rows.
Sewing It All Together
Lay the front and back panels on top of each other, right sides facing each other. Use your favorite seaming method to hand sew 3 of the sides together. I used the whip stitch.
Along the edges of the pillow you will have the yarn floats from changing yarn colors. Make sure these are pushed back away from your seam. When you turn the pillow cover inside out, the right sides of the pillow case will be facing out and the floats of yarn will be hidden on the inside.
After turning the pillow right side out, add the pillow form. Hand sew the final side shut and sew in the ends.

After making a few of these squishy pillow covers my yarn stash will be lighter and I’ll have a cozy new spot for sipping coffee. I can’t wait to see your finished pillows. Tag me on Instagram!
To find more knit look inspiration check out my other free crochet patterns.
Stay Cozy,
Sierra

Earning a Living with my Handmade Home
If you love crocheting and knitting, you should think about starting a blog! I’ll help you get started to turn your hobby into a money-making career with my free “Start a Blog” guide.
Or you can check out my latest income report to see how this blog earned over $10,000 last month!

I follow you on Pinterest and would like to subscribe to your blog. How do I do that? Love your work and the baby is a cutie pie!
Thank you! You can sign up for my email alerts here: http://madmimi.com/signups/197416/join
great post thanks