Easy crochet hat made from a rectangle! This beginner friendly free pattern is quick (using bulky weight yarn) and utilizes simple stitches.
I’ve made what might be the best beginner easy crochet hat pattern you’ve ever seen – the Brooklyn Ridge Easy Crochet Hat – free pattern!
The Design
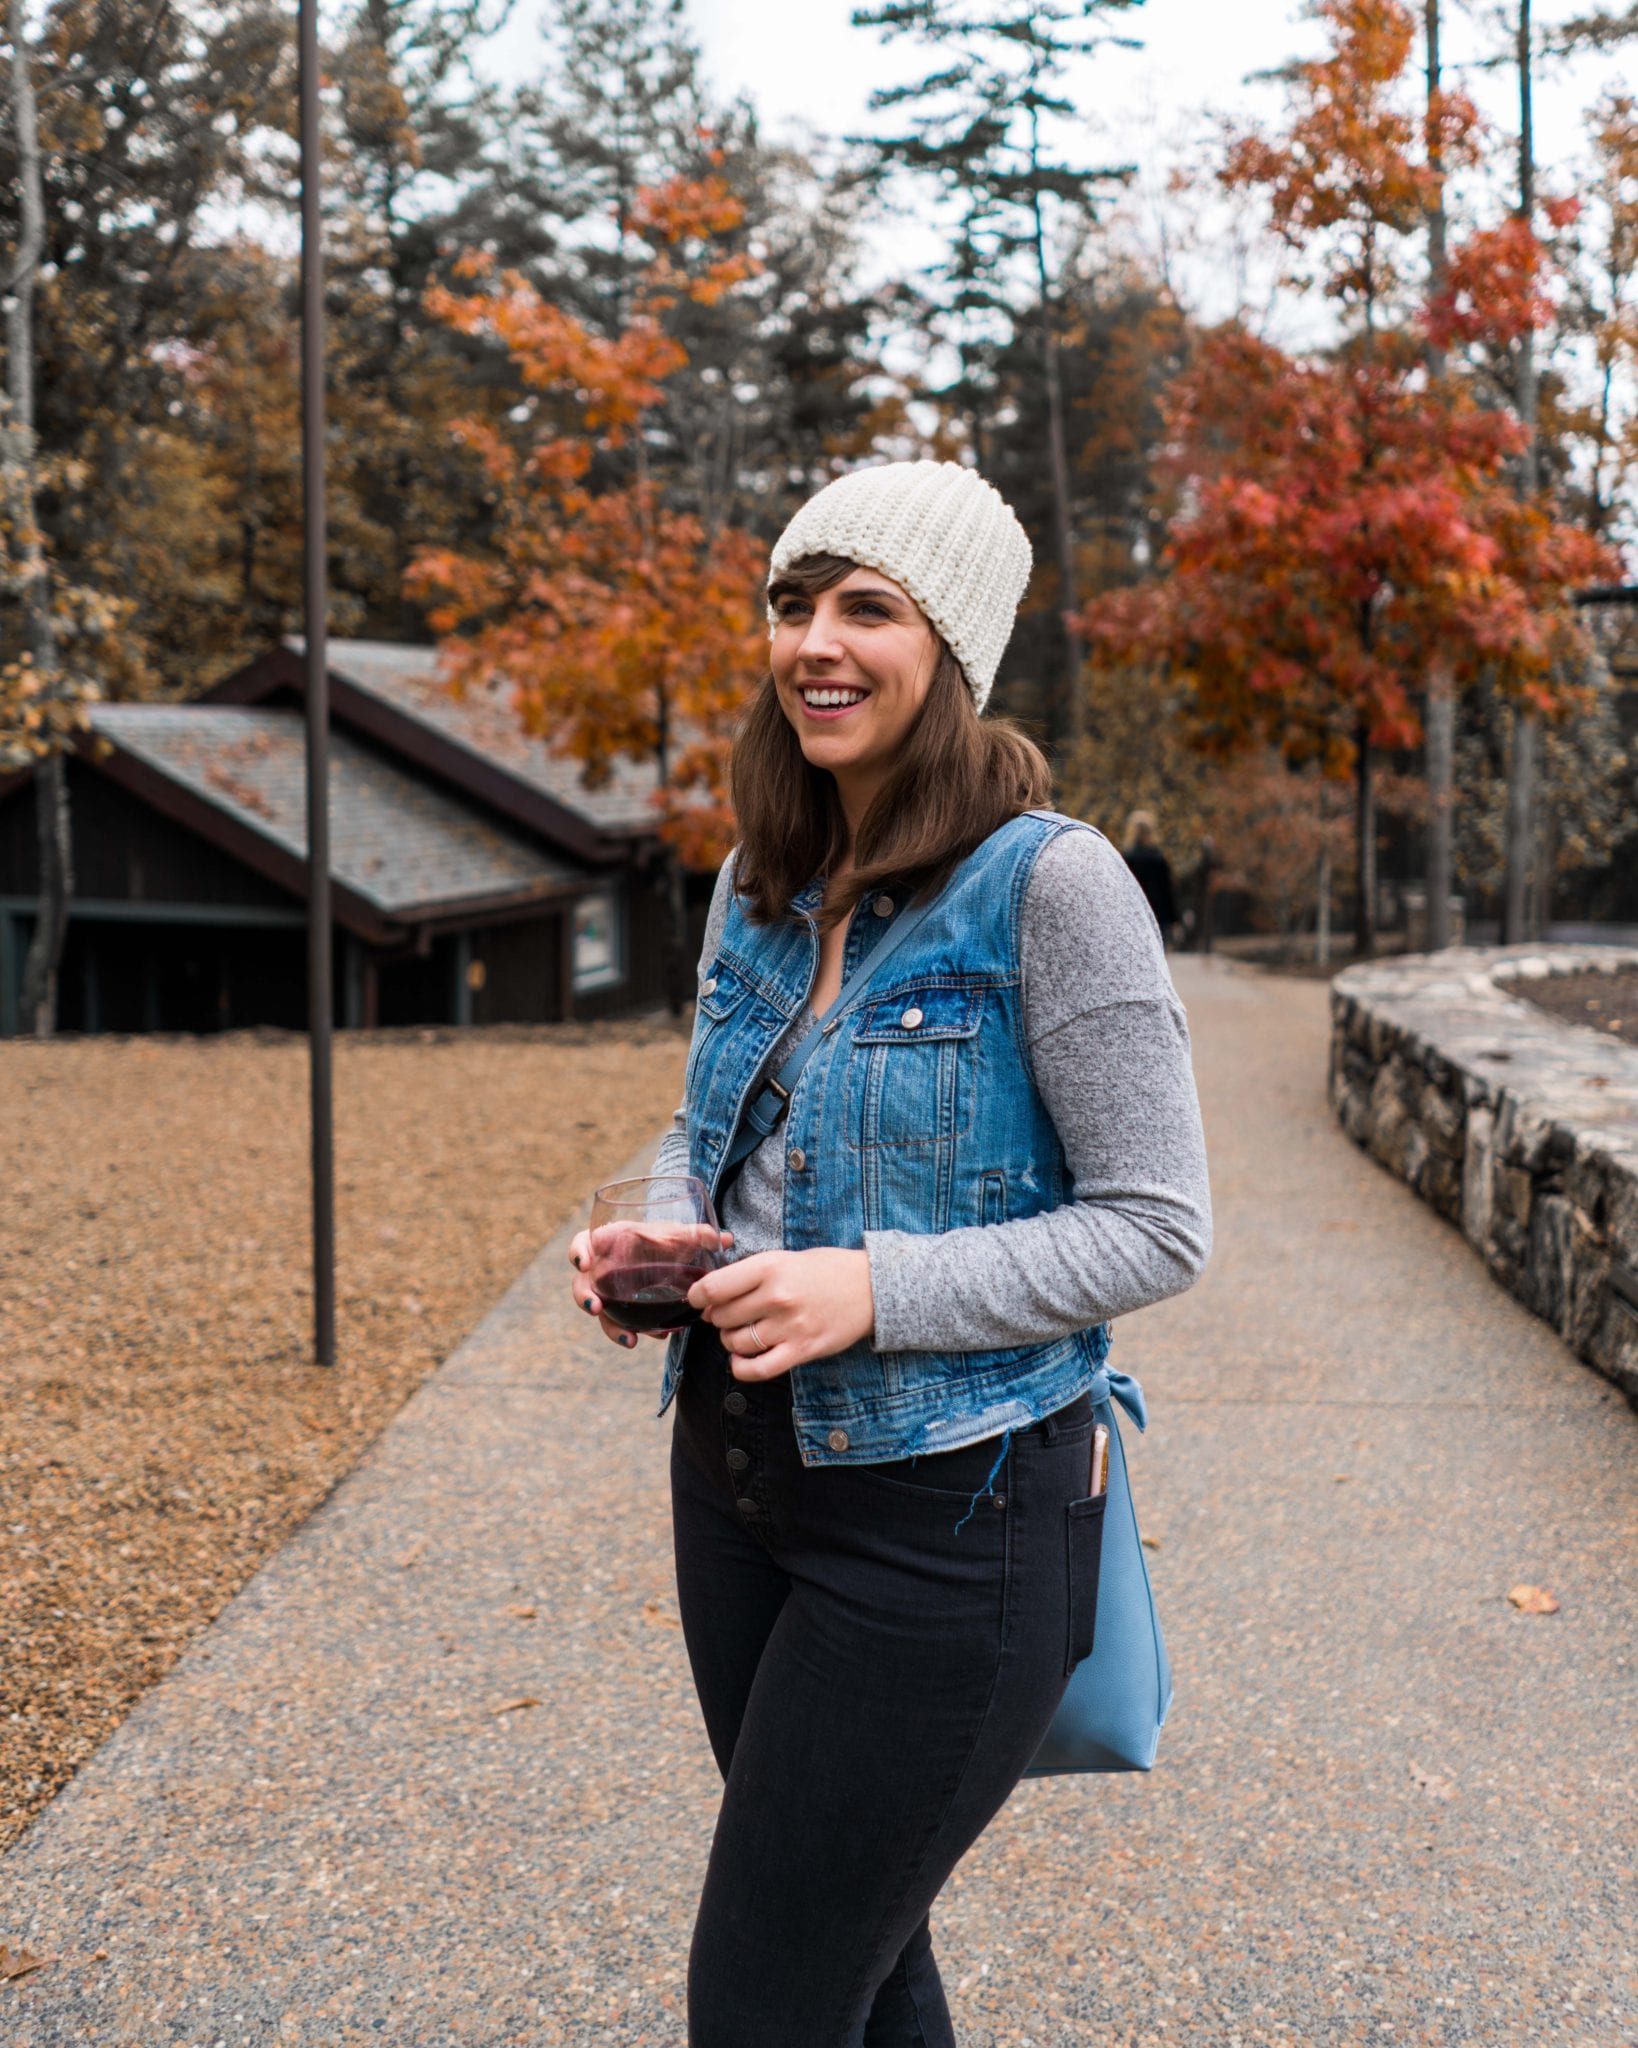
While vacationing in North Carolina last week the weather was a comfortable 60 degrees… until we drove up into the foggy blue ridge mountains and it dropped to about 40 degrees in a matter of minutes! Brrrr!
All I had with me was the beginning of a chunky scarf WIP (work in progress) stuffed in my bag and a pair of near-frostbitten ears. I knew I needed a easy crochet hat and fast! I hoped my scarf was the right size to sew up and pop on my head, but let’s be honest – even if it wasn’t, it was better than nothing.
In the dark on the side of a gloomy mountain I worked a few more rows to make the strip of fabric wrap around my head, slip stitched it into a tube, sewed up the top and hoped for the best.
When I finally got back to the cabin & looked in the mirror, I loved the way this makeshift easy crochet hat looked! It had enough length to fit comfortably and pull down over my ears with enough slouch in the back for my taste. It was meant to be!
OTHER EASY CROCHET HAT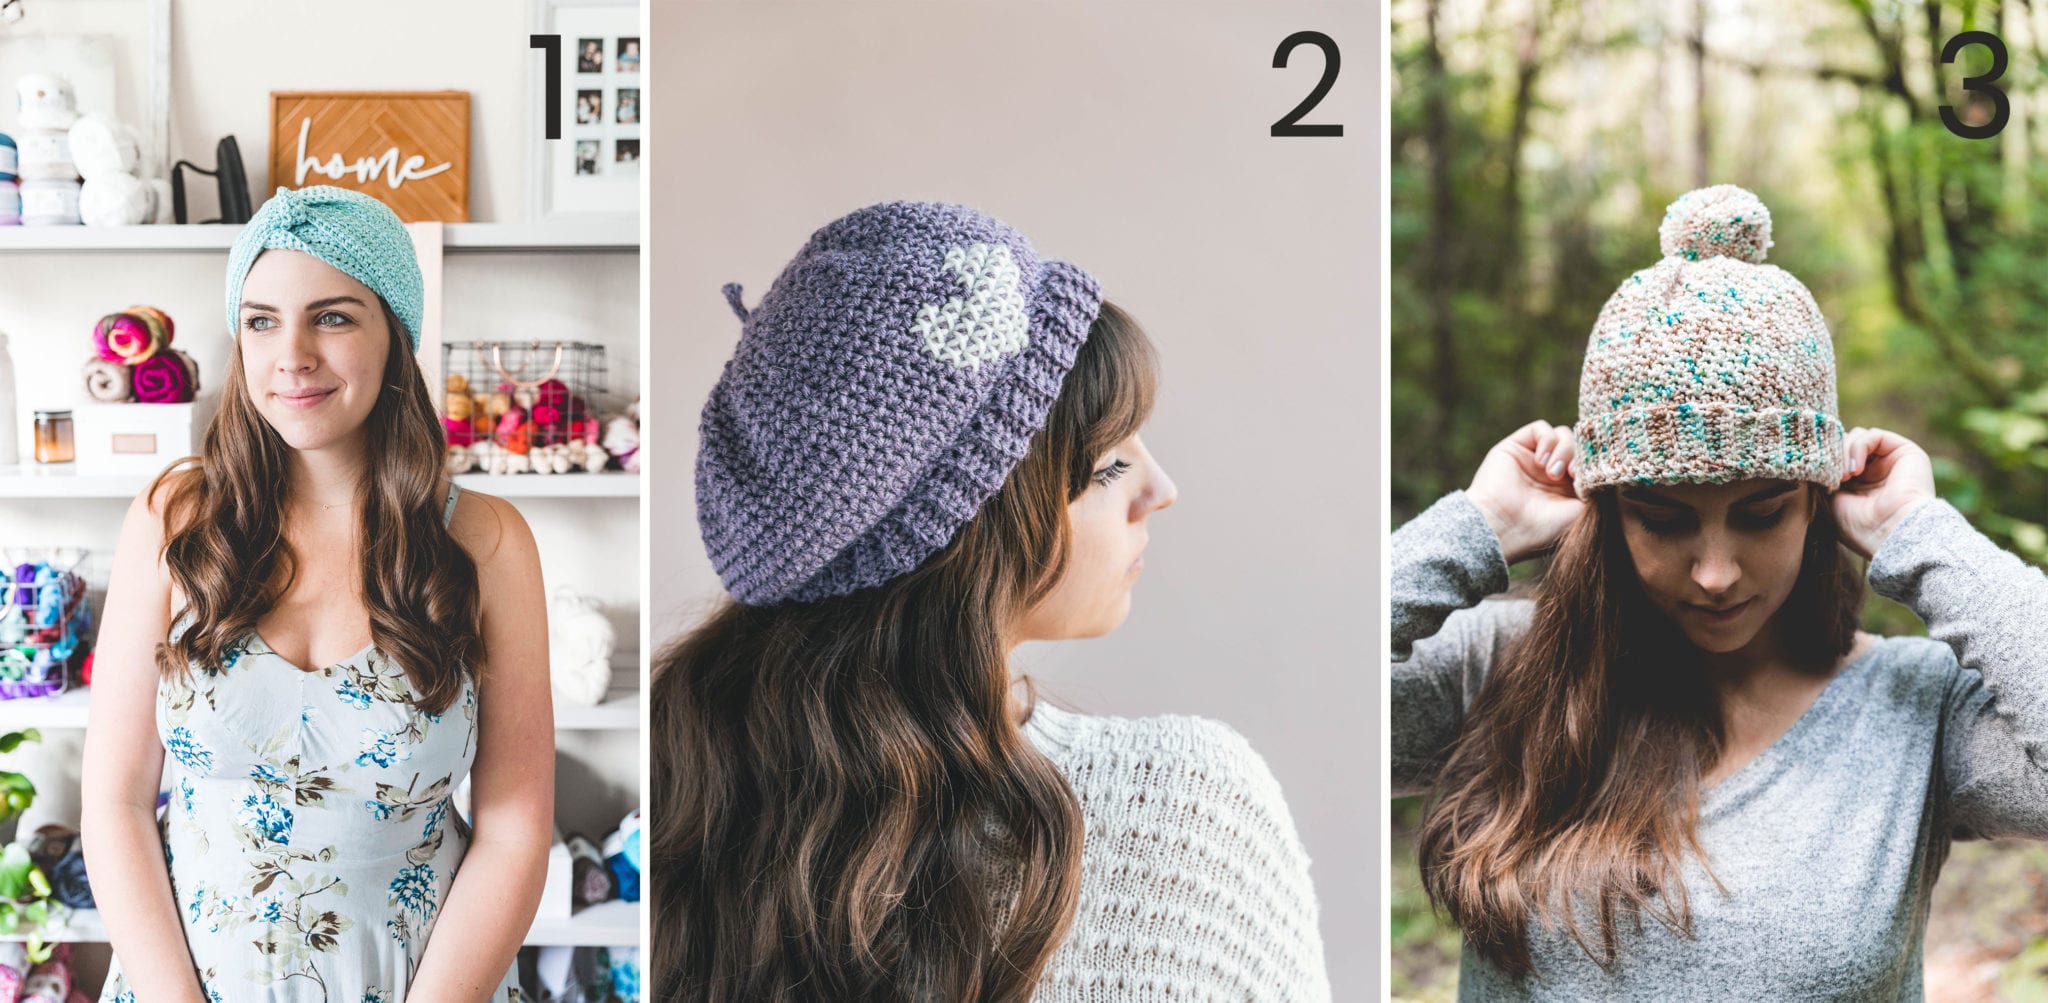 PATTERNS I LOVE (& you should too)
1. Crochet Knot Beanie Hat / 2. Crochet Parisienne Beret / 3. Crochet Maui Hat
Sizing / Modifying
This easy crochet hat pattern is written tutorial style with tons of photos to assist you in modifying the design to fit any noggin. Seriously! From newborns to husbands with large craniums (like mine, lol!) you can custom fit this pattern with just a measuring tape and some kindergarten math.
Make sure you can measure the circumference of your easy crochet hat recipient’s head (or use the standard head circumference chart given by the Craft Yarn Council here)
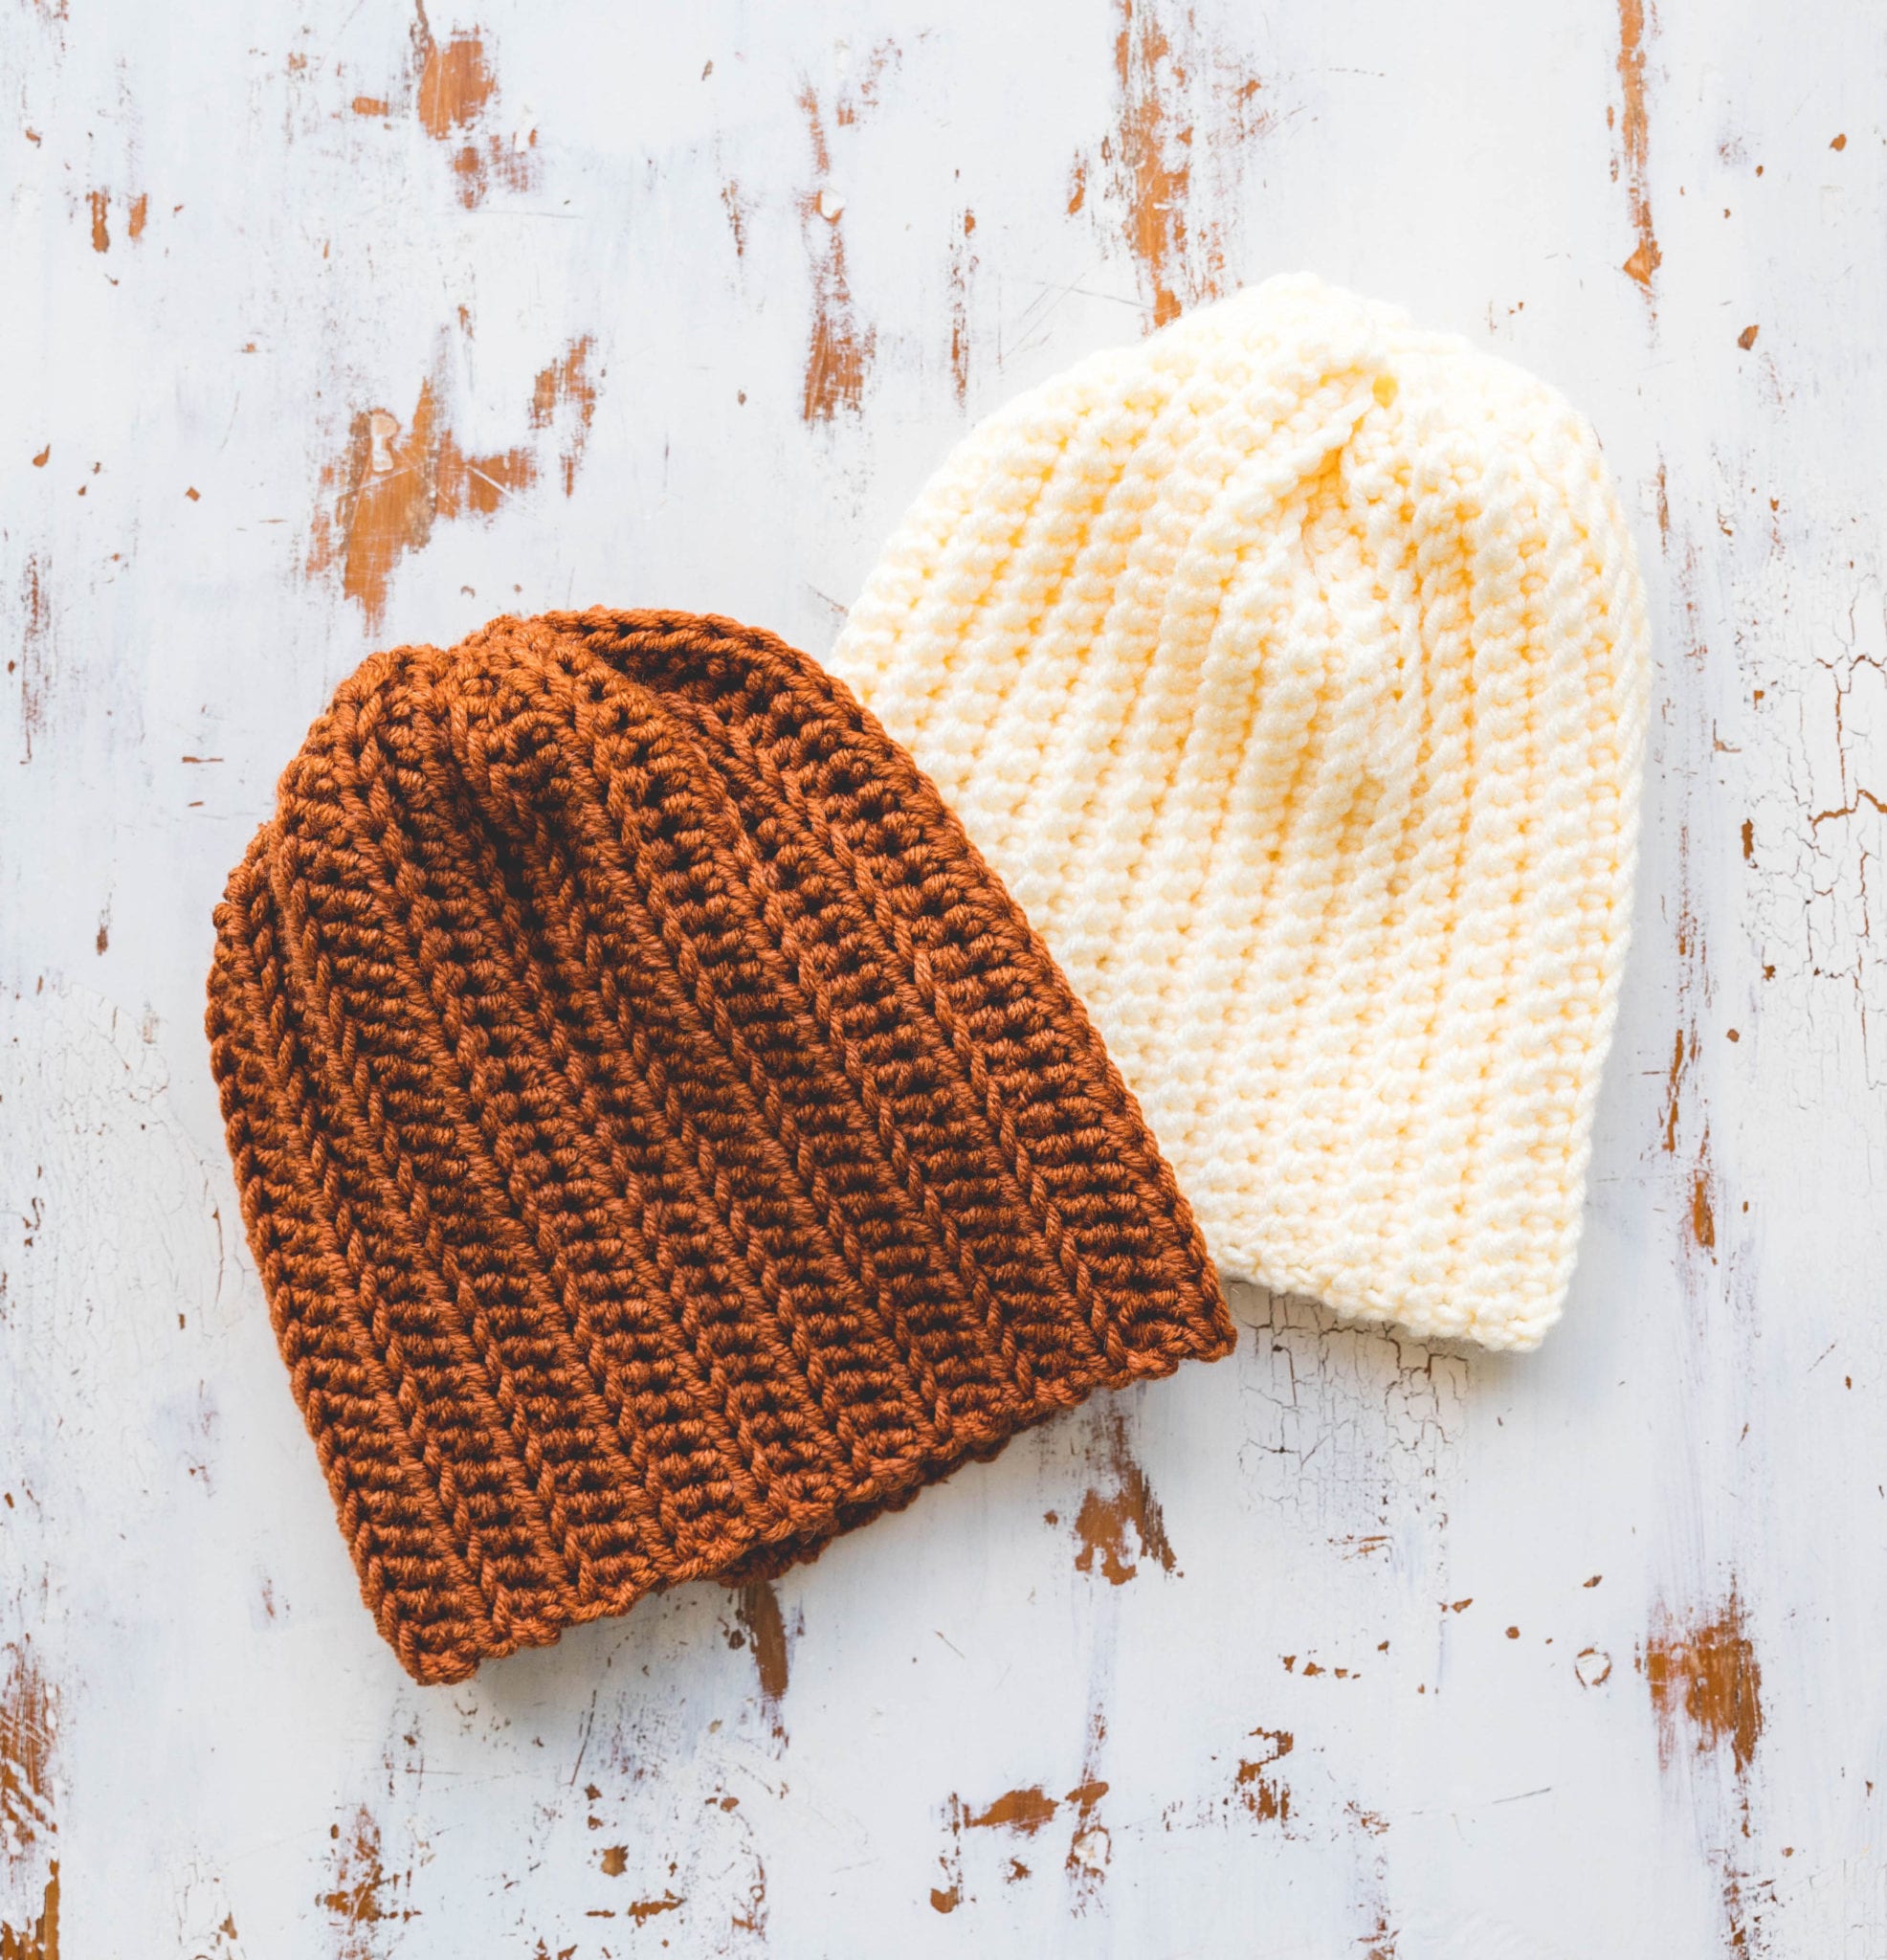
You can also modify the stitch you use! In my cream colored sample I used a Sc and in the butterscotch sample I used Hdc. As long as your easy crochet hat rectangle measures correctly for your head size, you can use virtually any stitch you want – the possibilities are really endless!

The Yarn
I chose to use Lion Brand’s new Color Made Easy yarn for this project – or should I say it chose me? I’m working on a few new designs with this yarn so I brought loads of it along on my trip and it was sheer coincidence that it was the absolute perfect choice for this project!
I love this yarn for several reasons – the color choices are some of my favorite of all LB yarns. I made my first sample on our trip in Alabaster and made my second sample in Kombucha (the most perfect toasted butterscotch color you’ve ever seen!). Some of my other favorites are Millenial, Kingfisher, Basalt, and Avocado.
I also love how much yardage is in one of these skeins. It’s a category 5 bulky weight (another plus) with 200g of yarn. I used about 110g for each of my easy crochet hats so you could easily get an adult and a kids size easy crochet hat out of one ball!
PATTERN
- Get the ad-free, large print, printable PDF pattern HERE.
- Grab the Ultimate Pattern Bundle that includes 150+ patterns just like this one on sale for $20 today HERE.
- PIN this pattern to your Pinterest boards for later HERE.
- Add this pattern to your Ravelry queue HERE.
To sum it up:
Materials:
–Lion Brand Color Made Easy yarn (Weight: 5/Bulky – 7oz, 247 yds)
1 skein in any color (I used Kombucha and Alabaster)
Gauge:
12.5 sts x 8 rows in Hdc = 4″
Abbreviations (US terms):
blo – back loop only
ch – chain
hdc – half double crochet
sc – single crochet
sl st – slip stitch
st(s) – stitch(es)
Skill Level:
Level 1 – beginner
Pattern Notes
-This easy crochet hat pattern as written is made to fit average adult women and has a lot of stretch. Instructions for modifications to the pattern will be in italics throughout.
–MODIFY: You can easily modify it to fit any size head – just follow the measurement guidelines at the beginning of the pattern below. Always err on the side of more sts across/hat length as you can fold the brim if its too long but it’s hard to adjust a hat that’s too short!
-I even used different stitches in my different samples – alabaster uses Sc in place of all Hdc sts (kombucha) – I just made sure to stay true to those measurements explained in the pattern and it came out almost the same but with smaller, tighter ridges.
-This pattern can be altered to use worsted weight yarn or bulky weight yarn as long as you meet the rectangle measurements.
Brooklyn Ridge Easy Crochet Hat
Measuring:
Head Circumference: wrap a measuring tape around the widest part of your head. Subtract 4″ for a snug beanie fit.
My measurement – 21.5 – 4 = 17.5″
Length: measure from the center crown of your head to the earlobe. Add 2″ if you’d like a folded brim (I did not).
My Measurement – 9″
Hat Rectangle
Ch 30 (or number of sts to reach “length” measurement above + 2)
Row 1: Hdc in 3rd Ch st from hook and each st across, Ch 2, t (28)
Row 2: BLO Hdc in each st across, regular Hdc in last st, Ch 2, t (28)
Rpt Row 2 until you’ve finished 35 Rows or 17.5″ (or number of Rows to reach “head circumference” measurement above)
Your hat rectangle should now measure about 9 x 17.5″ (or length x head circumference)
Last Row: Holding Row 1 to your last Row worked, sl st loosely in each st across working through both layers of fabric to form a large hat tube.
Finish off leaving a long tail (about 18″ long)
Cinch: With a tapestry needle, sew your long tail through the end of each Row around the edge of the tube with a whip stitch.
Pull your tail taught and weave ends sewing back and forth over the closure a few times. Knot both tails to secure and flip your hat inside out.
Embellish: Sew on pom poms, appliques, or fold the brim if you like that sort of thing. You’re done!
Earning a Living with my Handmade Home
If you love crocheting and knitting, you should think about starting a blog! I’ll help you get started to turn your hobby into a money-making career with my free “Start a Blog” guide.
Or you can check out my latest income report to see how this blog earned over $10,000 last month!
Love it❤ I will be make one.It’s a unisex beanie.⛄❄
How did you Clinch the top? I have sewn the opening shut but now I am confused……. 🙁 This doesn’t normally happen…..
thanks
Above it says to pull the yarn that u sewed it with taught and sew it back and forth.
I haven’t actually made it to that point, but noticed your question. I hope this helps..
I agree. I sewed it shut and now I have a big flat box. Were we to leave two tails and tie the?
Probably a stupid question, but is there a right and wrong side for this hat?
There is, and the best way to determine that is by looking at your foundation chain! On the RS (right side) you’ll see the front of your chain stitches and the WS will be the back. Also the slip knot tail will be on the Left side of the rectangle when you’re looking at the RS 😉