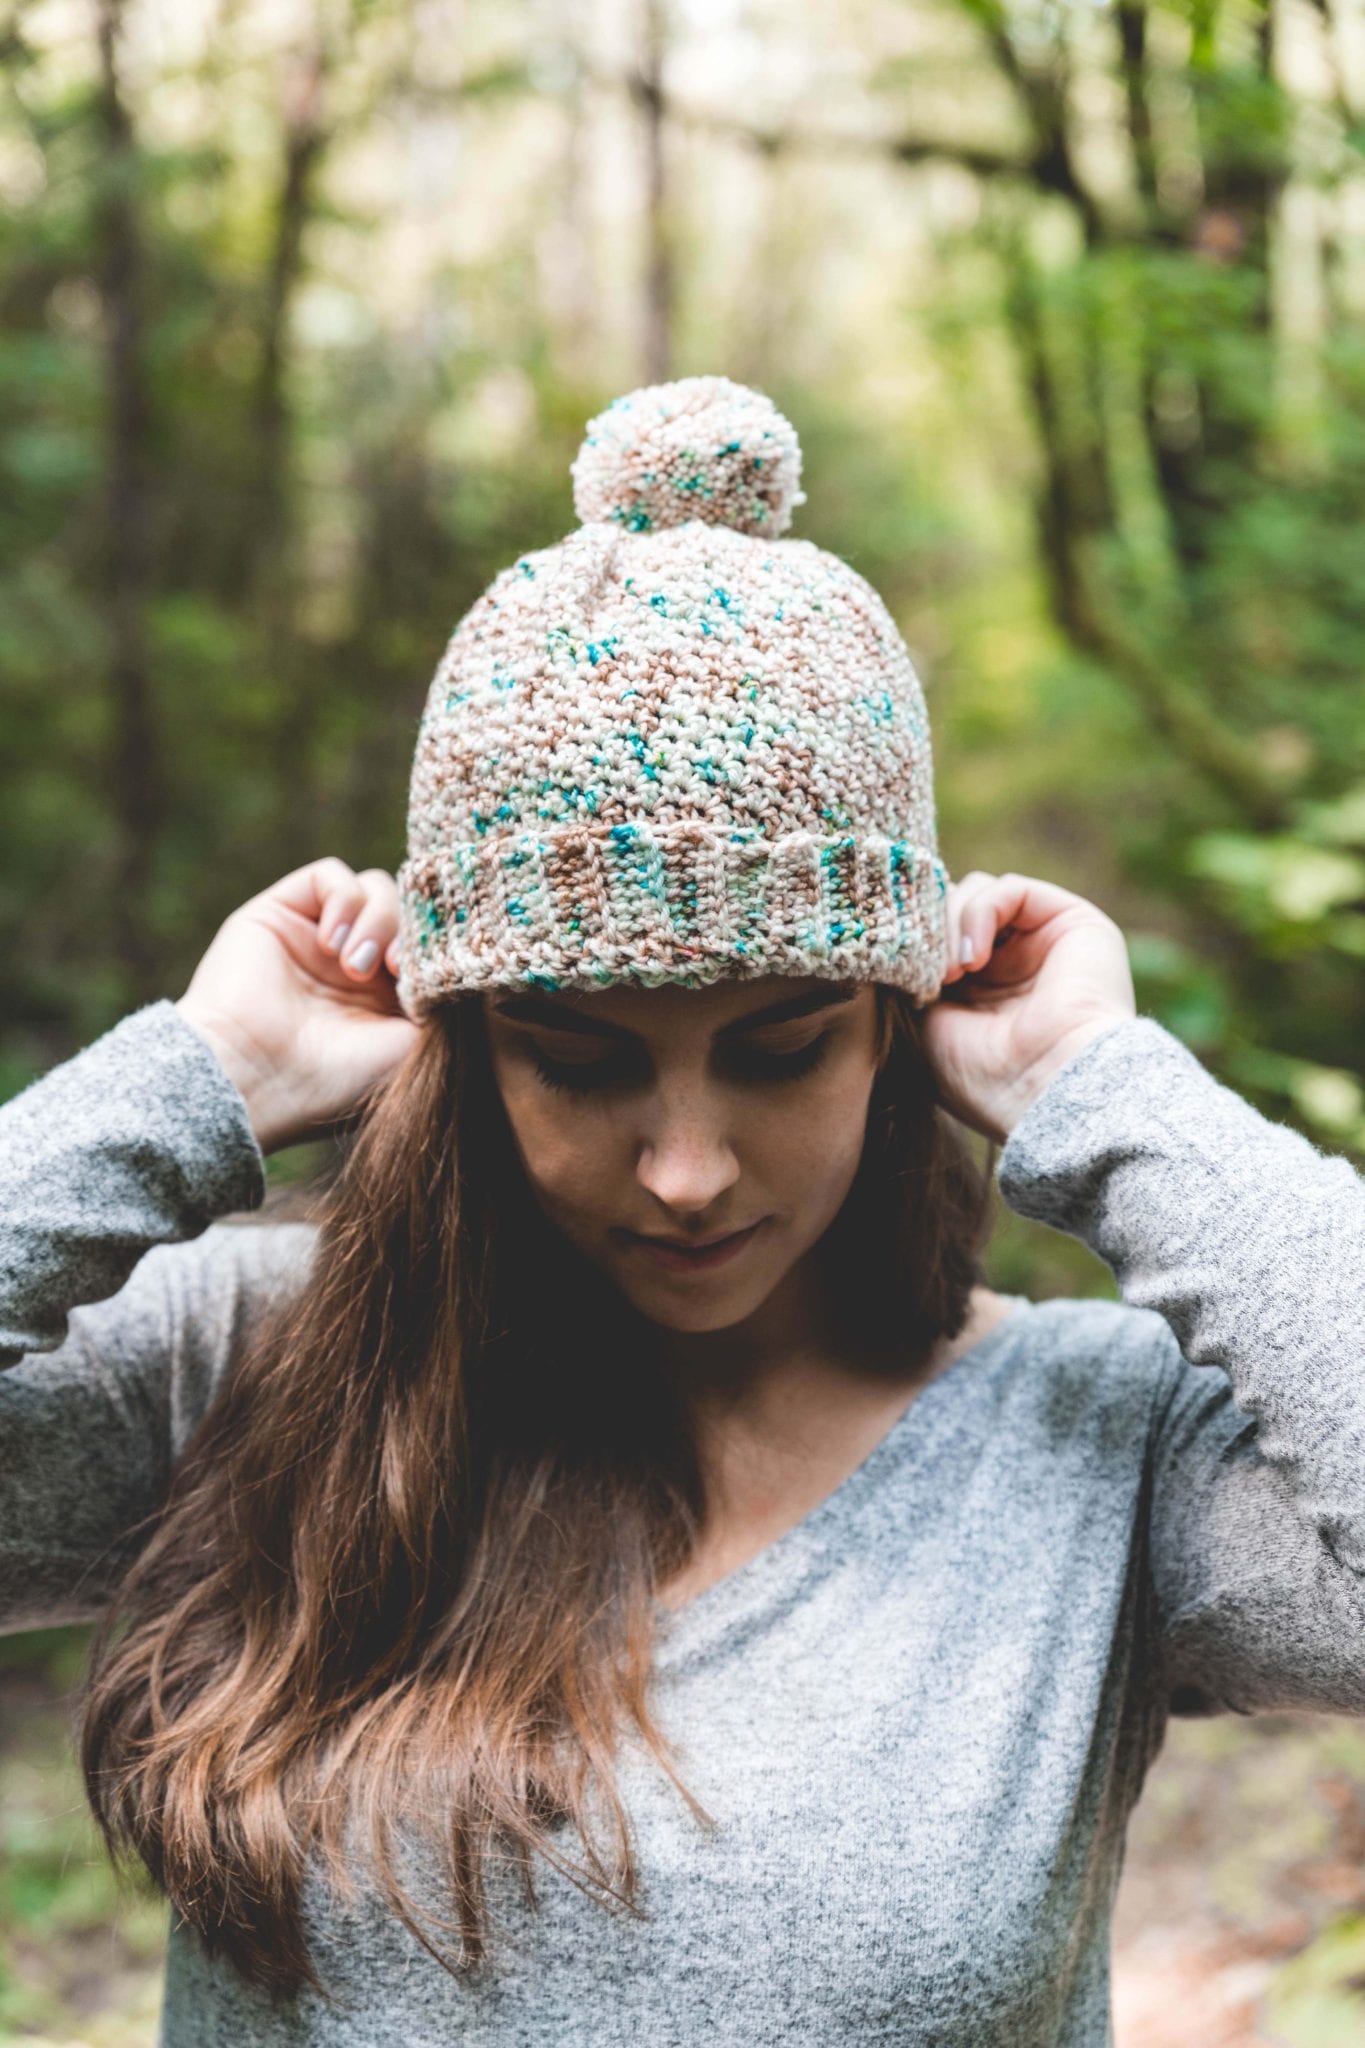
I’ve been loving dyeing yarn over at Handmade Home Fibers and am so excited to show you all the things you can make with just one skein – like this easy Avery Hat (formerly called the Maui Hat)!
Read a bunch more about my hand dyed yarn biz and the inspiration behind this hat below, or scroll on down for the free pattern.

Handmade Home Fibers
In case you haven’t already heard, my husband and I started hand dyeing our own yarn right in our kitchen! We spend months researching and practicing before launching the biz to the public last April and we’ve been having so much fun hanging together, dyeing a whole lot of yarn.
There are a lot of folks that see our yarns and think “that’s stunning, I want it! But I have no idea what to make… and I don’t want to invest $100+ into a hand dyed sweater or other large scale project.” I get emails like this all the time so I’m answering the question with a pattern!

Our shop is almost entirely made to order – so that means you can order the colorway you want on the base you want, no waiting on me to dye up exactly what you want for a shop update!
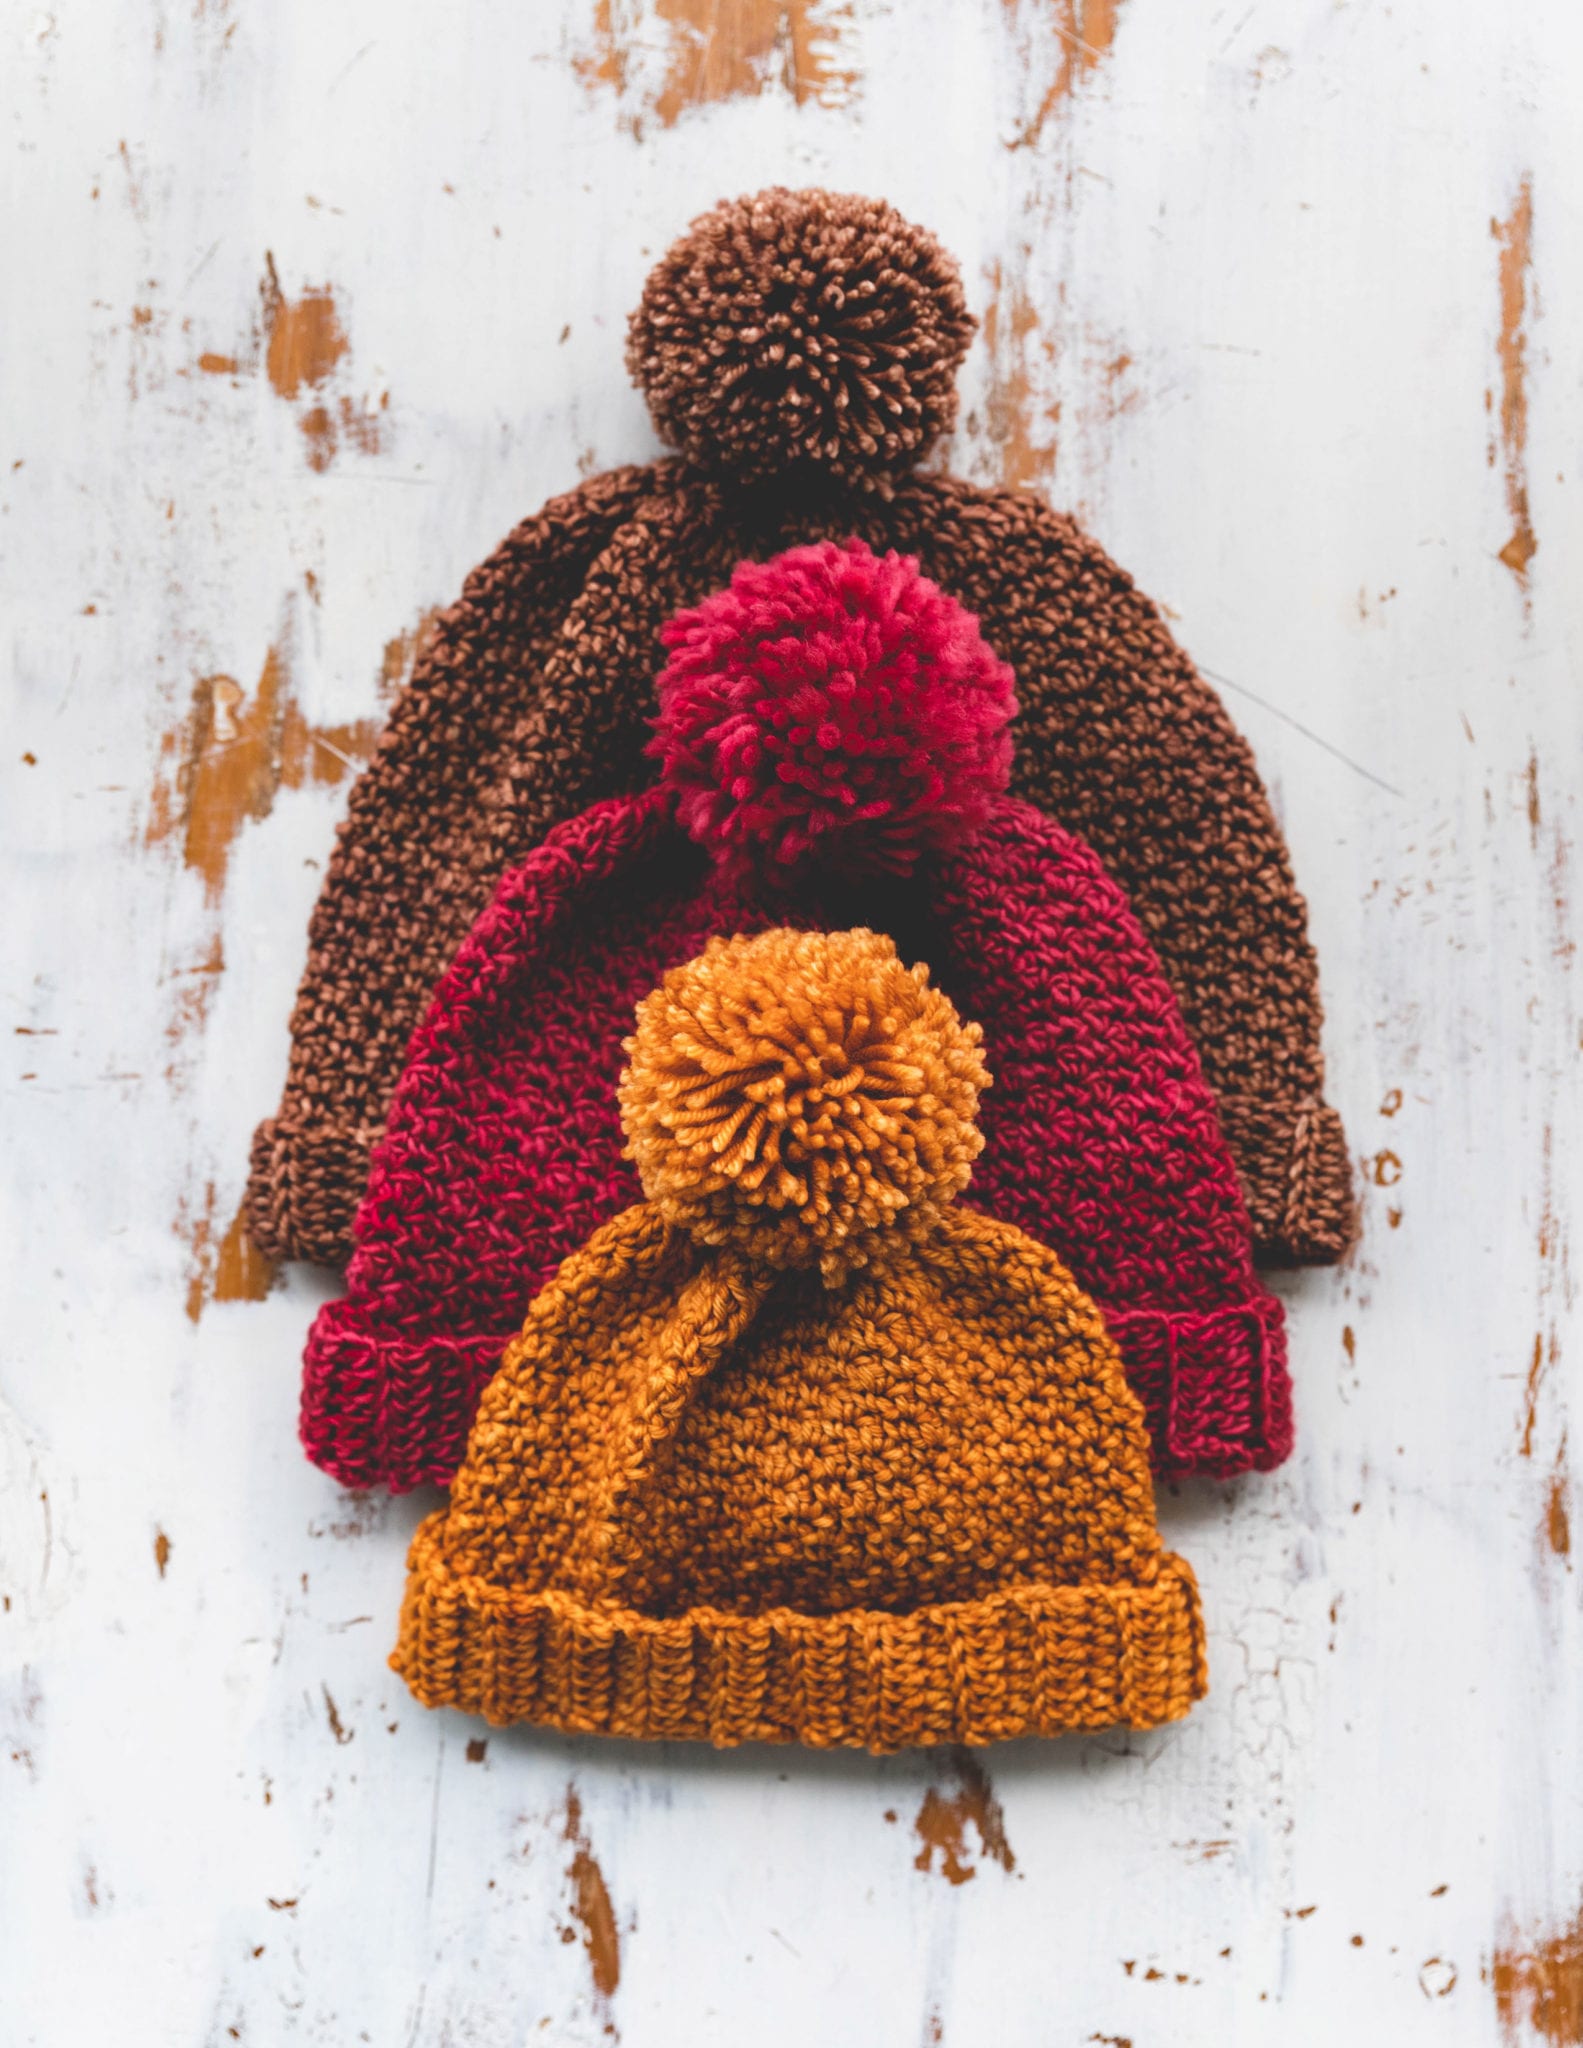
My first sample was made using our Maui Colorway, then family hats were made in Gourd (toddler size), Apple Picking (adult women’s), and Hazelnut (adult men’s) colorways.
Click HERE to see the kit for this project at reduced pricing!
SWEATER PATTERNS I LOVE (& you should too)
1. Crochet Twist Swancho / 2. Crochet Everyday Cardigan / 3. Simple Knit Sweater
The Design
Being that I get lots of questions about things you can make with just one hank of our yarn, I wanted to make a beginner friendly hat that will showcase the beauty of Handmade Home Fibers’ unique colorways without a lot of fuss.
I used one of my favorite simple stitches, the griddle stitch for some easy texture that really showcases all the colors in this Maui colorway. This hat would be stunning with any of our colorways and I can’t wait to see what you guys choose!
Click here to shop all of our made to order yarns and make your own Avery hat!
PATTERN
- Get the ad-free, large print, printable PDF pattern HERE.
- Grab the Ultimate Pattern Bundle that includes 150+ patterns just like this one on sale for $20 today HERE.
- PIN this pattern to your Pinterest boards for later HERE.
- Add this pattern to your Ravelry queue HERE.
Materials:
-1 skein Handmade Home Fibers yarn on CROCHETER’S BASE (Weight: 3/DK, Light – 3.5oz, 231 yds)
Grab the kit from Handmade Home Fibers for just $22! (Includes pattern PDF)
–Size H 5 mm hook or size needed to get guage
–Measuring tape or ruler
Click here to shop my favorite tools and materials!
Abbreviations (US terms):
ch – chain
sc – single crochet
dc – double crochet
dc2tog – double crochet 2 together/decrease
sk – skip
st(s) – stitch(es)
t – turn
Sizes:
Infant, Toddler, Child, Youth, Adult women’s, Adult Men’s
Skill Level: Level 1 beginner
Notes:
-This hat is made to fit sizes from Infant all the way to adult mens. Model is wearing adult women’s size (which I’ve bolded below in the pattern for easy reading since this is the most popular size.)
-Sizing listed in the pattern will be in Infant (Toddler, Child, Youth, Adult Women’s, Adult Men’s). When only one number is given, it applies to all sizes. To follow pattern more easily, circle/highlight all numbers pertaining to your size before beginning.
-Hat is made by first working the ribbed brim in a long strip of turned rows (which is turned up in these photos), joined to form a loop, and the body of the hat is worked up from the brim in continuous rounds, decreased at the top to cinch together with a pom pom added on top at the end.
-You will have enough yarn in 1 hank of Handmade Home Fibers yarn to make the entire hat and pom pom!
Crochet Avery Hat
Ribbed Brim:
Ch 8
Row 1: Hdc in 3rd ch from hook and each st across (6)
Row 2: Ch 2, t, BLO Hdc in each Hdc across (6)
Rpt Row 2 until your strip measures 18 (19, 20, 21, 22, 24)” making sure to finish with an odd number of Rows.
Bring Row 1 to your last row without twisting the strip.
Sl st in each st across, working through each stitch in your last Row and the foundation Ch sts of Row 1
Body of Hat:
Ch 1, turn to work along rough edge of ribbed brim
Row 1: Sc in the edge of each Row all the way around, finishing with an odd number of stitches
Row 2: Sc, *Dc, Sc, Dc; rpt from * around
Row 3: Dc, *Sc, Dc, Sc; rpt from * around
Rpt Rows 2-3 until your hat measures 5 (5.25, 5.5, 5.75, 6, 7.5)” from Row 1 of Body of Hat.
Decrease the crown:
Row 1: Dc, Dc2tog in remaining sts around
Rpt Row 1 1 (2, 2, 3, 3, 4) more times.
Finish off leaving a long tail for sewing.
Weave tail through sts of last row and pull to tighten. Weave ends.
Make a Pom Pom about 3″ in size using your favorite pom pom method (I use the Clover USA pom pom makers).
Leave long tails and sew over last row of your hat and weave ends.
Earning a Living with my Handmade Home
If you love crocheting and knitting, you should think about starting a blog! I’ll help you get started to turn your hobby into a money-making career with my free “Start a Blog” guide.
Or you can check out my latest income report to see how this blog earned over $10,000 last month!