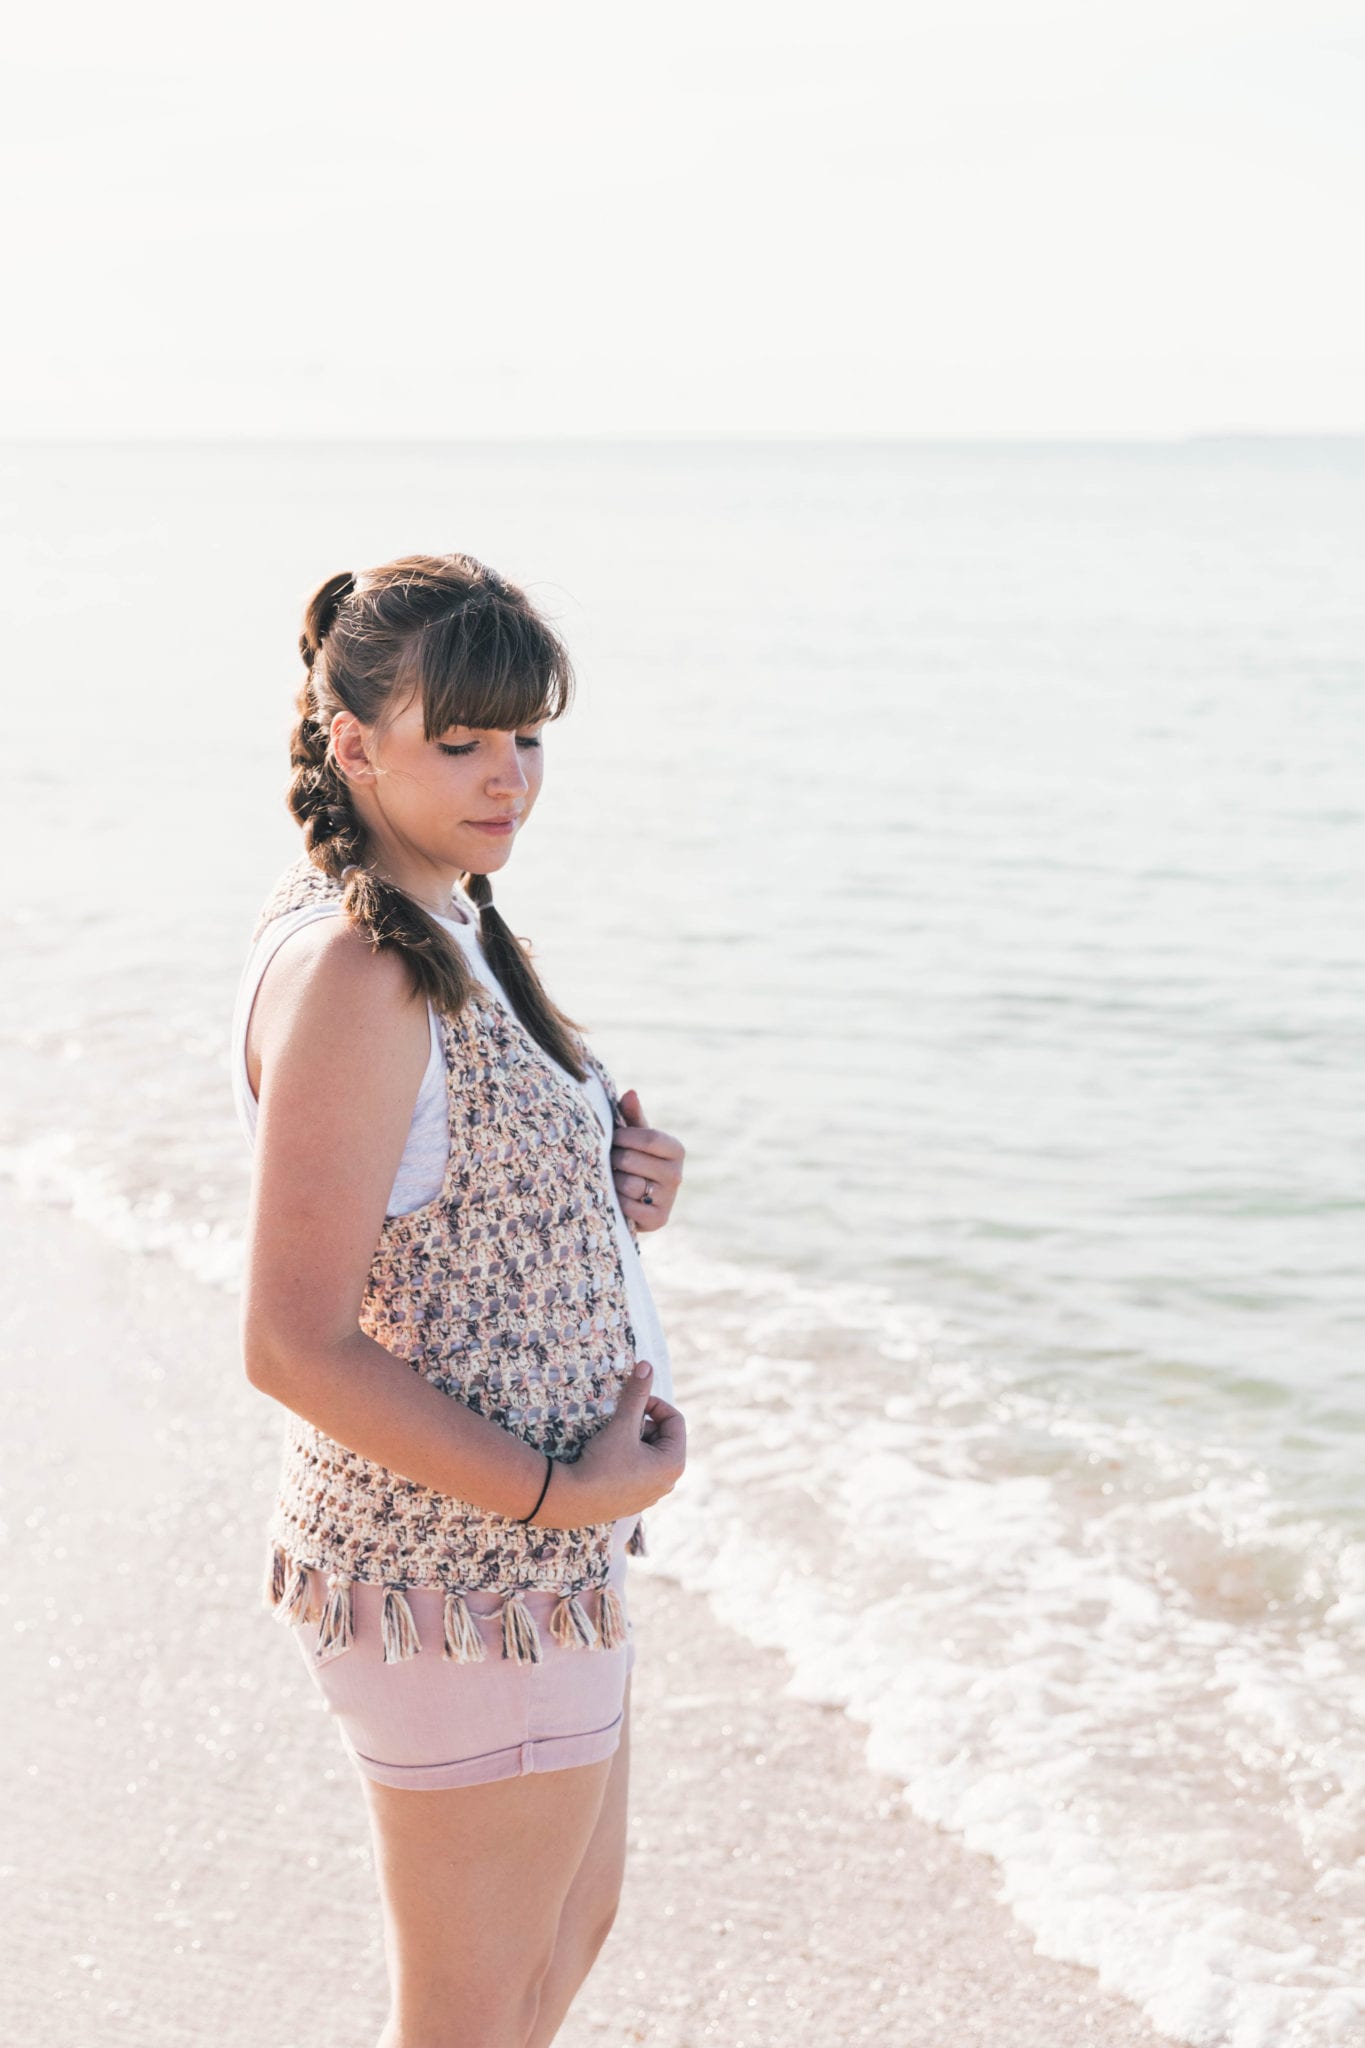
Summertime crocheting means we need our wearables to be light, airy, and layerable – that’s why this Joni Topper is perfect!
Joni is perfectly lightweight, with a slim cut, a cropped length, boho tassel fringe, and cool cotton blend yarn (that’s just as pretty as it is comfy!)
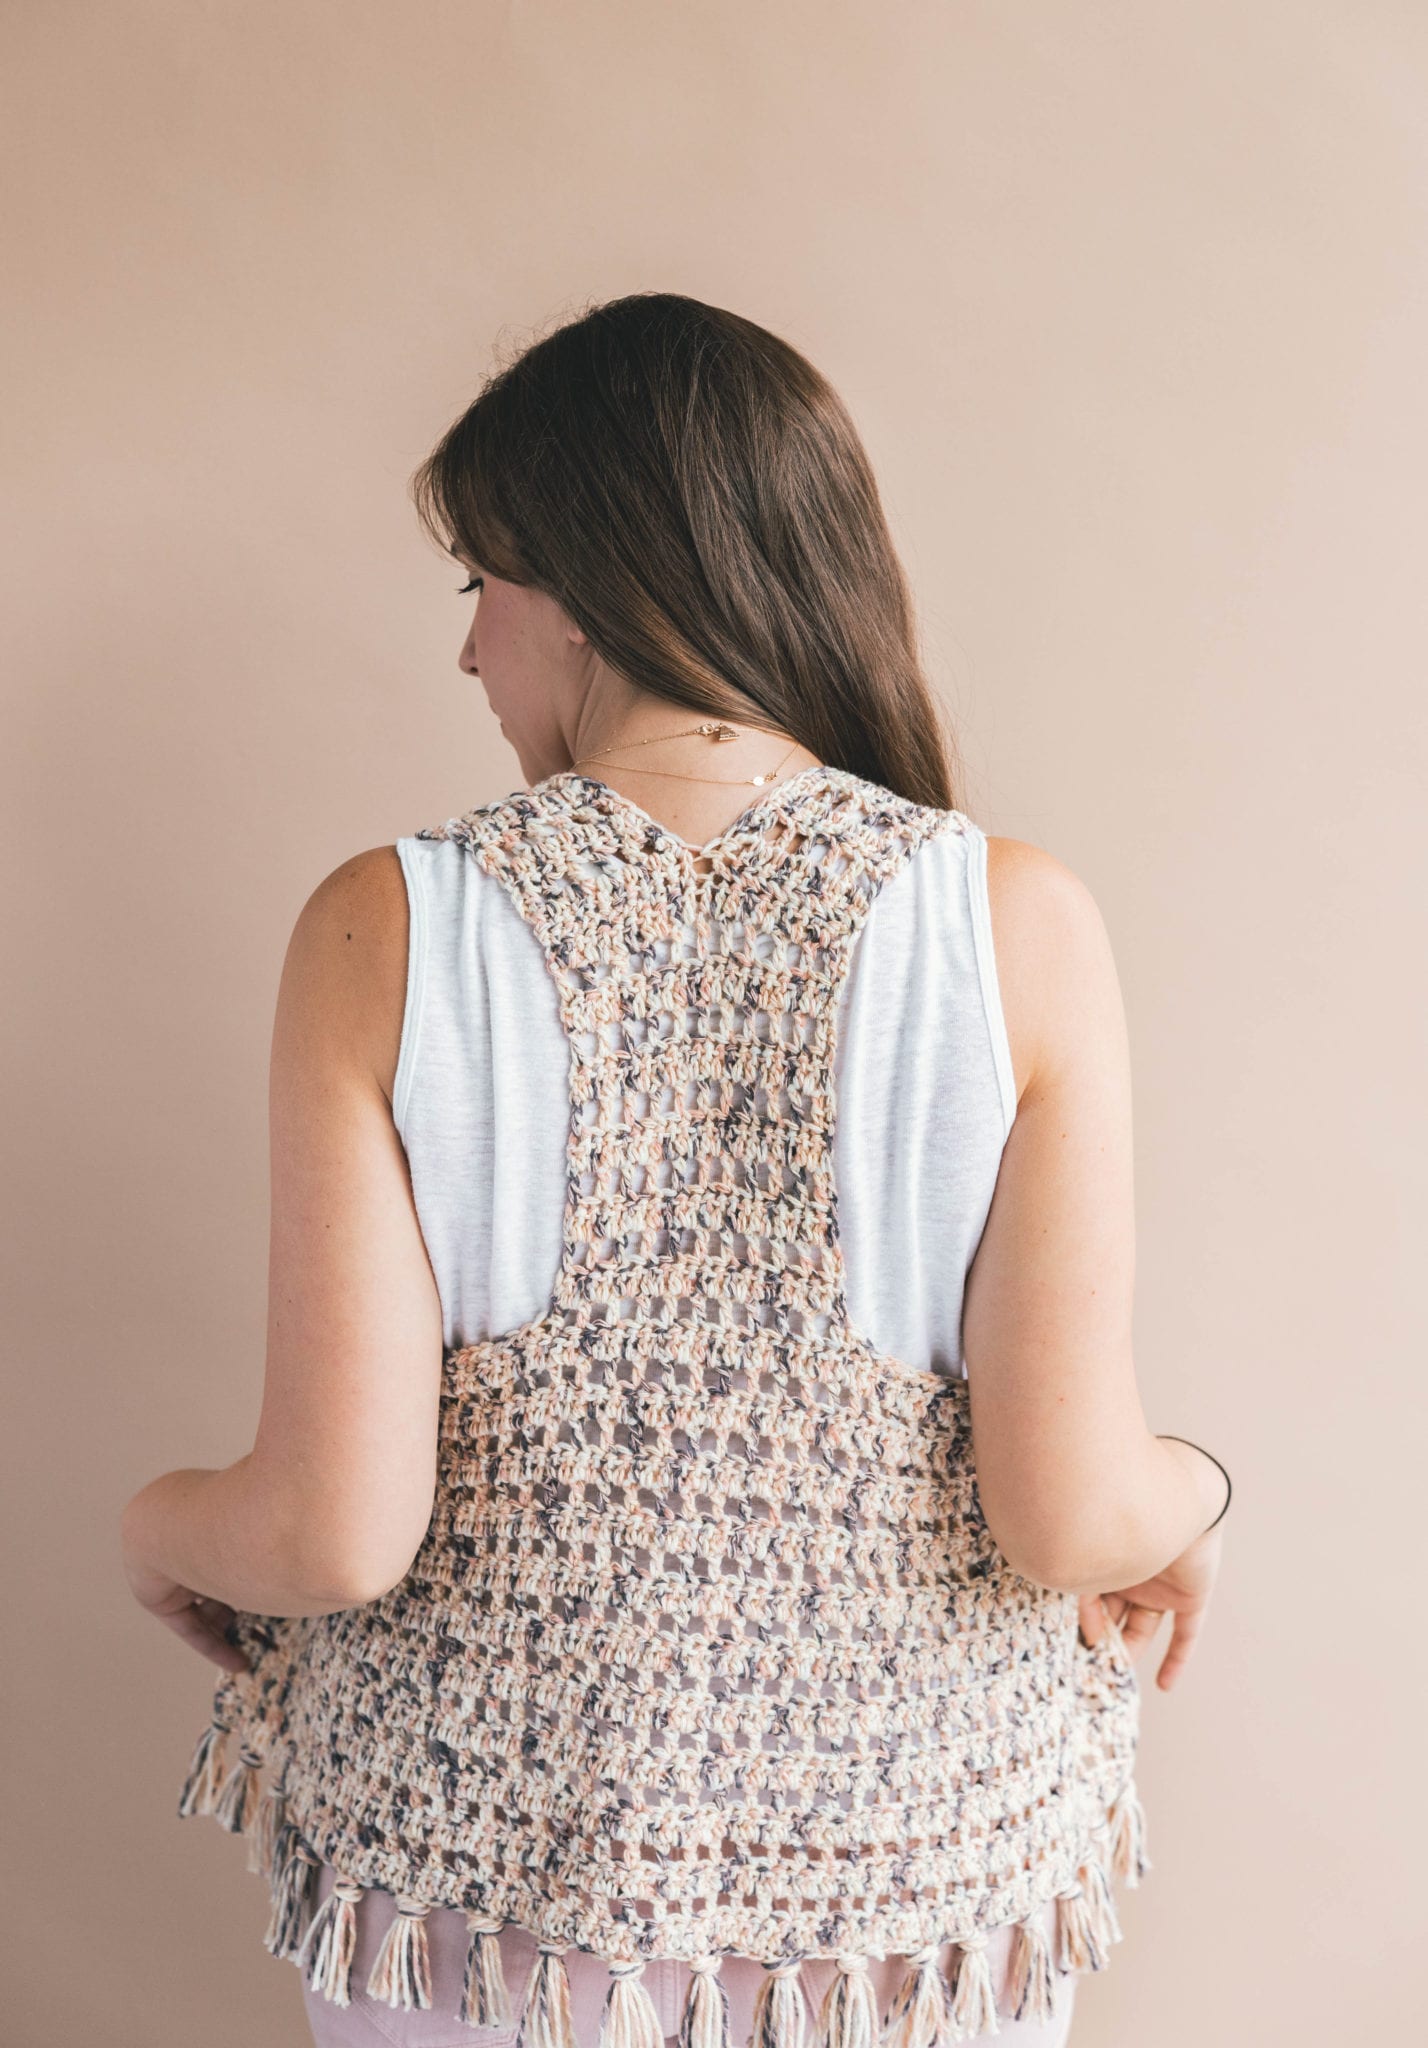
Also – can we talk for a moment about that RACER BACK?! I always try to incorporate one statement element to my garment design. This time, it’s a dramatic racerback that is easy to wear.
I’ll be layering Joni over my tanks and tees all summer long, she adds just the right amount of polish to a look that also says “I threw this on, and I look amazing” – right?
SUMMER PATTERNS I LOVE (& you should too)
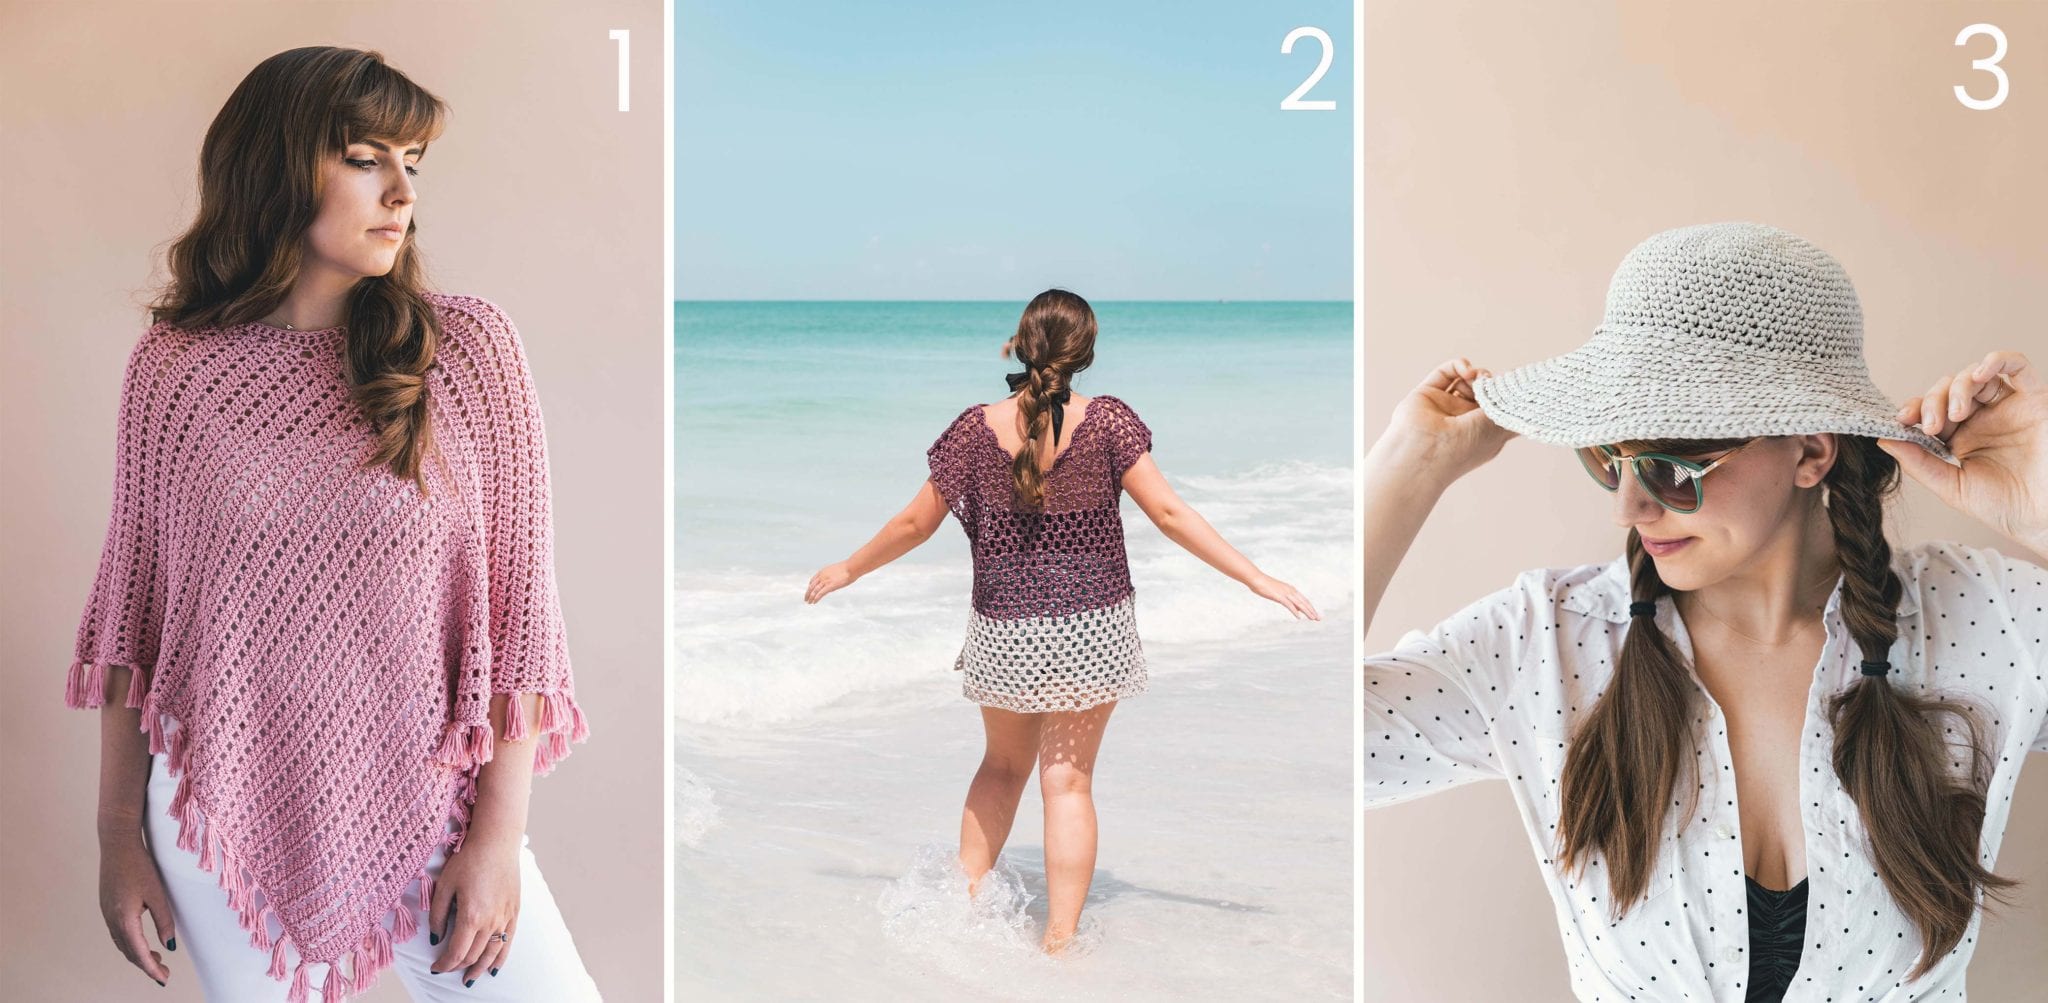
1. Crochet Ava Poncho / 2. Crochet Weekender Tunic / 3. Crochet June Sun Hat

Okay, now that you’re convinced you need your very own Joni – let’s talk yarn.
I chose to use Lion Brand Yarn’s brand new Comfy Cotton – and let me tell you guys something: the name doesn’t lie. You know how a lot of cotton yarns are stiff, scratchy, and a pain to crochet with? I’ve found that they don’t glide over my hook, I have to fight with them and that throws off my tension. Le sigh.
Comfy Cotton is totally different! It’s 50% cotton 50% polyester and is so soft and smooth, both to work with and to wear! It’s called a category 3 light weight yarn but I would gauge it as more of a true worsted weight. It’s got just the right thickness that is fast to work up but drapes beautifully in garment form!
Grab some Comfy Cotton from the Lion Brand website to try this new summer favorite by CLICKING HERE.
OR grab the kit they put together with this pattern HERE. It’ll get you all the yarn you need plus a printed copy of the pattern delivered right to your door!
PATTERN
- Get the ad-free, large print, printable PDF pattern HERE.
- Grab the Ultimate Pattern Bundle that includes 150+ patterns just like this one on sale for $20 today HERE.
- PIN this pattern to your Pinterest boards for later HERE.
- Add this pattern to your Ravelry queue HERE.
To sum it up:
To sum it up: Joni is the free spirited, comfy topper that you can throw on over any outfit to pull together all your summer looks. Delicate open stitches allow for cool comfort and great drape. This pattern features a dramatic racer back neckline that is easy to achieve with my unique all-in-one construction – no fussy shaping here! Grab some Comfy Cotton yarn to make this statement summer piece with ease.
Materials:
–Lion Brand Comfy Cotton Yarn (Weight: 3/DK, Light – 7oz, 392 yds)
Color: Chai Latte – 2 skeins (approx. 15, 235, 280, 300, 340, 365, 380 g)
Grab your pattern kit with everything you need to make your own Joni Topper here!
-Size K 6.5 mm hook
-Tapestry needle
-Measuring tape or ruler
(Click HERE to shop all my favorite tools!)
Sizes:
XS, S, M, L, Xl, XXL, XXXL
Abbreviations (US terms):
ch – chain
sc – single crochet
hdc – half double crochet
dc – double crochet
fpdc – front post double crochet
bpdc – back post double crochet
sk – skip
st(s) – stitch(es)
t – turn
Skill Level: Level 2 Easy
Notes:
-This topper fits true to size. For reference, model is 5’5” tall with a 36” bust and wearing a size Small.
-Sizing listed in the pattern will be in X-Small with Small, Medium, Large, Xl, 2X, 3X, and 4X listed in parenthesis such as 36 “(41, 46, 51, 56, 61, 66)” whereas Ch 36 for size XS, 41 for size S, 46 for size M, 51 for size L, 56 for size XL, 61 for size 2X and 66 for size 3X. When only one number is given, it applies to all sizes. To follow pattern more easily, circle/highlight all numbers pertaining to your size before beginning.
-Pattern is worked by first making the large wraparound panel, working the front straps and back center panel separately off of the wraparound panel. One round of edging and tassels are added to finish.
Gauge:
13 sts x 8 rows in Dc = 4”
Dimensions:
Length: 11 (11, 12, 12, 13, 13, 13)
Width across body once assembled: 14 (16, 18, 20, 22, 24, 26)
Joni Topper
Wraparound piece:
Row 1: Ch 104 (113, 123, 133, 143, 153, 163), Dc in 4th ch from hook, Dc in each ch st to end (100, 110, 120, 130, 140, 150, 160 Dc)
Row 2: Ch 3, t, sk 1 Dc, Dc in next Dc, *Ch 1, sk 1, Dc in next Dc; rep from * to end (55, 60, 65, 70, 75, 80 Dc)
Row 3: Ch 2, t, *Dc in first Dc, Dc in Ch 1 space; rep from * to end (100, 110, 120, 130, 140, 150, 160 Dc)
Rows 4-21 (21, 23, 23, 25, 25, 25): Repeat Rows 2-3
(Continue to upper panels without breaking yarn)
| Wraparound Piece Chart | Stitches per odd Row | Rows to complete |
| Xs | 100 | 21 |
| S | 110 | 21 |
| M | 120 | 23 |
| L | 130 | 23 |
| XL | 140 | 25 |
| XXL | 150 | 25 |
| XXXL | 160 | 25 |
Upper Panels
Divide the last row of your wraparound piece into five sections using stitch markers.
Place stitch markers on the following stitches:
XS – 20th, 40th, 60th, 80th
S – 22nd, 44th, 66th, 88th
M – 24th, 48th, 72nd, 96th
L – 26th, 52nd, 78th, 104th
XL – 28th, 56th, 84th, 112th
XXL – 30th, 60th, 90th, 120th
XXXL – 32nd, 64th, 96th, 128th
Upper Panel Setup Row:
*Replace st markers as you go
Ch 3, t, sk 1 Dc, Dc in next Dc, *Ch 1, sk 1, Dc in next Dc; rep from * to first st marker
Hdc in 1st marked st
Sc in each Dc to 2nd st marker (armhole 1)
Hdc in 2nd marked st
*Ch 1, sk 1, Dc; rep from * to 3rd st marker
Hdc in 3rd marked st
Sc in each Dc to 2nd st marker (armhole 2)
Hdc in 2nd marked st
Dc, *Ch 1, sk 1, Dc; rep from * to end
*Armholes are now finished off
*Work each panel moving forward to it’s end before beginning the next panel.
Front Shoulder Panels:
*Continuing on without breaking yarn
Row 1: Ch 2, t, *Dc in first Dc, Dc in Ch 1 space; rep from * to st marker (19, 21, 23, 25, 27, 29, 31 Dc)
Row 2: Ch 2, t, Dc in first Dc, *Ch 1, sk 1, Dc in next Dc; rep from * to end (10, 11, 12, 13, 14, 15, 16 Dc)
Rows 3-9: Repeat Rows 1-2
Row 10: Ch 2, t, Dc in first Dc, *sk 1 (DO NOT Ch), Dc in next Dc; rep from * to end (10, 11, 12, 13, 14, 15, 16 Dc)
Row 11: Ch 2, t, Dc in each Dc to end (10, 11, 12, 13, 14, 15, 16 Dc)
Row 12: Ch 2, t, Dc in first Dc, *Ch 1, sk 1, Dc in next Dc; rep from * to end – [sizes XS, M, XL, XXXL leave the last stitch unworked] (9, 11, 11, 13, 13, 15, 15 Dc)
Row 13: Ch 2, t, *Dc in first Dc, Dc in Ch 1 space; rep from * to st marker (9, 11, 11, 13, 13, 15, 15 Dc)
Row 14: Ch 2, t, Dc in first Dc, *Ch 1, sk 1, Dc in next Dc; rep from * to end (9, 11, 11, 13, 13, 15, 15 Dc)
Rows 15-23: Repeat Rows 13-14, ending with Row 13
Finish off, leaving a long tail for sewing.
Identify last stitch marker (the farthest one from the first shoulder panel you worked). You should be working on the other section that connects to end/other rough edge of the wraparound piece.
Join yarn to the next stitch after the last stitch marker. We will work from this stitch to the end of the row, then back and forth in turned rows to complete this panel the same way we made our first front shoulder panel.
Follow same pattern directions for second shoulder panel. Stitch counts remain the same.
Center Back Panel:
Identify the group of stitches at the center of your wraparound piece, between the 2nd and 3rd stitch markers. Join yarn to the last Dc you worked next to your marked Hdc stitch.
Row 1: Ch 2, t, *Dc in first Dc, Dc in Ch 1 space; rep from * to st marker (20, 22, 24, 26, 28, 30, 32 Dc)
Row 2: Ch 3 t, sk 1 Dc, Dc in next Dc, *Ch 1, sk 1, Dc in next Dc; rep from * to end (10, 11, 12, 13, 14, 15, 16, 17 Dc)
Rows 3-11: Repeat Rows 1-2
Finish off, weave ends.
Seam Shoulders:
With long tails left from your front shoulder panels, sew each panel to the top of the center back panel with a whip stitch.
Be sure not to twist any panels, simply fold in the two outside edges of the vest to meet each other and attach the front shoulder panels creating a racer back neckline.
Weave all ends.
Edging:
Join yarn to the last row of your first front panel. If you are looking at the vest, not wearing it, this will be the inside corner on the left panel (or right panel if you’re left handed).
Ch 1, Sc in each st evenly around the entire neckline – up the rough edge of the first front panel, to the V neckline at the center back panel, and down the rough edge of the second front panel.
Work 2 Sc into the corner and continue on to the hemline.
Sl st to join, finish off, weave ends.
Tassel Fringe:
Cut 8 pieces of yarn each 8” long.
Hold yarn together and loop it through the first LAST Sc of your edging.
Before pulling the entire loop through, grab your tails and pull them through the loop.
Tighten to secure.
Trim ends to make even and make another tassel.
Attach tassel fringe in increments of 5 stitches (skip 4 sts between fringe) around entire hemline. Trim all to make them even.
Earning a Living with my Handmade Home
If you love crocheting and knitting, you should think about starting a blog! I’ll help you get started to turn your hobby into a money-making career with my free “Start a Blog” guide.
Or you can check out my latest income report to see how this blog earned over $10,000 last month!
What a beautiful pattern, Ashleigh! I absolutely love the statement element of this design, the racer back. Sometimes when designing, it is easy to go overboard–but you are great at picking on stunning element and keeping the rest simple (but still beautiful!)
Just what I’ve been searching for! Thank you ????
I just got my yarn. I am so excited to start this project. I decided to use the colorway fireside. I think I’m going to binge watch CHiPs while making this. Thanks for sharing! You are an amazing designer.
I dislike leaving my question here but cannot find any other way on contacting you.
I ordered the crochet kit for the Joni Vest and received it last week. I completed the wrap around piece and started on the front shoulder panel. I noticed that some of the instructions didn’t make sense but followed it. My instructions end with: Rows 15-23: Repeat Rows 1-2. There are no further instructions about the center panel or how to finish it.
I went to this website because the pattern lists an address for a video tutorial (which I can’t find).
Looking at your web page for this pattern, I see that the print out I received has several mistakes as well as being incomplete.
I tried to click on the pattern download on this page but it is asking me to pay for it again. Can you help? I just need a complete and correct pattern.
One additional question: does the ch 3 or ch 2 at beginning of row count as a dc?
I am having the same problem. I hope Ashleigh will contact us soon.
I’m having the same issues. I contacted Lion Brand support and they should be able to email a PDF of the full pattern but I am unsure if the mistakes in the numbering will be corrected.
I love this so much I purchased 2 kits from Lion Brand. There is a problem in that the printed pattern I received stops with the shoulder panels. No instructions for the center panel or putting it all together. Would it be possible for you to send me the PDF. One of the kits is for a friends birthday on Tuesday and I really wanted her to have a complete kit. I emailed Lion Brand 2 days ago and no response yet.
I’m looking for a pattern that I can use T-shirt yarn for. I rather knit than crochet. I really liked this vest. Do you have something like it in a knitting pattern.
I binge bought lot’s of T-shirt yarn not realizing that each skein is a slightly different color and am now stuck looking for things to do with it as I prefer to make wearing apparel than baskets etc. Any help /suggetions are welcome