A beginner-friendly crochet hat – my Dip Dye Crochet Hat – is a free pattern here on the blog! Read through my inspiration, design process, and lots of info on the perfect yarn I chose. Or scroll on down for the free pattern.

The Inspiration + Design
I started hand dyeing yarn back in 2017 and I fell in love quickly. I started a business selling our hand dyed yarn and called it Sewrella Yarn! We open our store once a month for themed collections on the 15th of every month and it always sells out fast! (Follow us on instagram here to stay caught up). We have so much fun creating themed colorways around different collection ideas like Hocus Pocus at Halloween, Gilmore Girls (the TV show), and Disneyland to name a few.
I had some partial skeins of a bunch of colorways laying around and wanted to whip up a hat pattern to use them. I loved the play on words with a “dip dye” look and bonus – I could use up my stash!
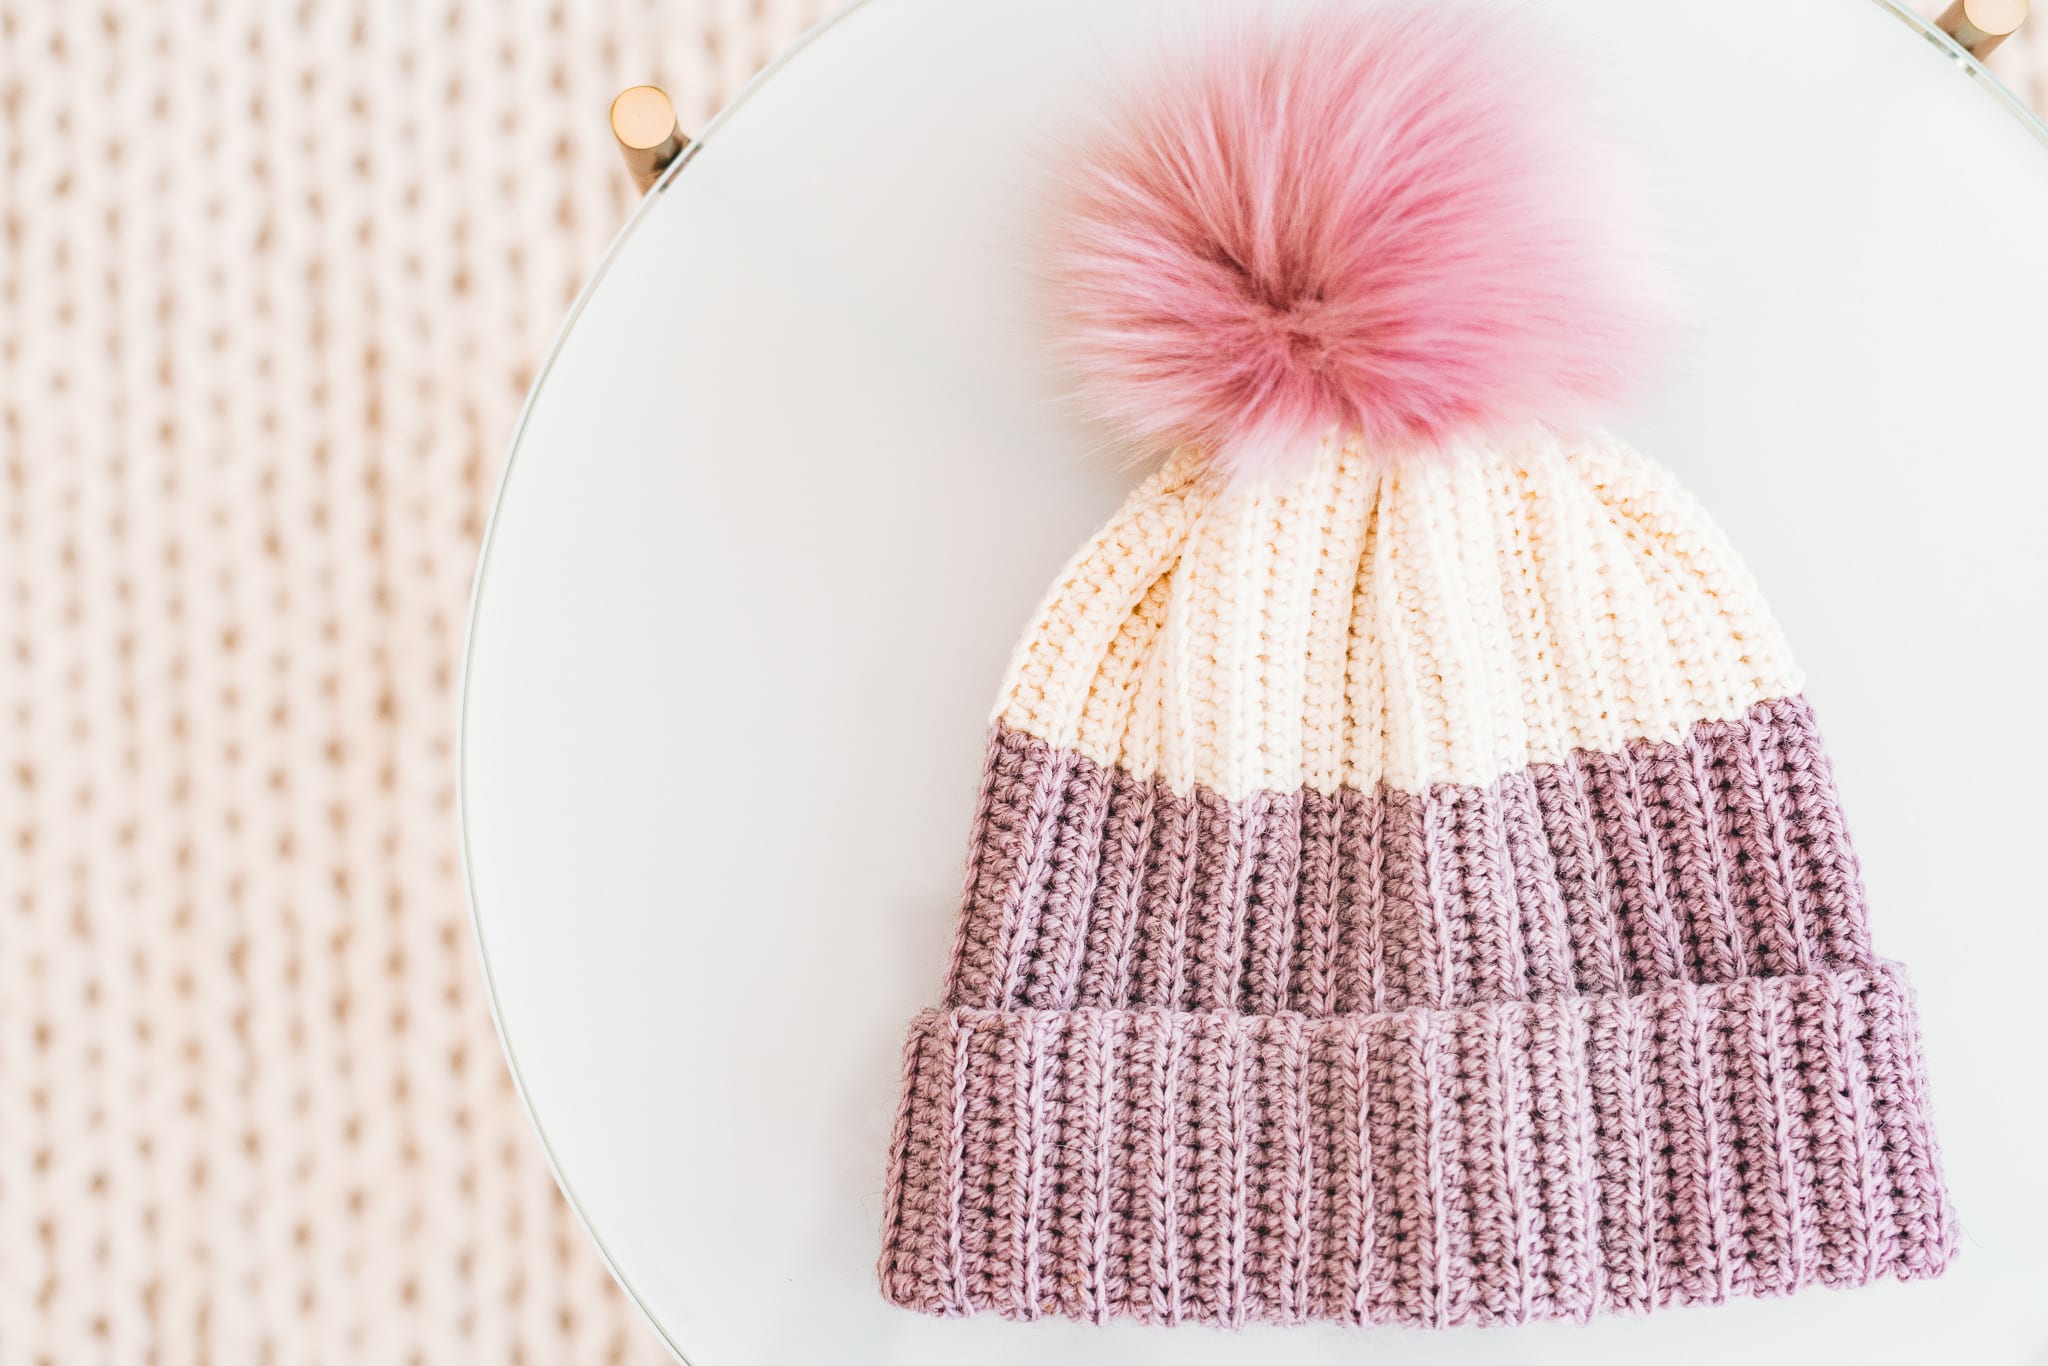
I chose one of my favorite stitches (back loop only half double crochet) to get a more stretchy fabric that looks and behaves more similarly to knitting. This makes a super warm and comfy crochet hat!

The perfect crochet hat for anyone – beginners included!
This hat is made by crocheting a rectangle and sewing it together, that’s it! There’s a not-so-fancy color change that I’ll teach you in a video but otherwise, this crochet hat is the easiest thing I’ve made… and just look at the payoff!
I seriously don’t know if I’ve ever made anything that was quite as satisfying as this. This crochet hat looks and feels store bought, or even better and it was so simple and mindless.

Sizes for you and everyone you know
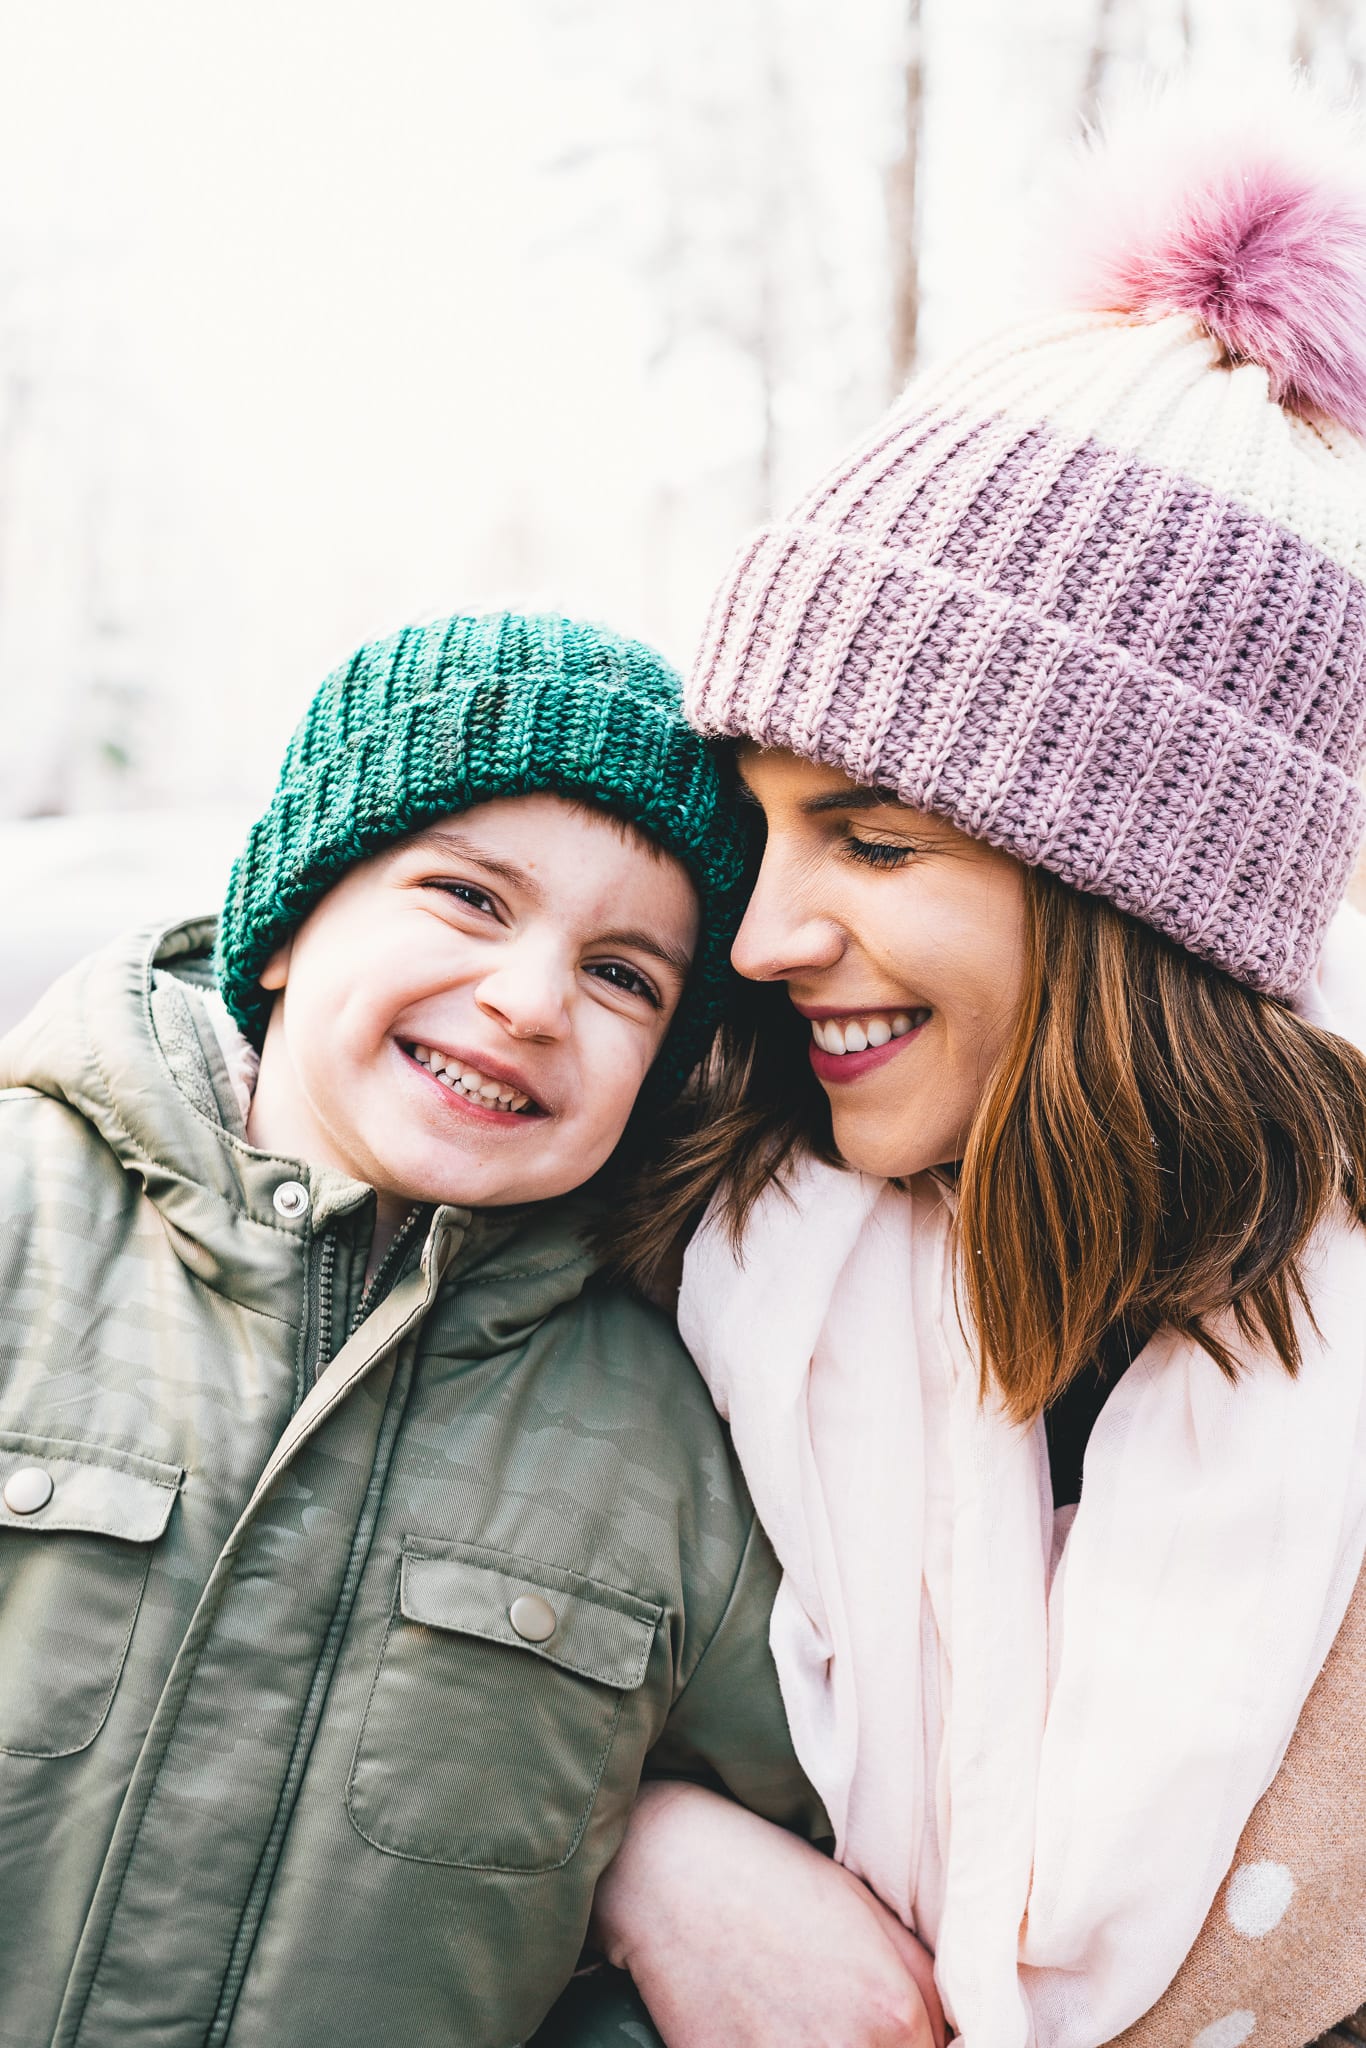
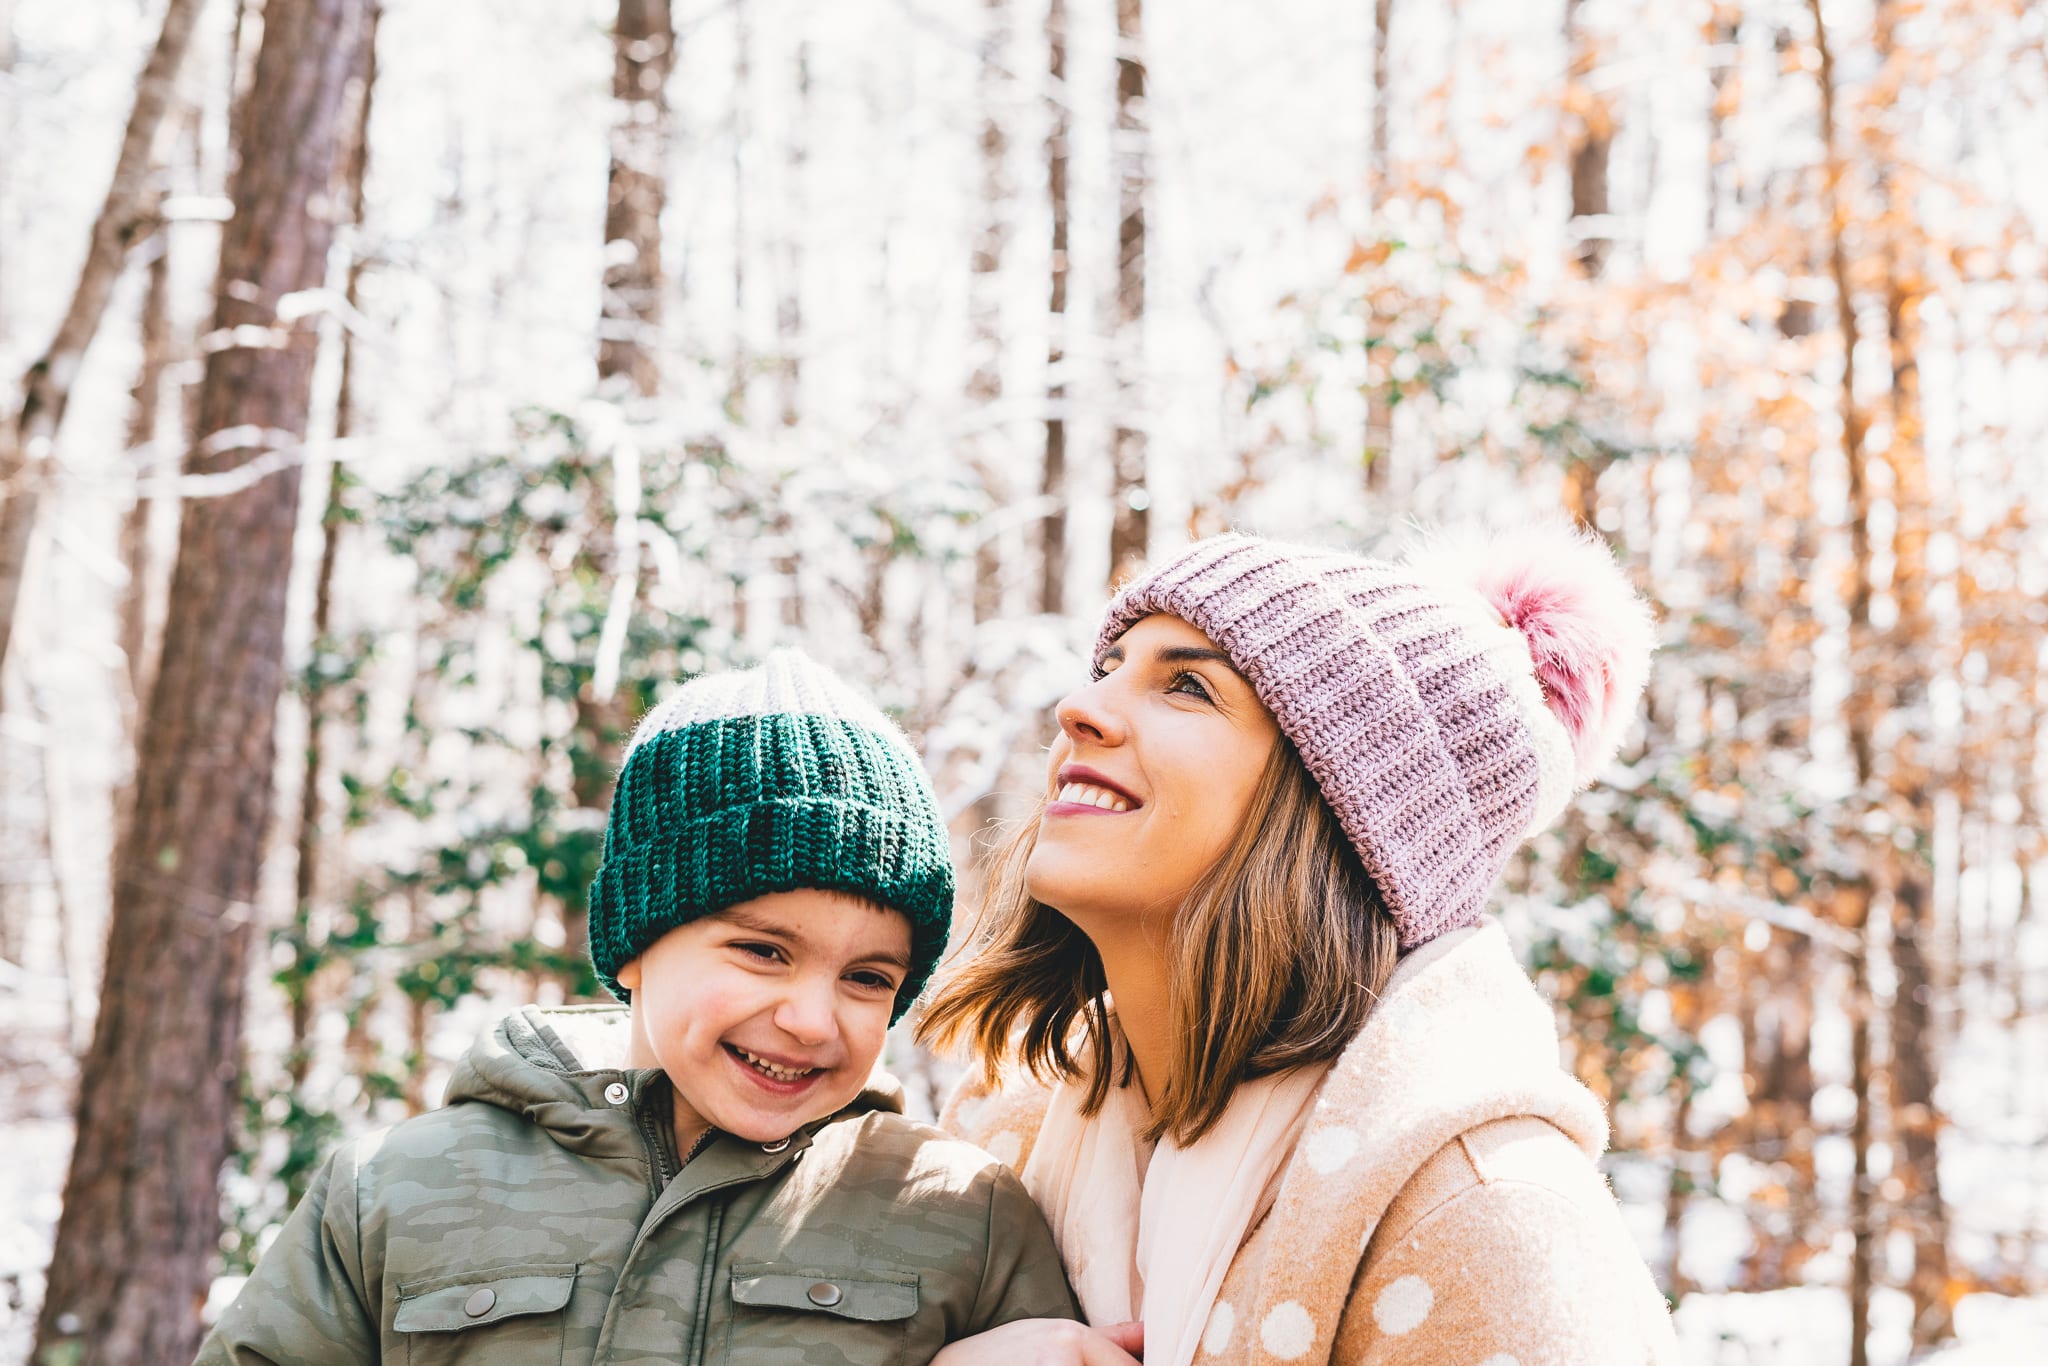
I did the math for ya and the crochet hat pattern is available in all sizes, from preemie babies to large adults! I’m wearing the Adult Small and my son is wearing the Child size (he’s almost 4 but has an enormous noggin).
Just measure the head circumference of the recipient (if you’re able) and choose the size closest to that measurement via the chart in the crochet hat pattern below. You can also make the size that the recipient falls into naturally, the sizing is based on standard measurements from the Craft Yarn Council.
That magic mid-row color change
The technique used to create this sharp color change is a mid-row technique that’s so much simpler than it looks. All I do is carry the yarn up the back in the same way for each row and there is a special way I do the yarn over. Watch the color change video in the crochet hat pattern below to see how I do it!

High end + Affordable
I made these crochet hats using odds and ends of yarn from my stash but you will need to choose two yarns that go well together!
In each of the hats pictured I used our own hand dyed yarn for one color and a more affordable Lion Brand Yarn for the other color. The end result is a wool blend, super soft hat that didn’t cost a fortune to make. One could certainly make an entire hat of this style in high end yarn or more affordable yarn and it would be just as gorgeous.
When you make your crochet hat, use the tips below on looking at yardage to determine what yarns will blend well together in this way. Get creative and use up some of your stash and if you’re able, think about supporting an artisanal hand dyer (when used for one color of the hat, one skein of hand dyed yarn could make two or more hats, depending on what sizes you make).


Yarn + Substitution
I used a blend of Lion Brand’s Touch of Cashmere in Gull Grey and some of my own hand dyed yarn from Sewrella Yarn (an older colorway called Lodge) in my son’s hat. I used Lion Brand’s LB Collection Merino Yak Alpaca in Dusty Pink and Sewrella Yarn yarn in Marshmallow for my own hat. All are Category 3 Light weight and of comparable gauge.
A note on substituting yarns and blending yarns for this project: there is a lot of variation in the yarn industry within the world of worsted weight category 4 weight yarn. The best way I know to compare yarns of different origins, fiber contents, and brand are to look at the yardage per gram. On the yarn label for any yarn (from a big box store or from an independent dyer) the yardage for the ball or skein is listed.
Let’s use my adult hat as an example since that’s the one I wrote the pattern instructions for:
The Merino Yak Alpaca I used from Lion Brand is an 50 gram ball with 126 yards. 126/50=2.52 yards per gram.
The Handmade Home Fibers hand dyed yarn is a 100 gram skein with 231 yards. 231/100=2.31 yards per gram.
2.52-2.31=0.21 yards per gram difference
I try to make sure any yarns I’m blending within one project like this are absolutely no more than 0.5 yards per gram difference from each other. The lower this number is, the closer these comparative yarns will be in gauge, resulting in a seamless finished project!

PATTERN
- Get the ad-free, large print, printable PDF pattern HERE.
- Grab the Ultimate Pattern Bundle that includes 150+ patterns just like this one on sale for $20 today HERE.
- PIN this pattern to your Pinterest boards for later HERE.
Description
An easy crochet hat made from a rectangle! Simple color change techniques give you a clean line and the textured stitches make a stretchy knit-like fabric. Made in 7 sizes from preemie to large adult.
Yarn
COLOR 1
–Lion Brand – Merino Yak Alpaca
(weight 3 / light, 1.75oz/50g, 126yds/115m)
Colorway: DUSTY PINK
See yardage via table below
COLOR 2
–Handmade Home Fibers – Classic DK
(weight 3 / light, 3.5oz/100g, 231yds/211m)
Colorway: MARSHMALLOW
See yardage via table below
Notions
–Fur Pom Pom (optional)
Gauge
18 sts x 13 rows = 4” in pattern (blo hdc)
Sizing
| head circumference (“) | |
| preemie | 12 |
| baby | 14 |
| toddler | 16 |
| child | 18 |
| tween | 20 |
| adult small | 22 |
| adult large | 24 |
Notes
–See chart above to choose the size hat you’d like to make! If between sizes I recommend sizing down as this hat is very stretchy!
-See chart within pattern below to determine your number of foundation chains (A), after how many stitches to change color (B), row stitch count (C), number of total row repeats (D).
-The yarn recommendations in the materials list match my hat and the pictured hat is the Small Adult size.
-Ch 2 at beginning of each row does not count as a stitch.
-Use light weight yarns following the yardage chart below. See “Yarn & Substitution” section above for additional guidance.
| Color 1 | Color 2 | total yardage | |
| preemie | 24 | 11 | 35 |
| baby | 32 | 16 | 48 |
| toddler | 42 | 20 | 62 |
| child | 54 | 26 | 80 |
| tween | 66 | 32 | 98 |
| adult small | 80 | 38 | 118 |
| adult large | 95 | 45 | 140 |
DIP DYE CROCHET HAT
With Color 1 Ch A changing to Color 2 after B chs, sk 2 sts.
Row 1: Hdc across changing to Color 1 when you come to it, turn <C>
Row 2: Ch 2, blo hdc across changing to Color 2 when you come to it, turn <C>
Row 3: Ch 2, blo hdc across changing to Color 1 when you come to it, turn <C>
Repeat rows 2-3 until you’ve finished D rows.
Finish off leaving long tails for sewing.
| A (chs) |
B (change color) |
C (sts per row) |
D (rows) |
|
| preemie | 26 | 16 | 24 | 34 |
| baby | 30 | 19 | 28 | 38 |
| toddler | 34 | 21 | 32 | 44 |
| child | 38 | 24 | 36 | 50 |
| tween | 43 | 27 | 41 | 56 |
| adult small | 47 | 30 | 45 | 60 |
| adult large | 51 | 33 | 49 | 66 |
Assembly
Fold rectangle with short sides together making a rough square shape.
Seam Color 1 section foundation chain and last row with a mattress stitch. Weave ends.
Seam Color 2 section foundation chain and last row with a mattress stitch. Continue to crown gathering without breaking yarn..
Gather the crown by sewing a whip stitch around the selvedge edge through every other row as pictured. Pull yarn to cinch the crown after sewing all the way around. Secure by sewing across the cinched top a few times. Weave ends.

Turn hat right side out and cuff brim. You may sew in place but I didn’t find it necessary.
Attach faux fur or yarn pom pom to center of cinched top.
Abbreviations (US terms):
blo – back loop only
ch – chain
hdc – half double crochet
st(s) – stitch(es)
<> – stitch count
OTHER FREE BEGINNER HAT PATTERNS

Beautiful…thank you for this lovely pattern and your video was spot on and easy to follow. Again, thank you!
I crochet for a local pregnancy center. Last year I must have tried 5-6 hat patterns, just didn’t find THE one- until now! OHMYGOODNESS what a wonderful hat!! I really like the stretch, the polished look, the color blocking. You’re right; it’s absolutely satisfying! Thank you so much ! (FYI: Thread the ends of your pompoms through a button on the wrong side of your hat then tie it. This stabilizes the pom and makes it easy to remove for washing.)
Ooh that sounds like a great tip thanks! I was wondering how the pom stayed secure.
I had to let you know what I learned when reading the pattern for this lovely hat today. Most designers are not precise about closing the top of a hat. The stitches are usually widely spaced & like a basting stitch. My hats look terrible. Your instructions caught my attention because they were different. You use a whip stitch & called for a stitch every other row. I was working on another hat so I thought I’d try your way. That is the neatest closure I’ve ever done on a hat. Perfect!
Thanks so Happy to do this pattern. blessings
I love the colors you chose in the pictures, especially the pink! The handmade yarn looks very clean and soft. What does it feel like when working with it? I’m a designer and might have to try some out for a few things! Beautiful work, yarn, and pattern!
http://www.sunflowercottagecrochet.com
What a beautiful and simple hat this is, and the huge fluffy pompom is the perfect finishing touch!