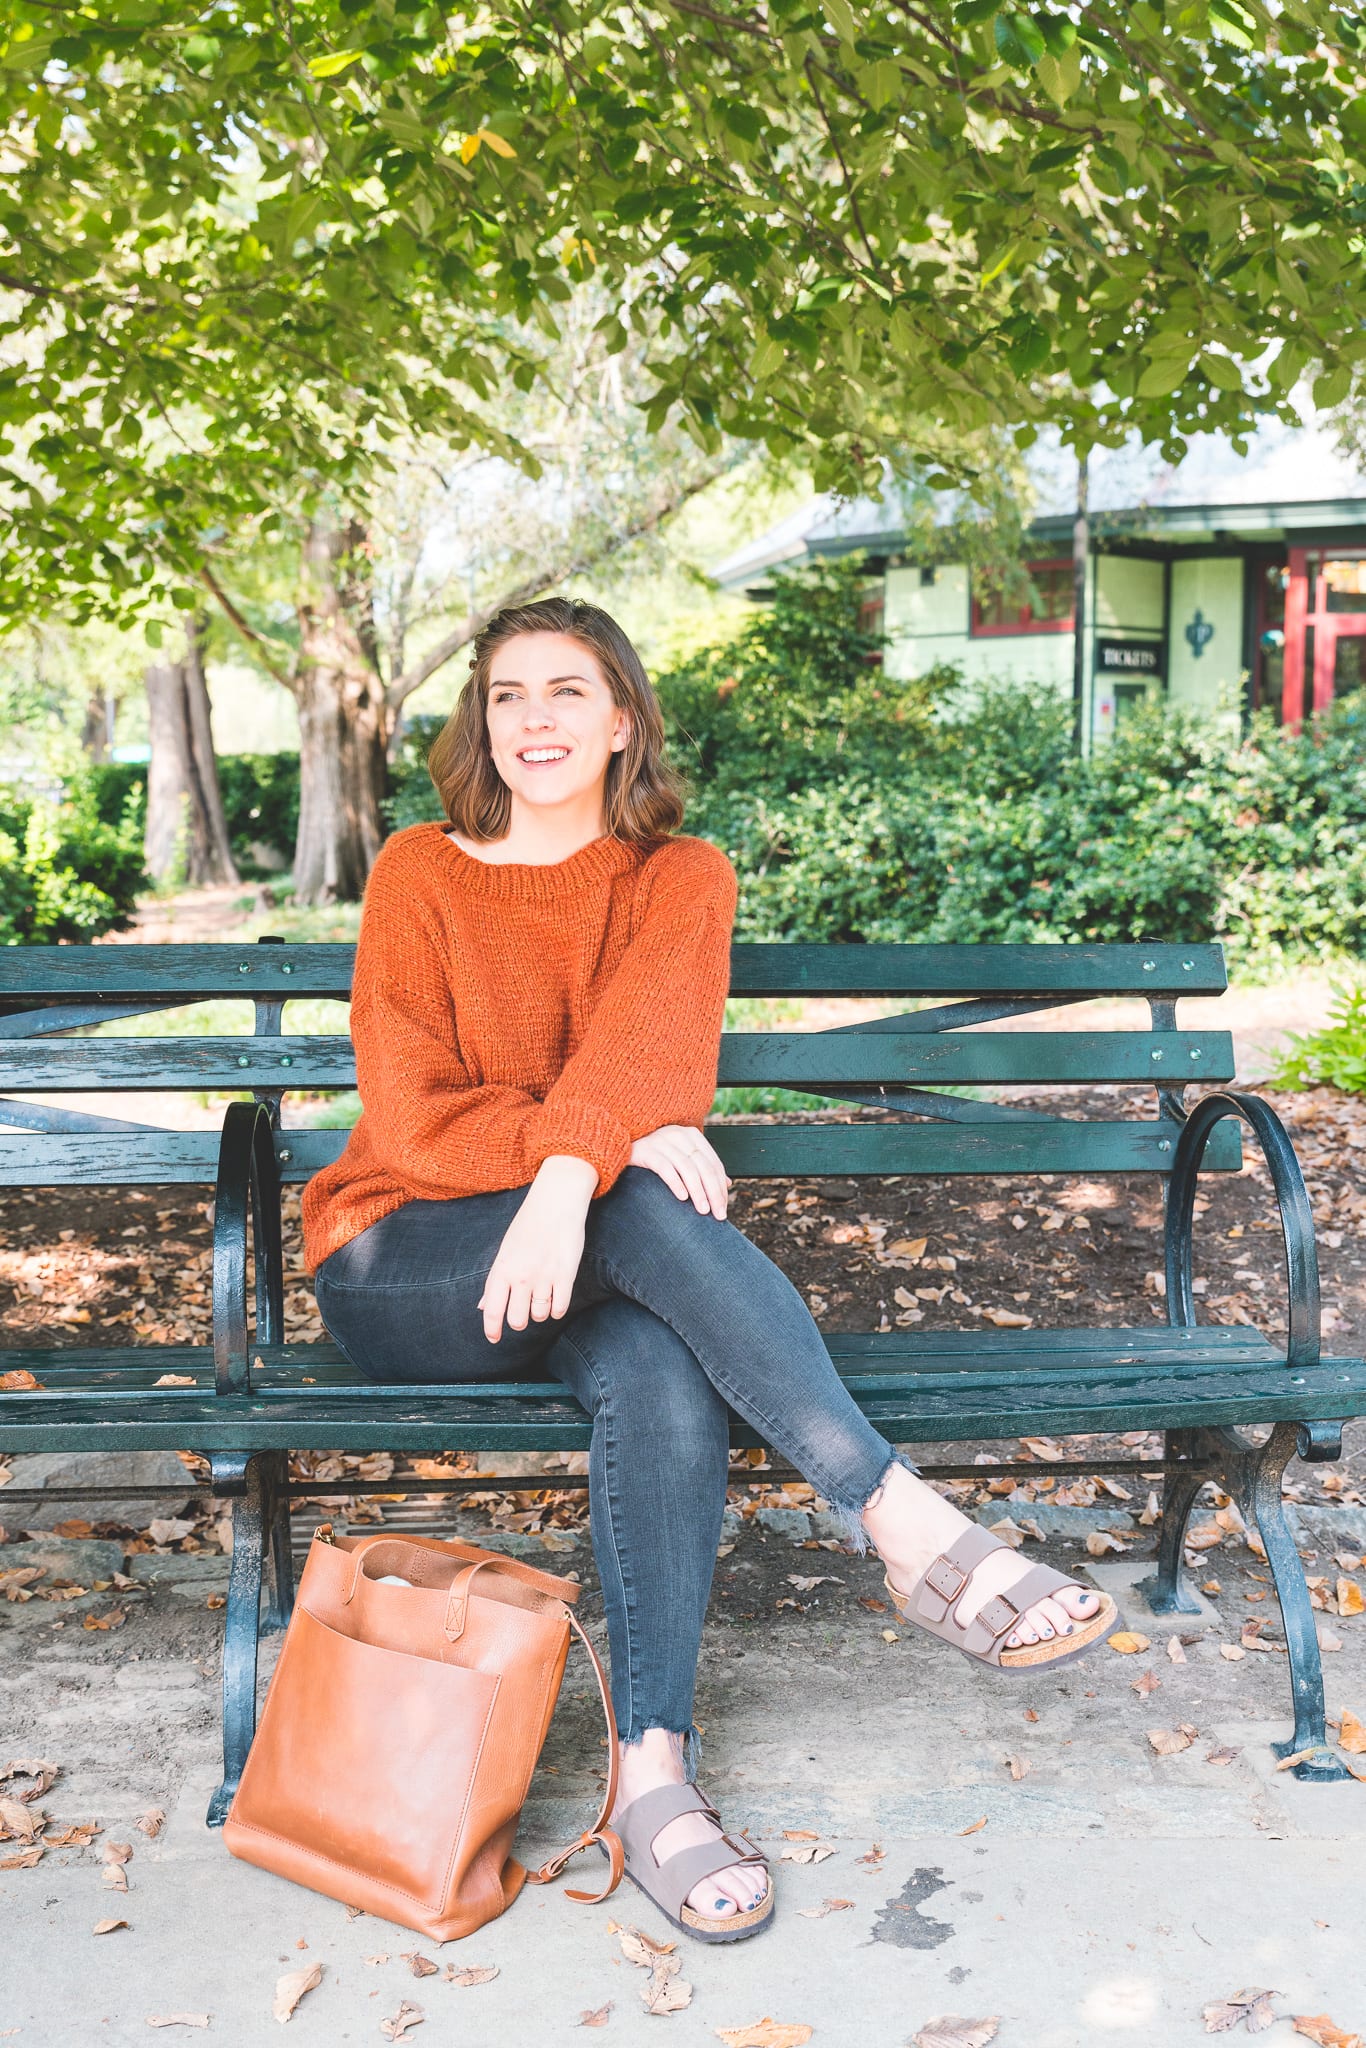
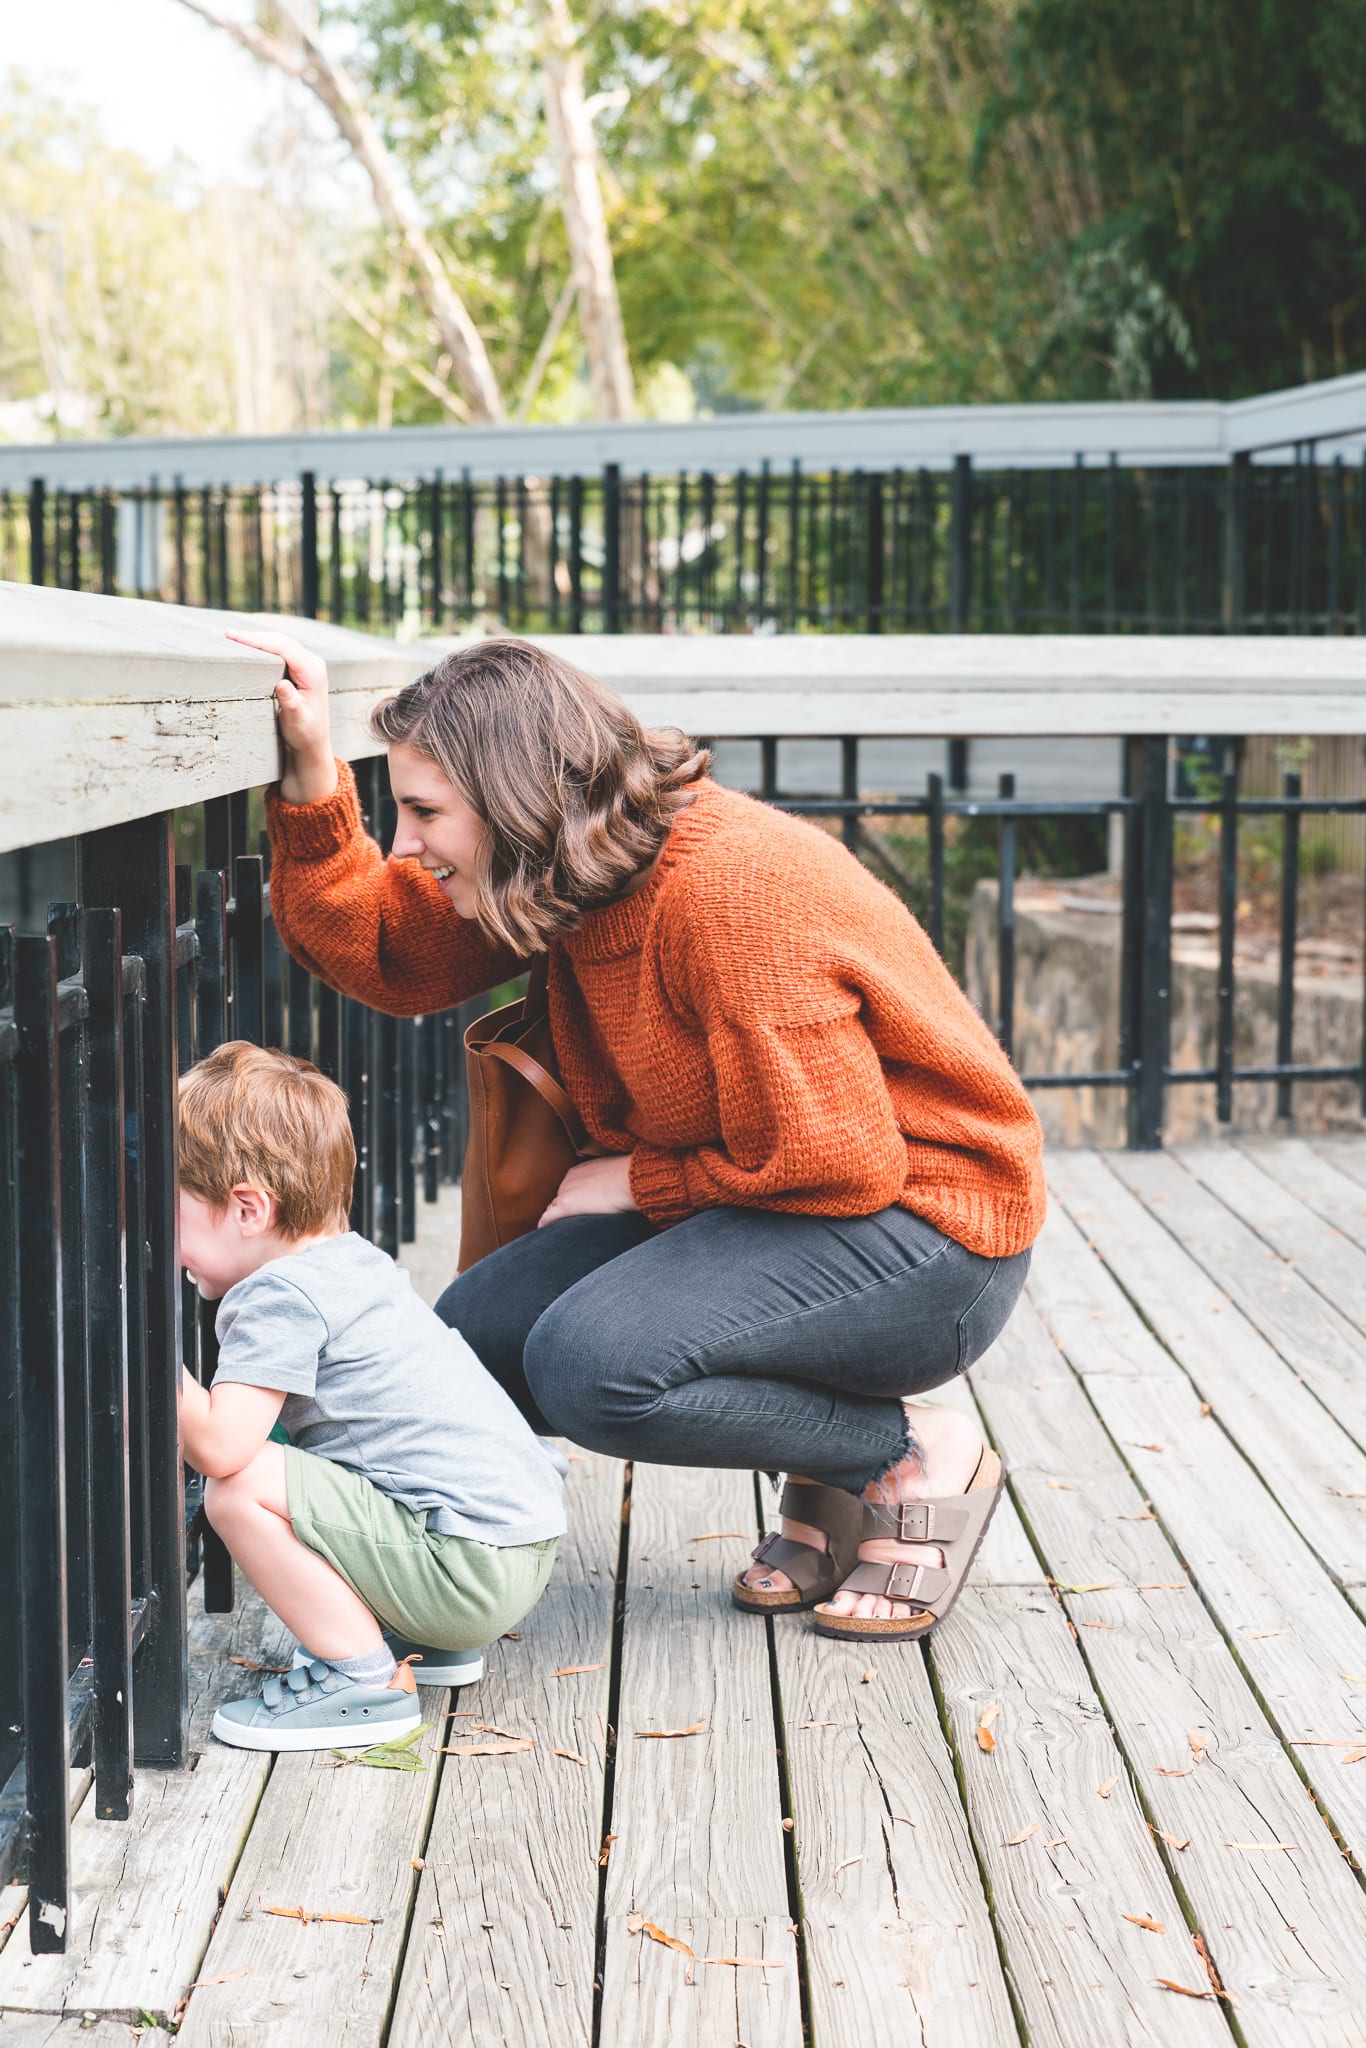
A sweater worth loving – my Knit Oh My Gourd Sweater – is a free pattern here on the blog!
Read through my inspiration, design process, and lots of info on the perfect yarn I chose, or scroll on down for the free pattern.

The Inspiration + Design
I’ve always wanted to make a pumpkin colored sweater. One that I would pull out every year to signal the first seasonal change to fall. Turning leaves, a brisk chill in the air, some apple cider and my pumpkin colored sweater.
With that in mind, I knew I wanted my sweater to be warm but light so that I could layer it with lighter shirts underneath or a jacket on top for when the temperature changes. I also wanted this sweater to be oversized and comfy – knowing that I usually catch a cold this time of year I needed something extra cozy!
So I built that comfort right into the sweater. I chose a fluffy yarn and worked plenty of inches of room into the design and I’m so happy with the result!


The Yarn
I’ve loved Lion Brand’s LB Collection Chainette yarn since it came out last year (I’ve already made a hat and a shawl with it!) so I knew a knit sweater in this yarn would be dreamy.
I was picky about this sweater being the *right* shade of pumpkin. Not too red, not too yellow, not too bright orange. And this Amber color of Chainette really, truly, is everything I wanted! It’s vibrant but muted and heathered and gorgeous. It’s everything I wanted and I couldn’t be happier with my new sweater!
All the colors of Chainette are truly gorgeous – I rarely love every single color in a yarn line but with this one, I really do! So even if you aren’t looking for an orange sweater, try out another color because the fluff and lightweight warmth of this yarn is unmatched.


PATTERN
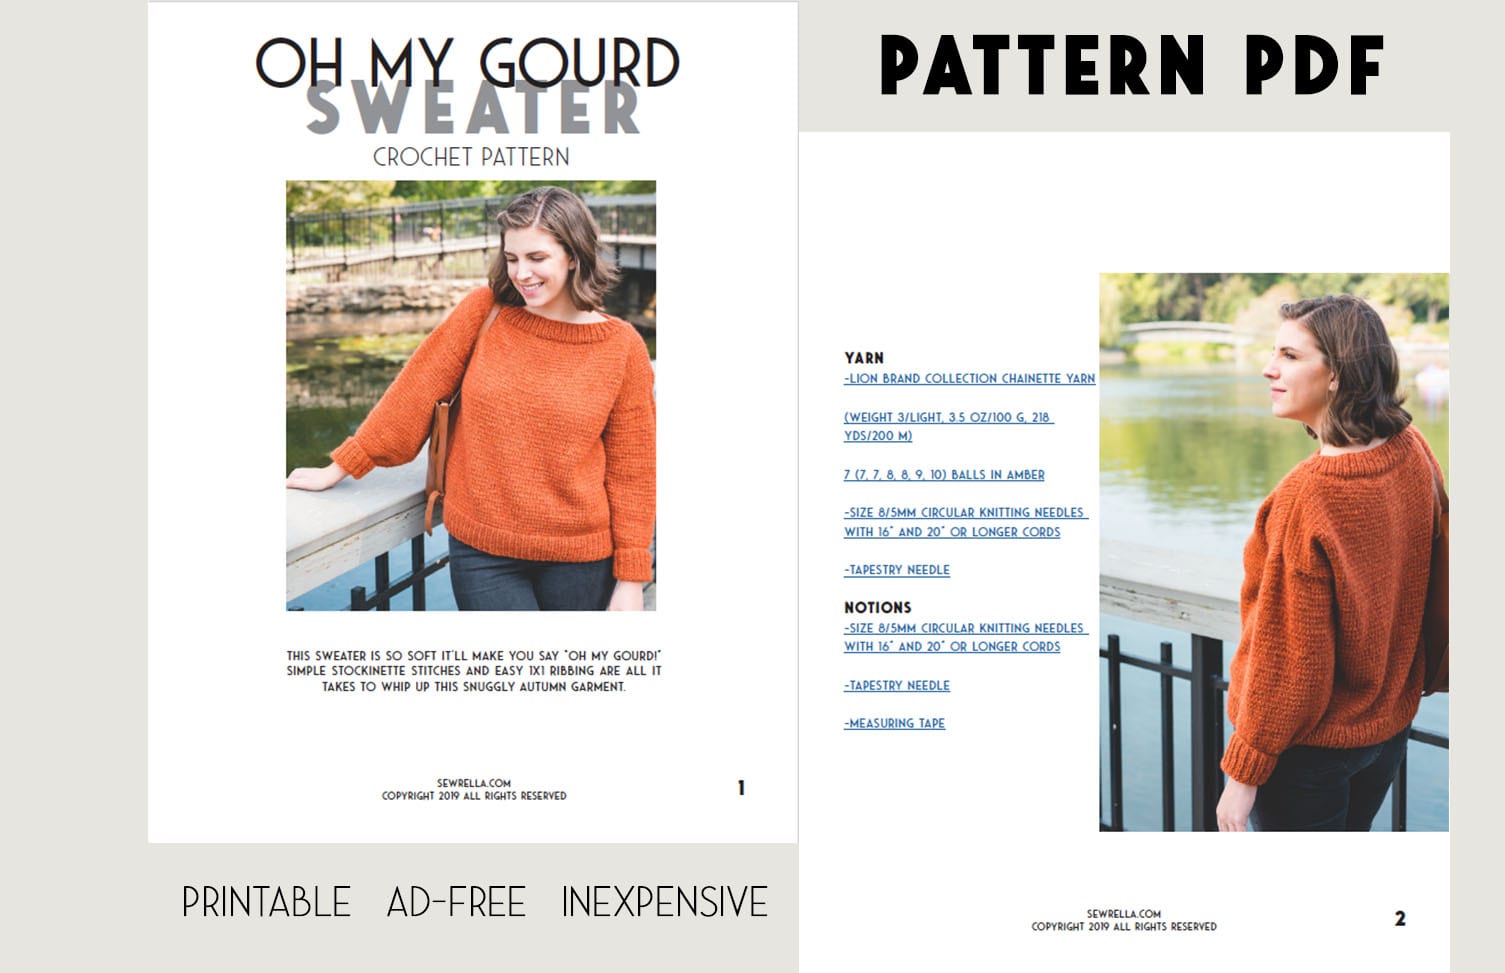
- Get the ad-free, large print, printable PDF pattern HERE.
- Grab the Ultimate Pattern Bundle that includes 150+ patterns just like this one on sale for $20 today HERE.
- PIN this pattern to your Pinterest boards for later HERE.
- Add this pattern to your Ravelry queue HERE.
DESCRIPTION
This sweater is so soft it’ll make you say “oh my gourd!” Simple stockinette stitches and easy 1×1 ribbing are all it takes to whip up this snuggly autumn garment.
MATERIALS
–Lion Brand Collection Chainette Yarn
(Weight 4/Medium, 1.75 oz/50 g, 131 yds/120 m)
7 (7, 7, 8, 8, 9, 10) balls in Amber
Grab the kit that includes a printed copy of the pattern here!
–Size 8/5mm circular knitting needles with 16” and 20” or longer cords
SIZES
XS, S, M, L, XL, 2XL, 3XL
GAUGE (after blocking)
15 sts x 20 rows = 4″ in stockinette stitch
FINISHED SWEATER MEASUREMENTS
| XS | S | M | L | XL | 2XL | 3XL | |
| Bust | 32 | 36 | 40 | 44 | 48 | 52 | 56 |
| Length | 20 | 21 | 22 | 22.5 | 23 | 23.5 | 23.5 |
| Armhole | 6.5 | 7 | 7.5 | 8 | 8.5 | 9 | 9.5 |
| Sleeve length | 16 | 16.5 | 16.5 | 17 | 17 | 17.5 | 17.5 |
PATTERN NOTES
-For reference, model is 5’5” tall, and wearing the Knit Oh My Gourd Sweater in a size Medium. Fit is oversized, for a more fitted sweater size down.
-The gauge, size, and fit of this finished sweater is largely impacted by blocking. I steam block (steam the panels before seaming with an iron on the steam setting or a clothing steamer) and again after the piece is finished. Be sure to block your swatch.
-Sizing listed in the pattern will be in X-Small with Small, Medium, Large, Xl, 2X, and 3X listed in parenthesis such as 72 (82, 90, 100, 108, 118, 126) whereas co 72 for size XS, 82 for size S, 90 for size M, 100 for size L, 108 for size XL, 118 for size 2X and 126 for size 3X. When only one number is given, it applies to all sizes. To follow pattern more easily, circle/highlight all numbers pertaining to your size before beginning.
-This pullover sweater is worked in 4 pieces, the front and back panels, 2 sleeve panels then seamed together. Neckline ribbing is worked last by picking up stitches.
-All sizing is a bit oversized and based on the CYC sizing regulations.

OH MY GOURD SWEATER PATTERN
BACK PANEL
Co 72 (82, 90, 100, 108, 118, 126) sts
Ribbing
Rows 1-16: K1, P1, rep across
Body
RS Row: K across
WS Row: P across
Work even until your panel is 18 (19, 20, 20.5, 21, 21.5, 21.5)” from ribbing or until you’ve completed 90 (96, 100, 102, 106, 108, 108) rows of stockinette stitch
Cast off all sts

FRONT PANEL
Co 72 (82, 90, 100, 108, 118, 126) sts
Ribbing
Rows 1 – 16: K1, P1, rep across
Body
RS Row: K across
WS Row: P across
Work even until your panel is 18 (19, 20, 20.5, 21, 21.5, 21.5)” from ribbing or until you’ve completed 80 (86, 90, 92, 96, 98, 98) rows of stockinette stitch.
Continue to shoulder shaping without breaking yarn.
SHOULDER SHAPING
Split for Shoulders
Row 1 (RS): K 21 (24, 27, 30, 32, 35, 38) sts, bind off 30 (34, 36, 40, 44, 48, 50) sts for the neckline, K remaining 21 (24, 27, 30, 32, 35, 38) sts for the other shoulder.

Side #1
Row 2 (WS): P 19 (22, 25, 28, 30, 33, 36), P2tog TBL, leave remaining sts on the needle unworked (finish one shoulder at a time)
Row 3: K across
Row 4: P until 2 sts remain, P2tog TBL <19, 22, 25, 28, 30, 33, 36>
Rep Rows 3-4 three more times.
Cast off all sts on that shoulder side.
Side #2
Row 2 (WS): Join yarn to other WS shoulder at what will become the neckline, P2tog first 2 sts remaining on the needle, P remaining 19 (22, 25, 28, 30, 33, 36) sts
Row 3 (RS): K across
Row 4: P2tog, P remaining sts <19, 22, 25, 28, 30, 33, 36>
Rep Rows 3-4 three more times.
Cast off all sts.
SLEEVES
*make 2
Co 28 (30, 32, 34, 36, 38, 40) sts
Ribbing
Rows 1 – 16: K1, P1, rep across
Body
Row 11 (RS): KFB, K to last stitch, KFB <30, 32, 34, 36, 38, 40, 42>
Row 12 (WS): P across
Rep Rows 11-12 until your stitch count reaches 54 (58, 64, 68, 72, 76, 80)

Continue working in stockinette (knit a row, purl a row) until your sleeve
measures 16 (16.5, 16.5, 17, 17, 17.5, 17.5)”
Cast off all sts.

SEAMING
Lie back panel with WS up, lie front panel on top with RS up.
Shoulder seams: Sew front shoulder shaping with a mattress stitch to back panel. Rep on other side.

Side seams: Leave a 6.5 (7, 7.5, 8, 8.5, 9, 9.5)” armhole from the shoulder seam, mattress stitch from the bottom of the armhole to the end of the ribbing. Rep on other side.
Weave all ends.

Sleeve seams: With right sides together folded lengthwise (hot dog style), sew selvedge edge with a whip stitch. Continue sewing last row of sleeve to armhole with WS (sleeve and body) facing out.

Turn sweater right side out.
NECKLINE RIBBING
Pick up sts evenly around neckline – beginning with one shoulder seam.
The final stitch count here isn’t as important as working evenly around – make sure to work into the cast off of each stitch as well as evenly along decreases and shoulder seams. Be sure you pick up an even number of stitches.
Ribbing
Rows 1 – 10: K1, P1, rep across
Cast off, weave all ends.

Abbreviations (US Terms):
co – cast on
k – knit
K2tog – knit two together
Kfb – knit front back
p – purl
P2tog TBL – purl 2 together through the back loop
rep – repeat
rs – right side
st(s) – stitch(es)
ws – wrong side
OTHER FREE SWEATER PATTERNS FOR FALL


i think the info you have might be incorrect about the LB collection chainette based on their website info.: http://www.lionbrand.com/lb-collection-chainette-yarn.html whereas you typed this: “(Weight 3/Light, 3.5 oz/100 g, 218 yds/200 m)” below the link.
Does this Oh My Gourd sweater come in a crochet pattern?
Hello,
Just an FYI…. I tried to use the click HERE link tonpin to Pinterest but what comes up in the Gingham sweater. Which is lovely too, so I pinned it!!
It’s so lovely ????????????
This looks so nice!
If we made it with a different yarn (same weight) would it turn out the same? The chainette is pretty expensive and I’m wondering if it would work with an acrylic yarn to bring the price down.
Totally! Personally I would choose something with some amount of halo or fuzz to it to get a similar effect as chainette but another worsted weight is totally doable for this pattern!