If you’re in search of an easy, 15 minute craft that’s a guaranteed crowd-pleaser – check out my Easy DIY Yarn Wall Hanging!
I’ll keep this short & sweet, but scroll down a bit if you want the full tutorial & list of materials from JOANN.
JOANN COLLAB PROJECTS I LOVE (& you should too)

1. Crochet Lil Denim Cardi / 2. DIY Pom Pom Earrings / 3. Crochet Pucker Pullover Sweater
The Design
I was initially inspired by a lot of intricate wall hangings I’ve seen all over Pinterest and Instagram over the last few years – but I don’t have time in my life to learn complex macrame knots (because toddlers). I also have tons of scrap yarn hanging around from various projects & promotions & I wanted to do something fun with them!
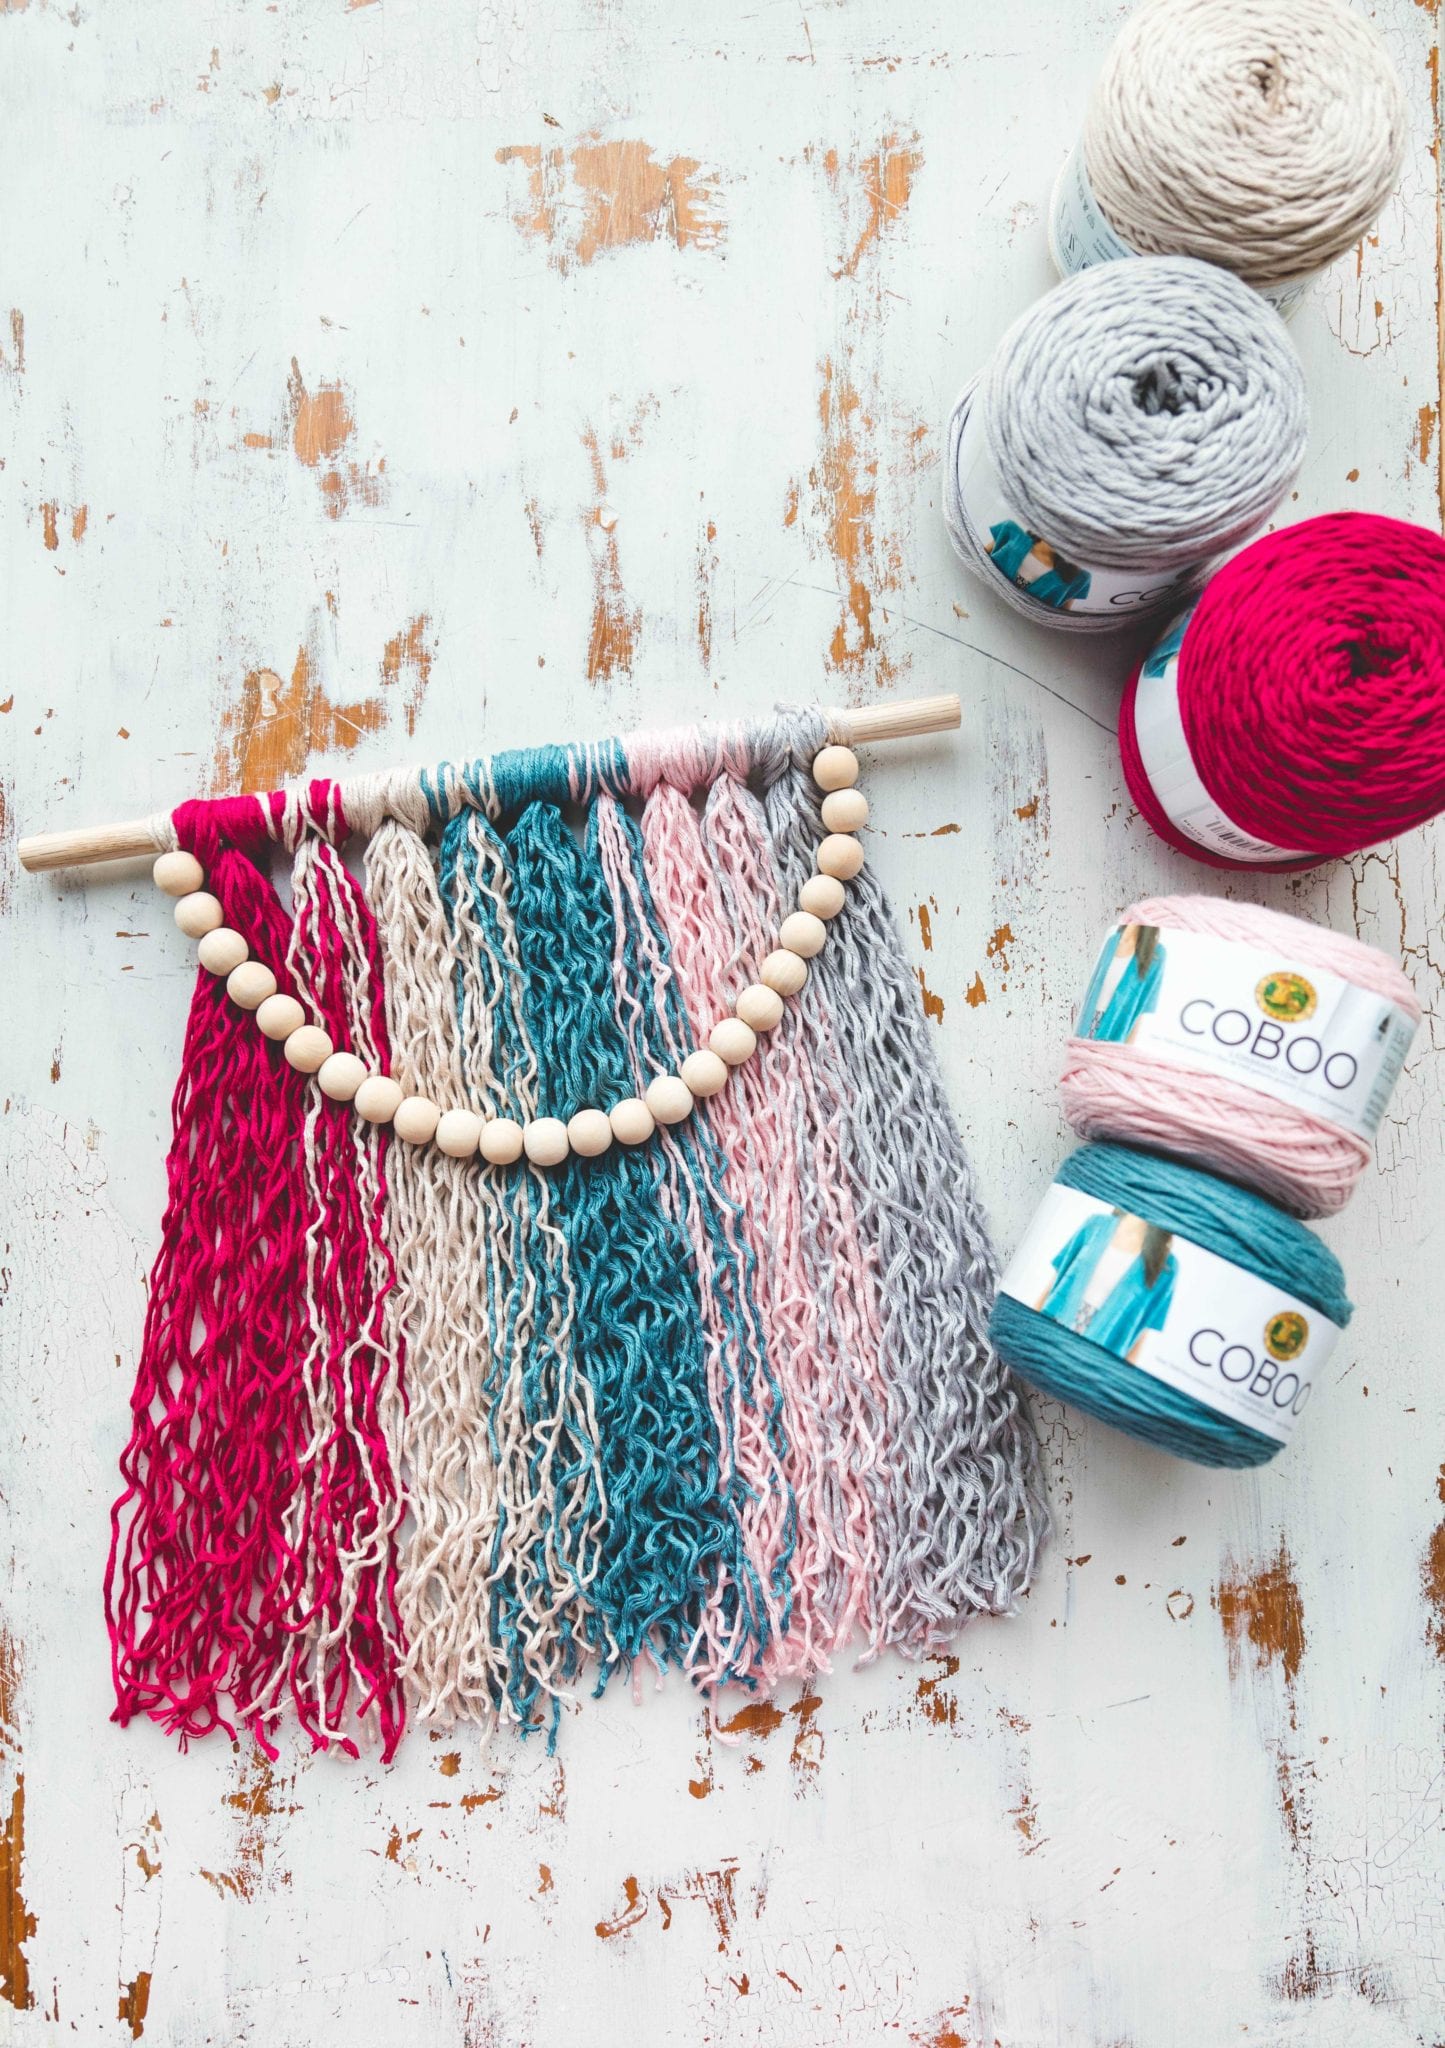
I love the look of yarn that’s a bit scrunched from sitting in the center of a ball of yarn and although this crinkled look isn’t great for knitting and crocheting – I think it gives a nice bounce and life to a simple knotted wall hanging.
I wanted to add a simple, sort of rustic design element to the hanging without creating a lot of fuss. When I was browsing JOANN looking for wooden dowels, I saw this inexpensive little pack of wooden beads, perfect! I strung them on another scrap piece of yarn and tied it to the ends of the hanging. It gives the perfect bohemian finish, don’t ya think?
Make it!
I made a mini wall hanging (mostly so that you could see everything nicely on my little photography table) but I have lots of ideas on how to run with this concept to suit your needs:
- huge piece for above-the-couch decor
- several mini pieces in an ombré style hung on the wall in a row
- craft fair market signage/decor
- chalk paint & distress your wood elements for a shabby chic look
- nursery wall art
- holiday colors to match your tree
- tiny miniature versions using popsicle sticks for ornaments
You could also string your wooden beads in a long strand among the yarn, instead of draping in front. Get creative and have fun!
This is a great project to make with kids, especially around the holidays – just use red and white yarn to make a candy cane style wall hanging! You could even paint your wooden beads with metallic craft paint for a little shimmer.
The possibilities really are endless and I can’t wait to see how you customize it!

TUTORIAL
- PIN this project to your Pinterest boards for later HERE.
- Grab the Ultimate Pattern Bundle that includes 150+ patterns just like this one on sale for $20 today HERE.
Materials:
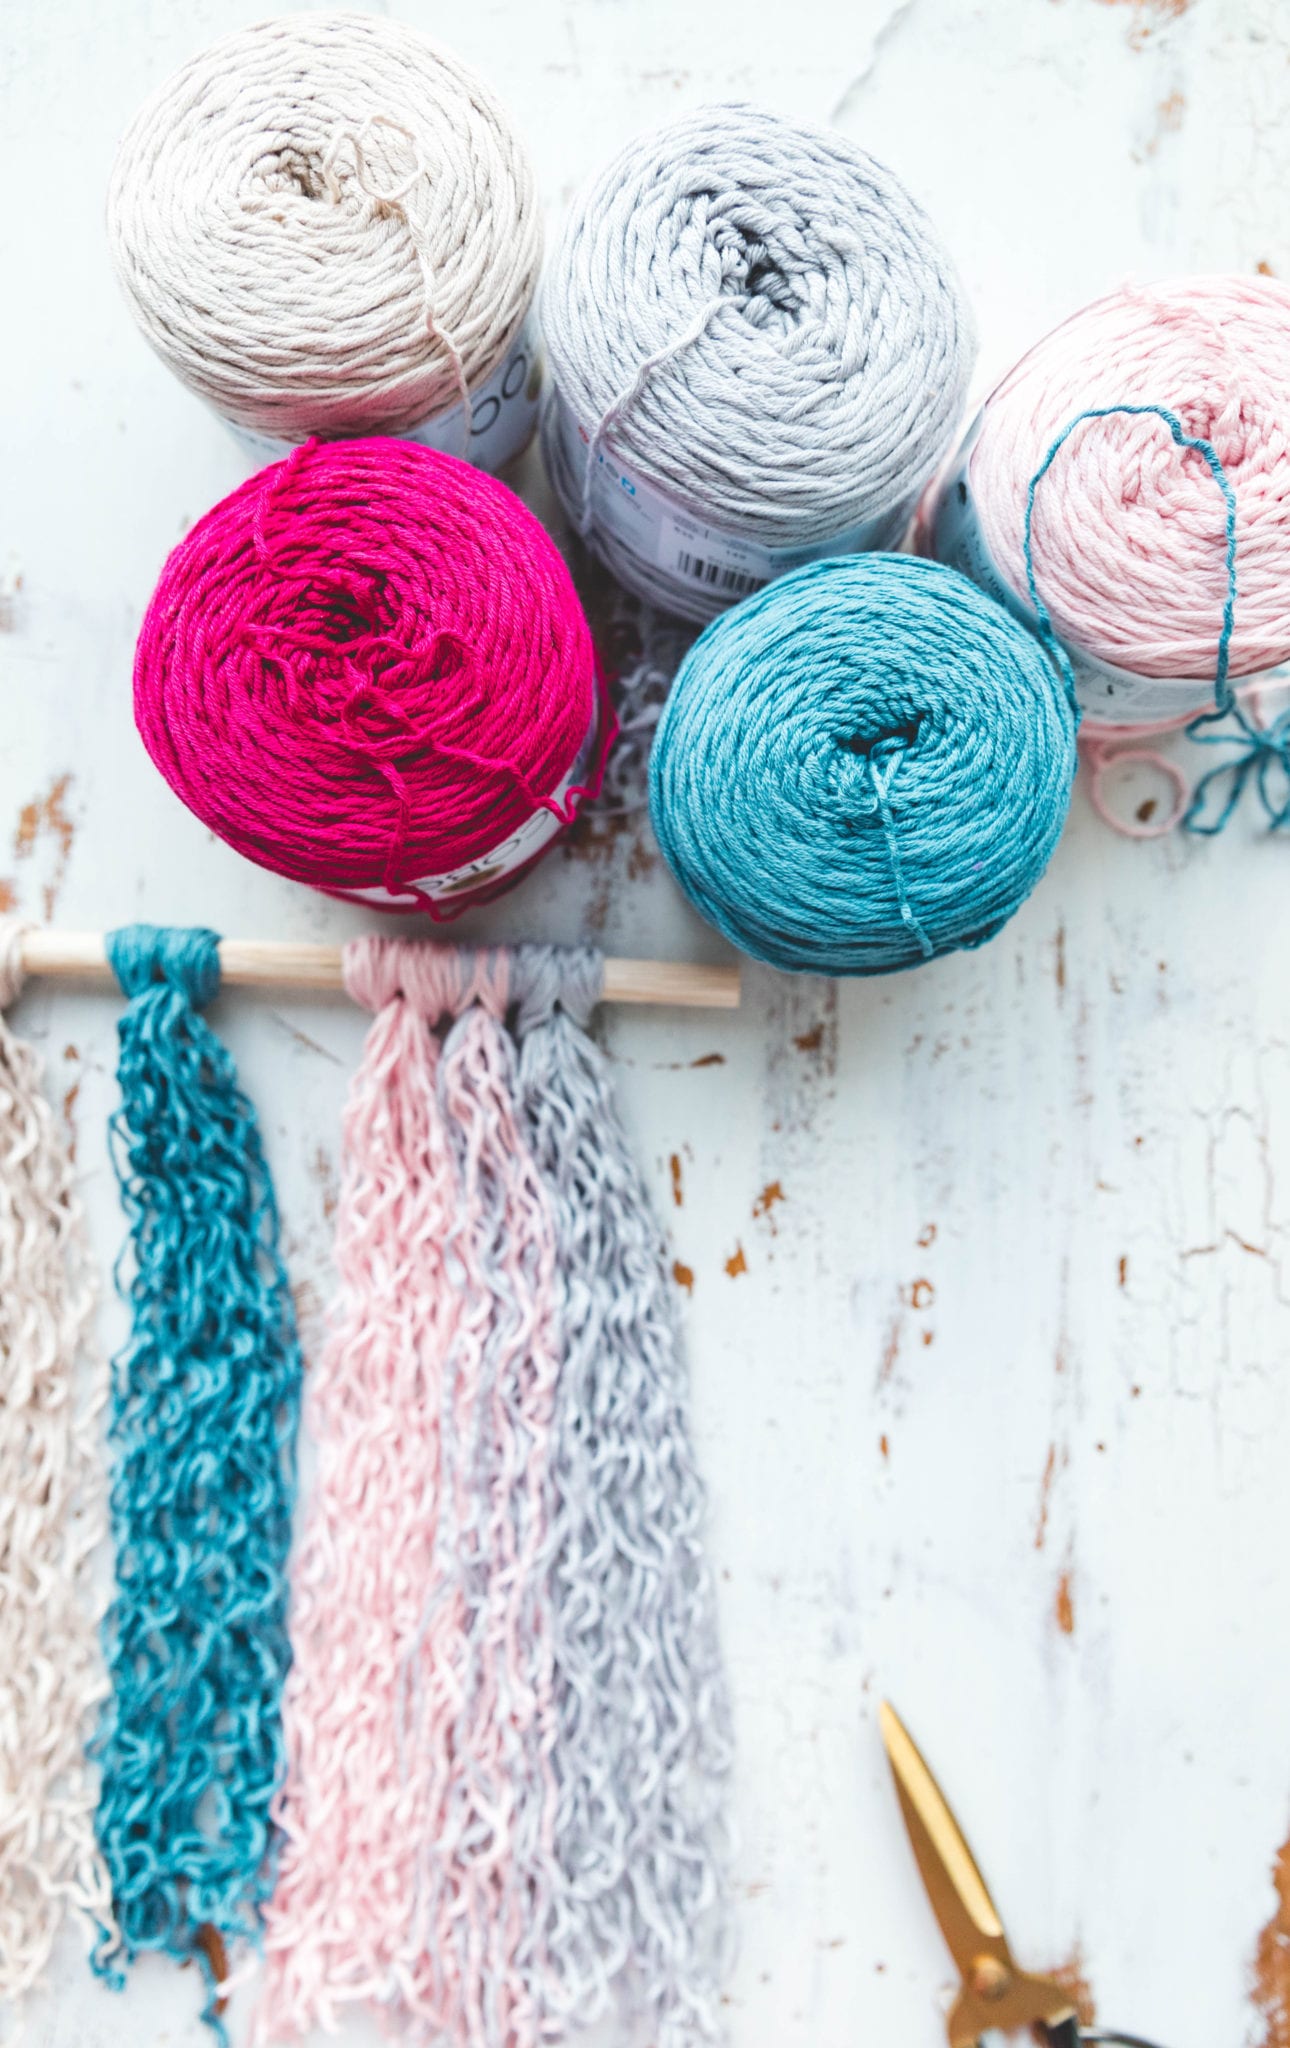
-Any scrap yarn (I used Lion Brand Coboo from JOANN)
-12″ Wooden craft dowels
–Sharp scissors (these are my favorites for cutting fringe!)
-25mm Wooden Beads
Difficulty Level:
Level 1 – Beginner
Easy DIY Yarn Wall Hanging
Measure your chosen wooden dowel, mine was 12″. All strands of yarn should be about double your dowel length or a little longer.
Cut each color of yarn to 24″ or your decided measurement. Pull from the center of your skein of yarn to get a crinkled look.
I cut 24 pieces of each color of yarn I am using.
Separate 16 strands of your first color, fold in half. Place loop under dowel as pictured.
Pull tails through loop.
Tighten knot.
Repeat with 16 strands of each color leaving space between (left pictured above).
To get a faded effect, hold 8 strands of each color (above, denim and blush) together and tie onto dowel in the same manner between your solid knots of denim and blush.
Repeat between all colors.
Thread an 18″ piece of yarn on a yarn needle and string wooden beads onto it.
Tie ends of beaded yarn onto the ends of your dowel.
Tie an additional piece of yarn onto the ends of your dowel beyond your beaded yarn to hang on the wall.
Earning a Living with my Handmade Home
If you love crocheting and knitting, you should think about starting a blog! I’ll help you get started to turn your hobby into a money-making career with my free “Start a Blog” guide.
Or you can check out my latest income report to see how this blog earned over $10,000 last month!
O would love to crochet and leave my present job. But to trully get to my current income seems impossible. Any tips starting from home and making it as lucrative as possible.
I have a series of tutorials on starting a lucrative crochet blog here on my website under the header tab “Start a Blog!”