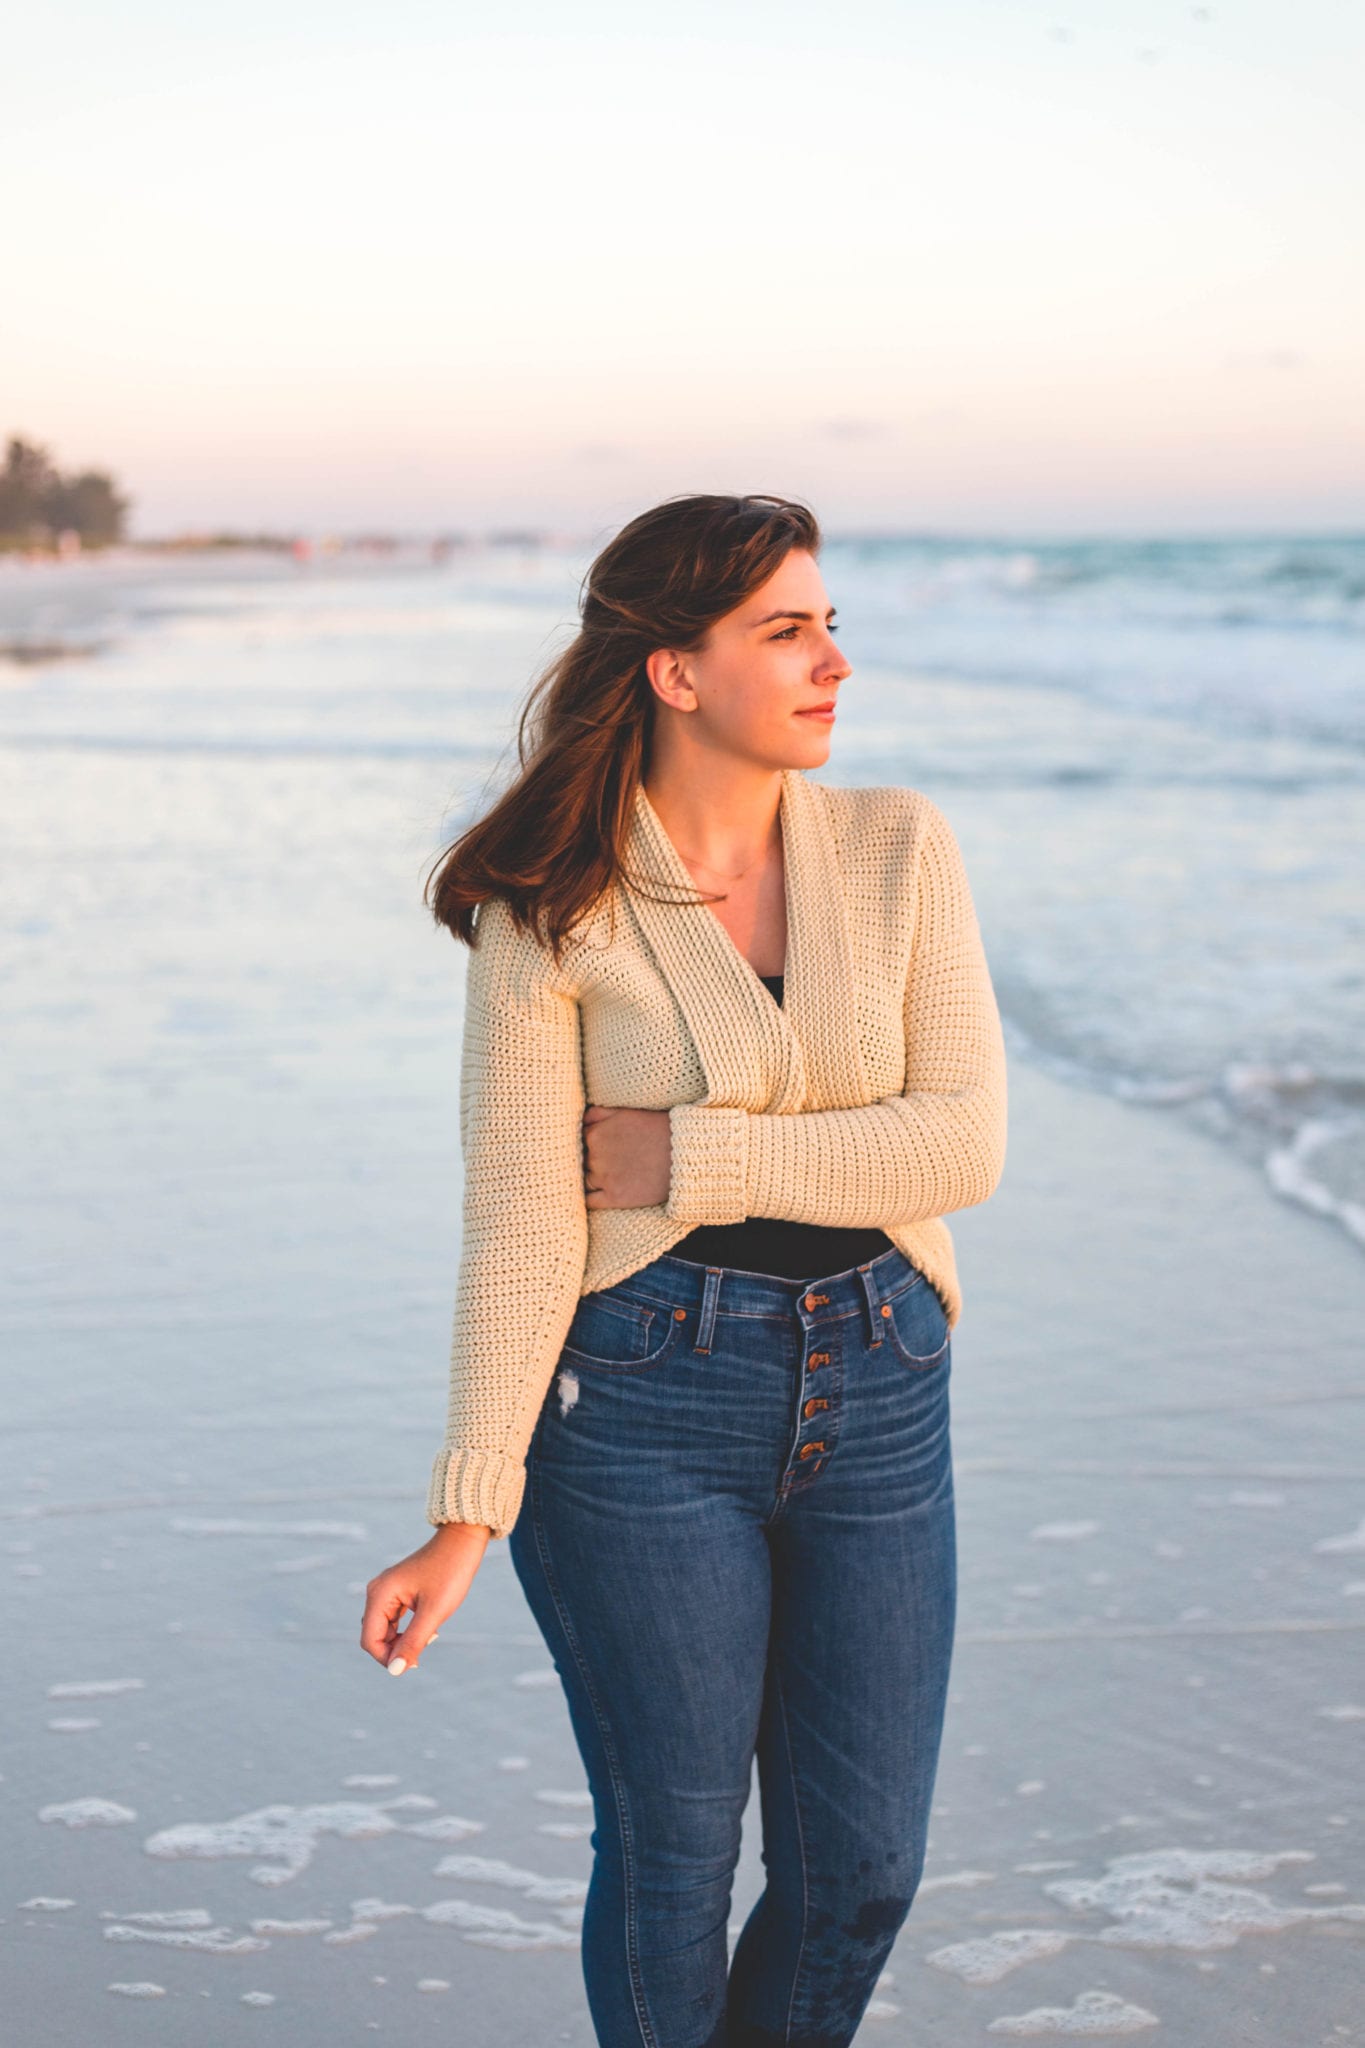
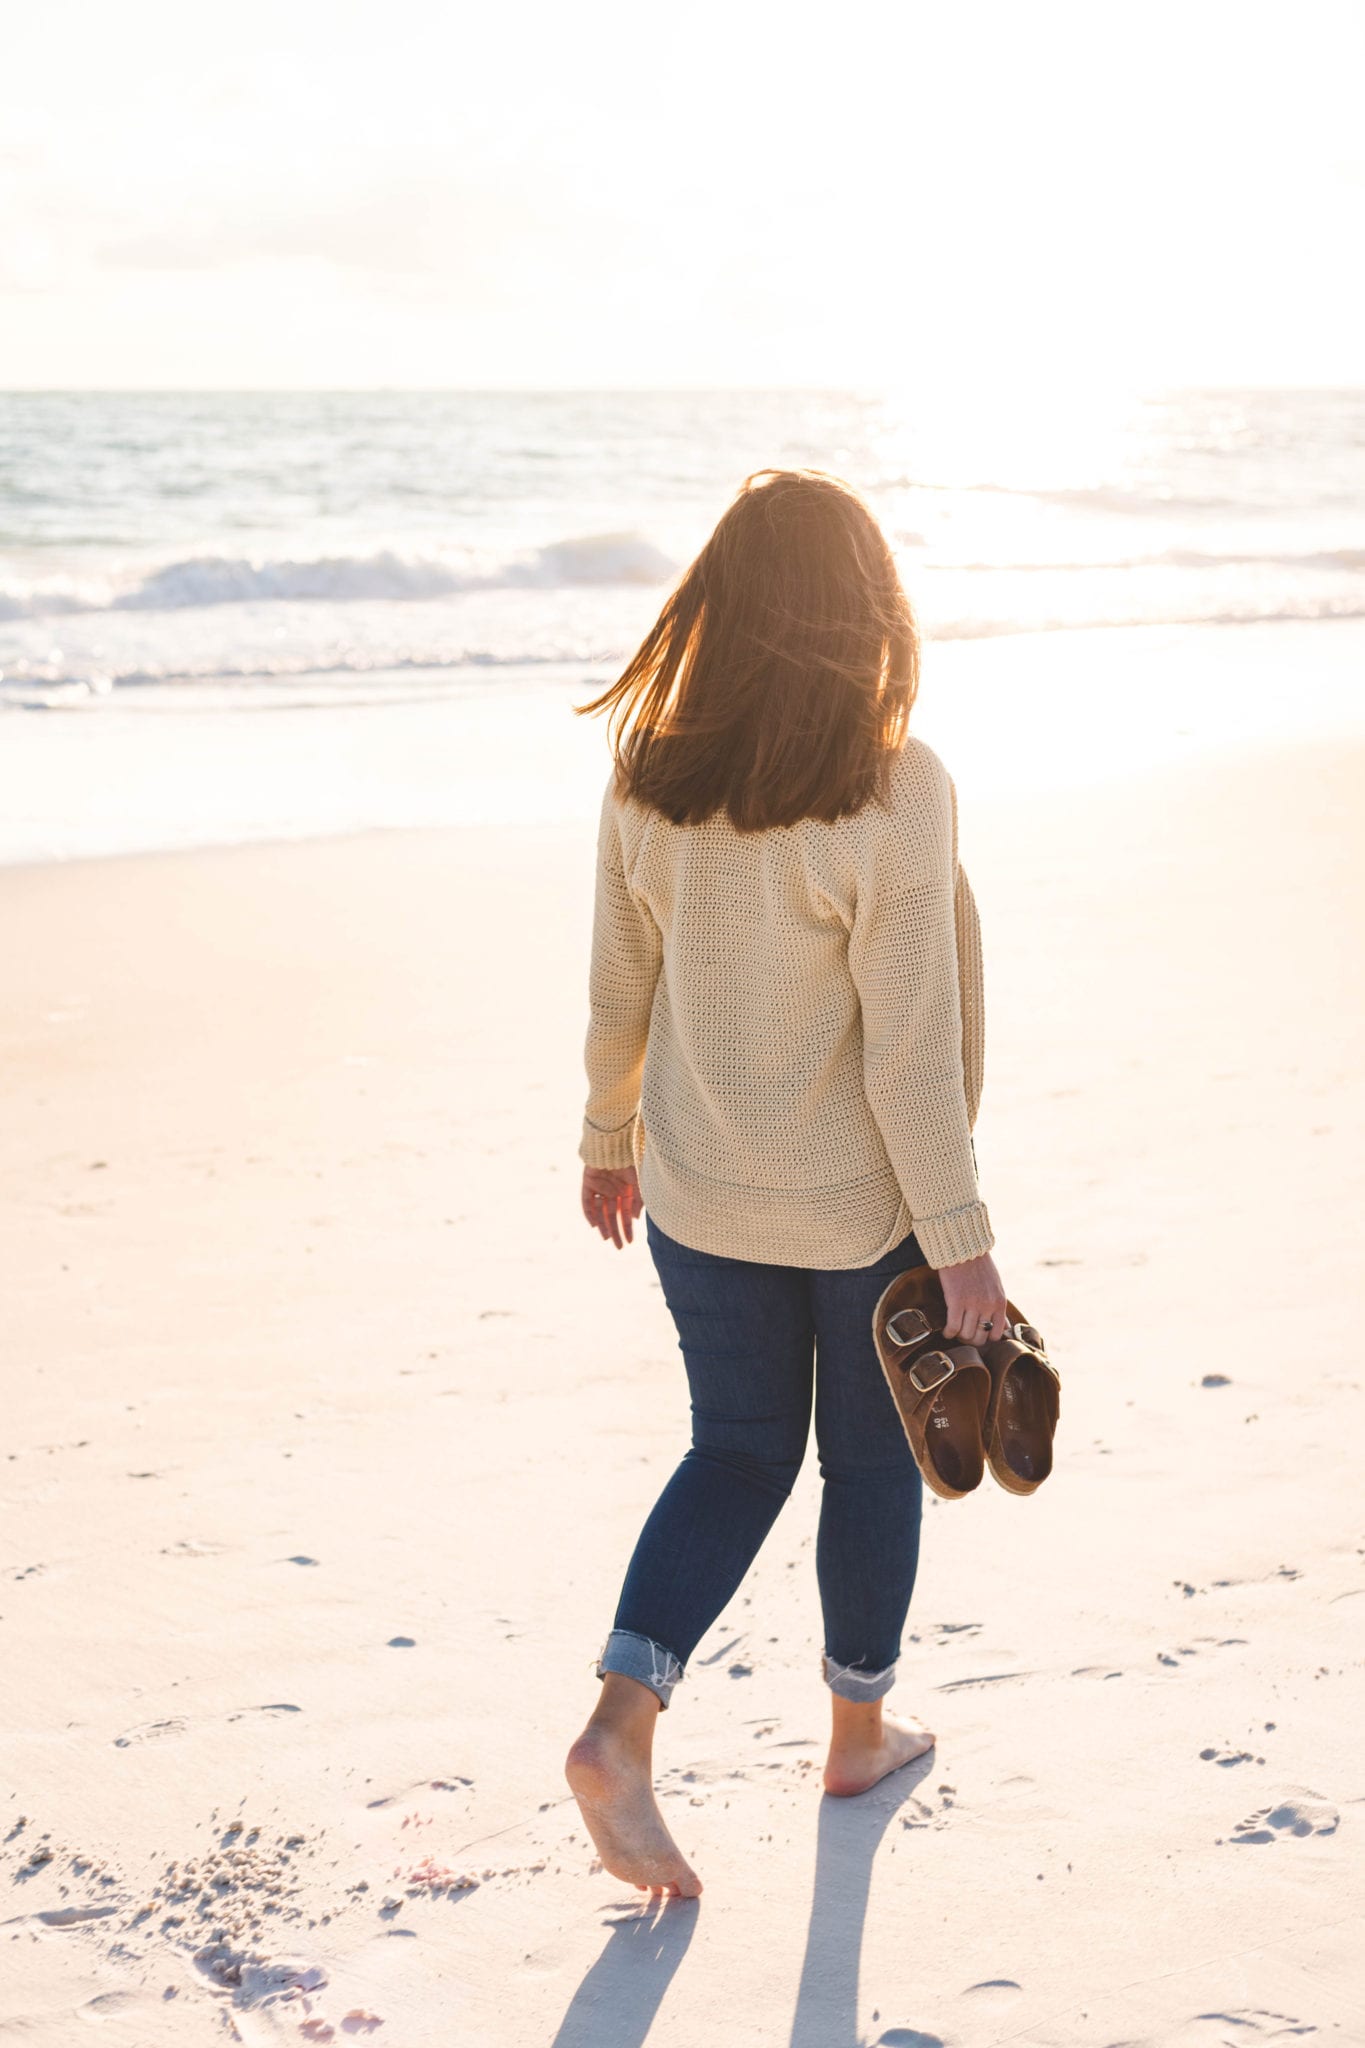
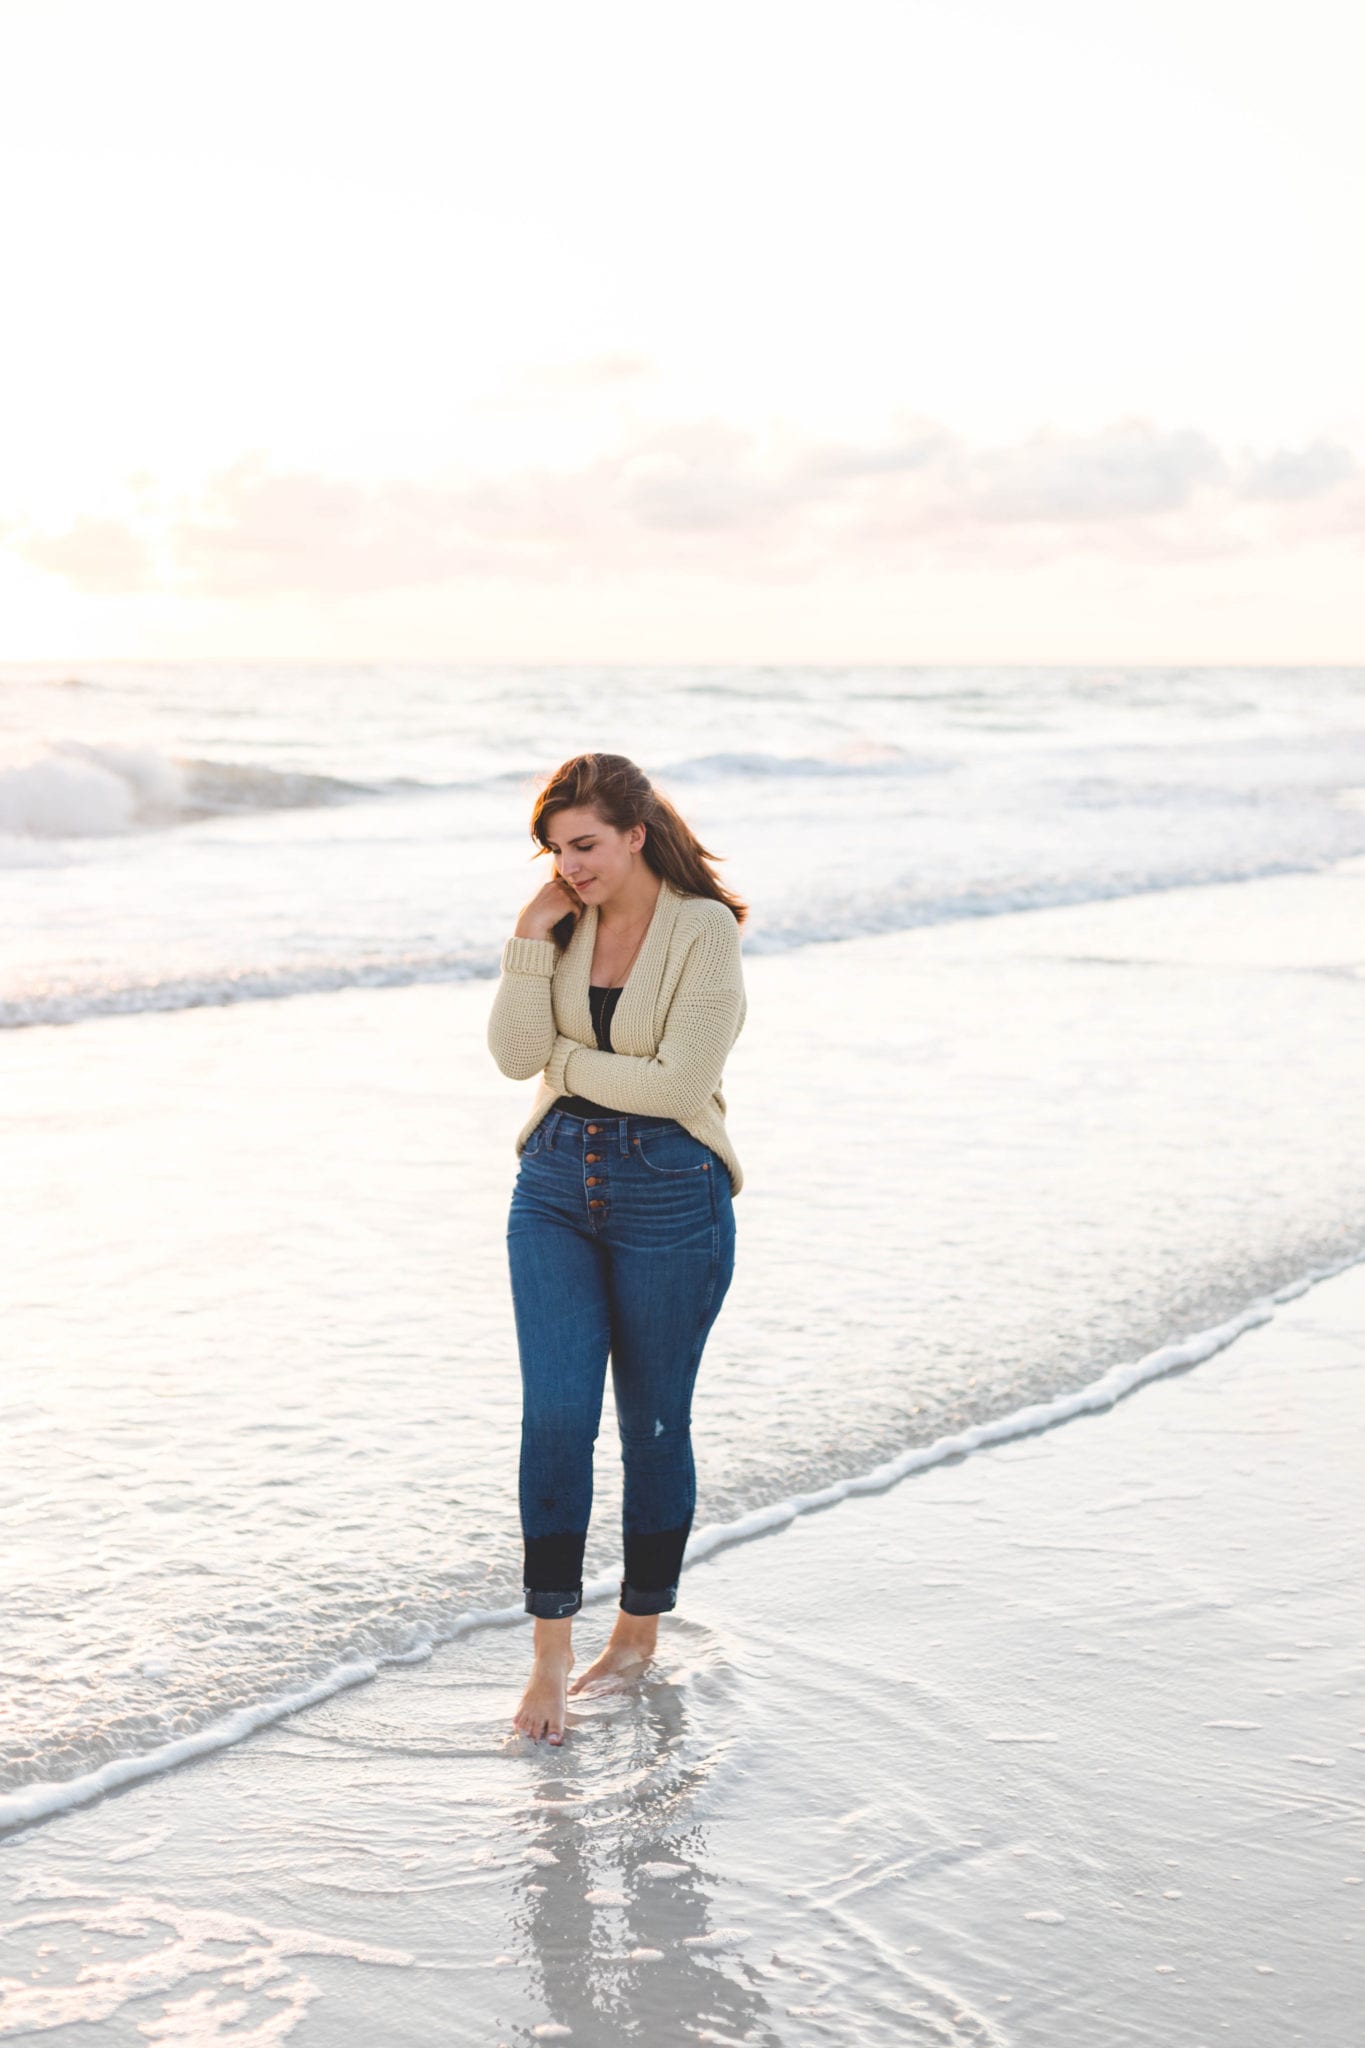
A sweater that’s perfect for summer – my Crochet Seaside Cardigan – is a free pattern here on the blog!
Read through my inspiration, design process, and lots of info on the perfect yarn I chose, or scroll on down for the free pattern.

The Inspiration + Design
It’s been a little while since I’ve designed a simple crochet cardigan – so I set out to make the perfect lightweight cotton cardi for summer! Mine is a tad fitted but you can easily size up and make this sweater slouchy and oversized.
I love the look of thick, wraparound ribbing that encircles the entire neck and hemline in one solid movement. I knew I had to create a base cardigan shape that would accommodate this idea but I wanted to make sure there wasn’t a ton of crazy math and complicated shaping.

So I made simple rectangular panels (using just single crochets!) with just a couple of angles using easy decreases at the bottoms of the front panels. Simple fitted sleeves with thick ribbing were easy to make too. I seamed everything up then started around and around with the ribbing. Working in rounds was easy and before I knew it, my dreamy cotton cardigan had come together.
Shooting this sweater by the seaside was so much fun and I think it shows! It’s such a fun piece to wear on chilly summer evenings at the beach.

The Yarn + Kit
I used Lion Brand’s LB Collection Cotton Bamboo yarn for this project and it’s what made the sweater look so drapey and dreamy! The LB Collection is a series of luxury yarns at great prices that you can only get on the Lion Brand website. Because they aren’t selling these yarns in big box stores, they’re able to pass some savings onto us and give us some amazing yarns at really affordable prices! (click right here to browse those yarns, there are some great ones!)
Cotton Bamboo is one of my all time favorite yarns I’ve ever worked with. It drapes like you wouldn’t believe – it was the same yarn I used for my super popular Crochet Ava Poncho! I love the color lineup in this yarn – I used Magnolia but Cherry Blossom, Hyacinth, and Snapdragon are other favorites of mine.


The yarn is lightweight and cool to the touch due to the natural plant based fibers and it’s extremely comfortable to wear all year round, even in the summer! I think you’ll fall in love with this luxe yarn just like I have.
Grab the kit for this pattern (including a printed copy of the pattern!) by clicking HERE! – thanks for shopping through my link, it helps support this blog and it’s free content!

PATTERN
- Get the ad-free, large print, printable PDF pattern HERE.
- Grab the Ultimate Pattern Bundle that includes 150+ patterns just like this one on sale for $20 today HERE.
- PIN this pattern to your Pinterest boards for later HERE.
- Add this pattern to your Ravelry queue HERE.
To sum it up: Crochet this simple statement cardigan with the most basic stitches and comfortable drape. Cotton Bamboo yarn is light and breezy in the summer and this sweater will be the one you grab all season long!
Materials:
–Lion Brand Collection Cotton Bamboo Yarn (Weight 3/Light, 3.5 oz, 245 yds/224m)
7 (7, 8, 8, 9, 10, 10) balls in Magnolia
Grab the kit HERE that includes a printed copy of the pattern!
Shop all of my favorite tools & materials here!
Sizes:
XS, S, M, L, XL, 2XL, 3XL
Gauge:
16 sts x 22 rows in Sc = 4”
Finished Sweater Measurements:
Bust: 34 (38, 40, 44, 48, 52, 56)
Length: 22.75 (23.25, 23.25, 23.75, 23.75, 24.25, 24.25)
Sleeve Length: 16.5 (17, 17, 17.5, 17.5, 18, 18)
Armhole: 8 (8.5, 9, 9.5, 10, 10.5, 11)
Skill Level:
Level 2/Easy
Pattern Notes:
-Sweater is shown in size S, model is 5’5” tall and true bust measures 38” for reference.
-Sweater is made to fit oversized and comfy – model sized down from normal t-shirt size of M for a more snug fit. If you like a slouchy sweater choose your t-shirt size, if you like a snug fit choose your true bust size via the “finished sweater measurements” above.
-Sizing listed in the pattern will be in XS (S, M, L, XL, 2XL, 3XL).
-All pattern instructions will be listed for different sizes in ( ). All final stitch counts will be listed in < >.
-Pattern is worked from the back panel bottom up to the first front panel without breaking yarn. Rejoin yarn and work second front panel. Crochet sleeves independently, seam to armhole, then seam sleeves and sides at the same time. Collar ribbing is worked last in one continuous round.

CROCHET SEASIDE CARDIGAN
Back Panel
Ch 69 (77, 85, 93, 101, 109, 117)
Row 1: Sc in 2nd ch from hook and across, t <68, 76, 84, 92, 100, 108, 116>
Row 2: Ch 1, Sc across, t <68, 76, 84, 92, 100, 108, 116>
Rpt row 2 until your panel measures 18.5 (19, 19, 19.5, 19.5, 20, 20)” or 102 (104, 104, 108, 108, 110, 110) total rows.
Continue to First Front Panel without breaking yarn.
First Front Panel
Row 1: Ch 1, Sc next 31 (35, 39, 43, 47, 51, 55) sts, t <31, 35, 39, 43, 47, 51, 55>
Row 2: Ch 1, Sc across, t <31, 35, 39, 43, 47, 51, 55>
Rpt Row 2 until your panel measures 14.5 (15, 15, 15.5, 15.5, 16, 16)” or 80 (82, 82, 86, 86, 88, 88) total rows.
Next RS row: Ch 1, Sc to last 2 sts remain, Sc2tog, t <30, 34, 37, 42, 46, 50, 54>
Next WS row: Ch 1, Sc across, t <30, 34, 37, 42, 46, 50, 54>
Rpt last 2 rows until your panel measures 18.5 (19, 19, 19.5, 19.5, 20, 20)” or 102 (104, 104, 108, 108, 110, 110) total rows <19, 23, 26, 31, 35, 39, 43>
Finish off, weave ends.
Second Front Panel
With RS facing, leave 6 sts unworked beyond last st of “First Front Panel” Row 1, join yarn to next st
Row 1: Ch 1, Sc to end, t <31, 35, 39, 43, 47, 51, 55>
Row 2: Ch 1, Sc across, t <31, 35, 39, 43, 47, 51, 55>
Rpt Row 2 until your panel measures 14.5 (15, 15, 15.5, 15.5, 16, 16)” or 80 (82, 82, 86, 86, 88, 88) total rows.
Next RS row: Ch 1, Sc2tog, Sc to end, t <30, 34, 37, 42, 46, 50, 54>
Next WS row: Ch 1, Sc across, t <30, 34, 37, 42, 46, 50, 54>
Rpt last 2 rows until your panel measures 18.5 (19, 19, 19.5, 19.5, 20, 20)” or 102 (104, 104, 108, 108, 110, 110) total rows < 19, 23, 26, 31, 35, 39, 43 >
Finish off, weave ends.
Sleeves
*make 2
Ch 27 (31, 35, 39, 43, 47, 51)
Row 1: Sc in 2nd ch from hook and across, t <26, 30, 34, 38, 42, 46, 50>
Row 2: Ch 1, Sc across, t <26, 30, 34, 38, 42, 46, 50>
Row 3: Ch 1, Sc inc, Sc to end, t <27, 31, 35, 39, 43, 47, 51>
Row 4: Ch 1, Sc inc, Sc to end, t <28, 32, 36, 40, 44, 48, 52>
Rows 5-6: Ch 1, Sc across, t <28, 32, 36, 40, 44, 48, 52>
Rpt rows 3-6 until your sleeve panel measures 16 (17, 18, 19, 20, 21, 22)” wide and 14” in length
Sleeve Ribbing
*make 2
Ch 21 (25, 25, 29, 29, 33, 33)
Row 1: Sc in 2nd ch from hook and across, t <20, 24, 24, 28, 28, 32, 32>
Row 2: Ch 1, BLO Sc across, regular sc in last st, t <20, 24, 24, 28, 28, 32, 32>
Rpt row 2 until your ribbing measures 6.5 (7, 7.5, 8, 8.5, 9, 9.5)” long or 36 (38, 40, 44, 46, 50, 52) total rows.
Finish off leaving a long tail for sewing.

Assembly
With long tail from sleeve ribbing, whip stitch selvedge edge of sleeve ribbing to foundation chain of sleeve. Weave ends.
Rpt on second sleeve.
Lie body panel out flat with RS facing up. Lie sleeve panel flat with RS facing up. At the same time, line up center st of last row of sleeve with shoulder point of front panel (where back panel end and front begins). Make sure your sleeve is centered.
Whip stitch in place along last row of sleeve and selvedge edge of body.
Rpt on second sleeve.
Fold body panel whereas front panels lie on top of back panel with WS together. Fold sleeve lengthwise (hot dog style). Your sweater should be starting to look like a sweater!
Whip stitch sleeve and side seam in one fluid seam beginning with sleeve ribbing and finishing at body hemline.
Rpt on other side.
Weave all ends.
Collar Ribbing
With RS of back hemline facing you (piece upside down), join yarn at side seam of right (second) front and back panel
Row 1: Ch 1, Sc evenly around collar of the sweater in one continuous row (guide below), sl st to join, t
(in order (reverse order if left handed): work along other side of foundation ch of back panel, across left side seam, along last row of first front panel, along selvedge edge of decreases, along selvedge edge of first front panel, into 6 unworked sts at back of neck, along selvedge edge of second front panel, along selvedge edge of decreases, across last row of second front panel)
Note: when working along all selvedge edges, number of stitches doesn’t matter as much as evenness of tension. I found that working 2 sc for every 3 rows gave me the right look.
Row 2: Ch 1, BLO Sc across, sl st to join, t
Rpt Row 2 until your collar ribbing measures 4.25” or 32 rows. Work fewer or greater rows to your liking, just be aware of yardage.
Finish off, weave all ends.

Abbreviations (US Terms):
Ch – chain
Rpt – repeat
RS – right side
Sc – single crochet
St(s) – stitch(es)
T – turn
WS – wrong side
OTHER SPRING ESSENTIAL FREE CROCHET PATTERNS

1. Crochet Elle Convertible Shawl / 2. Crochet Rancher Poncho / 3. Crochet Audrey Tunic
This is beautiful!! And what a beautiful florida beach. Did you take the pics at siesta beach? I love that one
I love your work and that you make sweater in my size. Thanks so much.
Hey there! First of all, thank you for your beautiful blog, I’ve been enjoying it for a couple of months now and I always find your patterns amazing!
Since I prefer acrylic and wool yarn over cotton, do you think I can make this cardigan using acrylic or wool insted of cotton? Will the finished cardigan be as great as the one you made?
Thank you again for your work!
p.s.: sorry for my broken english =)
Acrylic yarn will still make a wonderful cardigan! Just a bit warmer than my cotton version. Enjoy!
Hi Ashleigh yup sweetie it’s me again, figured out where to comment/ask a question
I am feeling a little nervous about purchasing the yarn needed to try this beautiful pattern, I guess what need from you hun, is suggestions for experience required when written comprehension is an issue, I too am a visual learner, trust your honesty & opinion thank you