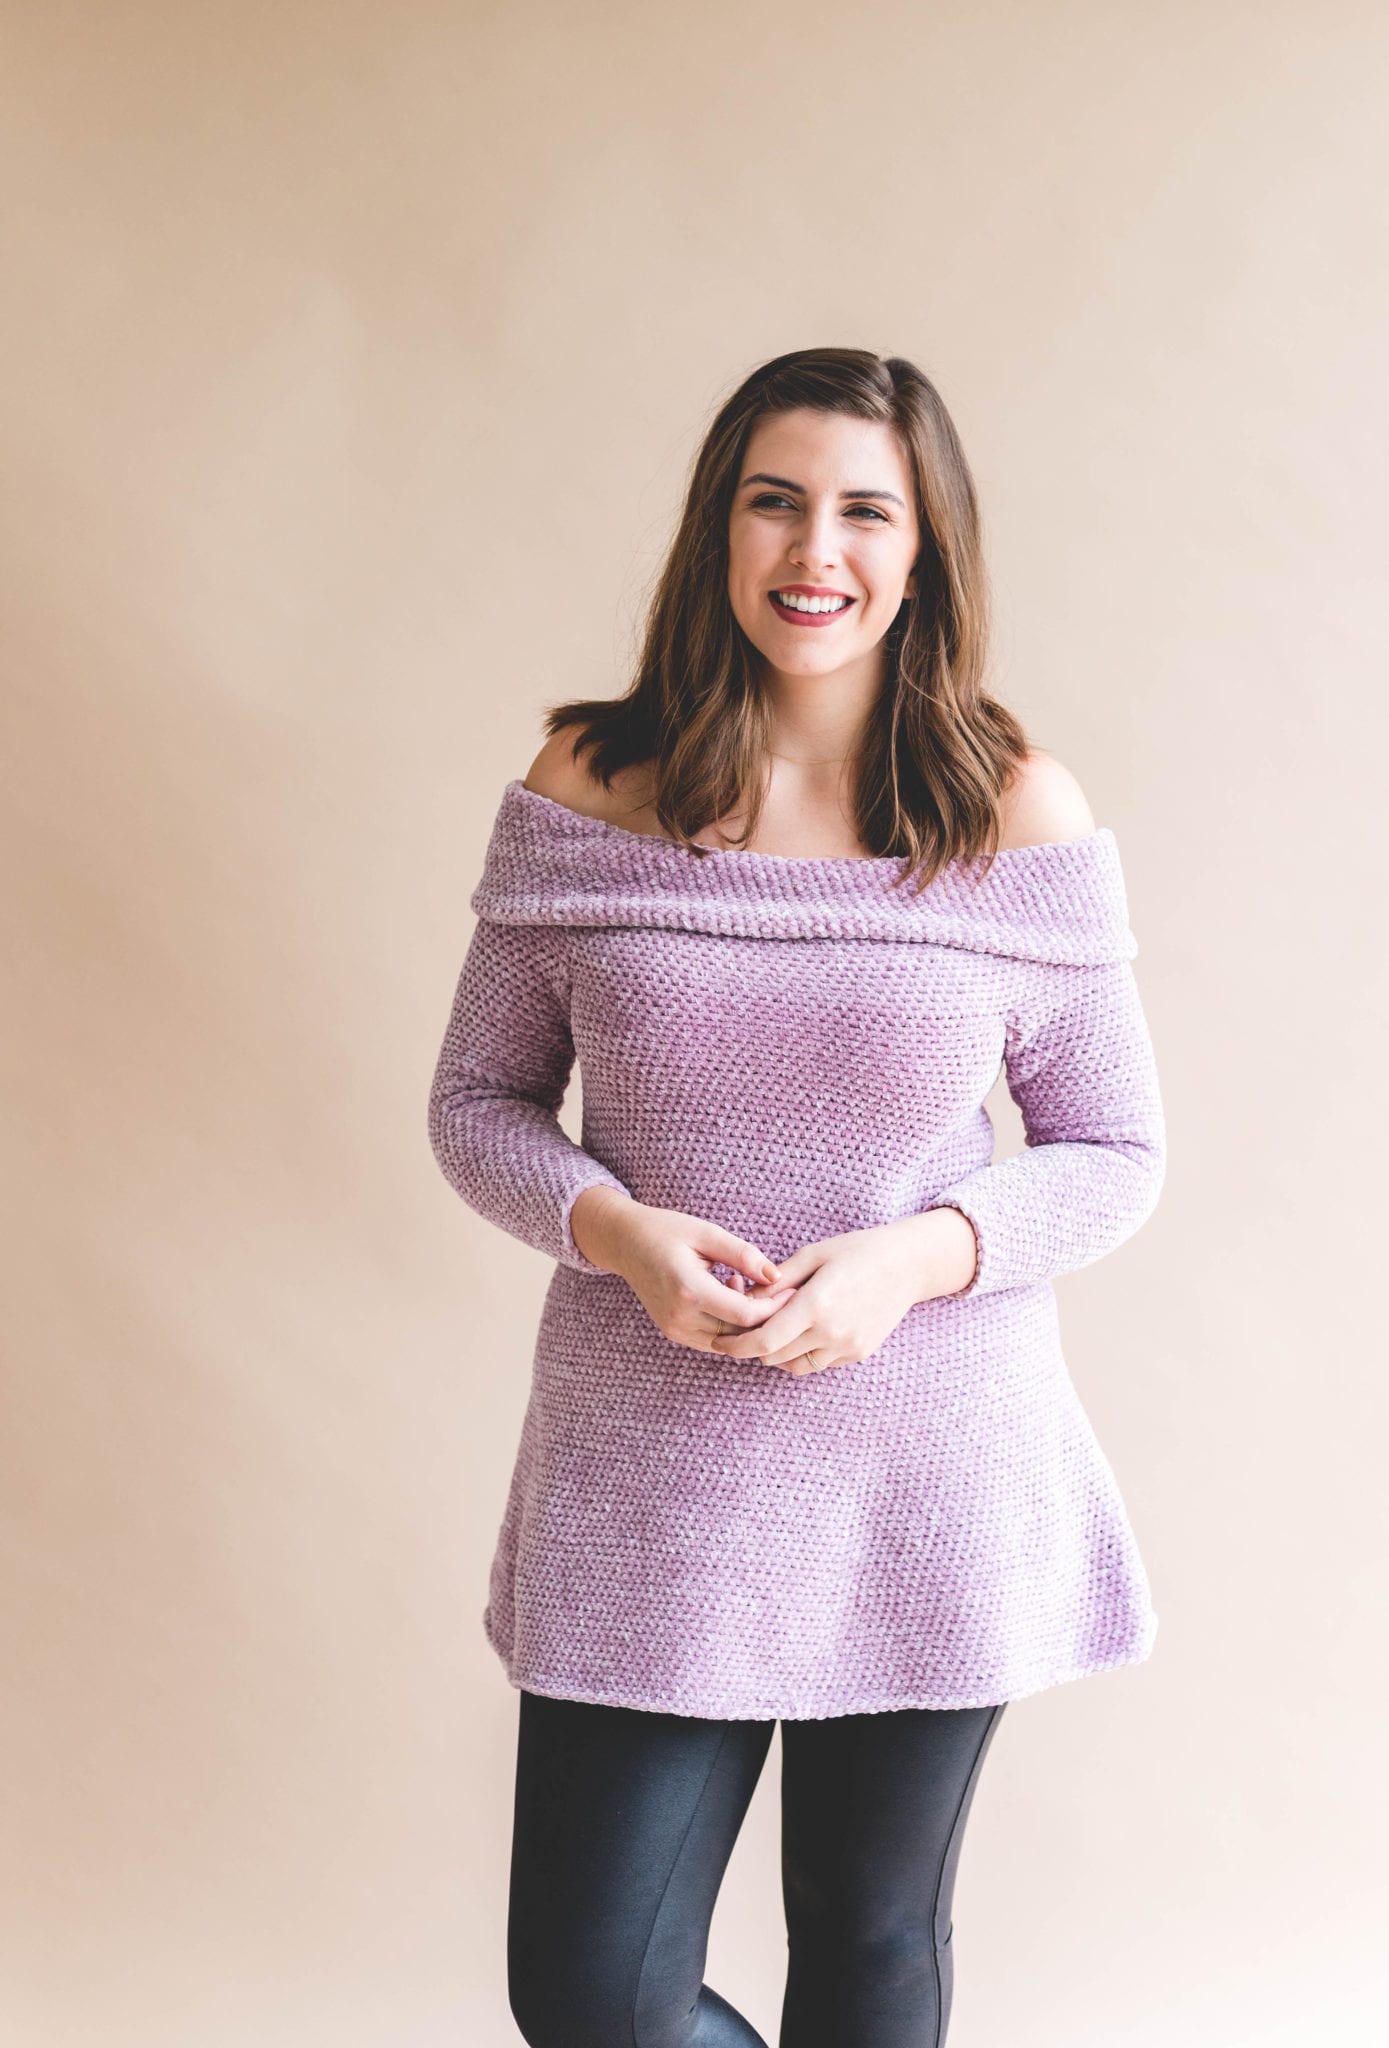
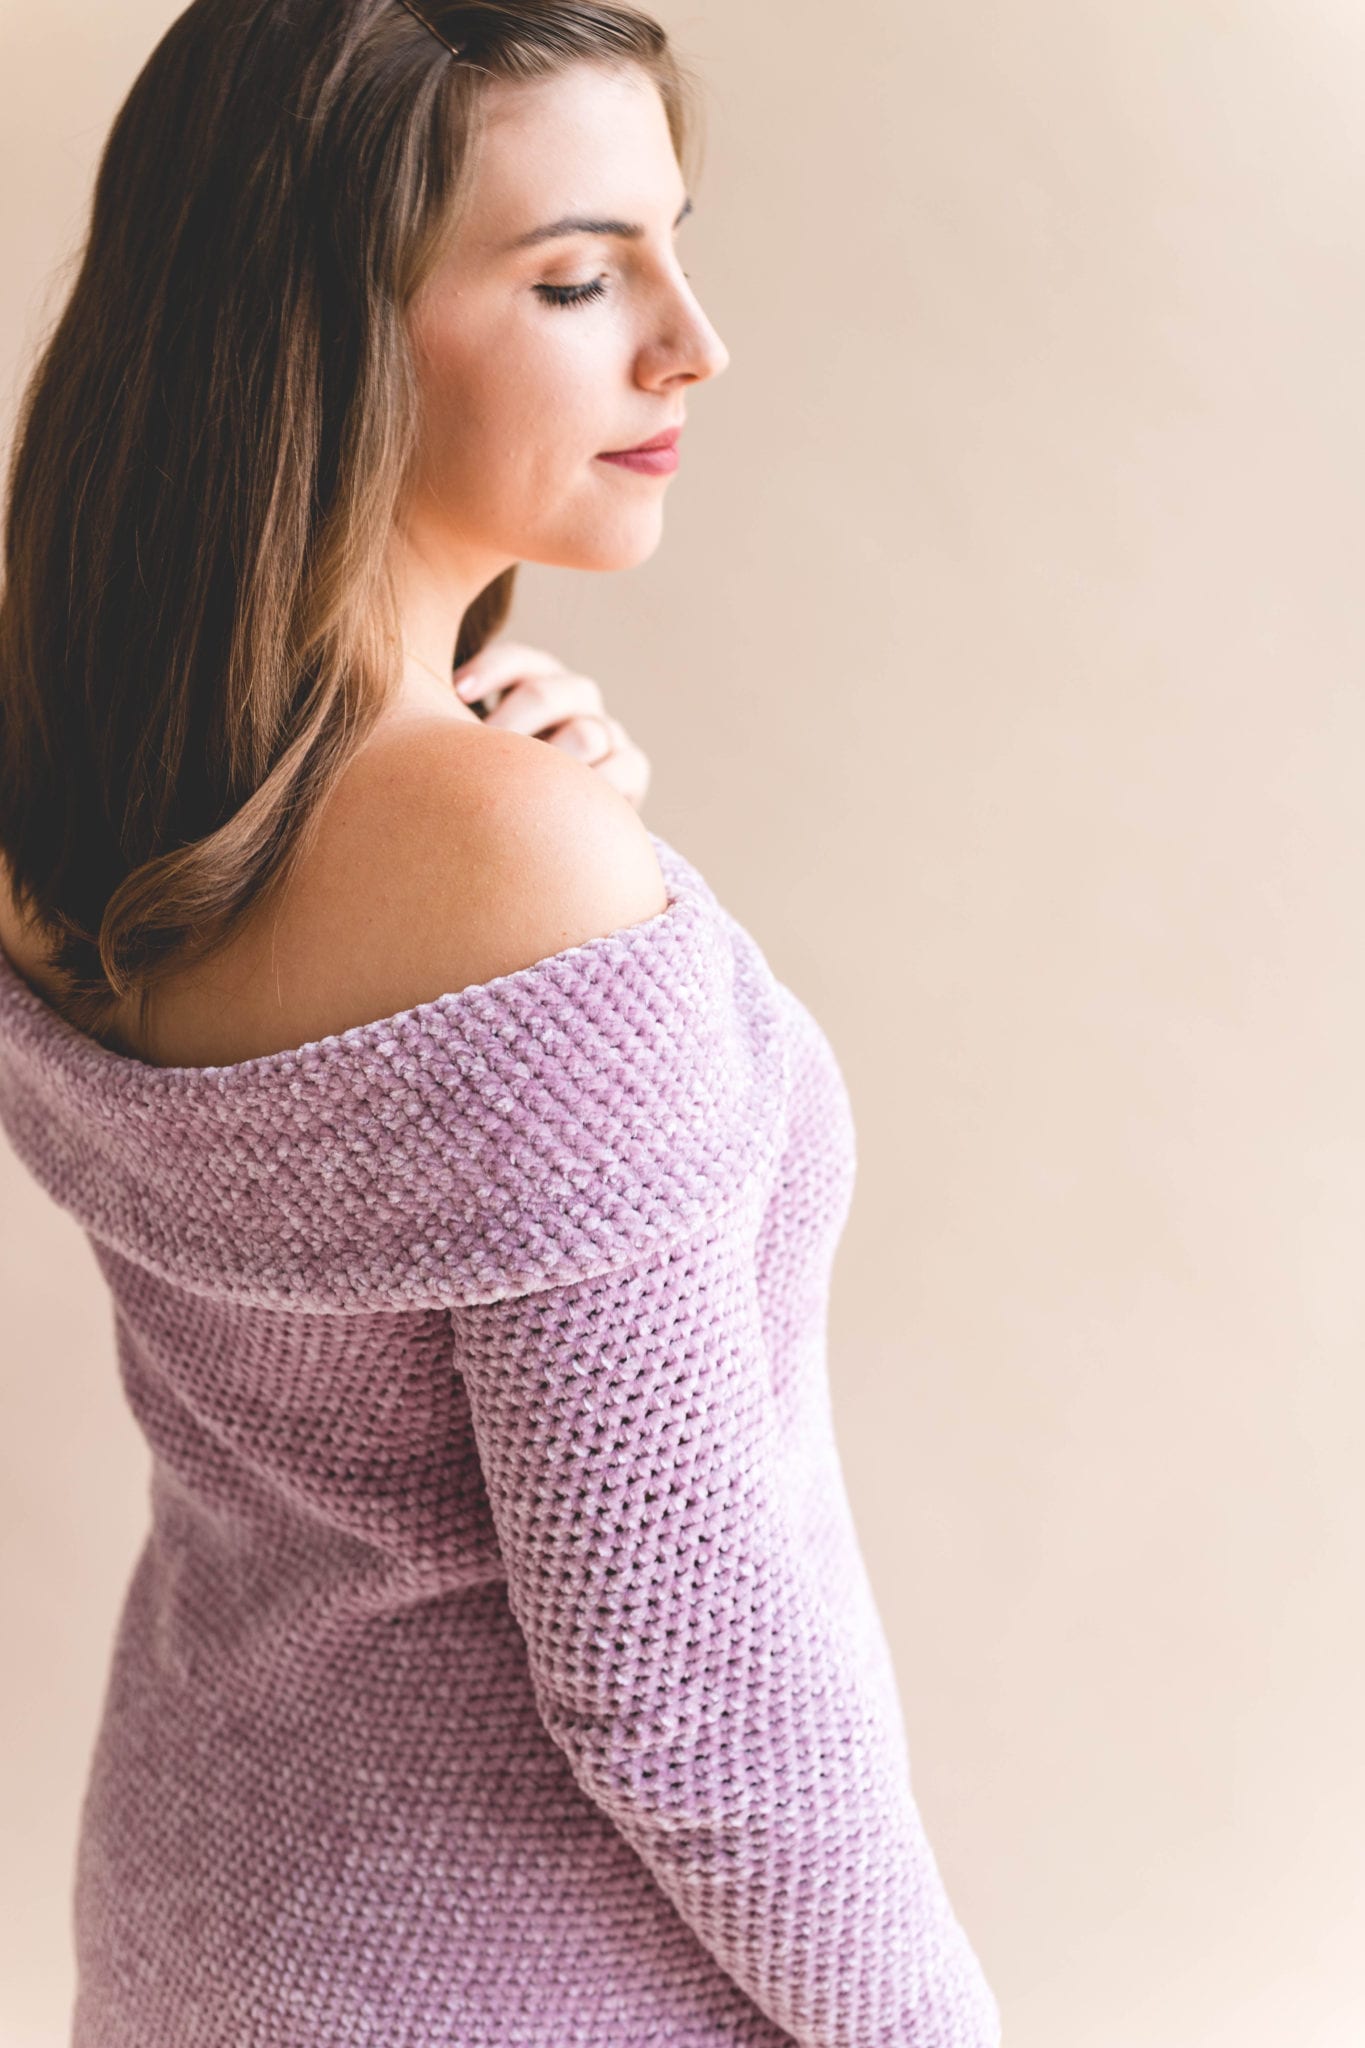
Presenting my favorite design of the winter season, my Crochet Audrey Tunic – a free crochet pattern here on the blog!
Read through my inspiration, design process, and lots of info on the stunning yarn I chose, or scroll on down for the free pattern.

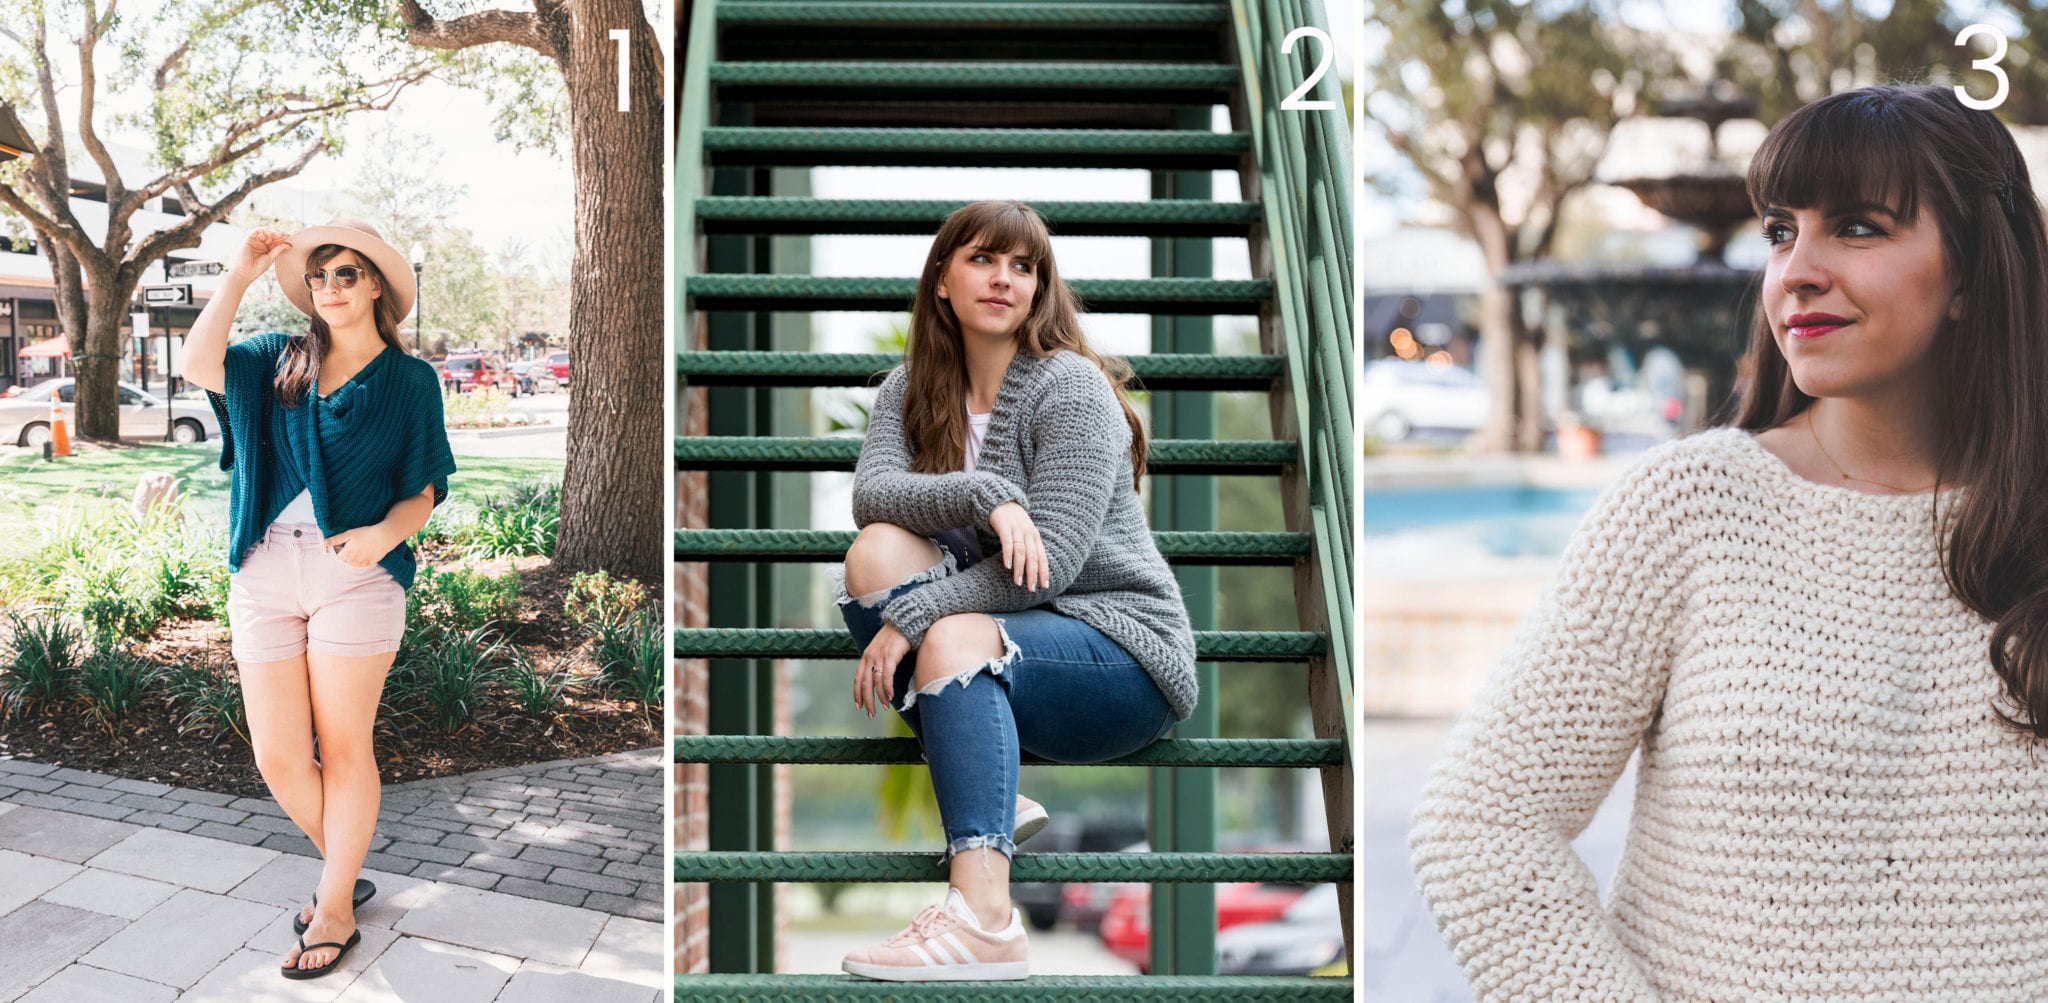
OTHER GARMENT PATTERNS I LOVE (& you should too)

1. Crochet Twist Swancho / 2. Crochet Everyday Cardigan / 3. Simple Knit Sweater

The Inspiration + Design
It’s no secret that I love everything vintage (or maybe that’s not as obvious as I think it is? Hmm…) Anyway – some of my all-time favorite movies are those of Audrey Hepburn. Namely, Roman Holiday – the one where she leaves her princess palace prison in Rome to galavant all over the city like a wild woman cutting her hair and eating gelato (basically the dream, amiright?) with dreamboat Gregory Peck. I’ve always loved everything about this movie, and the ending makes me cry every. single. time. One of my favorite elements of old movies are the fashion, and Audrey in Roman Holiday was no exception!
Her royal gown in the movie is a bare-shouldered number with a fitted bodice and full skirt. The off-the-shoulder bit looks sort of folded over and I’ve always wanted to wear a dress like that in real life. However, running around Bradenton, Florida in a full-on ball gown is a *bit* over the top. SO I decided to modernize the design and crochet the concept!
I wanted to keep the neckline and the fitted bodice but make the waist and skirt area much more flowy and comfortable. This definitely modernized the look, and making this project in a velvet style yarn really brought it to the present day. I sketched out the design and figured out rough construction. I took my own measurements and dove in, hoping for the best (but in all reality I was expecting a total flop and a pile of messy velvet yarn).

To my complete surprise, the concept worked on the first try! The neckline construction and split for sleeves fit nicely and the look was exactly what I envisioned. I kept going with the body and skirt, and it shaped up beautifully. The sleeves proved a bit tricky as I wanted a really fitted sleeve. If you look at the dress Audrey wore in the movie, her sleeves were like a second skin – they were actually extremely long gloves that met her neckline! I wanted the same ultra-slim sleeve in my piece to give that vintage vibe and really highlight the neckline. The sleeve is definitely snug but I love the way it looks!
All in all, from inspiration to concept to final design, I could not be happier with this garment. It’s perfectly unique and so Audrey (ya know, if she was young in 2018)!
The Yarn
Lion Brand has been releasing stunning yarn after stunning yarn this season and they’re not stopping with this new velvet style yarn, Vel-Luxe. It’s a worsted weight polyester based yarn that feels like crushed velvet & it really is what the label says – LUXE.
There are several velvet yarns on the market but I love this one because it’s a worsted weight (unlike the bulky ones I’ve seen) and it doesn’t shed. Let me say that again – IT DOES NOT SHED. Hallelujah! Finally a textured yarn with incredible feel and finish without any yarn fuzzies left behind!
The color palette LB chose for this yarn is really wonderful too, it’s refined and elevated with neutrals and color that are everything we want to wear. I made my sample in Lilac, but I’m so in love with every color – it was hard to choose just one color! Browse them all here.

Shop the KIT from Lion Brand for this pattern – it includes all the yarn you need and a handy printed version of the full pattern. Just click here!
PATTERN
- Get the ad-free, large print, printable PDF pattern HERE.
- Grab the Ultimate Pattern Bundle that includes 150+ patterns just like this one on sale for $20 today HERE.
- PIN this pattern to your Pinterest boards for later HERE.
- Add this pattern to your Ravelry queue HERE.
To sum it up: The Audrey Tunic is a fit and flare off-the-shoulder top that’s ultra-feminine and flirty. In true Sewrella fashion, this tunic was inspired by a retro look, that of Audrey Hepburn in Roman Holiday. Taking a dramatic neckline and fitted bodice to modern day with a “just-right” length that covers the tush and flares in a flattering A-line. This design is comprised of simple single crochets that work up in Lion Brand’s Vel-Luxe yarn to create a truly stunning result – people will wonder how you made it yourself!
Materials:
–Lion Brand Vel-Luxe yarn (Weight: 4/Medium – 5.3oz, 246 yds)
Color: Lilac 4 (5, 5, 6, 7, 8, 9) skeins
Click here to shop the kit from Lion Brand Yarn!
–Stitch markers (4)
Sizes:
XS, S, M, L, XL, 2XL, 3XL
Gauge:
12 sts x 16 rows in sc = 4″
Measurements:
Shoulder circumference: 34 (38, 42.5, 46.5, 51, 56, 61)″
Bust circumference: 29.5 (33, 37, 40.5, 44.5, 49, 53)″
Length (shoulder to hem): 26 (29, 31, 33, 36, 39, 42)″
Armhole depth: 11 (12.5, 14, 15.5, 17, 18.5, 20)″
Sleeve Length: 16.5 (17, 17, 17.5, 17.5, 18, 18)″
Abbreviations (US terms):
ch – chain
sc – single crochet
dec – decrease
fsc – foundation sc
inc – increase (2 Sc in same st)
rnd – round
rpt – repeat
sk – skip
sl st – slip stitch
st(s) – stitch(es)
Skill Level:
Level 3 – intermediate
Pattern Notes
-This pattern is written to fit snuggly to the body. If you’re between sizes, please size down. (I am a 36” bust and sized down to a small.)
-Sizing listed in the pattern will be in X-Small with Small, Medium, Large, XL, 2X, and 3X listed in parentheses. For example, “Ch 36 (41, 46, 51, 56, 61, 66)” means Ch 36 for size XS, 41 for size S, 46 for size M, 51 for size L, 56 for size XL, 61 for size 2X and 66 for size 3X. When only one number is given, it applies to all sizes. To follow pattern more easily, circle/highlight all numbers pertaining to your size before beginning.
-The entirety of this pattern is worked without joining rounds or turning the work. The Vel-Luxe yarn doesn’t have lots of stitch definition and the fuzzy nature fills spaces between stitches. If you’d like your increase lines to be fairly linear (instead of working more in a spiral movement as with my sample) I recommend joining with a slip stitch, chaining 1, and turning the work at the end of each Rnd throughout the pattern. Proceed otherwise as instructed. (This is especially important if you’re not working with Vel-Luxe or another fuzzy yarn. If your yarn has well-defined stitches, use this join and turn method).
-This pattern has no positive ease through the chest and shoulder area. Be sure to carefully measure.
-This tunic is worked from the top down in a seamless construction. Underarm openings will be grafted at the end.
-Counts within <> are final stitch counts for the Rnd.

Crochet Audrey Tunic
Yoke:
Rnd 1: Fsc 110 (124, 138, 152, 166, 184, 198) sts, sl st to 1st st to form a large ring making sure your work isn’t twisted, pull up loop slightly to work next stitch without chaining, place stitch marker in first st of the next Rnd <110 (124, 138, 152, 166, 184, 198 Sc)>
Working in a spiral from here on, Sc in each st around until you’ve finished 10” or 40 Rnds. Move st marker up with each Rnd.

Split for Sleeves:
*Ch 14 (16, 18, 20, 22, 24, 26), sk 21 (24, 27, 30, 33, 36, 39) Sc, Sc next 34 (38, 42, 46, 50, 56, 60) sts; Rpt from * once more <68 (76, 84, 92, 100, 112, 120 Sc)>

Place stitch markers in 1st and last Ch sts on each side (4 markers placed total). Move markers up with each Rnd forward.
Next Rnd: Sc in each st around, including Ch sts <96 (108, 120, 132, 144, 160, 172 Sc)>


Body:
Rnd 1: Sc in each Sc st around working Sc inc in each marked st <100 (112, 124, 136, 148, 164, 176 Sc)>

Rnds 2-4: Sc in each Sc st around <100 (112, 124, 136, 148, 164, 176 Sc)>
Rpt Rnds 1-4 until you’ve finished 16 (18, 20, 22, 24, 26, 28)” from underarm or 64 (72, 80, 88, 96, 104, 112) Rnds <160 (180, 200, 220, 240, 264, 284 Sc)>

Work Sc in all sts until you’ve finished 2” or 8 Rnds <160 (180, 200, 220, 240, 264, 284 Sc)>
Finish off, weave ends.
Sleeves:
Join yarn to 1st of skipped 21 (24, 27, 30, 33, 36, 39) sts at “split for sleeves”
Ch 14 (16, 18, 20, 22, 24, 26) for underarm, sl st to the other side of your skipped sts at “split for sleeves” to form a Round with an underarm opening, pull up loop slightly to work next st without chaining, place stitch marker in first st of the next Rnd

Rnd 1: Sc in each st around, including Ch sts <35 (40, 45, 50, 55, 60, 65 Sc)>
Rnd 2: Sc dec, Sc in each st around <34 (39, 44, 49, 54, 59, 64 Sc)>

Rnds 3-5: Sc in each st around <34 (39, 44, 49, 54, 59, 64 Sc)>
Rpt Rnds 2-5until you’ve finished 16.5 (17, 17, 17.5, 17.5, 18, 18)” of sleeve or 70 (72, 72, 74, 74, 76, 76) Rnds <17 (22, 27, 31, 36, 41, 46 Sc)>

Finish off, weave in ends.
Graft underarm sts – with a long piece of spare yarn, whip stitch the underarm stitches together.
Fold over top 10” of yoke to fit off the shoulder. You may sew this in place if you so choose, or leave it unsewn. You’re done!

Earning a Living with my Handmade Home
If you love crocheting and knitting, you should think about starting a blog! I’ll help you get started to turn your hobby into a money-making career with my free “Start a Blog” guide.
Or you can check out my latest income report to see how this blog earned over $10,000 last month!
This is absolutely amazing ????????
Absolutely gorgeous!!
I was looking for video tutorial for the lamb lovey
I am confused, where are the increases for your bustline? decreases for your waistline? increases for your hips?
There aren’t any increases or decreases through the body other than the increases to gradually shape the body’s A-line 🙂
This is probably my favorite thing you’ve ever made a pattern for. This is on my bucket list!! ????????????
I saw this on Pinterest, I think it is SO pretty!!! Perfect for the holidays!!
Wow! I found you on the Pinterest and saw the picture of beautiful tunic crochet. I had to take a good look at your crochet pattern that I maybe can crochet it for myself. I know it is a long time to get the job done in a month. I started crocheting last February for the first time since I stopped crocheting before college, and back again in 1988, but never done it. Again in 1992 to finish the baby blanket for my son. Last Feb, I started crocheting the first Molly Doll, Cuddle Me Bunnies, and Bear, 4 Hello Kittys, Happy Sunflower, and Daisy coaster sets. Now, I crochet again last month to make hats after 4 months break from frozen shoulder injury. My family said to me that I should sell hats and others to make some money that I need to earn. Patience takes a lot of time. Your crocheting with Tunic sweater is so beautiful with right color.
Thank you! This is so beautiful! I’m not sure about how it looks on the bottom part, but then again it is beautiful and is really cute!Thanks again!
Is the Bernat Velvet yarn comparable to use for this pattern?
That one is a bulky weight yarn so it would probably throw off your gauge a bit. You can try if you already have some in your stash though! I just recommend making a gauge swatch 🙂