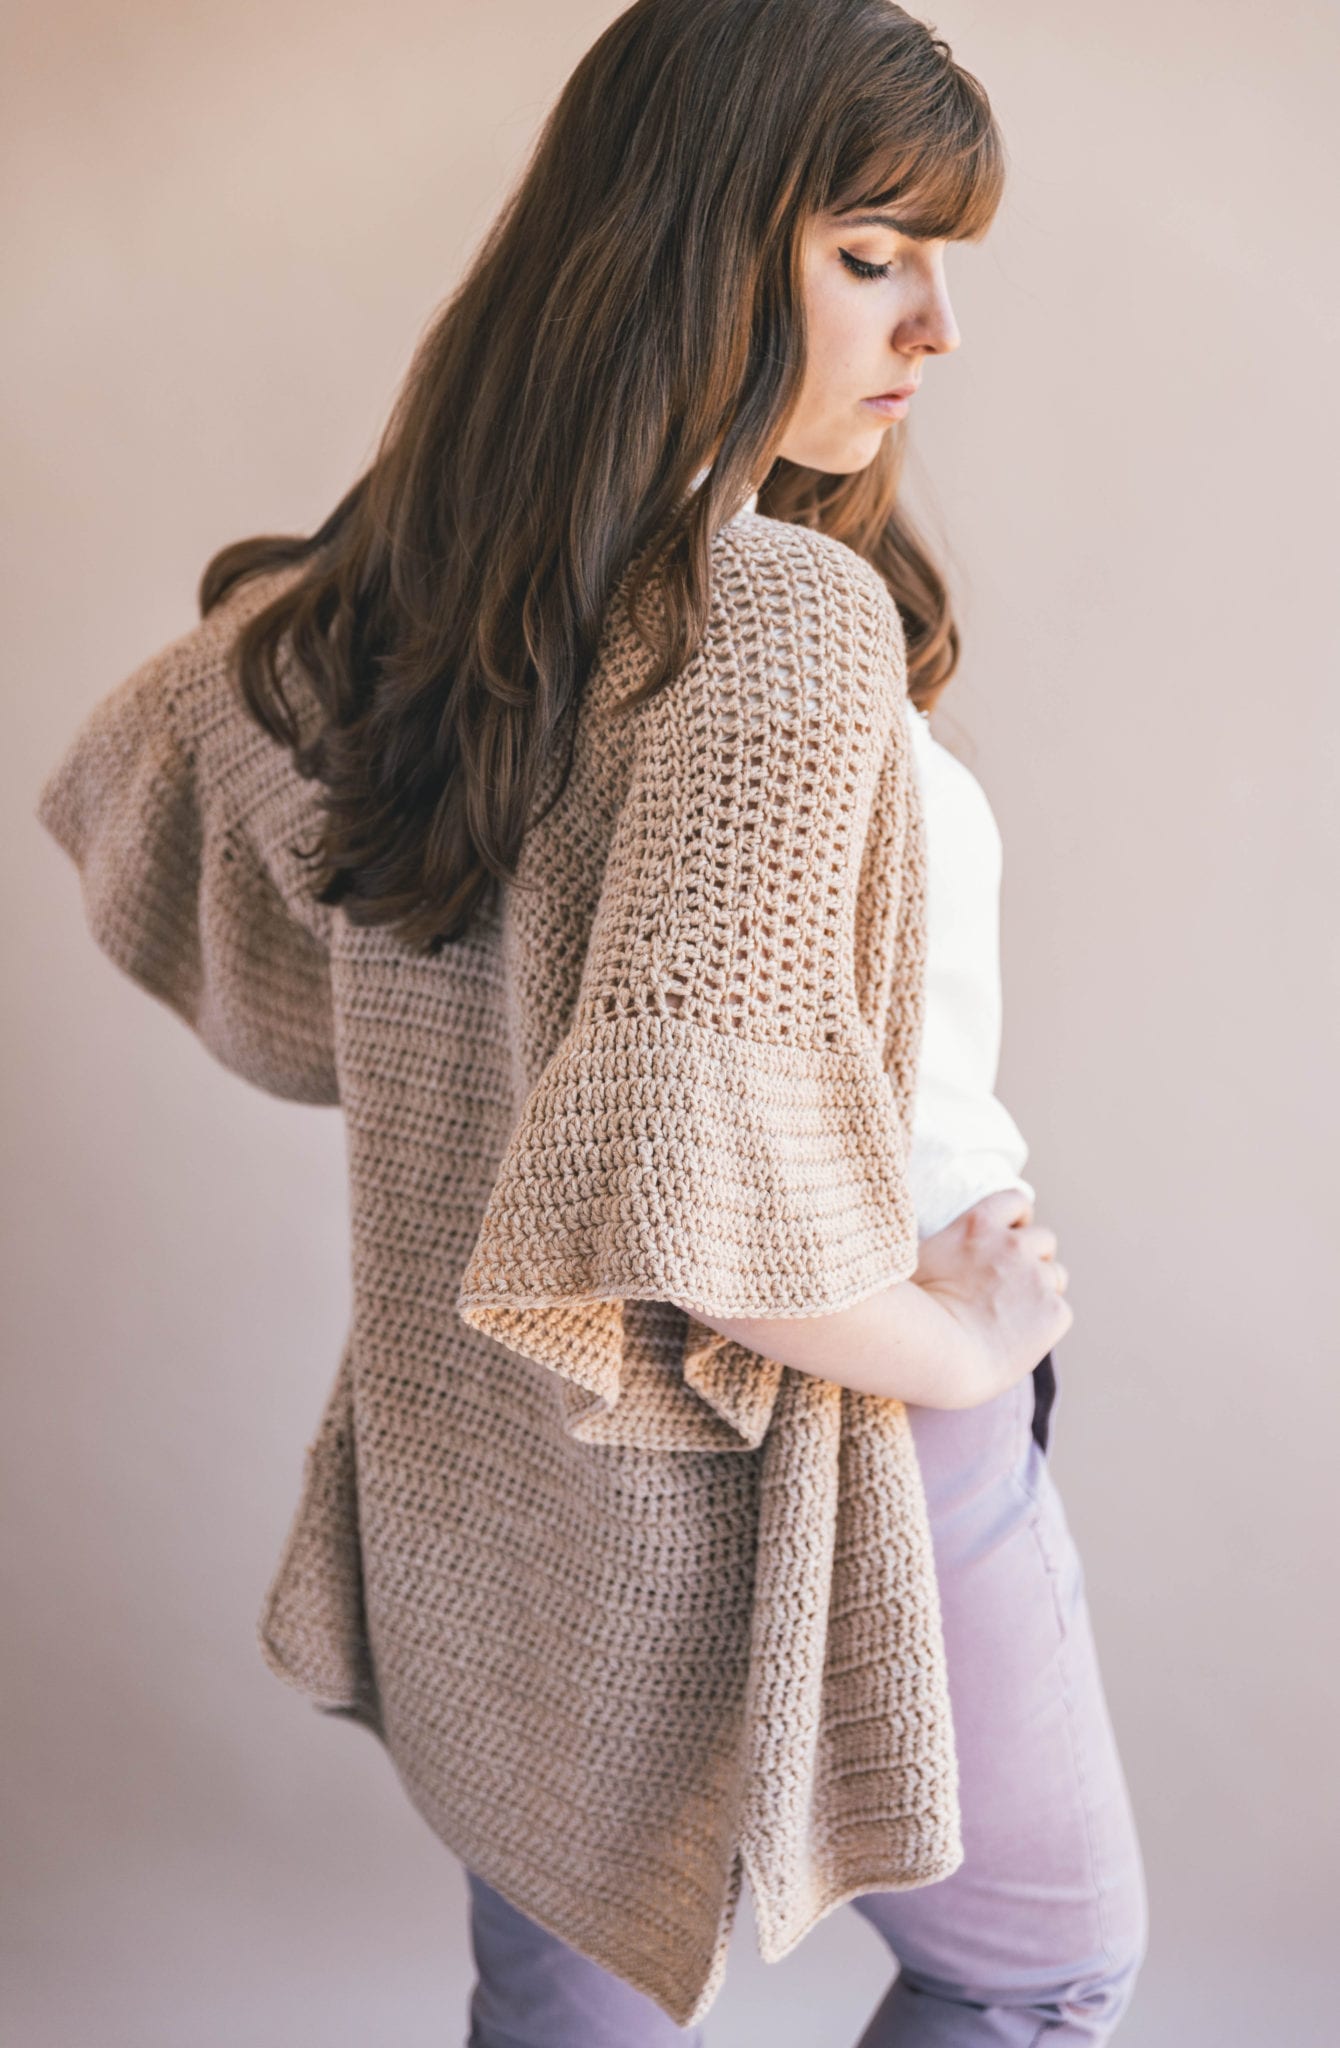
I have spring fever! I’m getting ready for the warmer months with this Crochet Ruffle Sleeve Cardigan that’s as easy to make as it is stunning to wear.
If you’ve never made your own clothes, let me tell you straight away – this one is as easy as it gets. There is absolutely no shaping, there is gauge leniency, and we just double crochet along until this baby is done. That’s it!
I used one of Lion Brand’s new yarn lines, Jeans Colors. This is a spinoff line of the successful Jeans yarn that have so many pretty denim hues (from faded to dark wash!). The smarties at Lion Brand decided to put together a little line of Jeans Colors – the same soft feel of Jeans in some classic tonal colors that are so much fun.
This Khaki color caught my eye during our trip to New York City during the #LBYBloggerBash when I saw it across the conference room and I knew I’d be making something wearable out of that beauty – and SOON. That’s why when I got back home and started brainstorming spring designs, I knew that Khaki Jeans yarn needed a home in the collection.
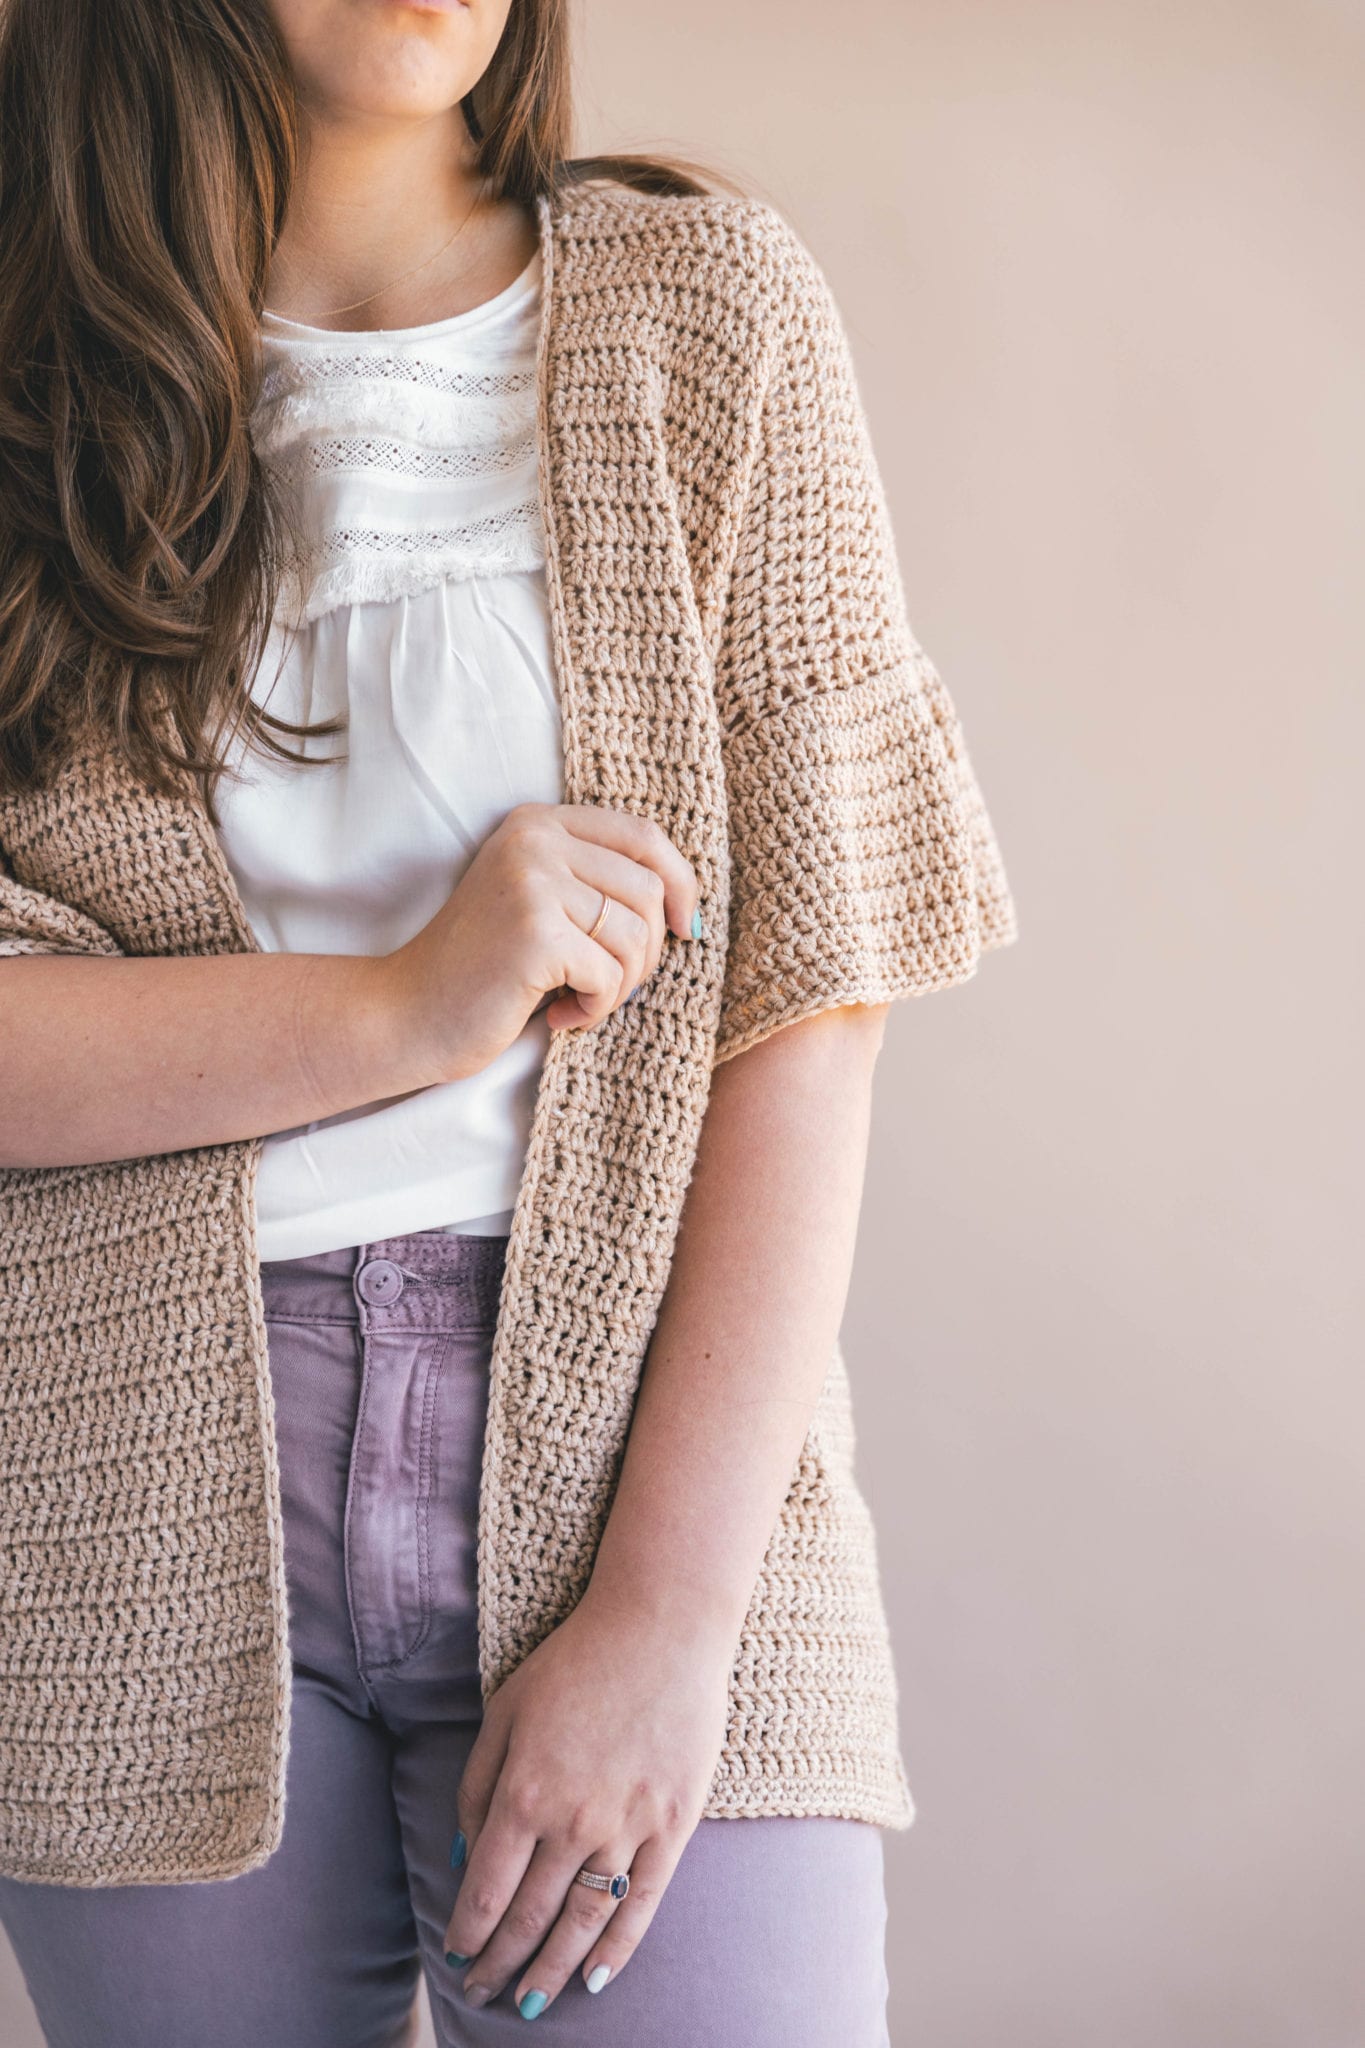
I used it to make a chic layering piece thats equal parts feminine frill and loungewear. Win, freakin’ win.
You have a gala to attend and want something slightly snuggly to accompany your fancy black dress? Wear your ruffle sleeve cardigan.
You have a playdate with the kids and need to look like you have your life together but really just want to wear pajamas? Wear your ruffle sleeve cardigan.
Basically, I’m saying I can’t think of a single occasion that this garment doesn’t work for. It’s that versatile!
PATTERNS I LOVE (& you should too)

1. Crochet Homemaker Gingham Throw / 2. Crochet Everyday Cardigan / 3. Crochet Le Nuage Wrap/Triangle Scarf
Check out the video tutorial below where I teach the Medium size cardigan start to finish – it’ll help ya no matter what size you’re making!
Lion Brand Yarn has made a kit available for you guys using the awesome Jeans Colors yarn in various color options as well as all the sizes (XS-3XL)! When you grab the kit, just choose your size and the color of Jeans Colors you’d like by shopping through this link (by grabbing your kit through my affiliate link, it’ll earn me a little commission supporting my blog and its free content – thank you!)
PATTERN
- Get the ad-free, large print, printable PDF pattern HERE.
- Grab the Ultimate Pattern Bundle that includes 150+ patterns just like this one on sale for $20 today HERE.
- PIN this pattern to your Pinterest boards for later HERE.
- Add this pattern to your Ravelry queue HERE.
To sum it up:
The Ruffle Sleeve Cardigan is equal parts feminine frill and loungewear, crocheted with soft and squishy Jeans Colors yarn. This pattern is really approachable as a first garment or a quick make for those more experienced – you’ll zoom along double crochetin’ and before you know it, you’ll be ready to layer this chic piece with every outfit from overalls to fancy dresses.
Materials:
Grab the kit with everything you need to make this cardigan HERE!
-Size J 6mm crochet hook
-Stich markers (optional)
(Click HERE to shop all my favorite tools!)
Gauge:
13.5 Dc = 4″
7.25 rows = 4″
Sizing:
Bust: 30″ (XS) 34″ (S) 38″ (M) 42 ” (L) 46″ (XL) 50″ (XXL) 54″ (XXXL)
Width across back: 20″ (XS) 21″ (S) 22″ (M) 23″ (L) 24″ (XL) 25″ (XXL) 26″ (XXXL)
Length: 24″ (XS) 25″ (S) 26″ (M) 26.5″ (L) 27″ (XL) 27.5″ (XXL) 27.5″ (XXXL)
Armhole: 6″ (XS) 7″ (S) 7.5″ (M) 8″ (L) 8.5″ (XL) 9″ (XXL) 9.5″ (XXXL)
Sleeve Length: 4.5″ (XS) 5″ (S) 5″ (M) 5.5″ (L) 5.5″ (XL) 6″ (XXL) 6″ (XXXL)
Abbreviations:
ch – chain
sc – single crochet
dc – double crochet
st(s) – stitch(es)
rep – repeat
t – turn
Difficulty Level:
Level 1 – Beginner
Pattern & Sizing Notes:
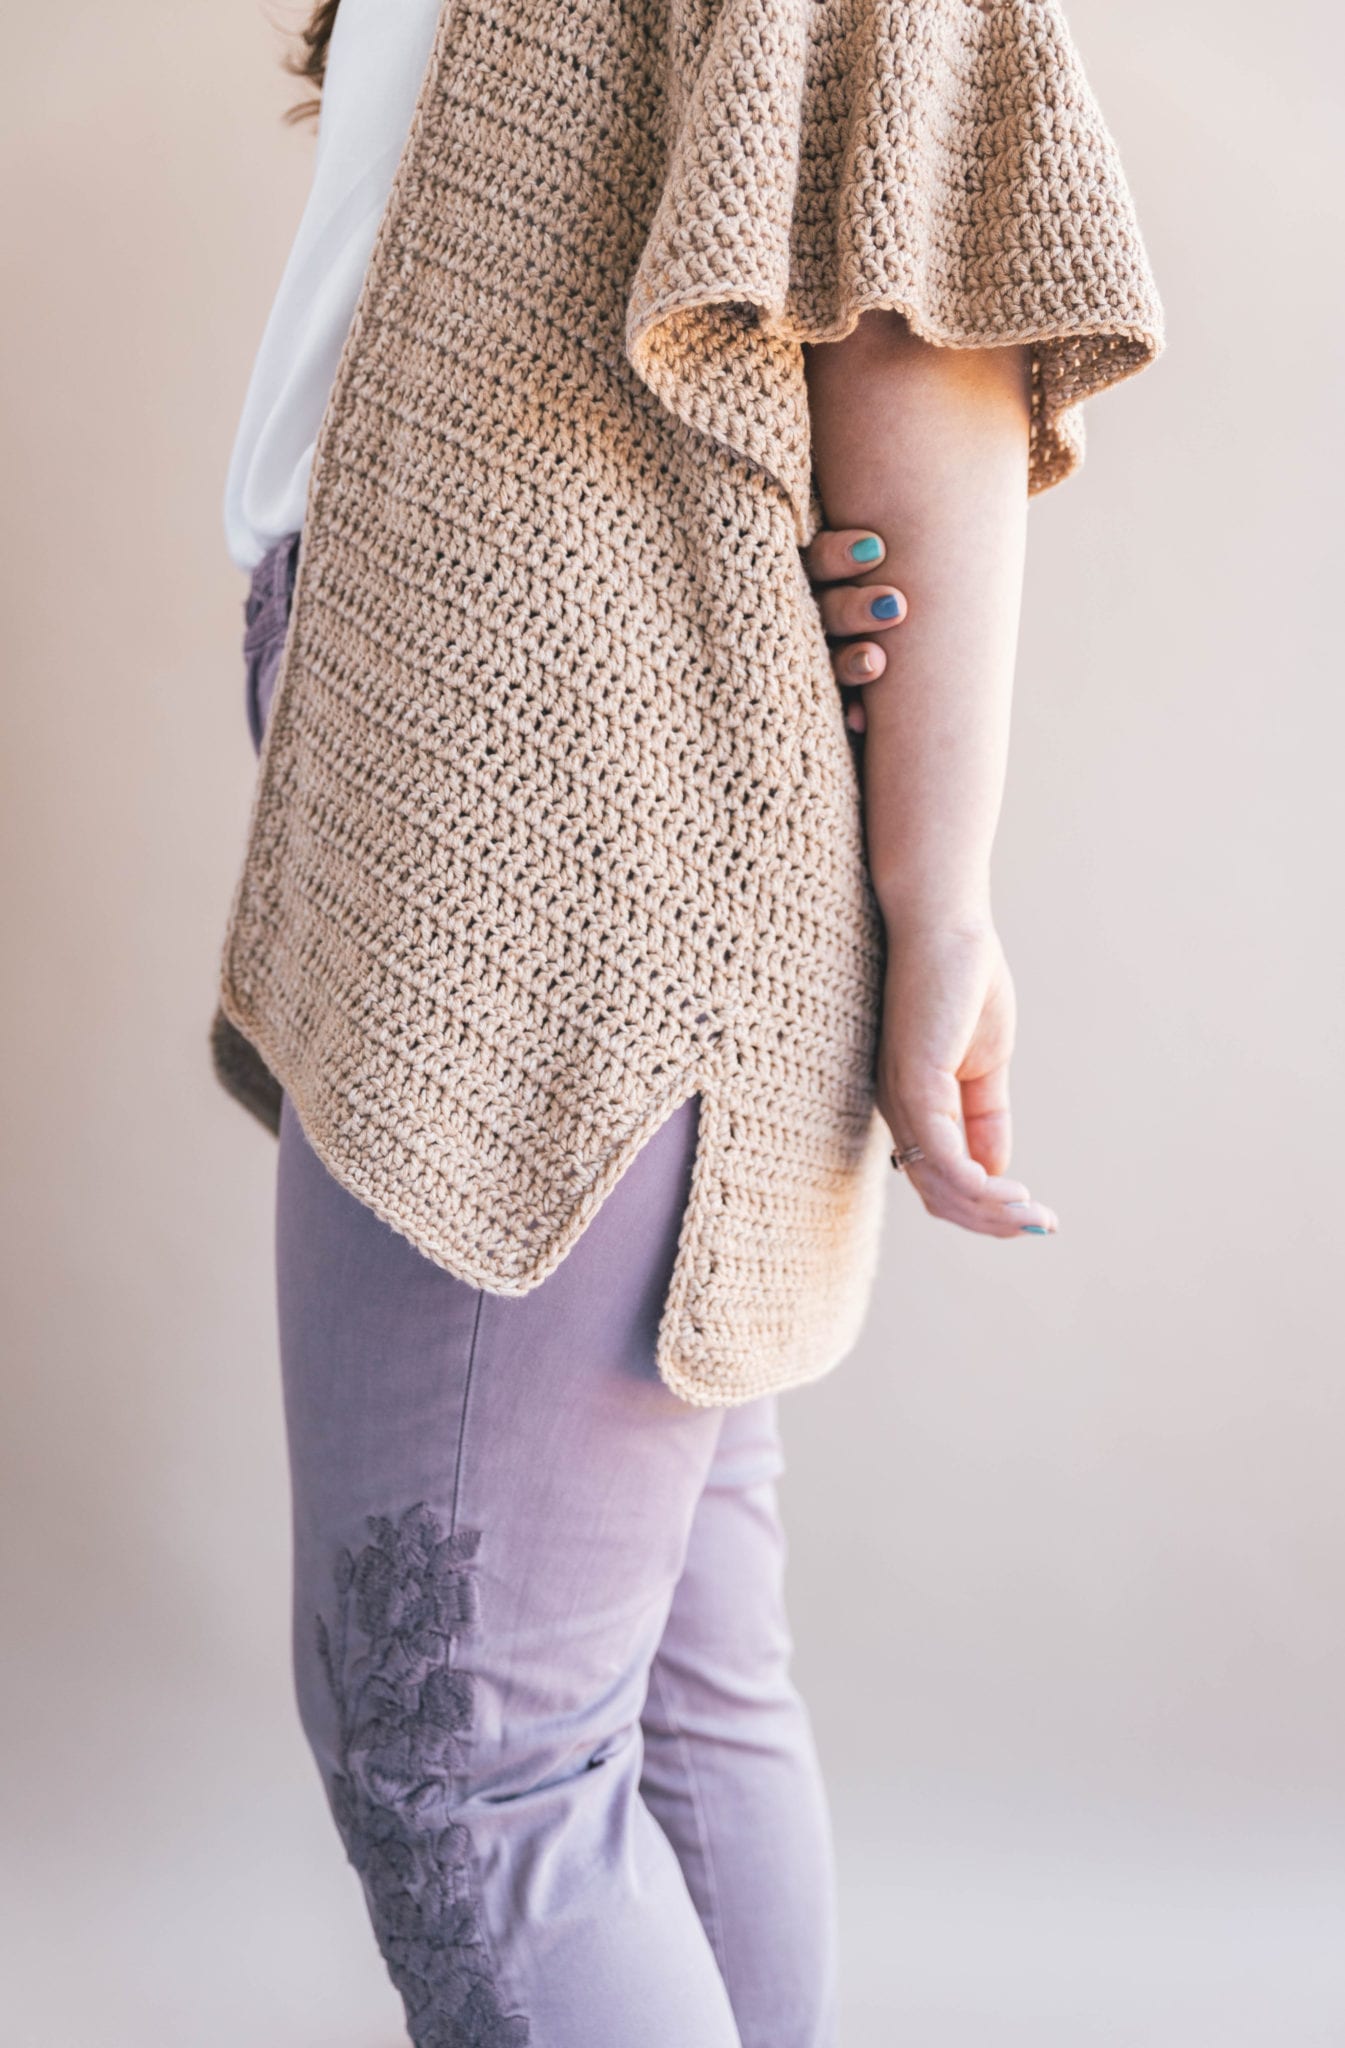
-For reference, model is 5’5” tall with a 39″ bust, and wearing the Ruched Sleeve Cardigan in a size Medium.
-Sizing listed in the pattern will be in X-Small with Small, Medium, Large, Xl, 2X, and 3X listed in parenthesis such as 36 “(41, 46, 51, 56, 61, 66)” whereas Ch 36 for size XS, 41 for size S, 46 for size M, 51 for size L, 56 for size XL, 61 for size 2X and 66 for size 3X. When only one number is given, it applies to all sizes. To follow pattern more easily, circle/highlight all numbers pertaining to your size before beginning.
-This cardigan is worked in 3 pieces, 2 front panels and 1 back panel then seamed together. Ruffled sleeves are worked off of the armholes last.
-All sizing is slightly oversized and based on the CYC sizing regulations. If you want a more figure-hugging fit, size down.
-Ch 2 does not count as a st throughout.
Cardigan
Back Panel:
Ch 62 (66, 68, 72, 74, 78, 80)
Row 1: Dc in 4th from hook and each across, Ch 2 t (59, 63, 65, 69, 71, 75, 77)
Row 2: Dc in each st across, Ch 2, t (59, 63, 65, 69, 71, 75, 77)
Repeat Row 2 46 (48, 50, 51, 52, 53, 53) more times.
Your rectangle should measure close to the sizing listed below (remember – if you have slight variance, it won’t matter too much in the long run).
XS: 18 x 24”
S: 19 x 25”
M: 20 x 26”
L: 21 x 26.5”
XL:22 x 27”
XXL: 23 x 27.5”
XXXL: 24 x 27.5”
Finish off, weave ends.
Front Panels:
*make 2
Ch 32 (34, 35, 37, 38, 40, 41)
Row 1: Dc in 4th from hook and each across, Ch 2 t (29, 31, 32, 34, 35, 37, 38)
Row 2: Dc in each st across, Ch 2, t (29, 31, 32, 34, 35, 37, 38)
Repeat Row 2 46 (48, 50, 51, 52, 53, 53) more times.
Your rectangle should measure close to the sizing listed below (remember – if you have slight variance, it won’t matter too much in the long run).
XS: 9 x 24”
S: 9.5 x 25”
M: 10 x 26”
L: 10.5 x 26.5”
XL: 11 x 27”
XXL: 11.5 x 27.5”
XXXL: 12 x 27.5”
Finish off, weave ends.
Seaming Shoulders:
With a long piece of spare yarn, thread your tapestry needle.
Place both front panels on top of your back panel with right sides together (wrong sides facing you). Be sure you’ve lined up the foundation chain end of each panel on the hemline of the cardigan (this side won’t be sewn together). The front panels should fit together over the back panel to make a perfect rectangle.
Use a mattress stitch to seam the shoulders of your cardigan together. Work along the last row of each panel, sewing through the tops of the stitches. You should have one stitch length between your front panels unworked.
Weave ends.
Side Seams:
With another long piece of spare yarn, thread your tapestry needle.
use a tape measure and stitch marker to measure Andy mark the correct armhole length for your size. I’m making a size medium so I’ll mark 7.5” below the shoulder seam join on both the front and back panels.
Begin mattress stitching at the stitch marker, leaving your armhole opening. Mattress stitch down side seam until you have 3” left unworked. Backstitch a few times and weave ends. (Or sew to bottom if you don’t want to leave hip opening slits).
Repeat on the other side.
Turn your cardigan right side out.
Edging:
*Note: I’ll walk you through how to work the entirety of this edging round, though it’s fairly straight forward. See the video for more visual help!
With the right side of the cardigan facing you, join yarn to any corner of the hemline (I joined to the right bottom corner where the hemline and the neckline meet), Ch 1
Neckline: Sc evenly to the shoulder seams (along the rough edge of your first front panel), Sc in the 1 unworked stitch of back panel between front panels, Sc evenly down the rough edge of your second front panel, 3 Sc at corner
Hemline: Sc in each st along hemline of front panel (working into other side of the foundation ch), 3 Sc at corner
Hip Slits: Sc up first rough edge of hip slit opening, skip the end of the side seam, Sc down other rough edge of hip slit, 3 Sc at corner
Back Hemline: Sc in each st along hemline of back panel (working into other side of the foundation ch), 3 Sc at corner
Repeat Hip slit on other side
Repeat front panel Hemline on other side, sl st to join, Ch 1
Round 2: Sc in each st all the way around (do not work extra sts in corners), sl st to join, finish off. Weave ends.
Ruffle Sleeves:
(now for the fun part!)
Join yarn the the bottom of the armhole/what will be the underarm area, Ch 2
Row 1: Dc evenly around the armhole opening, sl st to join, Ch 2 (44, 48, 52, 56, 60, 64, 68)
Row 2: 2 Dc in each st, sl st to join, Ch 2 (88, 96, 104, 112, 120, 128, 136)
Row 3: Dc in each st, sl st to join, Ch 2(88, 96, 104, 112, 120, 128, 136)
Repeat Row 3 6 (7, 7, 7, 8, 8, 9) more times.
Last Row: Sc in each st, sl st to join
Finish off, weave ends.
Repeat on other armhole.
Pop your brand new Crochet Ruche Sleeve Cardigan on and head out of here – you’re done!
Earning a Living with my Handmade Home
If you love crocheting and knitting, you should think about starting a blog! I’ll help you get started to turn your hobby into a money-making career with my free “Start a Blog” guide.
Or you can check out my latest income report to see how this blog earned over $10,000 last month!
Oh I love this ! And it looks easy enough for me to figure out. Your video is sooooo helpful!
WOW Ashleigh…I’m starting this tonight 🙂
Not sure I understand the sleeves. I’m going to TRY to print this off. Wish you could send it to my email.
thanks for the lovely pattern.
You can easily COPY & PASTE the pattern to your email and then save send it to your self and print it out and save it to your files. I do this all the time when having print problems on some sites.
Hi is it possible to send me this pattern please
LOVE THIS! Thank you for the pattern–I can’t wait to get started!
Love this one! BTW I took your advice and have taken the plunge into the blogasphere. ..eek! Thanks for all your inspiration!
I’m a little about the starting ch, there are seven sizes but only 6 listed at the starting chain.
If you are reading (starting) the directions there are 7 sizes, starting with the back panel. The first number is for xsmall, the numers in the parentheses are for small, med., large, xtralarge, 2x and 3x. Hope this helps you out.
Hi Ashleigh,
I am having a question about your cuddliest crochet bear pattern, but there is no place to comment on that post (or at least I can’t find it). The body pattern is so confusing to me and I have reworked it twice. I only count 30 and then 33 stitches around at the widest part and yours looks so much wider than that. At any rate, following the pattern, mine sort of looks like a bowling pin. I’m not understanding, bc the way the pattern is written, the legs are actually wider than the body and that makes no sense. I looked at this particular pattern on Ravelry, and one user had made it and posted a picture. She seemed to have the same issue of a very skinny body with large arms and legs. Help please?? If I am reading it wrong, please let me know. I showed it to another crocheter and she got the same counts as me. Thanks in advance!
Hi! Loving this quick and easy project. Thanks for sharing it! I am at the sleeve portion of the cardigan and the numbers aren’t adding up for me. It says to DC about 25 times into the arm opening. I am only half-way around the opening at that point. It looks like yours is the same in the video. (also doing size medium)
I don’t see the video for this ruffled cardigan.
This was easy to make and looks lovely as a spring cardigan. I used Cascade Pacific yarn, a Merino wool/Acrylic blend, in a dark green marled color. I’m really happy with the fit and look of the final product. I’ll probably make another in a lighter color.
Hello I’m ready to stitch my sides but can’t find where it says how many inches I should go down for the armholes I’m doing a size xl