An accessory that’s perfect for summer – my Crochet Duo Poncho – is a free pattern here on the blog!
Read through my inspiration, design process, and lots of info on the perfect yarn I chose, or scroll on down for the free pattern.
The Inspiration + Design
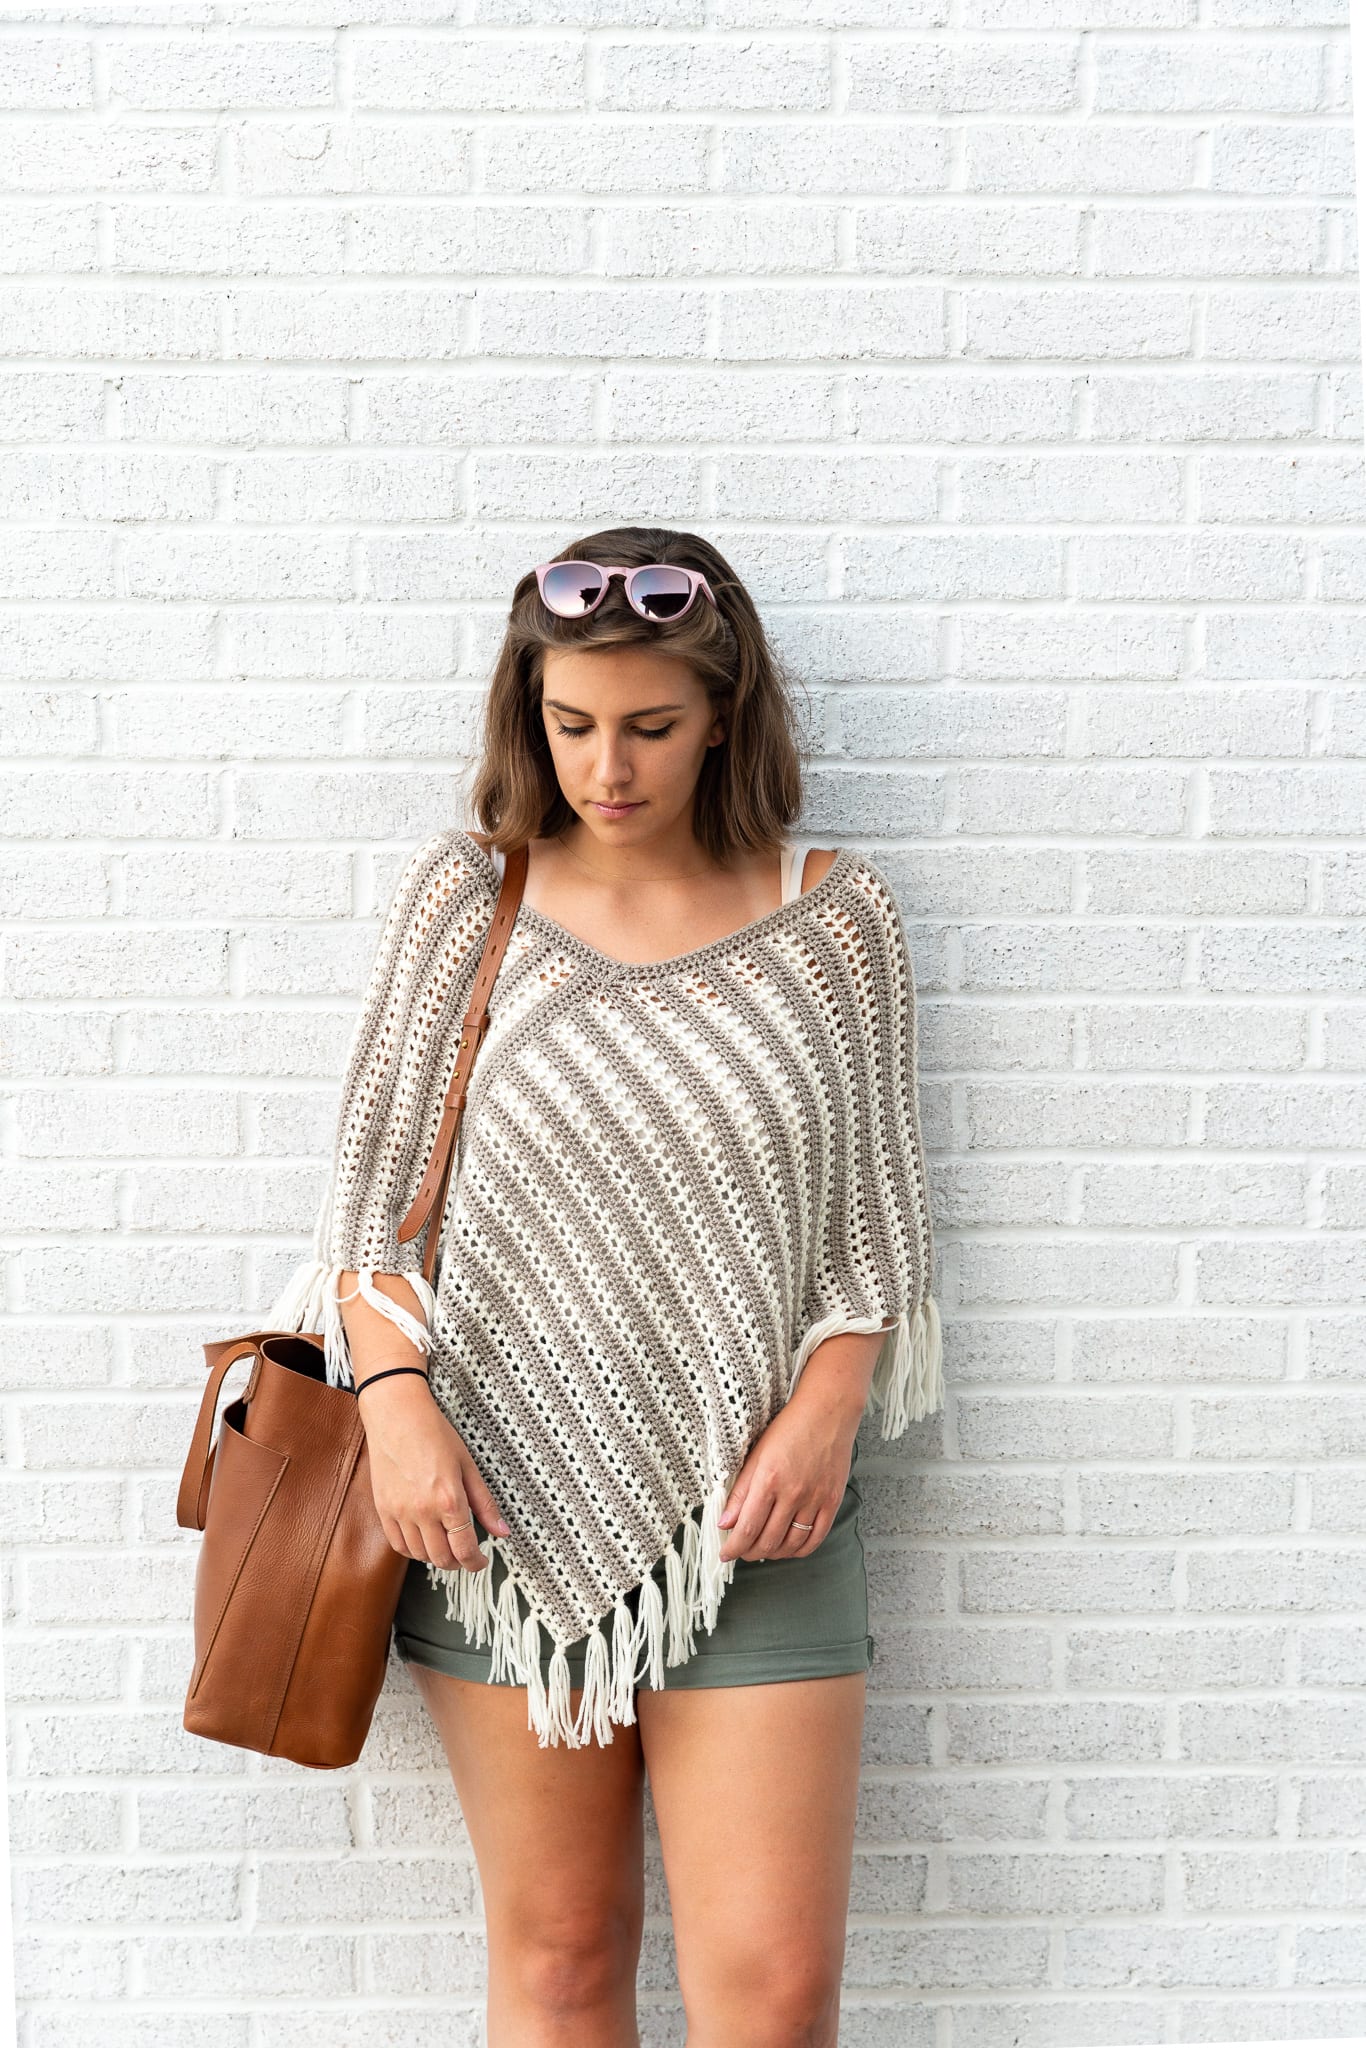
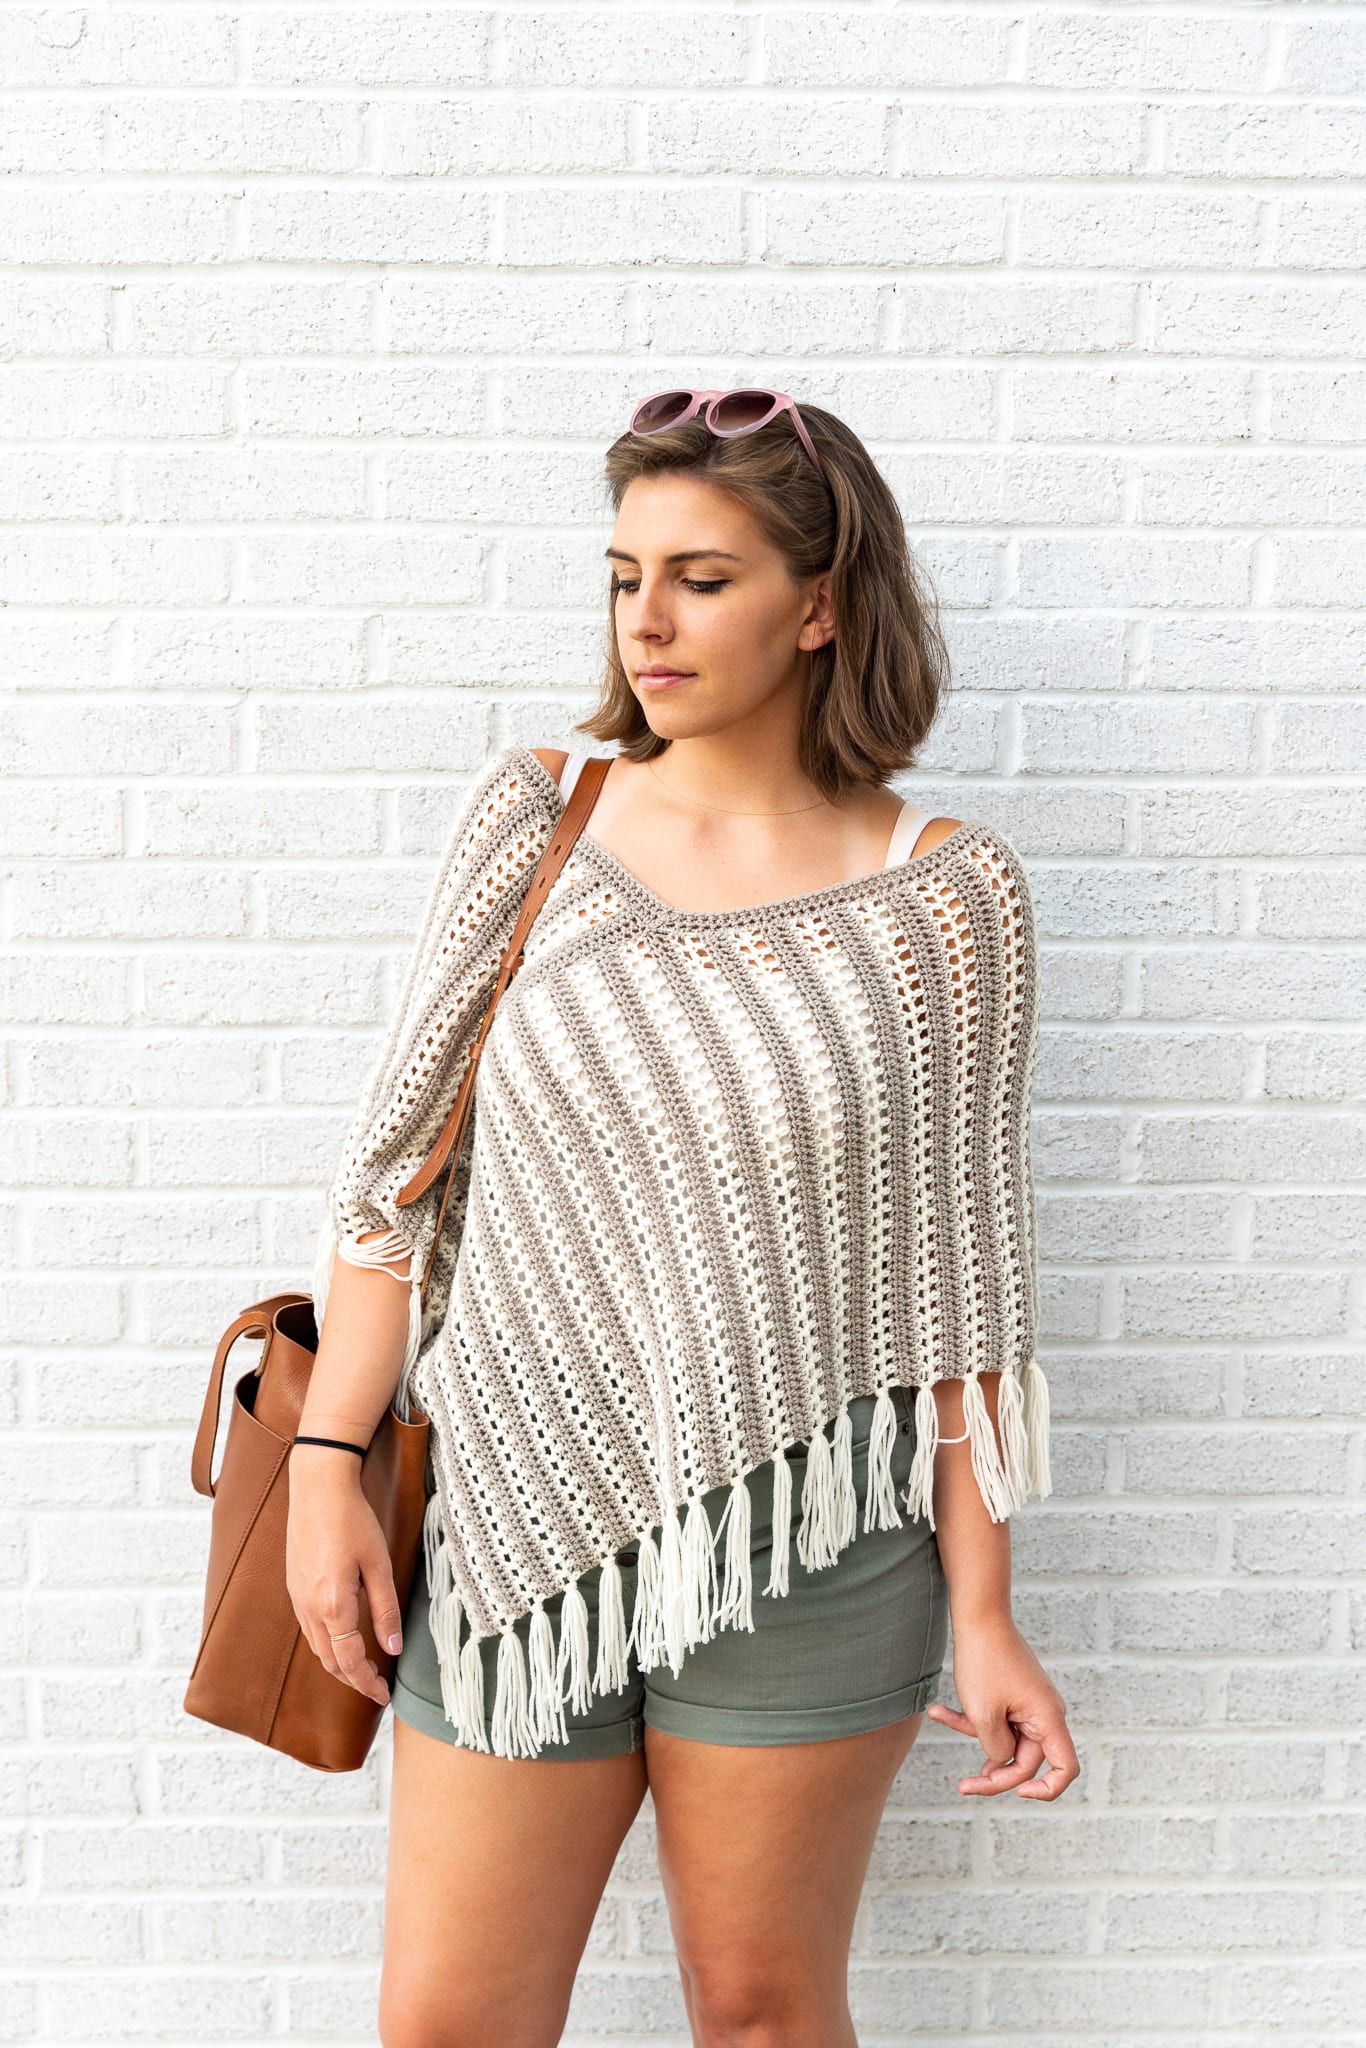
I love making and wearing ponchos! They are easy to layer over a simple comfortable tank in the warm summer months and wear wonderfully over long sleeve tees in the chillier months. They’re such versatile accessories that are so worth the time to make.
Last spring I made a poncho called the Ava Poncho and it is still among the most popular patterns here on the blog! My favorite part of the Ava Poncho is the unique 2 panel construction. With two long, thin rectangles and a couple of seams you end up with this sort of triangular shaped poncho! It’s so fun to watch it come together, especially considering the panels themselves are an easy, mindless project to work on while watching Netflix.
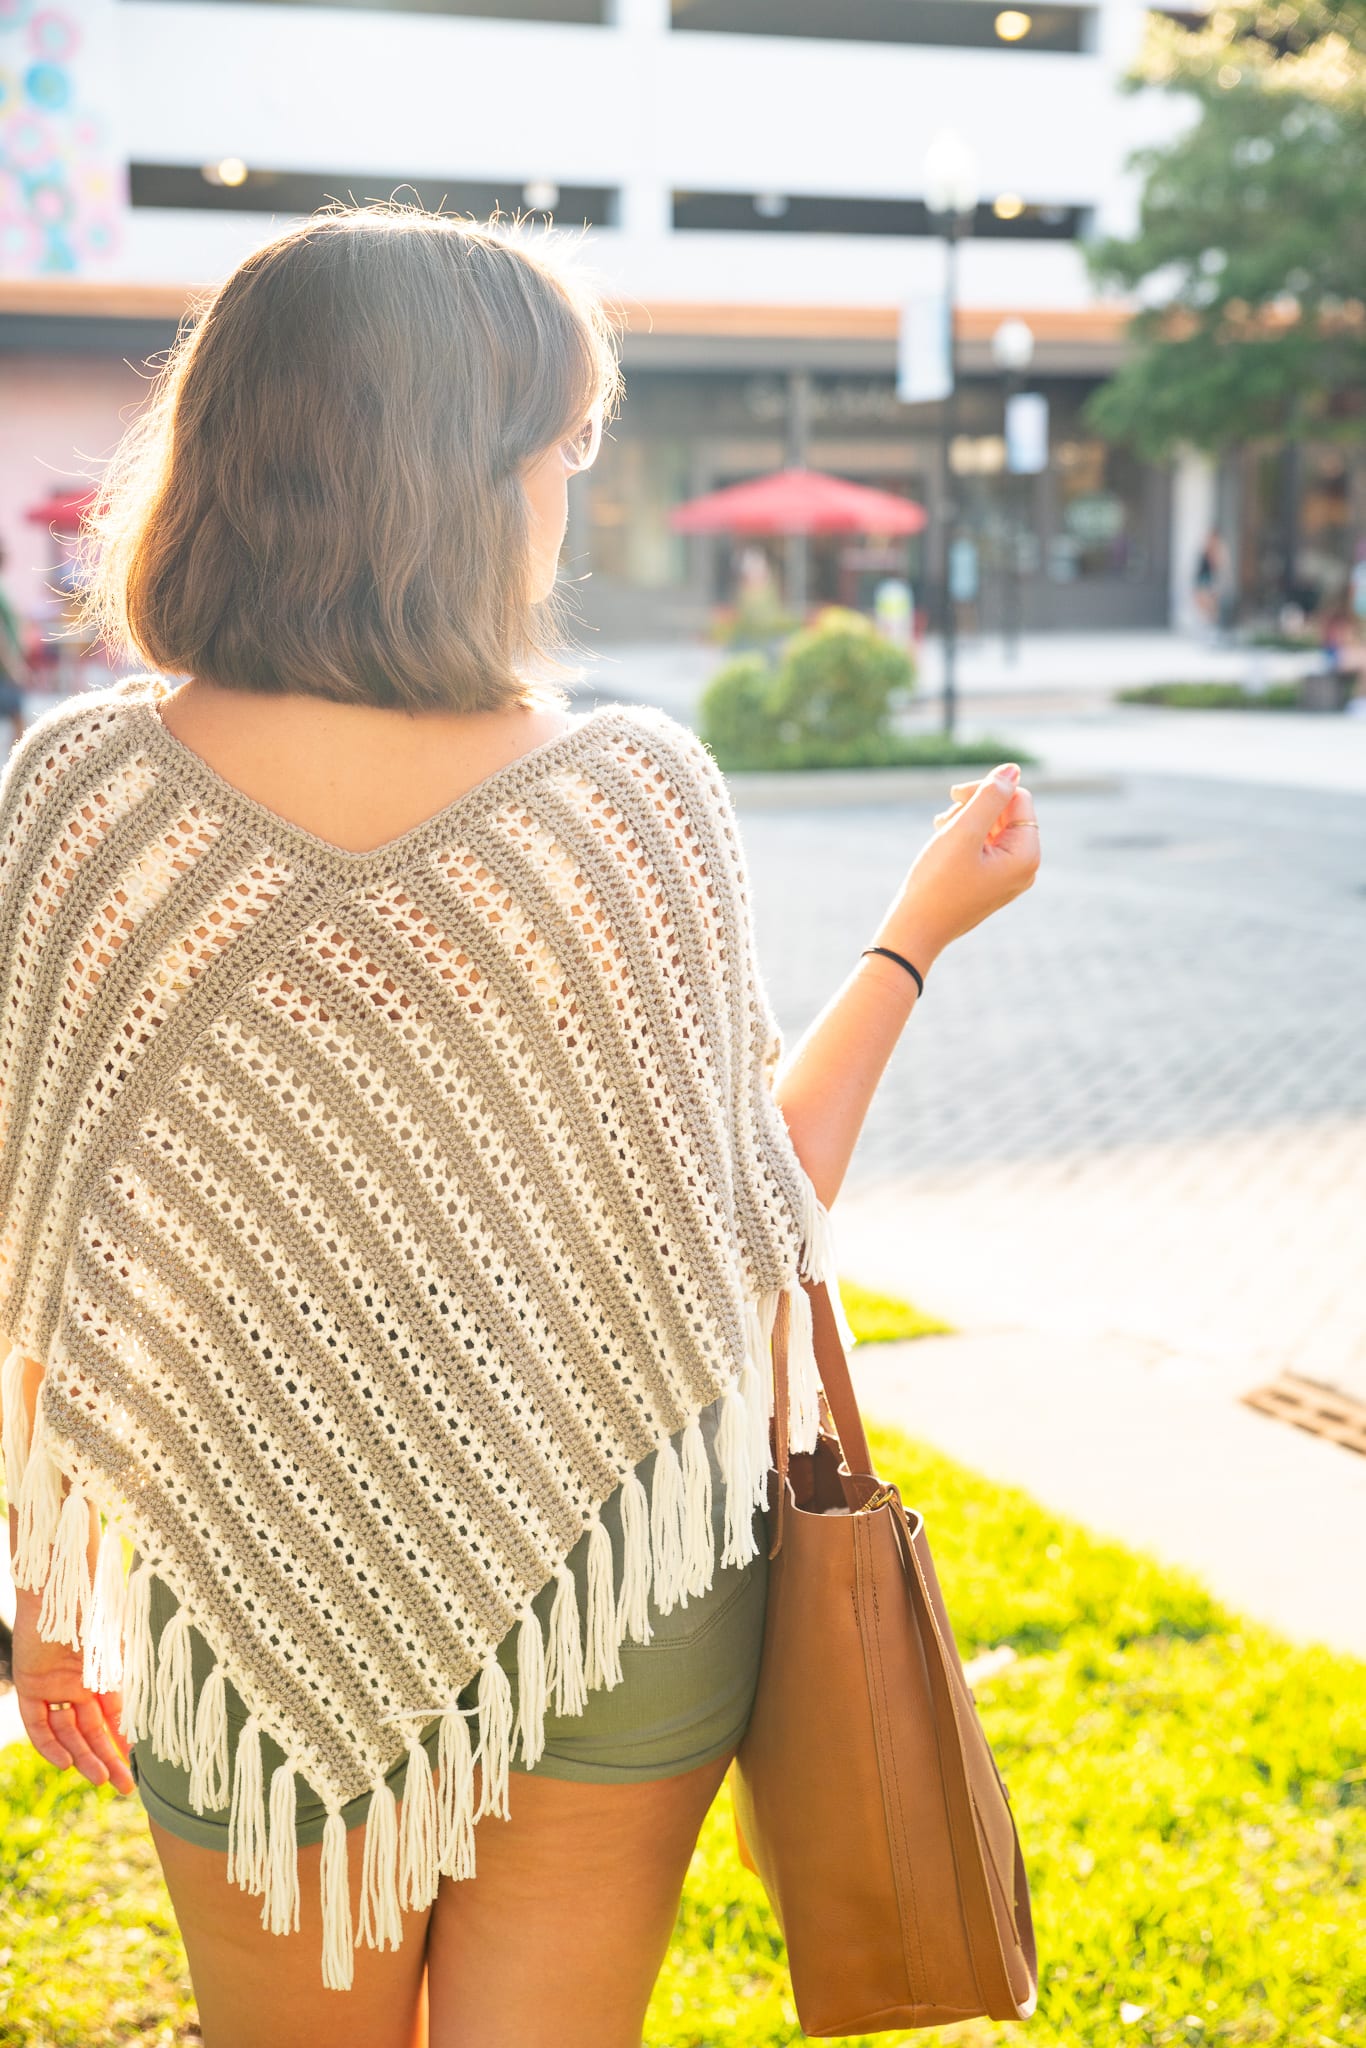
When I was trying to decide on a stitch pattern, I knew I wanted to work in some simple lace stitches without making anything complicated. I opted for simple chain 1 skip 1 eyelets, combined with some really easy striping (don’t worry about weaving tons of ends, we will carry the yarn up the side) and the product is a textural poncho that looks detailed and stylish.
The Yarn + Kit
I tried out Lion Brand’s LB Collection Superwash Merino yarn for this project and it worked up into a gorgeous, warm-but-not-too-warm poncho! The color selection in this yarn is one of my favorites of all the Lion Brand lines and any color option duo would be gorgeous. The colors in Superwash Merino are a bit earthy and very natural looking, while still being vivid and saturated – my favorite kind of color!
I chose to use Hemp and Antique for a more neutral looking poncho to wear during all seasons. Some of my other favorite colors are Peony, Teal, Wisteria, and Dijon. If I were to make another poncho in another color, I would pick one of these brighter, more colorful hues and pair it with a neutral like Antique or Hemp! This way you get a colorful poncho without being too “loud” in color.
Click here to grab the pattern kit with all the yarn you need and a printed copy of the pattern from Lion Brand Yarn!

PATTERN
- Get the ad-free, large print, printable PDF pattern HERE.
- Grab the Ultimate Pattern Bundle that includes 150+ patterns just like this one on sale for $20 today HERE.
- PIN this pattern to your Pinterest boards for later HERE.
- Add this pattern to your Ravelry queue HERE.
DESCRIPTION
Crochet this fringed poncho in simple two color stripes with unique two-panel construction – thus the name, duo! It’s super simple and comes together quickly and easily, you might just make two!
MATERIALS
–Lion Brand Collection Superwash Merino Yarn
(Weight 3/Light, 3.5 oz/100 g, 218 yds/200 m)
2 (2, 3, 3) balls in Hemp (MC) 520 (580, 640, 700) yds, 400 (430, 490, 520) m
2 (2, 2, 3) balls in Antique (CC) 480 (530, 590, 650) yds, 360 (390, 450, 480) m
Grab your kit to make this pattern HERE!
Shop all of my favorite tools & materials HERE!
SIZES
XS/S, M/L, XL/2XL, 3XL/4XL
GAUGE (after blocking)
15 sts x 13 rows = 4″ in hdc
MEASUREMENTS
| XS/S | M/L | XL/2XL | 3XL/4XL | |
| To fit bust | 30-34 | 38-42 | 44-48 | 52-56 |
PATTERN NOTES
-For reference, model is 5’5” tall 38” bust, and wearing the duo poncho in a size M/L. Fit is oversized, for a more fitted poncho size down.
-Sizing listed in the pattern will be in XS/S with M/L, XL/2XL, 3XL/4XL listed in parenthesis such as 54 (58, 62, 66) whereas 54 for size XS/S, 58 for size M/L, 62 for size XL/2XL, and 66 for size 3XL/4XL. When only one number is given, it applies to all sizes. To follow pattern more easily, circle/highlight all numbers pertaining to your size before beginning.
-This poncho is worked in 2 identical pieces and seamed in a creative way. Neckline is worked last by working into the selvedge edge.
-All sizing is quite flexible and based on the CYC sizing regulations.
Crochet Duo Poncho
PANELS
Make 2
With MC yarn, Ch 54 (58, 62, 66), sk 2 sts
Row 1: Starting in thrid chain from hook, Hdc across, chain two and t <52, 56, 60, 64>
Row 2: Hdc across. Finish last stitch with CC yarn.
Change to CC yarn
(do not break MC yarn, carry all yarns up the side of the work throughout)
Row 3: Ch 3, sk 1 hdc st, hdc, *ch 1, sk 1, hdc; rep from * across, chain three and t <26, 28, 30, 32 hdc>
Row 4: sk 1 hdc st, hdc, *ch 1, sk 1, hdc; rep from * across. Finish last stitch with mc yarn, chain two and turn.
Change to MC yarn
Rep Rows 1-4 until you’ve finished 76 (82, 88, 94) rows.
Finish off, weave all ends.
Finished panel measurements:
XS/S: 16 x 32”
M/L: 17 x 34”
XL/2XL: 18 x 36”
3XL/4XL: 19 x 38”
Block panels.
SEAMING
With a long piece of spare yarn, thread your tapestry needle.
Place one panel (first panel) lengthwise and the other (second panel) widthwise, right sides facing up. You should have one panel’s short side matching up with another panel’s long side, making a giant “L” shape.
Where the panels meet, use a mattress stitch to seam your panels together, taking care to hide carried yarn in the seam. Sew through tops of the stitches on one panel and through the ends of the rows on the other panel.
To create the second seam, fold first panel in to meet your first seam. Fold your second panel in to meet the end of the other panel. You should have a giant heart shape.
Use a mattress stitch to seam your panels together again long the first panel’s short side and your second panel’s selvedge edge.
Weave all ends.
NECKLINE
Identify the neckline area (smaller opening at the top of your seamed panels). Decide which side will be your front and back.
Join yarn to the center of the neckline back, Ch 2
Rnd 1: Hdc evenly around neckline selvedge edge (working 1 st in end of each row), sl st to join
Note: The number of stitches here isn’t as important as making sure you have worked evenly around.
Rnd 2: Ch 2, hdc in each st around, sl st to join
Rnd 3: Ch 1, sc in each st around, sl st to join
Finish off, weave all ends.
FRINGE
Cut pieces of MC yarn about 10 in. long (5 per tassel fringe unit).
Fold 5 pieces in half together. Use your crochet hook to pull the fold of the yarn partially through the edge of any CC row (I like to begin at the front center ”point”. Pull tails of the fringe through the loop created. Tighten and trim tails.
Rep tassel fringe at about every 1.5” all the way around.
Trim all fringe to be as even as possible.
Abbreviations (US Terms):
ch – chain
hdc – half double crochet
rep – repeat
sk – skip
st(s) – stitch(es)
t – turn
OTHER FREE CROCHET PATTERNS YOU MIGHT LOVE
1. Crochet Elle Convertible Shawl / 2. Crochet Rancher Poncho / 3. Crochet Audrey Tunic
This is really super cute!! Great color choices! You’ve outdone yourself!! 🙂
Hi, I made this one from the spring time version, too long (I’m 5”3) & neckline came out too wide for me, will try this one but how do make neckline smaller. Thanks so much!
I would suggest doing the first round of neckline edging stitches then doing a round with some decreases built in like a Hdc2tog every few stitches to cinch it in!
Hi Ashleigh,
This will go viral I know it!! what a beautiful expertly designed poncho. You’ve really nailed it!!
Hi there!! I’m in love with this poncho… is there another yarn you could recommend to use? Something similar? Thanks! Can’t wait to make one.
Any DK weight yarn will substitute nicely! If you can find something close to 230 yds per 100 g that will be almost identical. Just make sure to gauge swatch to make sure you don’t need to adjust your hook size 🙂