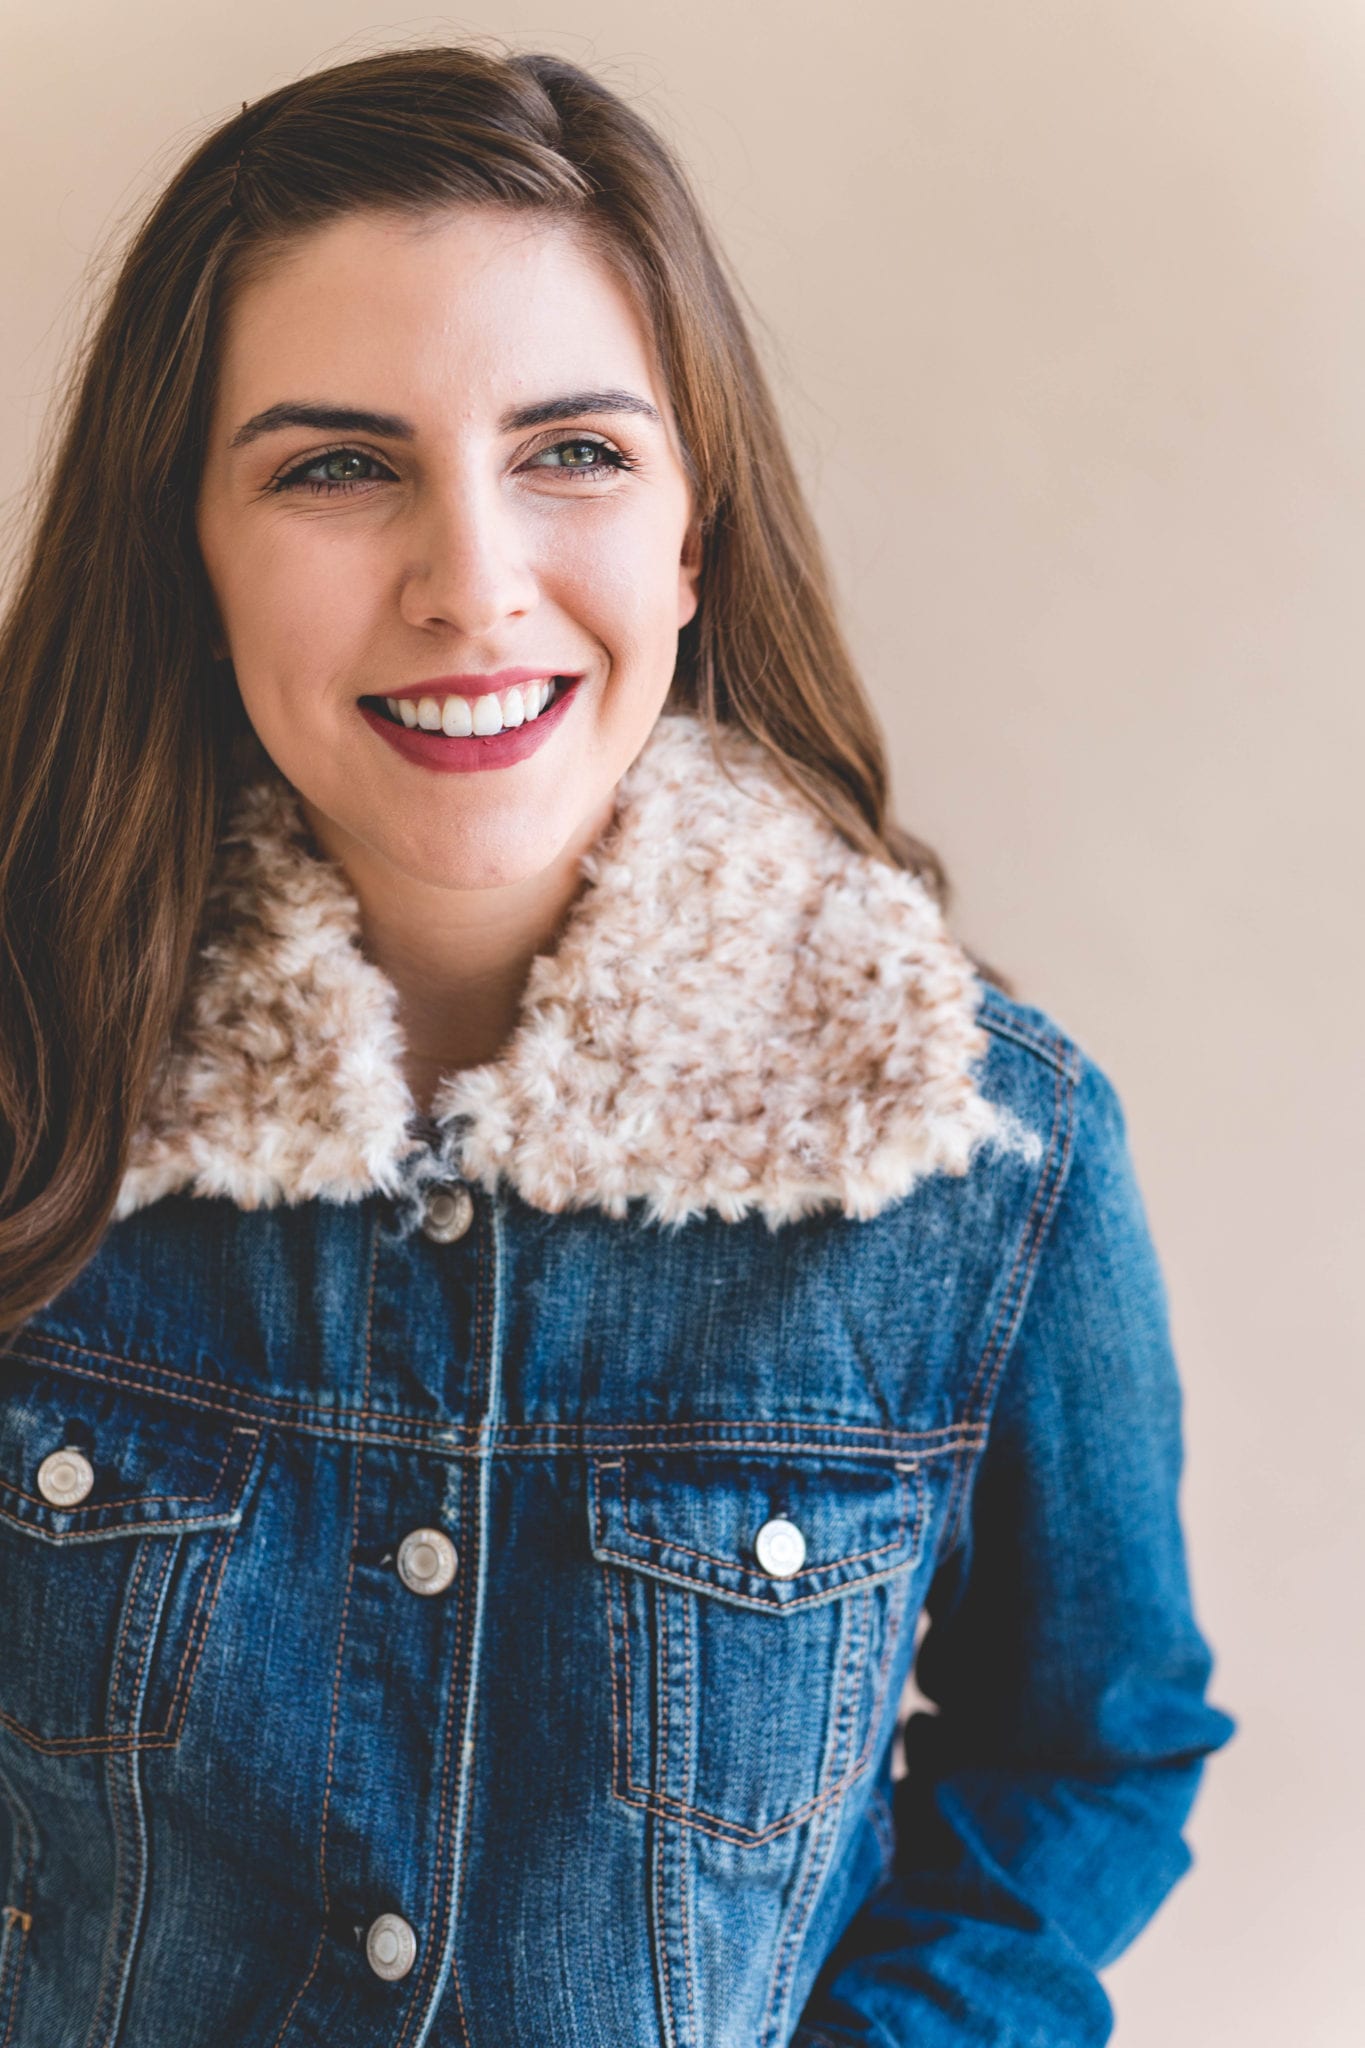
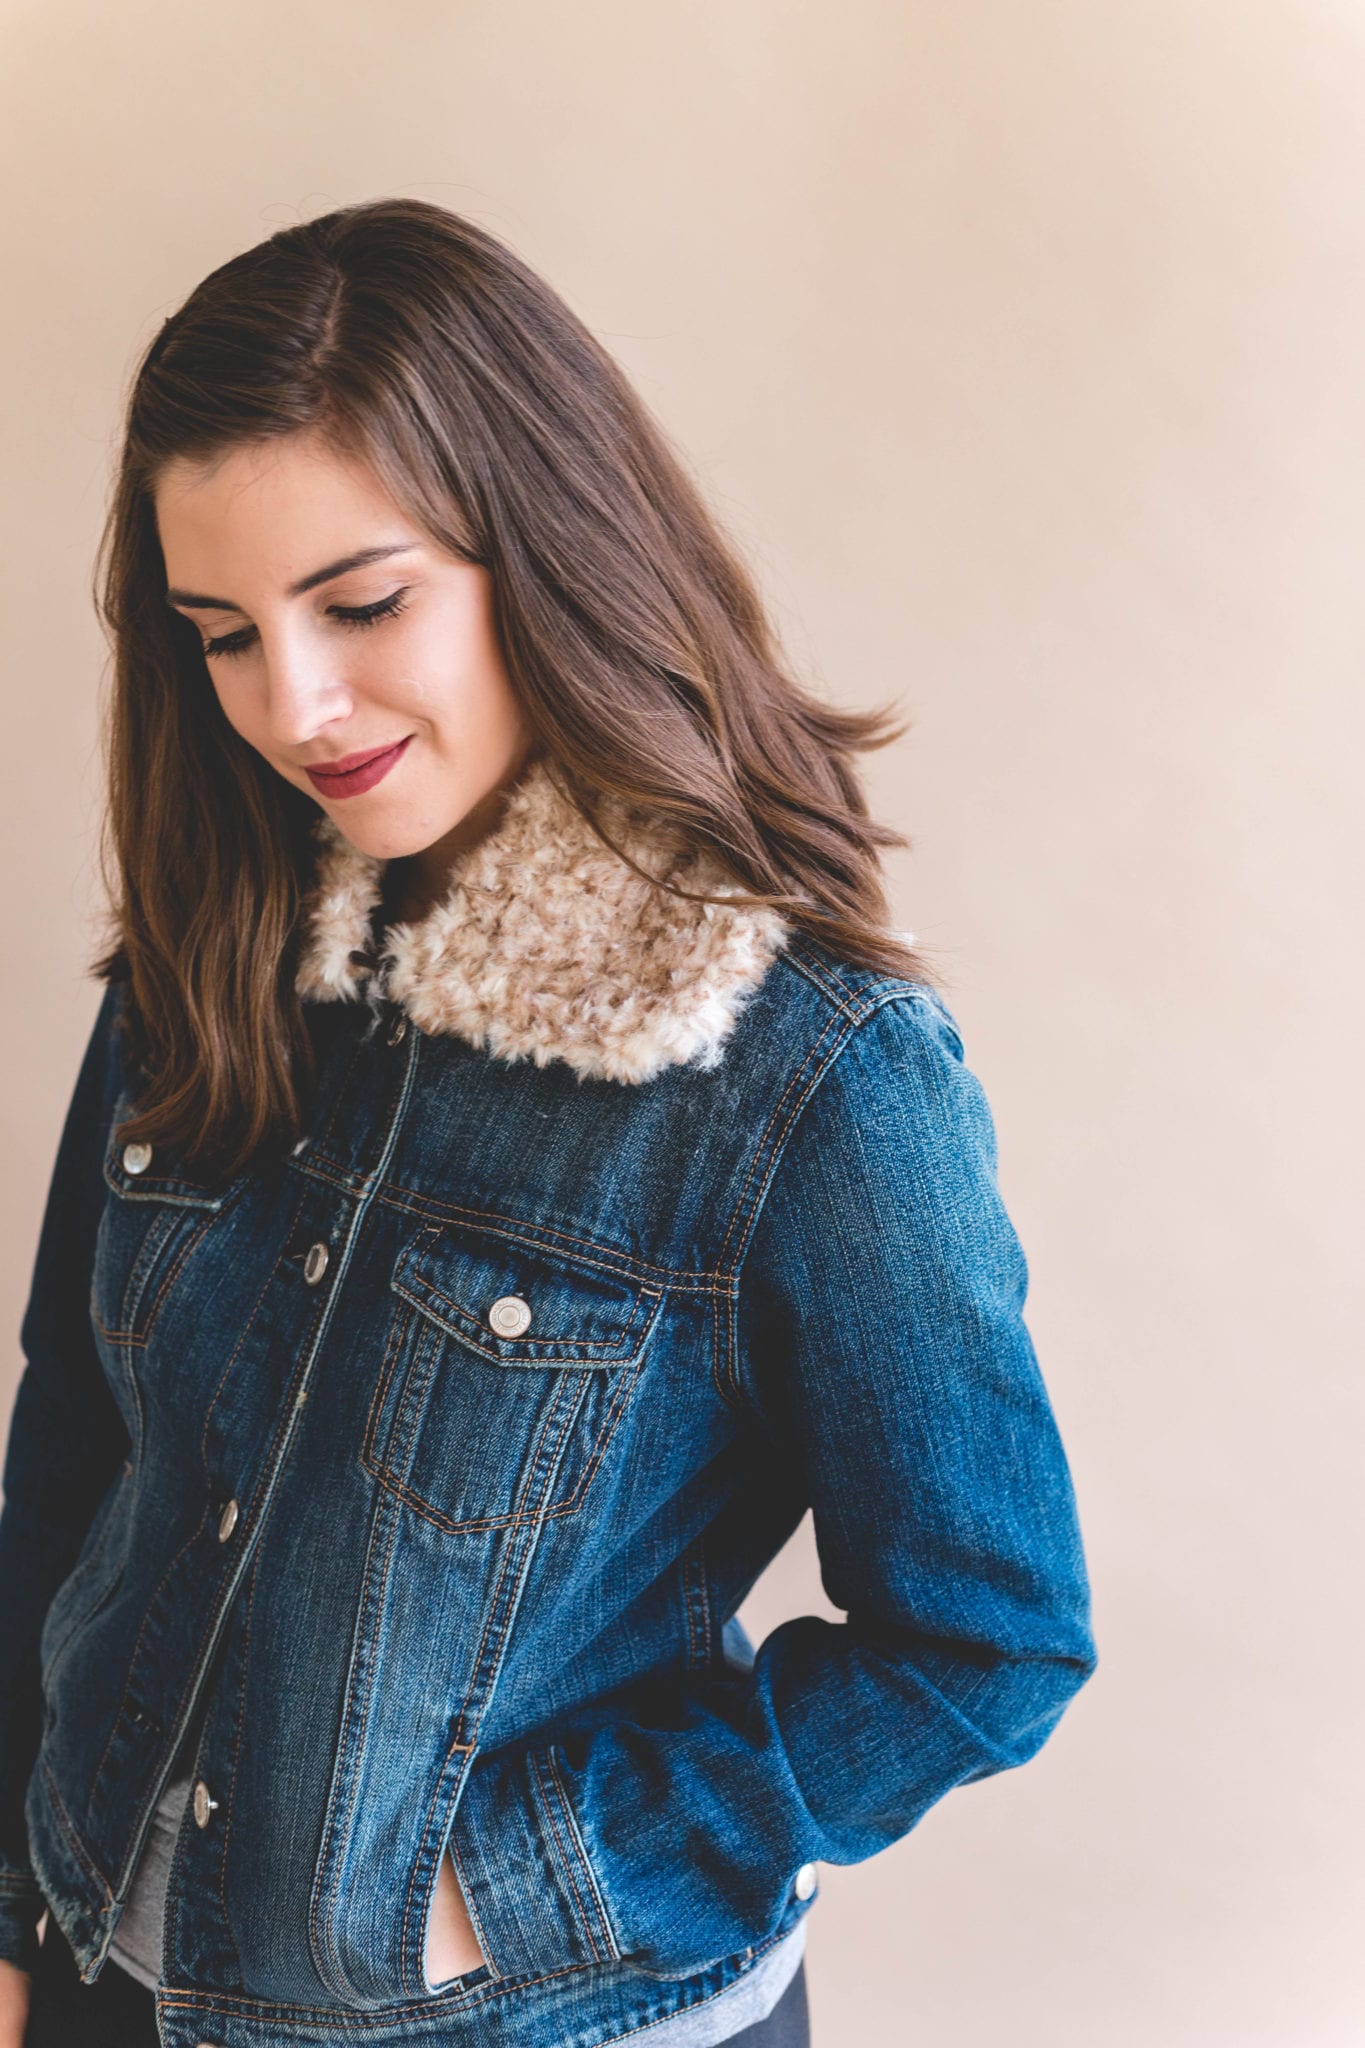
Perhaps the easiest pattern ever to join the blog – The Crochet Collar Topper!
Read on all about the inspiration, design and the funky Go For Faux yarn from Lion Brand or scroll on down for the free pattern.

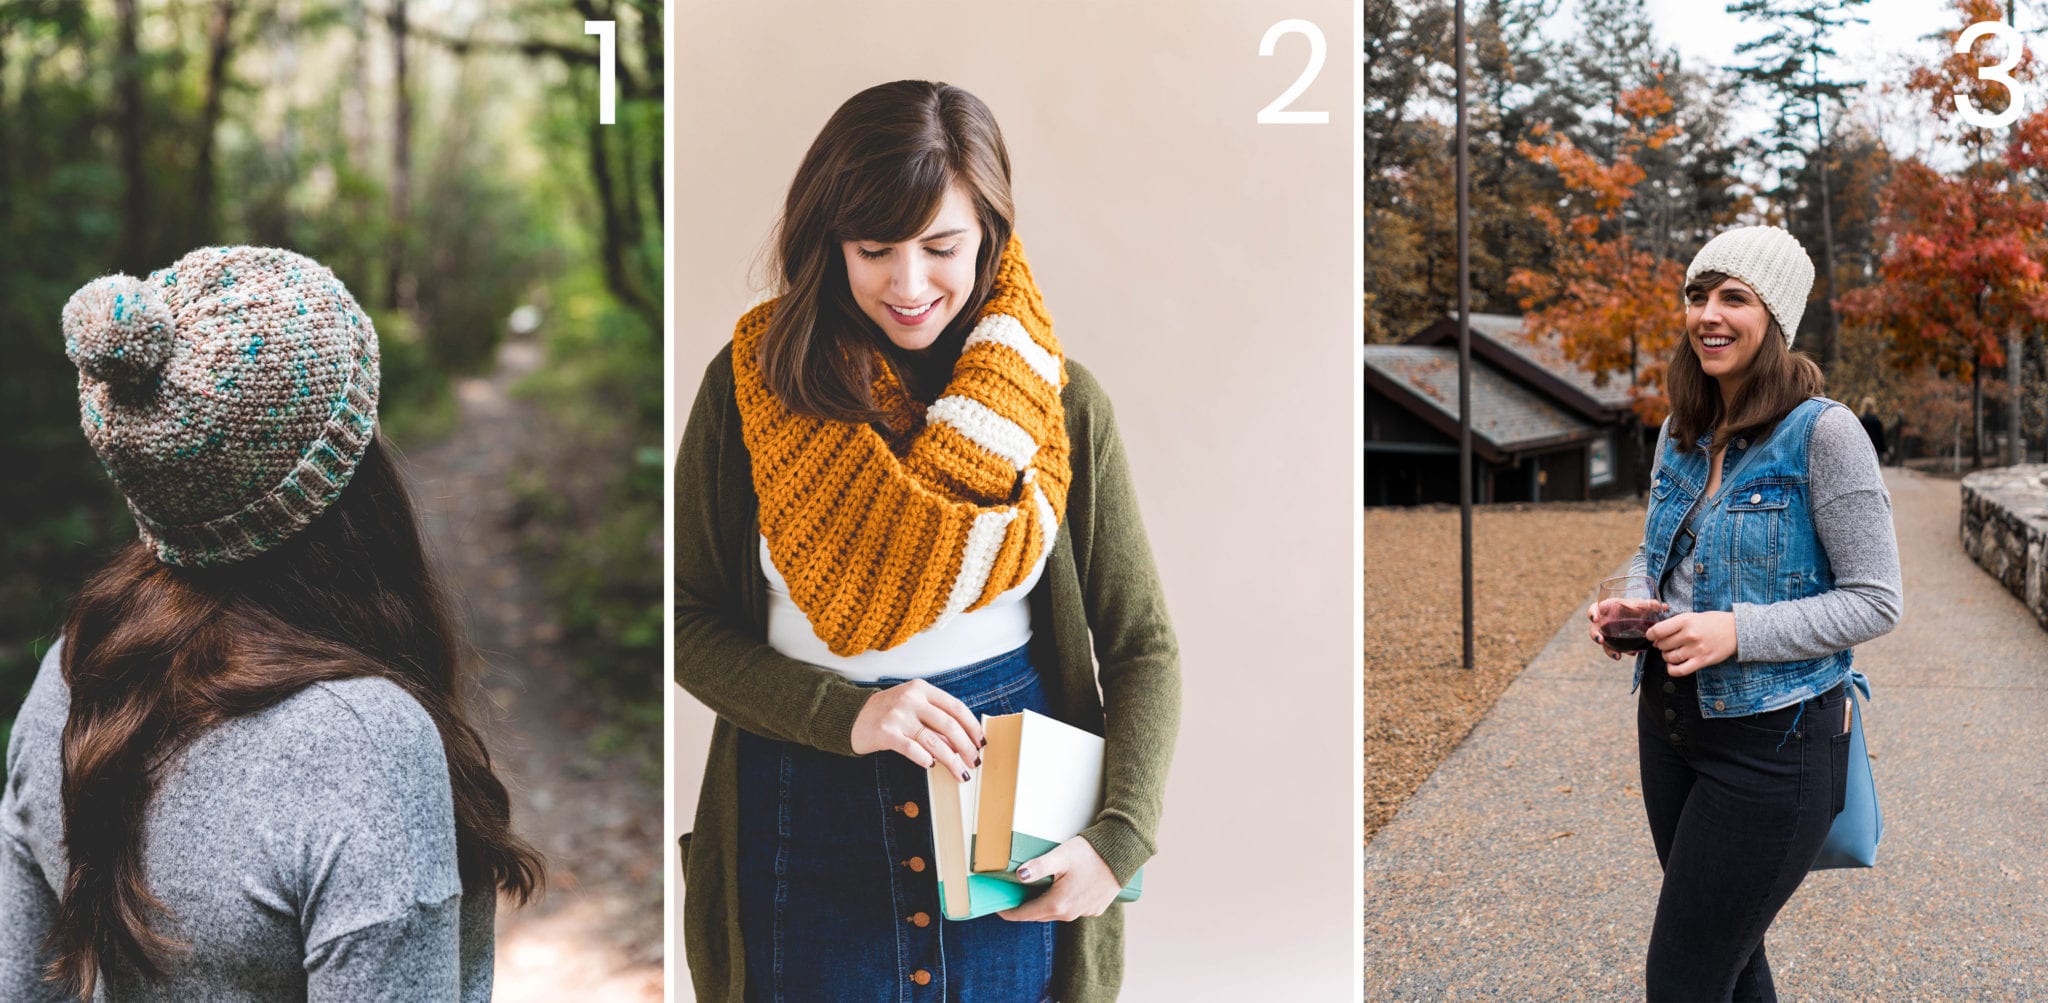
Looking for more SIMPLE STITCH PATTERNS? Check these out!

1. Crochet Avery Hat / 2. Crochet University Scarf / 3. Crochet Brooklyn Ridge Hat
The Inspiration + Design
If you know me at all, you know I love Gilmore girls. I’ve been watching the show since it first aired when I was in grade school, got the box set for Christmas the year after they cancelled the series and have been bingeing ever since. It’s unhealthy, I know every line before they say it. I could bore you with a list of my favorite quotes, characters, and outfits but let’s just talk about one for now: those sherpa lined coats.
Rory and Lorelai wore several jackets in the show but some of my favorites were those sherpa lined denim and corduroy ones in the early seasons. I love sherpa, although I own nothing fuzzy because I live in Florida. So instead of sweating it out in those cute teddy-bear-snuggle-feelin’ jackets – I made a little collar topper to toss on over my light denim jacket to get the Lorelei look! This version is much cooler and so easy to make.
When I sat down to design this lil pattern, I realized it really isn’t a design – it’s just a rectangle. There is absolutely nothing fancy here, unless you find rectangles fancy. I didn’t do any fussy shaping because why bother when this looks perfect as is? Done and done.

The Yarn
I’d thought about making a collar topper before with the crochet loop stitch (and I still might!) but I wasn’t in love with the idea. It was just kinda there. I really wanted the fuzzy fluffy look of Lorelei’s jacket. So when my pals at Lion Brand showed me a sneak peek at a new faux fur yarn they were developing, I knew this tutorial was in my future!
Go For Faux yarn is unlike anything else I’ve seen. It looks in the ball how it looks when worked up, maximum fluffiness! I only used one skein (with some leftover!) to make this collar topper and I’m in love with how it came out!
There are lots of gorgeous colorways of Go For Faux yarn, some colorful and some more natural like this Pomeranian colorway I used. Isn’t that just the cutest?! Any color would look great with denim, or layered over a heavier collared coat.

PATTERN
- Get the ad-free, large print, printable PDF pattern HERE.
- Grab the Ultimate Pattern Bundle that includes 150+ patterns just like this one on sale for $20 today HERE.
- PIN this pattern to your Pinterest boards for later HERE.
- Add this pattern to your Ravelry queue HERE.
To sum it up: An easy 1 skein beginner level project that you can make in about 20 minutes, start to finish! Make a removable, stylish faux fur collar with this free pattern – you won’t believe how easy and fun these are to make & to wear!
Materials:
–Lion Brand Go For Faux yarn (Weight: 6/Super Bulky – 3.5oz, 64 yds) – I used Pomeranian
-Scrap lighter weight yarn in a similar color (1-2 yds) – I used Heartland in Grand Canyon
-Covered hook & eye (sew on, extra large) – here are the ones I bought at JOANN!
-Measuring tape
-Scissors
-Yarn needle
-Lint roller

Gauge:
about 6 sts x 4 rows in sc = 4″
Measurements:
6″ x 30″ – this may vary based on your size and your coat.
Abbreviations (US terms):
ch – chain
sc – single crochet
rpt – repeat
st(s) – stitch(es)
Skill Level:
Level 1 – beginner
Pattern Notes
-This pattern is one size fits most but can easily be adjusted to work well with any coat or size. Just change the number of chain stitches to alter the width of the collar and the number of rows of Sc to alter the length (that goes around your neck).
-Working with Go For Faux does require a bit of patience and a lint roller. This yarn will shed a bit while working with it, but I haven’t noticed a ton of fuzzing since the finished item has been worn. I’ve heard from LB that throwing your Go For Faux pieces on a low heat setting in the dryer can slough off some of the excess fuzz!
-The stitches in a fluffy yarn like this are hard to see, I’ll cop to that. However, you can feel the stitches fairly easily and make sure you count stitches as you go per row to make sure you always have 8! Luckily this piece is small and can get us started using fur yarn. The end result is so worth the couple of setbacks we may have.
-The hook and eye are crucial to this project working out – the collar won’t stay in place too well without them. However, you could substitute a 1-2″ button and pop it through the fabric as the stitches are fairly large. It will just be more visible than the hook and eye and may not give the illusion that it’s attached to the jacket. Additionally, you could affix your collar topper to a coat or jacket with velcro or fabric glue if you want it to stay there forever.
-Counts within <> are final stitch counts for the Rnd.

Crochet Collar Topper
Ch 9
Row 1: Sc in 2nd ch st and each across (8)
Rows 2-30: Ch 1, t, Sc in each st across (8)
Finish off and weave ends. Your piece should look like this!

Attach hook and eye with your scrap yarn in a similar color. I used Lion Brand Heartland yarn in Grand Canyon. You can see from my supplies photo below it’s not a match, but its in the same general color family as my Pomeranian Go For Faux yarn. That’ll do!
Sew the hook to one of the short sides at the left corner. Take care to sew around each foot of the hook several times to ensure it’ll stay put.
Sew the eye to the other short side of the piece, also at the left side. Sew securely.

Weave all ends by burying them in your Go For Faux stitches. Or knot and tie off because it’ll be hidden in the fur.

Hook together and pop on over a jacket – you’re done!

Earning a Living with my Handmade Home
If you love crocheting and knitting, you should think about starting a blog! I’ll help you get started to turn your hobby into a money-making career with my free “Start a Blog” guide.
Or you can check out my latest income report to see how this blog earned over $10,000 last month!
What size hook are you using?