The Crochet Ava Poncho is one of my favorite patterns I’ve ever designed so I’m bringing it back in a new fall feature!
You might remember this pattern from when I first posted it here on the blog earlier this year. This post holds the same pattern, showing you a bit of a different way to style it!
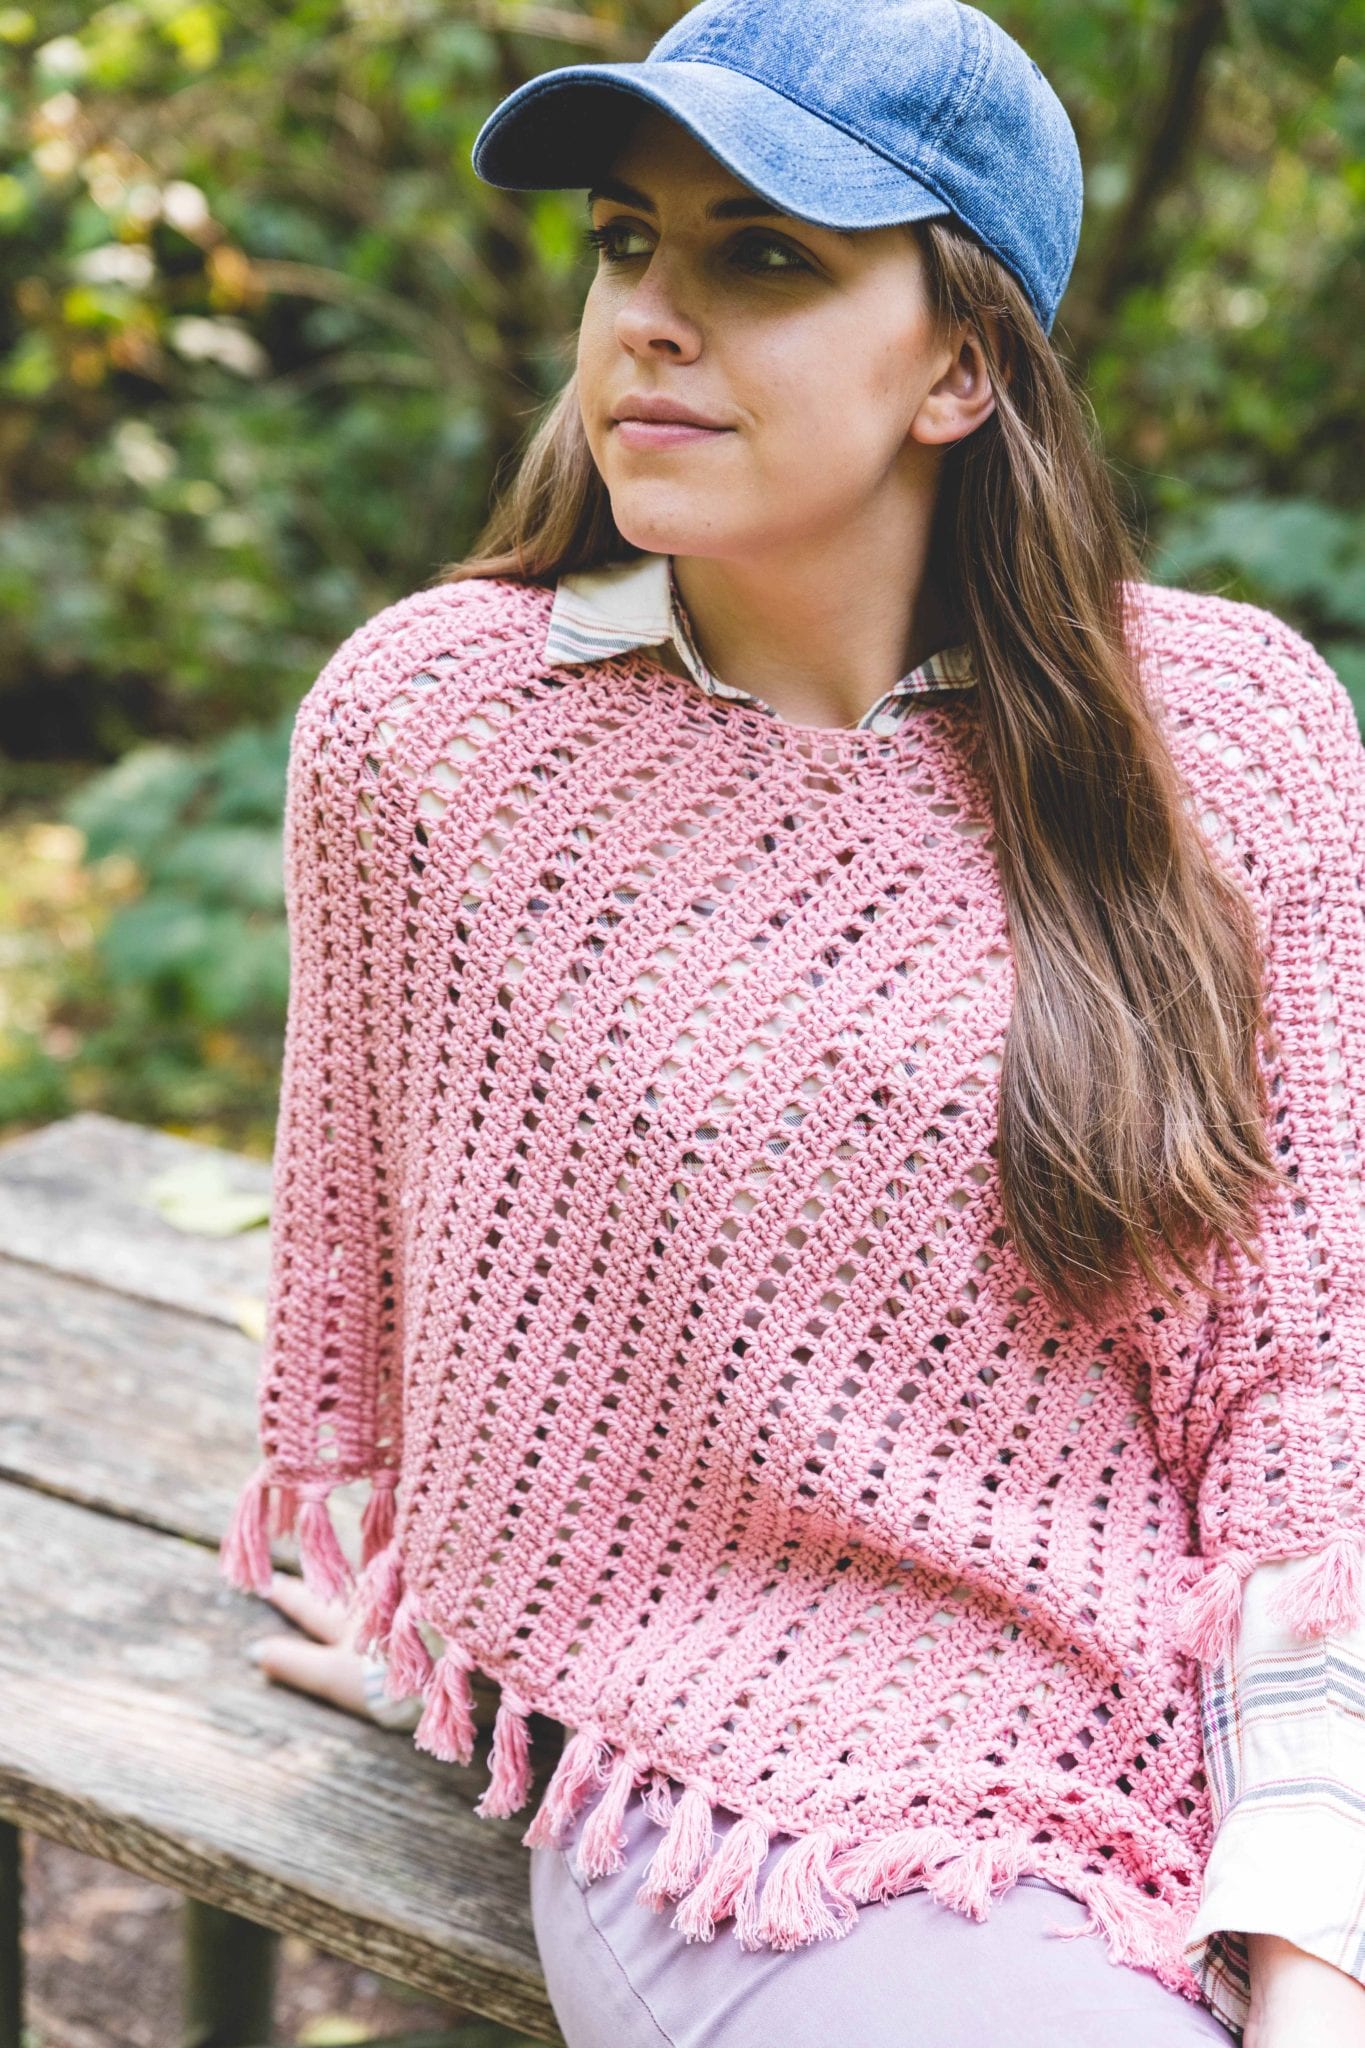
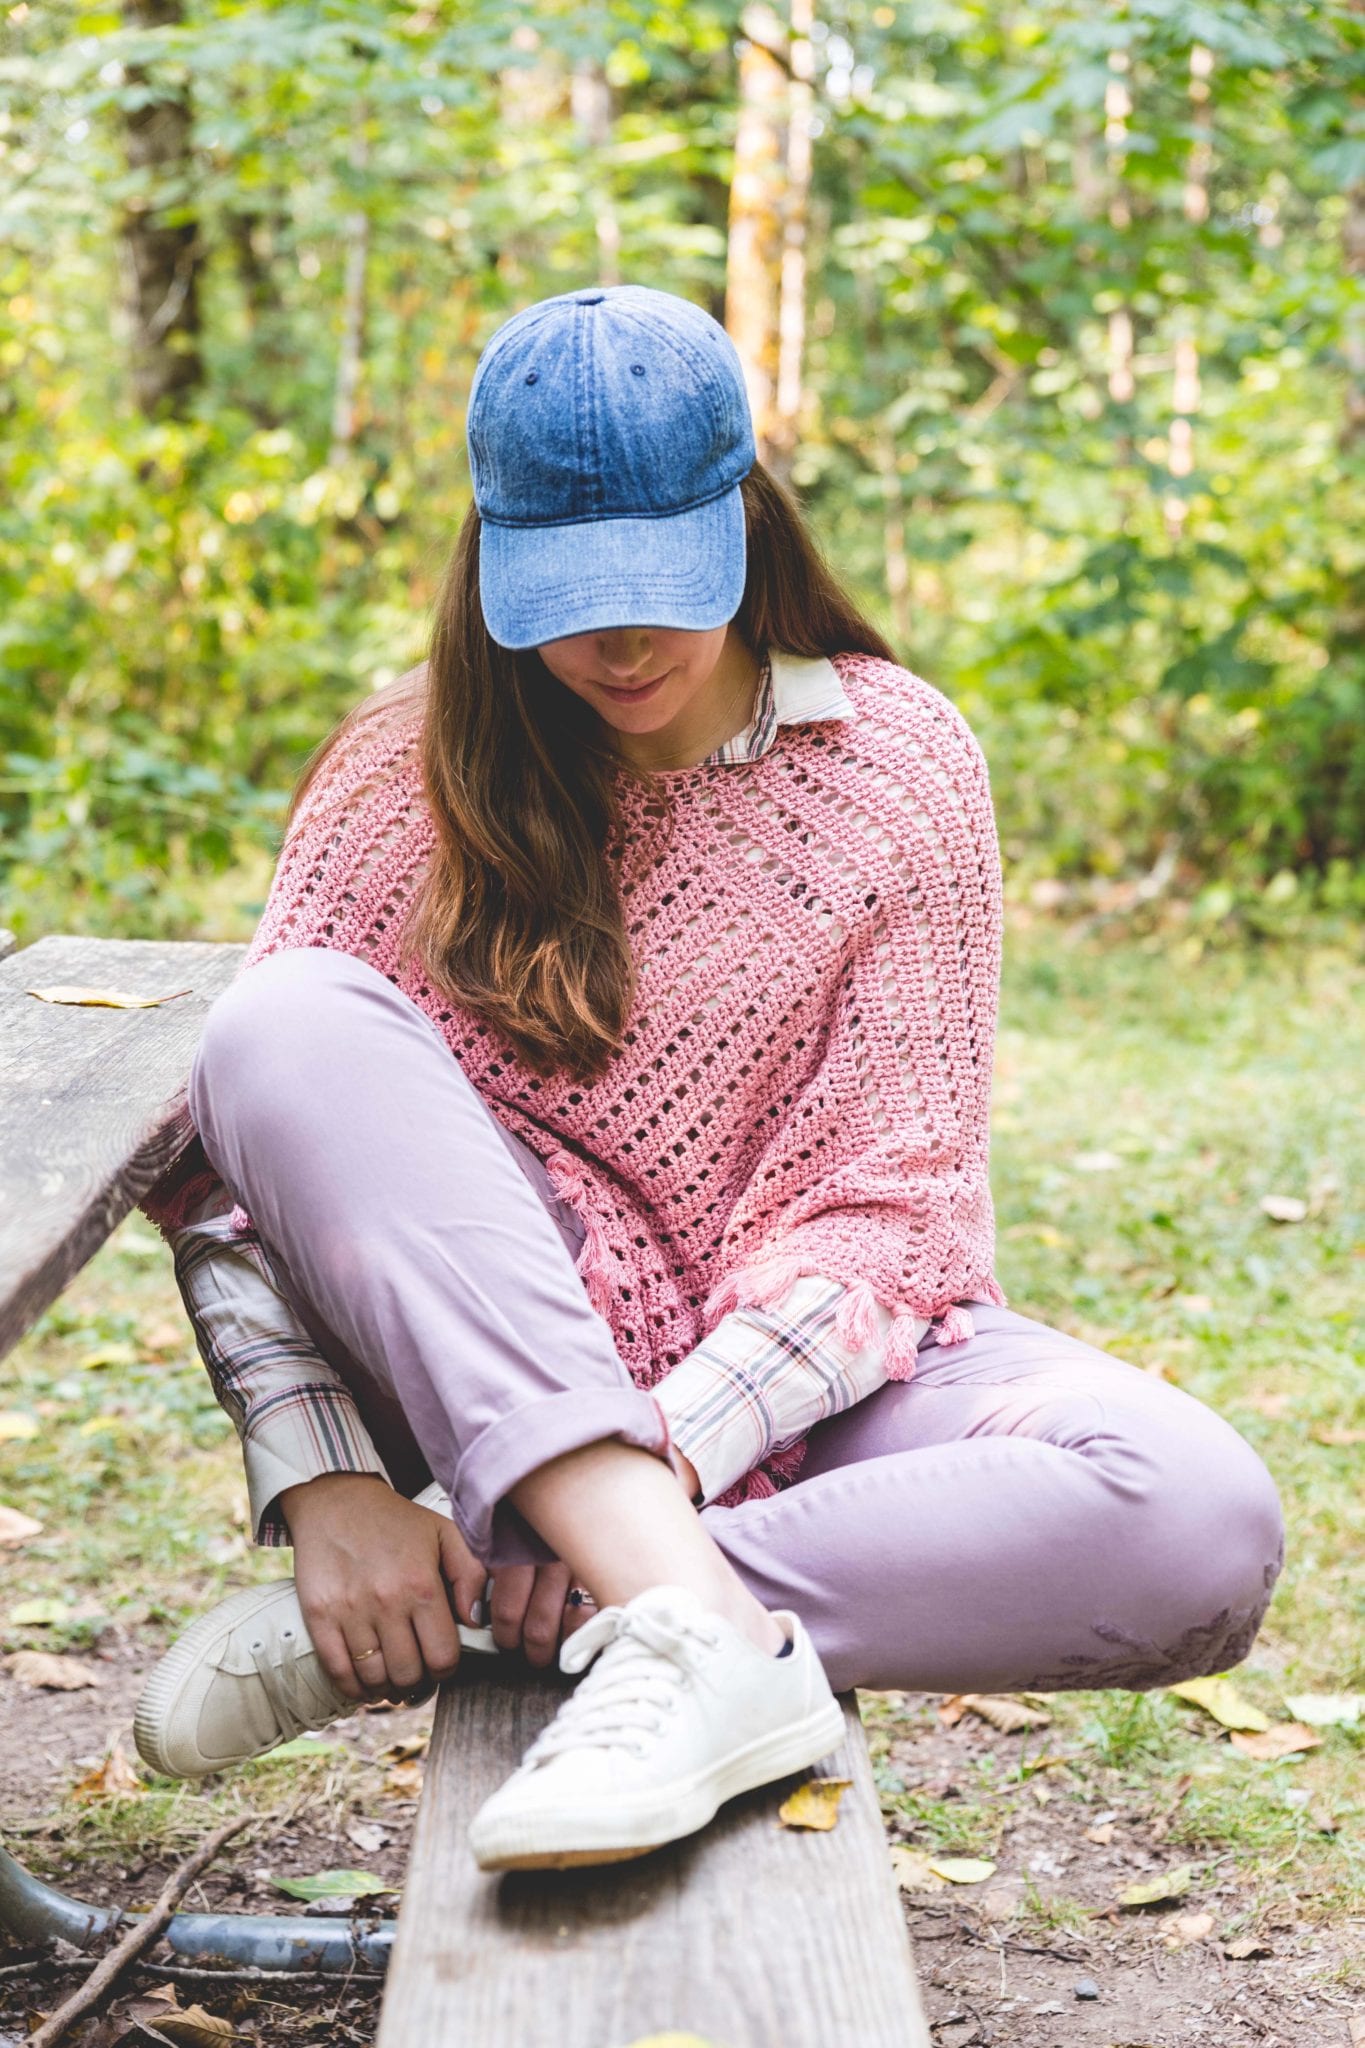
This time I wore Ava hiking in the woods of Washington state over a flannel button up with a denim cap and feminine chinos. It was the perfect comfy extra layer to keep me warm when the wind kicked up while still feeling feminine and pretty.
SWEATER PATTERNS I LOVE (& you should too)

1. Crochet Twist Swancho / 2. Crochet Everyday Cardigan / 3. Simple Knit Sweater
The Yarn
I chose to use Lion Brand Yarn’s LB Collection Cotton Bamboo – yarn that I haven’t designed with before! It’s such a beautiful, soft, lightweight yarn that feels super luxurious. You know how some lightweight yarns also feel really cheap? Well these skeins feel like silky fibers you’d find in an indie yarn shop for about triple the price.
Lion Brand has created a KIT with this yarn and and a printed copy of the pattern in 2 stunning color options of Cotton Bamboo – shop the kit here!

PATTERN
- Get the ad-free, large print, printable PDF pattern HERE.
- Grab the Ultimate Pattern Bundle that includes 150+ patterns just like this one on sale for $20 today HERE.
- PIN this pattern to your Pinterest boards for later HERE.
- Add this pattern to your Ravelry queue HERE.
To sum it up:
The Lace Fringe Poncho is the perfect topper to any outfit. It’s lightweight enough to keep you breezy in the warmer months, and a wonderful layering piece over sweaters when it gets chilly outside. The easier than ever 2 rectangle construction means even a brand new crocheter can make it & the unique assembly style is a fun surprise!
Materials:
–Lion Brand Yarn Cotton Bamboo in Cherry Blossom (XS/S: 4 skeins, M/L: 4 skeins, XL/XXL: 5 skeins, XXXL/XXXXL: 6 skeins)
Grab the kit from Lion Brand with all the yarn you need and a printed copy of the pattern HERE!
(Click HERE to shop all my favorite tools!)
Gauge:
17 Dc = 4″
9 rows = 4″
Sizing:
Bust: 30″ (XS) 34″ (S) 38″ (M) 42 ” (L) 46″ (XL) 50″ (XXL) 54″ (XXXL)
Width across back: 20″ (XS) 21″ (S) 22″ (M) 23″ (L) 24″ (XL) 25″ (XXL) 26″ (XXXL)
Length: 24″ (XS) 25″ (S) 26″ (M) 26.5″ (L) 27″ (XL) 27.5″ (XXL) 27.5″ (XXXL)
Armhole: 6″ (XS) 7″ (S) 7.5″ (M) 8″ (L) 8.5″ (XL) 9″ (XXL) 9.5″ (XXXL)
Sleeve Length: 4.5″ (XS) 5″ (S) 5″ (M) 5.5″ (L) 5.5″ (XL) 6″ (XXL) 6″ (XXXL)
Abbreviations:
ch – chain
sc – single crochet
dc – double crochet
sk – skip
st(s) – stitch(es)
rep – repeat
t – turn
Difficulty Level:
Level 1 – Beginner
Pattern & Sizing Notes:
-For reference, model is 5’5” tall with a 39″ bust, and wearing the Lace Fringe Poncho in a size Medium/Large.
-Sizing listed in the pattern will be in X-Small/Small, Medium/Large, Xl/2X, and 3X/4X listed in parenthesis such as 36 “(41, 46, 51)” whereas Ch 36 for size XS/S, 41 for size M/L, 46 for size L/XL, and 51 for size 2XL/3XL. When only one number is given, it applies to all sizes. To follow pattern more easily, circle/highlight all numbers pertaining to your size before beginning.
-This cardigan is worked in 2 rectangular panels then seamed together. Neckline is worked directly onto the sewn pieces. Hemline border is worked directly onto the sewn pieces and tassel style fringe is added last.
-All sizing is slightly oversized and based on the CYC sizing regulations. Use this guide or the measurements above to determine what size range you fall into. If you want a more figure-hugging fit, size down.
-Ch 2/3 does not count as a st throughout.
Ava Fringed Poncho
Panels:
*make 2
Ch 65 (69, 73, 77)
Row 1: Dc in 4th from hook and each across (62, 66, 70, 74)
Row 2: Ch 3, t, sk 1 st, Dc in next st, *Ch 1, sk 1 st, Dc in next st, rep from * in each st across (62, 66, 70, 74)
Row 3: Ch 2, t, Dc in each st across (including Ch 1 spaces) (62, 66, 70, 74)
Repeat Rows 2-3 until you’ve reached Row 67 (69, 71, 73)
Each rectangle should measure close to the sizing listed below (remember – if you have slight variance, it won’t matter too much in the long run).
XS/S: 14 x 28”
M/L: 15 x 30”
XL/XXL: 16 x 32”
XXXL/XXXXL: 17 x 34”
Finish off, weave ends.
Seaming:
With a long piece of spare yarn, thread your tapestry needle.
Place one panel lengthwise (first panel) and the other widthwise (second panel). You should have one panel’s short side matching up with another panel’s long side, making a giant “L” shape.
Use a mattress stitch to seam your panels together. Sew through tops of the stitches on one panel and through the ends of the rows on the other panel.
Weave ends.
To create the second seam, fold first panel in to meet your first seam. Fold your second panel in to meet the end of the other panel. You should have a giant heart shape.
Use a mattress stitch to seam your panels together again long the first panel’s short side and your second panel’s rough edge.
Weave ends.
Neckline:
Identify the neckline area (smaller opening at the top of your seamed panels). Decide which side will be your front and back.
Join yarn to the center of the neckline back, Ch 2
Round 1: Dc in each st evenly around (I worked 1 stitch into the end of each Row – you’ll have a little tightening but that’s good), sl st to join
Round 2: Ch 2, Dc in each st around, sl st to join
Round 3: Ch 1, Sc in each st around, sl st to join, finish off
Weave ends.
Hemline Edging:
With the right side of the cardigan facing you, join yarn to any corner of the hemline
Round 1: Ch 1, Sc in each st around the entire hemline evenly, work 3 Sc into each corner, sl st to join
Round 2: Ch 1, Sc in each st around, sl st to join, finish off
Weave ends.
Fringe:
Cut pieces of yarn about 7 in. long (6 per tassel fringe unit).
Fold 6 pieces in half together. Use your crochet hook to pull the fold of the yarn partially through any stitch along the hemline edging. Pull tails of the fringe through the loop created. Tighten and trim tails.
Skip 3 sts along hemline edging.
Repeat tassel style fringe units until you’ve lined the entire hemline of the poncho.
Trim all fringe to be as even as possible.
Earning a Living with my Handmade Home
If you love crocheting and knitting, you should think about starting a blog! I’ll help you get started to turn your hobby into a money-making career with my free “Start a Blog” guide.
Or you can check out my latest income report to see how this blog earned over $10,000 last month!
I started making this with zz twist yarn for a gift for my mother in law in the color peacock. I would’ve used the lb cotton bamboo but there wasn’t a color that I thought she would like, and actually wear (she’s so picky). Anyways, when I went to cut the fringe I realized that the zz twist yarn splits pretty bad once it’s cut. So the fringe does not look pretty. Do you have any suggestions on how I could make it work? Or is there another yarn with a similar color that would work better? Thanks!! ????
The Feels Like Butta yarn comes in a beautiful shade of teal that won’t split!
I made this and i LOVE it! So super easy and it comes together beautifully. Thank you!
Hi! My name is Christine and I love you video! I have made the Ava Poncho for a friend and she love it! I would like to make one for my 2 year old niece, what size should my rectangles be? I would love your advice on this! Thanks so much and I look forward to making more of your beautiful creations 🙂