Learn all about wet blocking crochet projects with my free video tutorial!
What is wet blocking?
There are many types of blocking for finished crochet and knitting projects. One of my favorite methods is called wet blocking.
This is a process of soaking the finished project in a soapy water, removing excess water, pinning it in the perfect shape, and letting it dry. That’s it! There are many tricks of the trade and tips I have for you below in the instructions on materials but at the heart of it, wet blocking is really just that – getting the project wet and then blocking it and letting it dry.
Why do we use wet blocking, anyway?
Wet blocking is a wonderful tool to use if you want your project to maintain a certain, perfect shape. In the video and photos pictured here, I am wet blocking a triangle shawl (pattern coming to the blog soon!) and no matter how even my tension or how deliberately I work my increases to create a perfect triangle – the shape is not perfect straight off the hook.
Blocking helps to achieve perfectly crisp lines along the edges of my shawl and they’ll stay that way wear after wear due to the memory of the fiber.
Another reason we love to wet block projects is that the process allows the fiber to relax. When yarn is manufactured (even high end yarn, but this problem is most prevalent in value yarns) the yarn isn’t allowed to fully bloom when it’s produced. The strand of yarn is wound very tightly and compressed in a ball or skein allowing it very little springiness.
By wet blocking the project, it allows the yarn to open up, to bloom and relax in it’s new home in your project.
When to use the wet blocking method
This particular blocking method is best for yarns made with animal fibers or animal fiber blends. This includes:
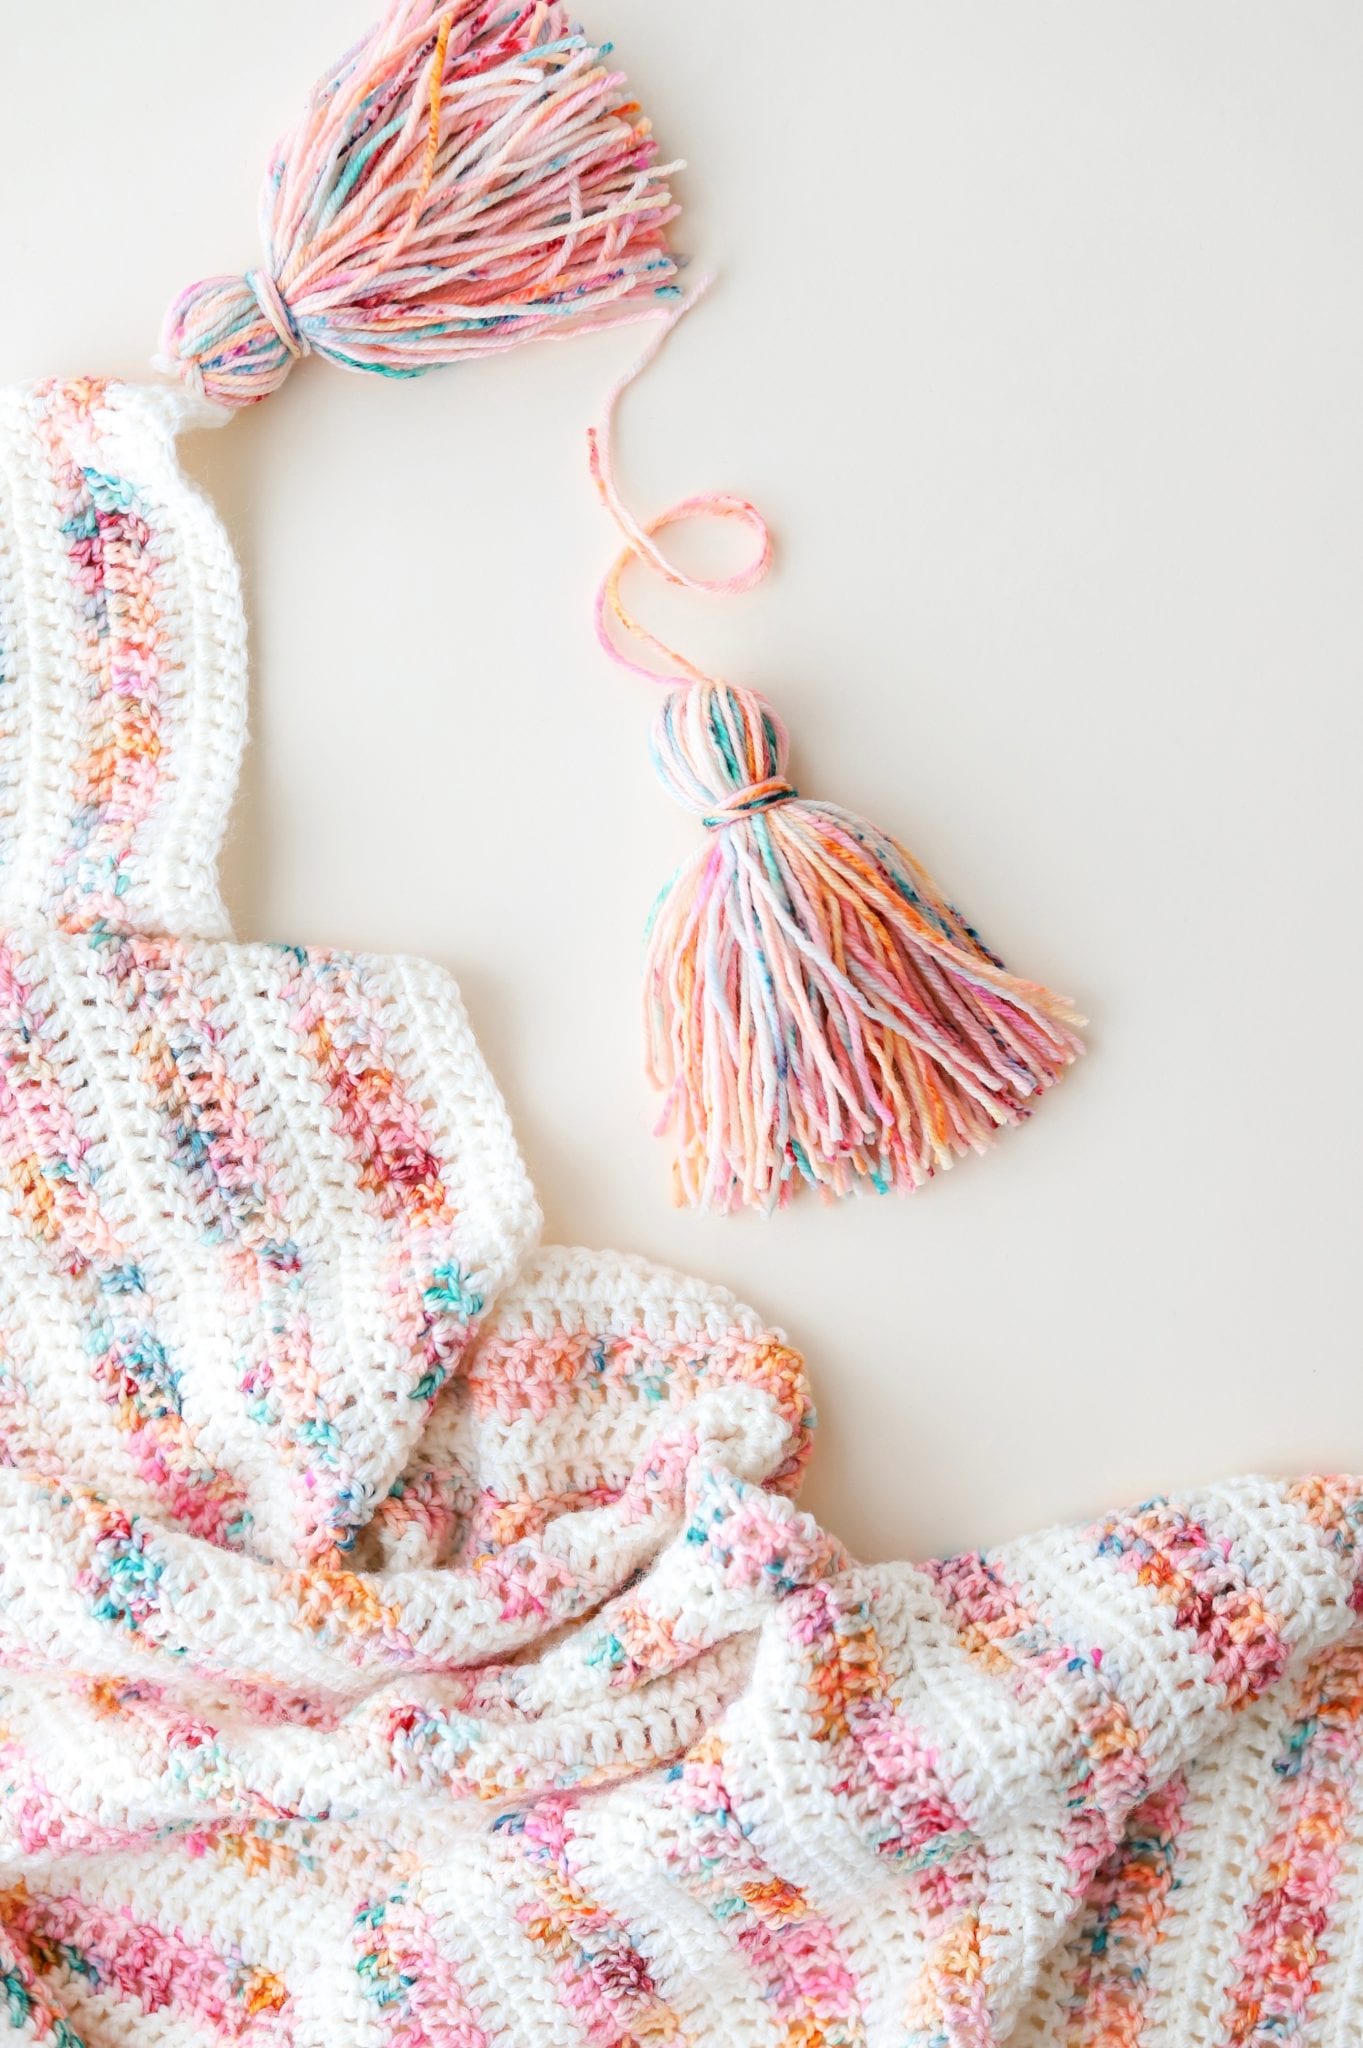
If most of my project contains animal fiber yarns, I prefer wet blocking that project. The shawl pictured uses equal parts 100% merino wool yarn (my own hand dyed yarn from Handmade Home Fibers) and a cashmere blend yarn (Lion Brand’s Touch of Cashmere). There is some acrylic in this project but it’s mostly animal fiber.
I’ll be posting another video tutorial and blog post on steam blocking next week – that’s my favorite blocking style for synthetic yarns (like acrylic, polyester, nylon and others) and plant based yarns (cotton, bamboo, silk) so watch out for that! If you’re not already on my email list sign up for updates at the bottom of this blog post.
Do I need to wet block every project?
Absolutely not! In my opinion (and this is all opinion based here) some projects don’t need to be blocked at all. If you like the shape, drape, and feel of your project when it’s fresh off the hook then you can move right on with your crafty self! Additionally, some projects do much better with steam blocking as referenced above in the “when to use the wet blocking method” section.
Wet blocking also requires a bit of time. You have to soak your project for no less than 30 minutes, pin it out to dry and then let it sit there overnight. Sometimes we don’t have that kind of time or space to let it sit that long. That’s when steam blocking or no blocking at all come to the rescue.
Another factor to consider when deciding whether or not to block a project is – what did you make? If you want a project to maintain it’s rigidity, it may be a good idea to skip blocking.
Here is a short list of projects I always, sometimes, and never block:
Always: shawls and wraps, scarves, sweaters, cardigans, ponchos, granny squares,
Sometimes: blankets and baby blankets, hats, pillows, kitchen items
Never: amigurumi, tabletop decor (pumpkins, etc), wreaths, baskets, bags
Once I decide where my project fits into these categories, helping me to decide if it needs to be blocked at all, I think about the time I have to let the project block as well as the fiber content of the yarn I used.
Hopefully that information helps you figure out if wet blocking your project is right for you! If it’s not, don’t worry. Just pin this post to your pinterest boards so you don’t forget about it when you do have that special project ready for blocking!

WET BLOCKING CROCHET PROJECTS TUTORIAL
MATERIALS
Eucalan Wool Wash (click here for the mini size which will last a long time for cheaper!)
T Pins (or rustproof sewing pins)
Tub large enough to hold your project (I have lots of these dishpans around the house and they’re great for EVERYTHING!)
Room temperature water
Measuring tape
Large dry towel
NOTES
You may substitute dish soap for the wool wash however you’ll need to rinse the dish soap out of the project before squeezing out excess water. Additional handling while the project is wet may cause undesirable stretching. I don’t recommend using any soap other than wool wash but it will work in a pinch. Proceed at your own soapy risk!!!
Video Tutorial:
Written instructions:
- Finish your crochet project and weave all ends
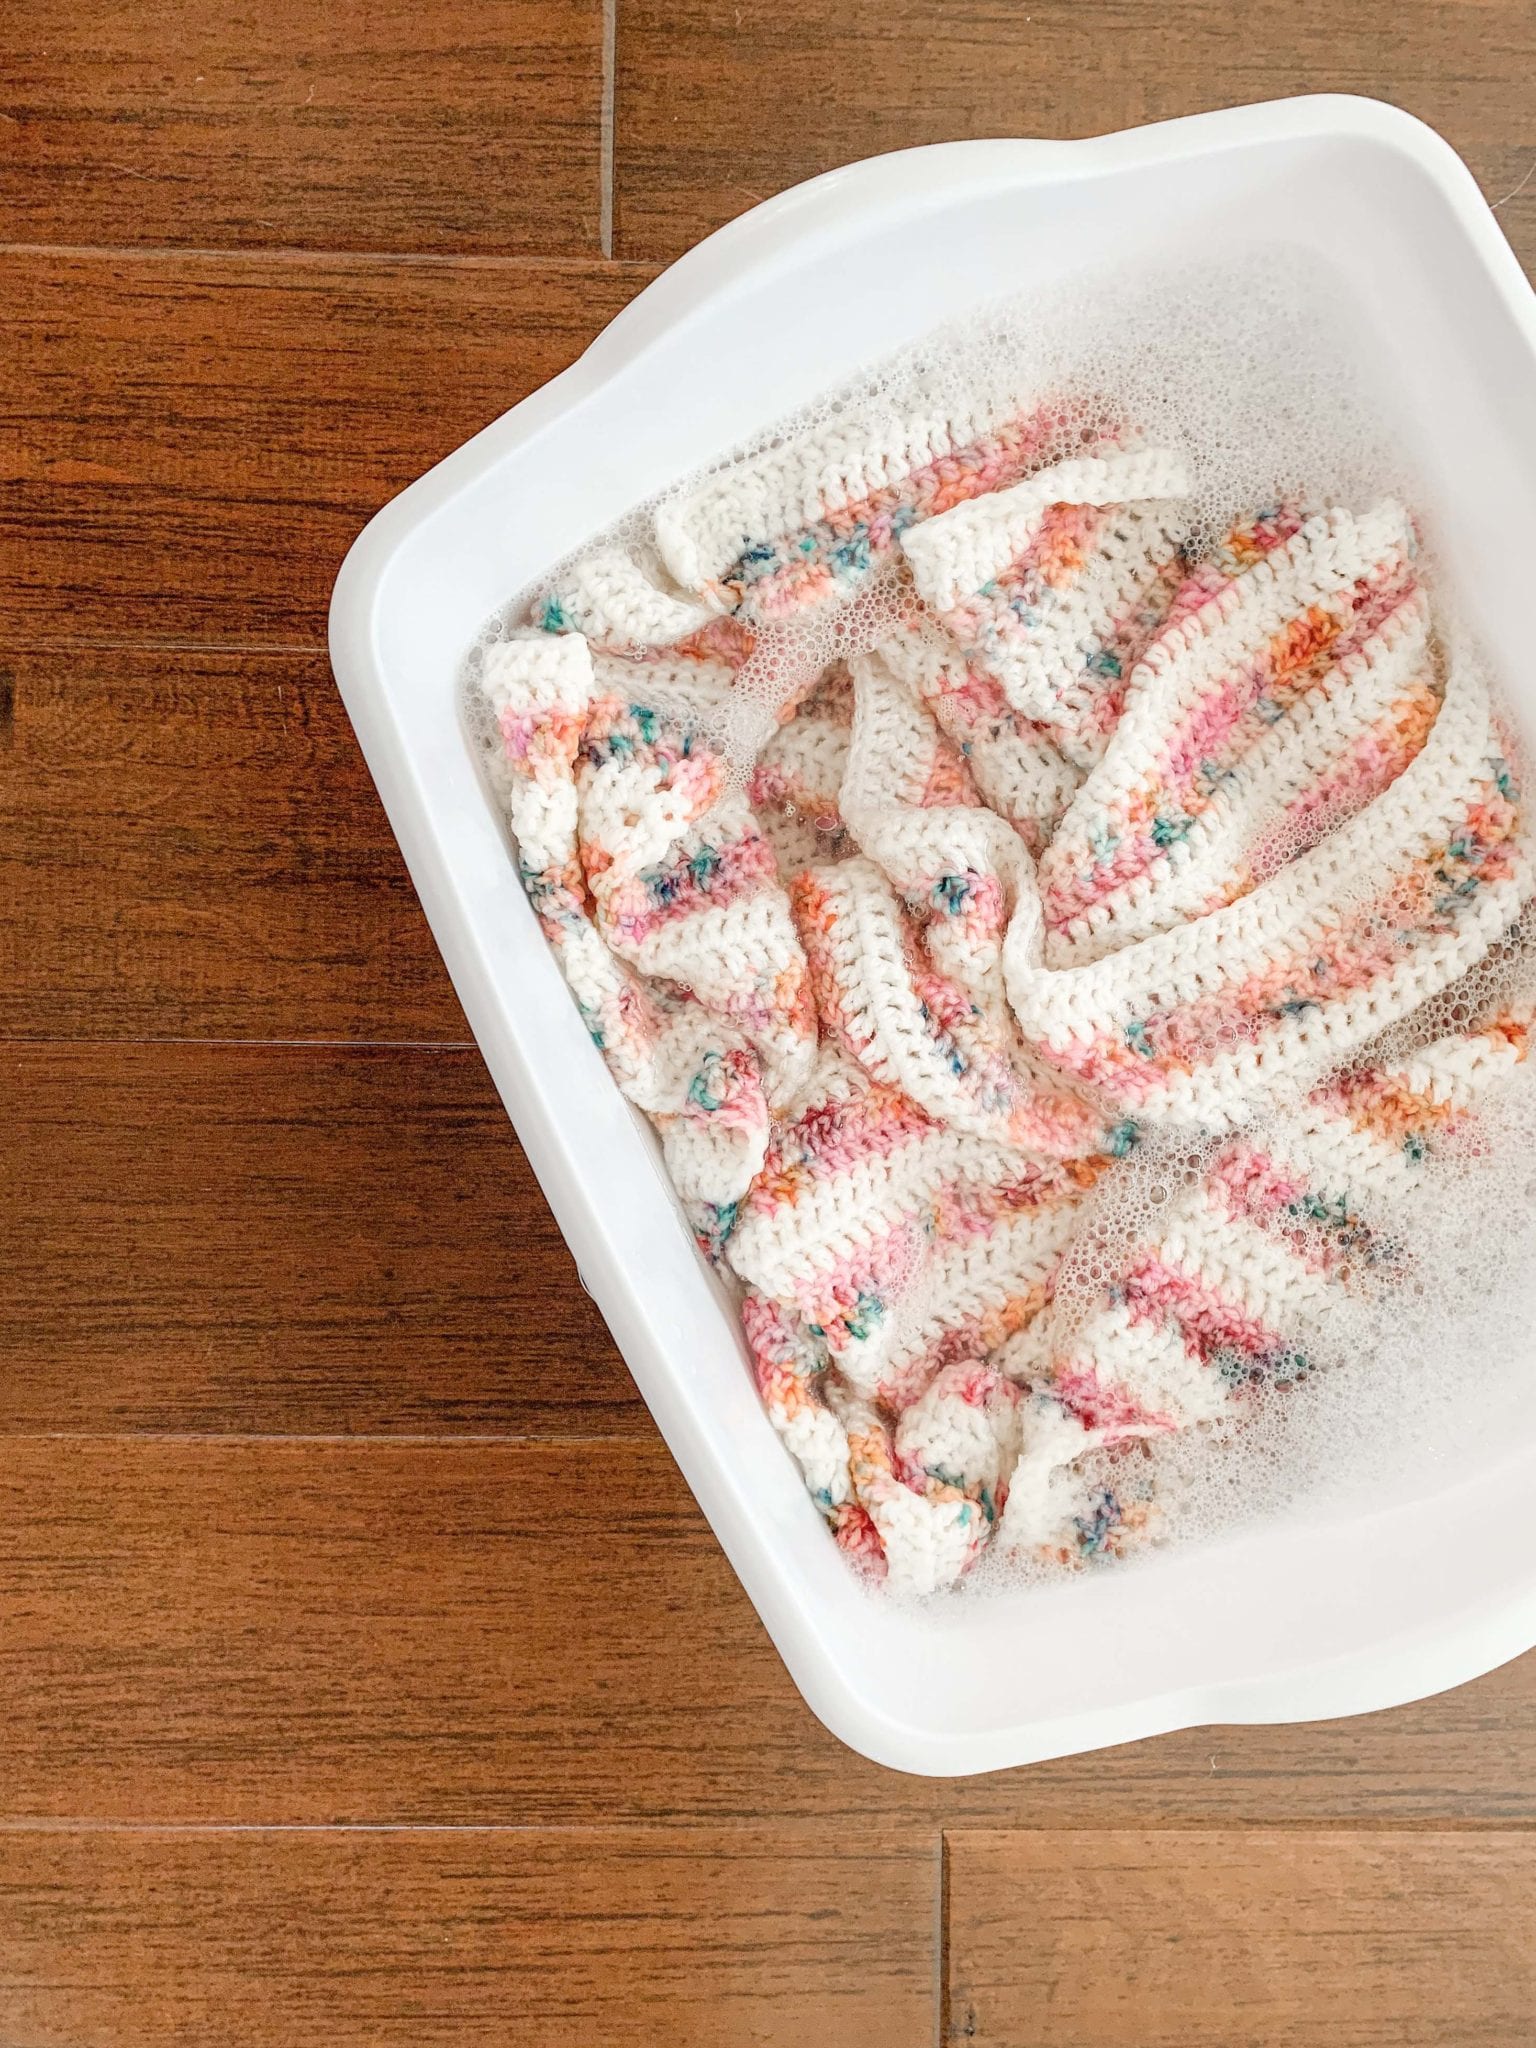
- Fill tub about halfway with a drop of wool wash and room temperature water
- Submerge your project and soak for 30 minutes
- VERY carefully remove your project from it’s bath taking care to handle the weight of the wet project without letting it stretch out (crochet does not bounce back when stretched as knitting does!)
- Lay out the dry towel and place your wet project on it in a hot dog style fashion
- Gently roll up your project, squeezing excess water as you go (see video above)
- Unroll, flip your towel over to the drier side and repeat
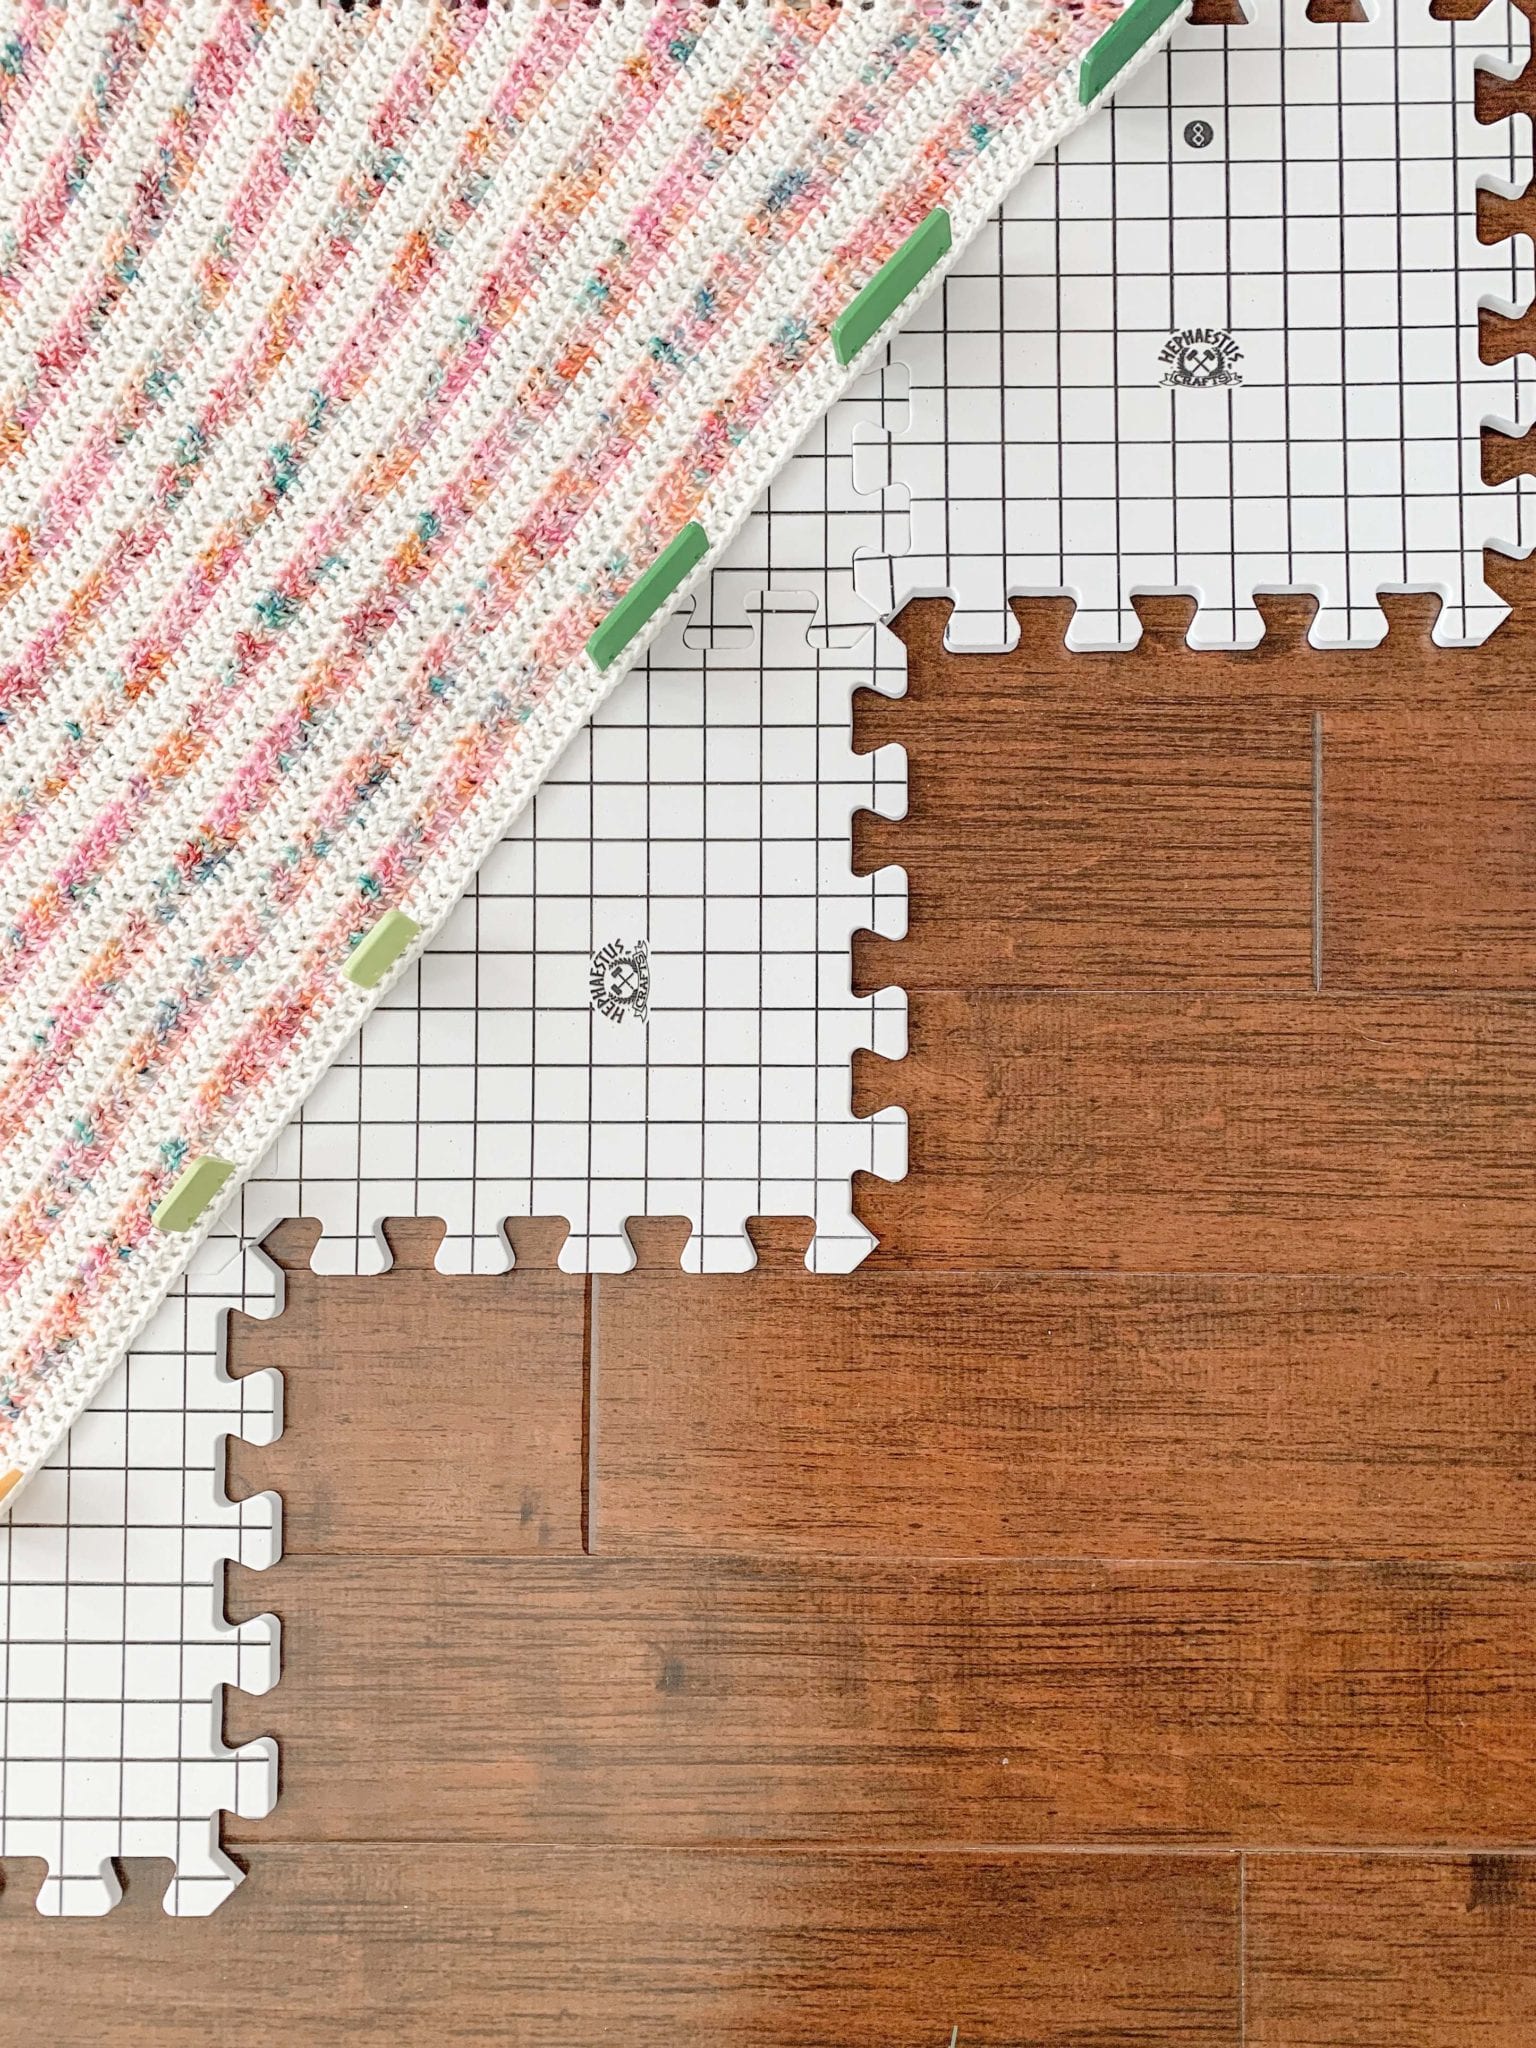
- Discard wet towel and set up blocking mats in the general shape of your project (one set of mats may not be enough for your entire project if it’s large – order additional sets or substitute with another dry towel as I do in the video)
- Lay out your project, again taking care not to stretch it. Line up any straight edges with the lines on the mats to get perfect shaping. Smooth out the project to lie perfectly flat on the boards.
- If working with a shawl or sweater or otherwise symmetrical project, pin one side in place using knit blockers. Pin other side in place and measure each side separately to make sure they’re identical. Adjust as needed.
- Pin the remainder of your project with knit blockers and T pins in the shape you’d like it to remain.
- Let dry overnight or until project is totally dry to the touch.
- Unpin and use your project!
There are many steps to blocking but after you’ve done it once, you’ll understand why this extra process at the end of a project makes the finished item even better than it was before!
I hope you enjoyed learning about wet blocking crochet projects – stay tuned for my tutorial on steam blocking!
Projects that are great for wet blocking:
Does wet blocking work with acrylic/wool mix ? Thanks in advance , Jackie
It does! However if your project is mostly acrylic I would steam block it instead. Tutorial on that coming soon!
Hi! I would like to learn how to “steam blocking crochet projet”? The wet blocking crochet project is very useful thank you very much.
Informative.
I would like to get the steam blocking instructions
I’ll have those ready soon!
Does the blocking maintain after several washings?
In my experience, yes it does!