Read through my inspiration, design process, and lots of info on the perfect yarn I chose, or scroll on down for the free pattern.
The Inspiration + Design
When I was pregnant with my son Parker, I wanted to make a cute newborn set for him! I had trouble finding a boyish set that I loved so I set out to design my own. This was one of the very first patterns I posted on my blog and I’m so glad you’ve loved it as much as I have over the years.

This project is part of a set – see the matching baby hat here & the matching baby booties here.
This set is a great gift for baby showers or new additions to family and friends’ families, and it’s a very gender neutral pattern. I’ve got it pictured here in the classic blue and pink as well as a gorgeous grey marble. I love modern baby items that are simplistic in design and can work for any mom’s style!
I wish I’d been able to get some photos of Parker in this set when he was born, but he weighed in at a whoppin’ 10 lb. 2 oz and was too chunky to fit into them! Lol!

The Yarn
I decided to use Lion Brand Vanna’s Choice yarn for this pattern as it’s a very versatile worsted weight yarn with a stunning color range. There are colors to match any baby shower or nursery theme, as well as individual style.
However you can use any worsted weight yarn for this project! There are wonderful wool based worsted weight yarns to use for this project as well as other natural and synthetic fibers. Really, anything goes as long as you can meet the gauge listed in the pattern below.

PATTERN:
- Get the ad-free, large print, printable PDF pattern from Etsy HERE.
- Grab the Ultimate Pattern Bundle that includes 150+ patterns just like this one on sale for $20 today HERE.
- PIN this pattern to your Pinterest boards for later HERE.
- Add this pattern to your Ravelry queue HERE.
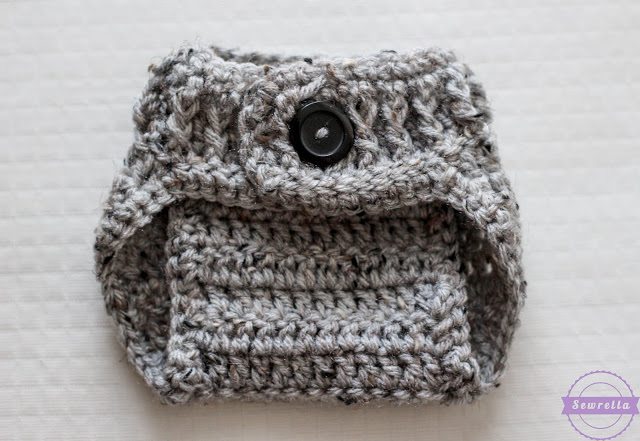
To sum it up: The perfect basic baby diaper cover for boys and girls – perfect for newborn photos!
Crochet Parker Diaper Cover
Ch 46
Row 1: Dc in the 2nd Ch from hook, and in each st across, Ch 2, turn
Row 2: Dc in first st, *Fpdc, Dc, repeat from * across, Ch 2, turn
Row 3: Bpdc in first st, *Dc, Bpdc, repeat from * across, Do not Ch, turn
Row 4: Sl st in first 10 sts, Ch 2, Dc in next 24 sts, leave the rest of the row unworked, Ch 2, turn
Row 5: Dc across, Ch 2, turn
Row 6: Dc dec, Dc in next 20, Dc dec in last 2 sts, Ch 2, turn
Row 7: Dc dec, Dc in next 18, Dc dec in last 2 sts, Ch 2, turn
Row 8: Dc dec, Dc in next 16, Dc dec in last 2 sts, Ch 2, turn
Row 9: Dc dec, Dc in next 14, Dc dec in last 2 sts, Ch 2, turn
Row 10: Dc dec, Dc in next 12, Dc dec in last 2 sts, Ch 2, turn
Row 11: Dc dec, Dc in next 10, Dc dec in last 2 sts, Ch 2, turn
Rows 12-18: Dc across, Ch 2, turn
Row 19: Dc across, Ch 1, Sc around perimeter of the diaper cover, sl st to first Sc, finish off, weave ends
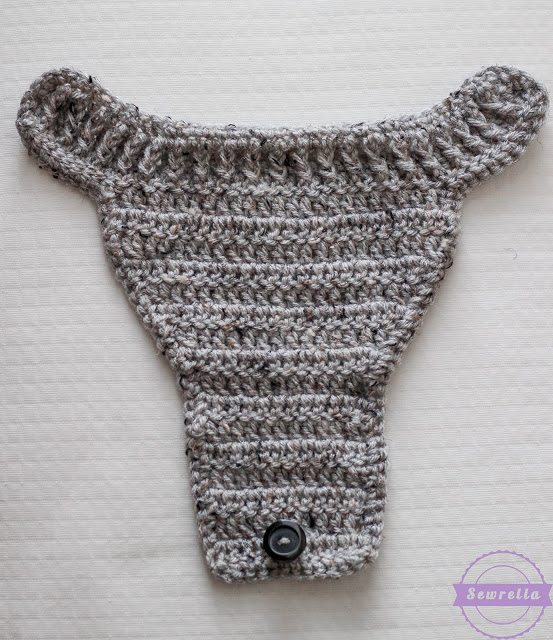
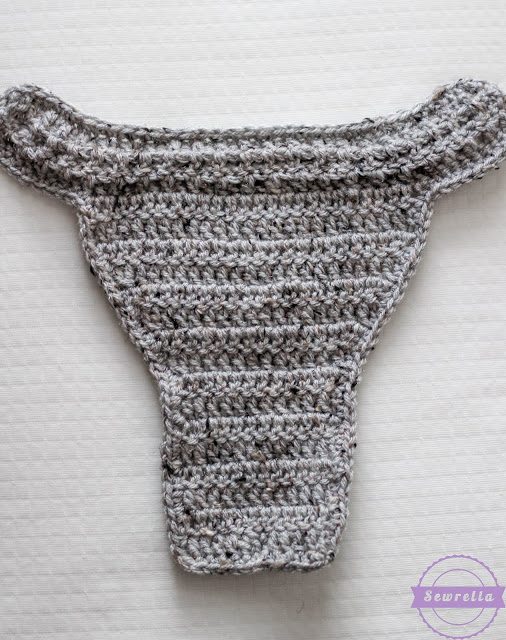
Now time to sew the button – be sure you sew it onto the right side! You want to identify the side of your diaper cover that is the “right side” or the side that has the ribbing from those Fpdcs and Bpdcs exposed. This will be the side that you see when the little guy is wearing the cover, not the side against his bum or diaper. Here are some photos to help you out with placing your button!
 |
| Sew your button on the side that looks like this. |
 |
| Then flip it over – this is what will be the inside of the diaper cover. |
 |
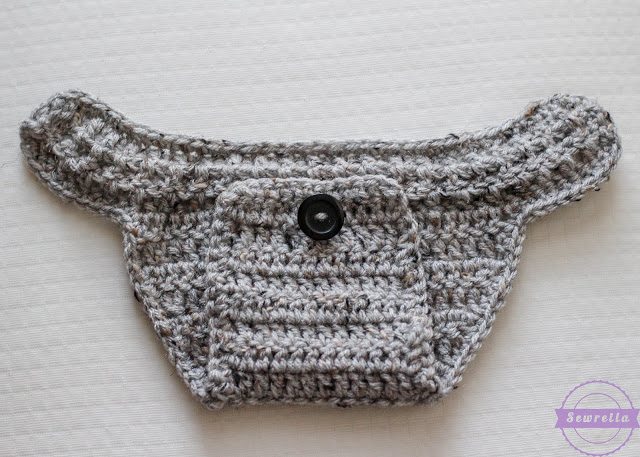
| Fold up the bottom portion… |


What are the dimensions of the newborn diaper cover?
Specifically, the width of the front edge, back edge, and the overall length?
I’m guessing its somewhere around this???
Front edge= 5 inches
Back edge= 12 inches
Total Length=12 inches
Thanks for your help!
Hi! I love your Parker patterns.
is there a tutorial video of this by any chance? thank you
What exactly is the gauge? The description says it’s listed but it is not. Does the chain 2 at the end of the roe count as a stitch? Likewise when you turn, does the first double crochet go into the stitch next to the hook? Sorry if that doesn’t make sense.