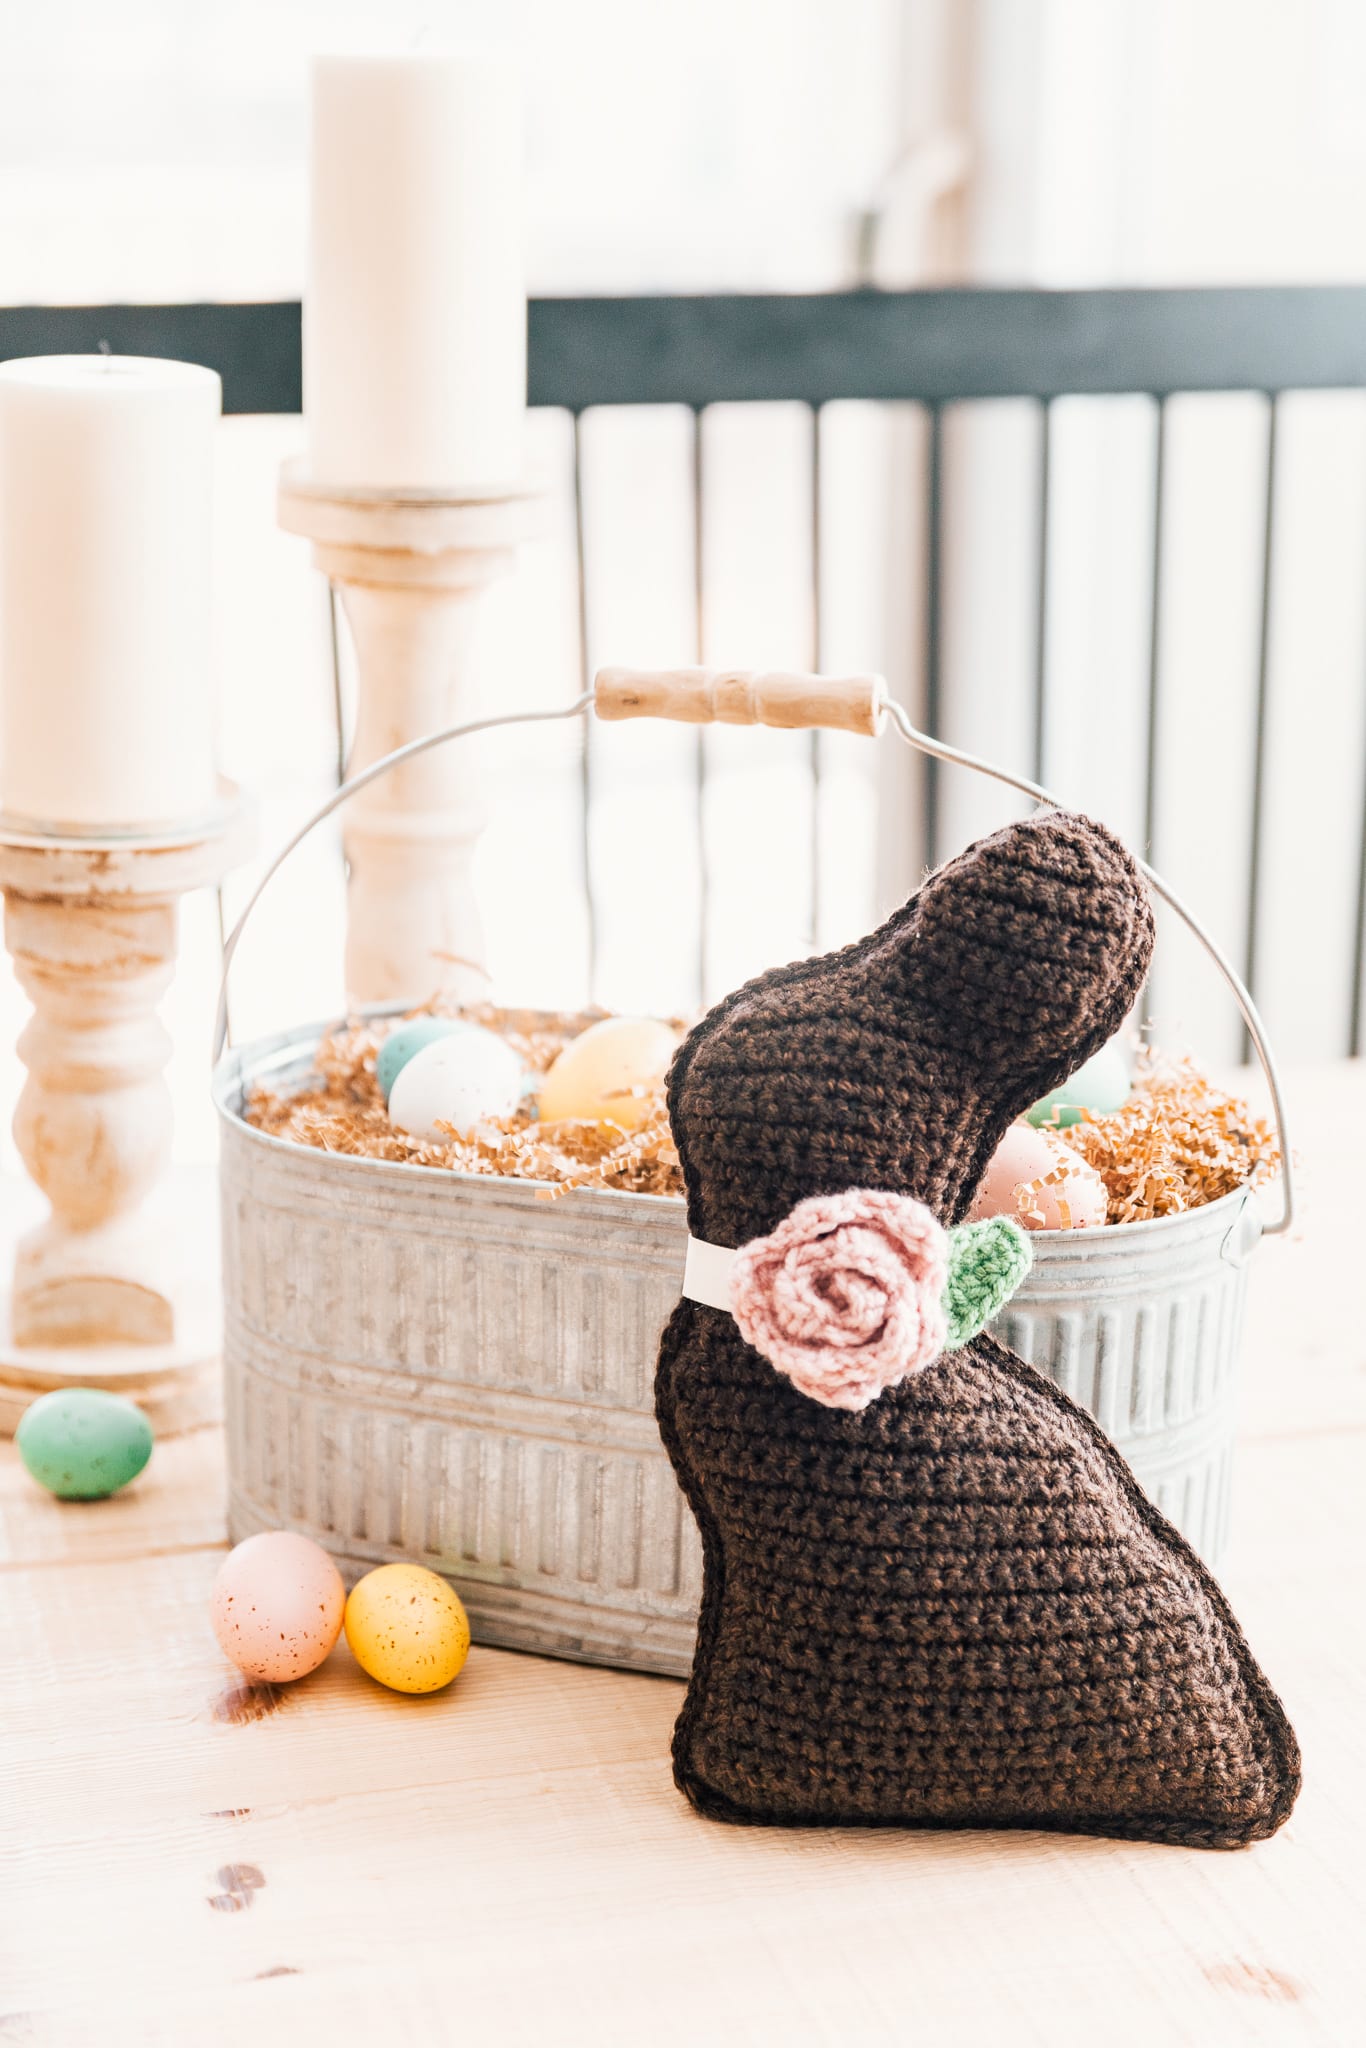
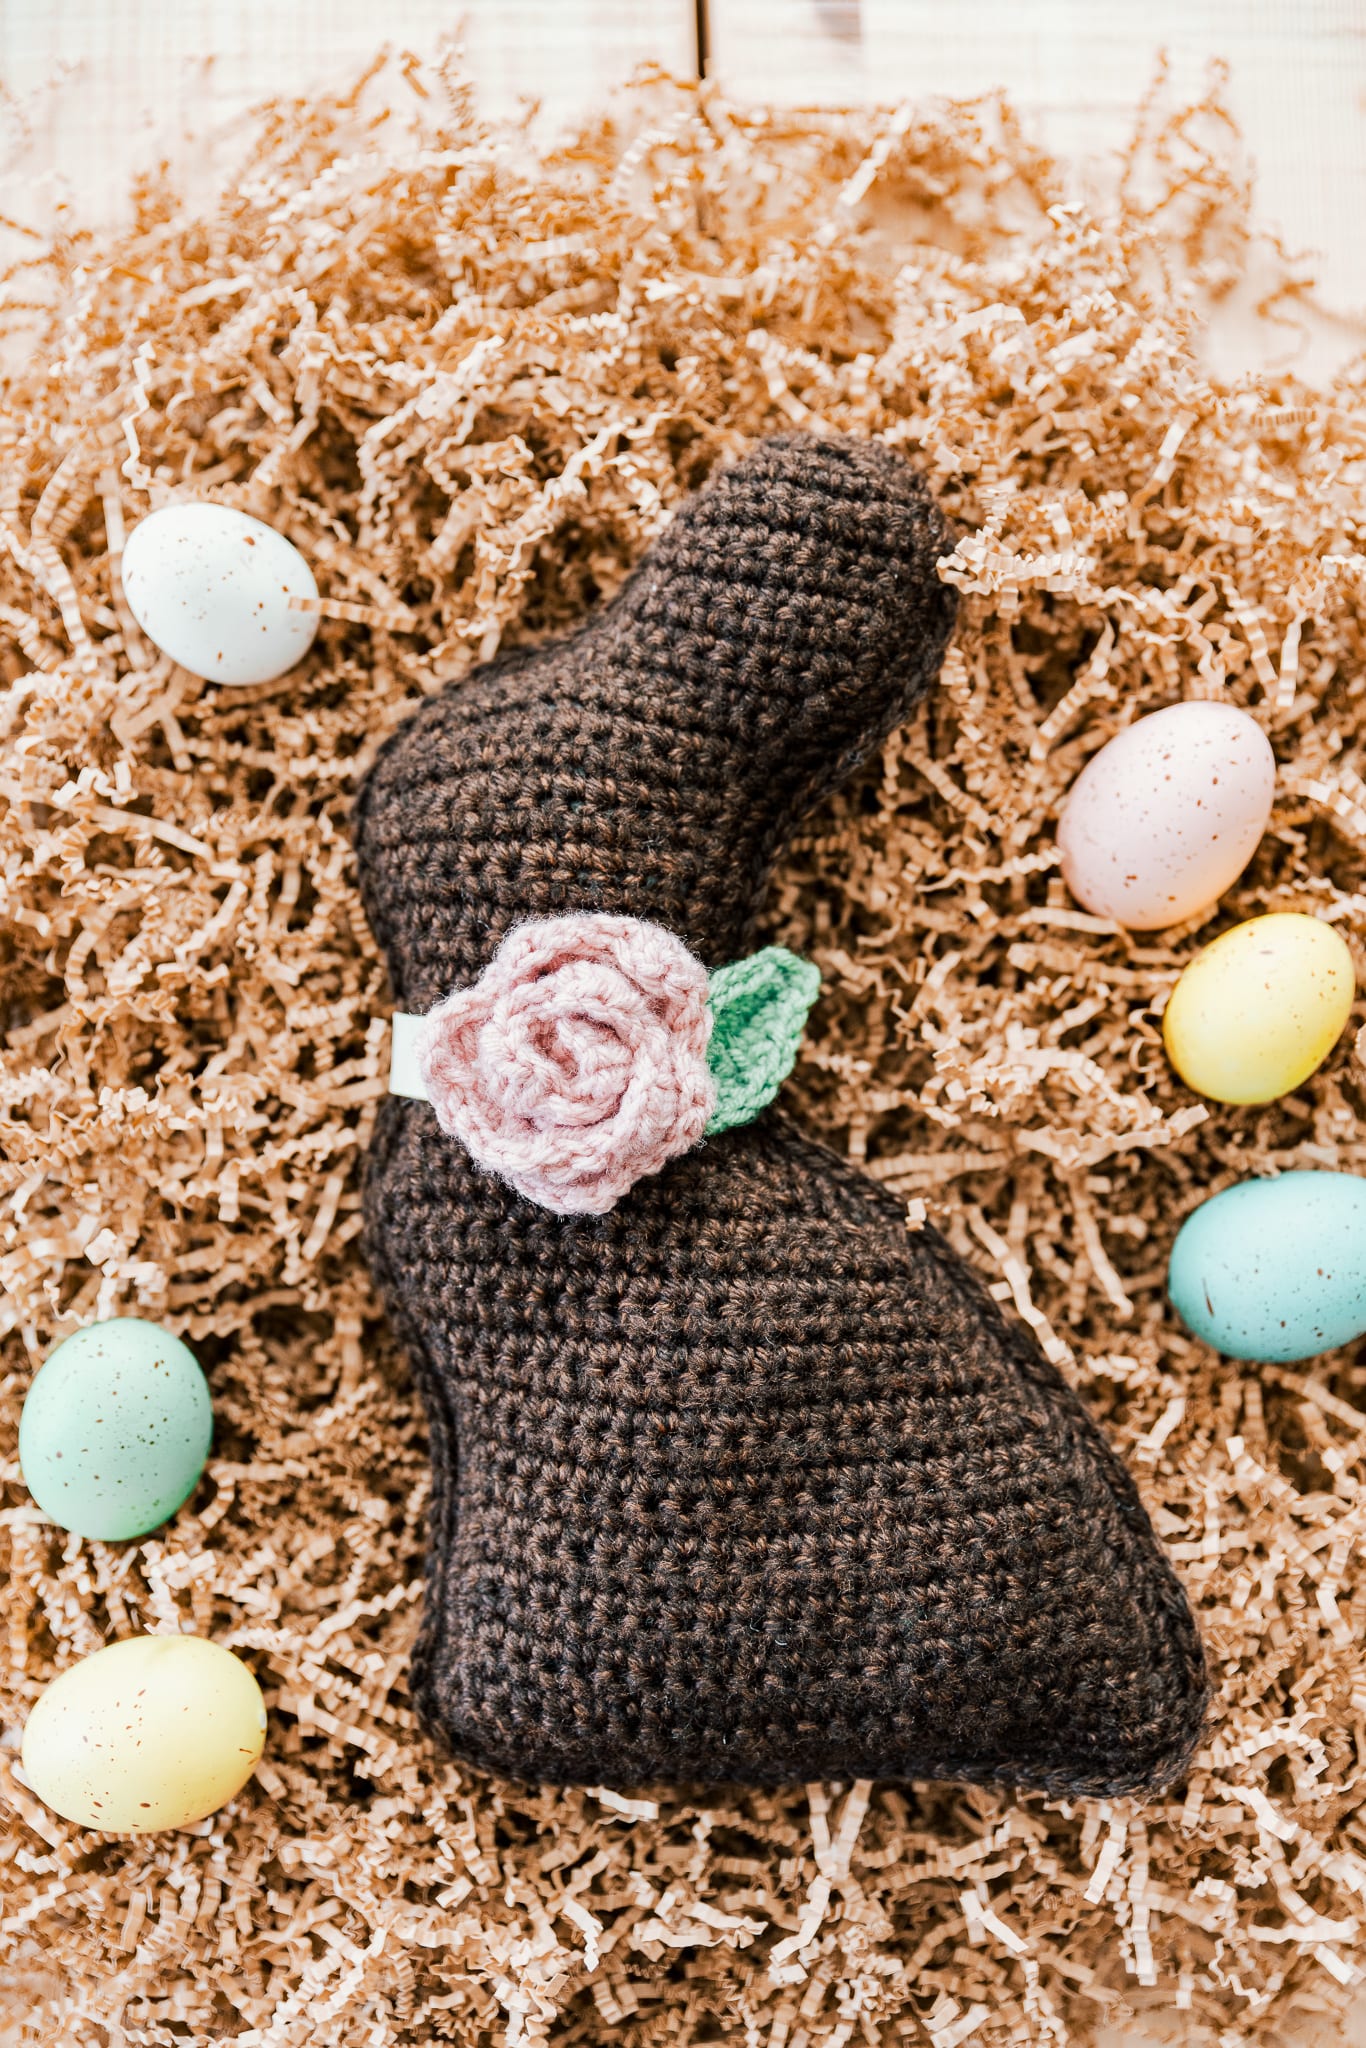
An easy Spring cuddler project – my Crochet Chocolate Bunny – is a free pattern here on the blog! Read through my inspiration, design process, and lots of info on the perfect yarn I chose. Or scroll on down for the free pattern.

Pattern Update
This sweet crochet chocolate bunny actually made its debut what seems like eons ago, in my old monthly subscription service called Happy Yarn Mail. While that business is no longer an active one, it was fun while it lasted and taught me a lot. The patterns I featured then, now live as paid patterns on my pattern shop, with a couple of them also making it to the blog as a free pattern due to popularity.
Well let me just say, that this one was long overdue in making it here on the blog – and receiving a huge overhaul. It’s continued to rank well in my Etsy sales over the years, spiking around this time of the year before Easter. I’m proud to say it’s currently at an all-time high, sliding into the #2 spot as a best selling pattern! So I knew it was finally time I carve out the time to give this plushy the attention she so rightly deserves.
So without any further ado… I give you the Crochet Chocolate Bunny, in all of her luscious glory!! (not going to lie, I think I’d take her over a real chocolate bunny… or perhaps not. I have a rather small amount of restraint against chocolate… & it’s currently wearing real thin…… *BRB while I grab some of my fave chocolate*)
So many uses!
This crochet chocolate bunny can be used as Easter decor, a spring tabletop piece, or a kid’s gift! She is so versatile and will be loved by many! She’s cute and squishy, and just the right size for all ages. The best part is that she can be worked up and finished in a day! If you have a few hours to dedicate to making, this will be your go-to project for spring. She has a nice way of blending in with all kinds of home decor, or fitting in just right to your little niece’s stuffie collection.
Whatever the need, the crochet chocolate bunny is a fun project for any occasion!

Stash-Buster Project
I didn’t use a full skein of any one yarn for this project. That’s right – not even for the body of the crochet chocolate bunny. Given, the Heartland yarn I used is generous in yardage, but you could easily use what you have laying around. Or maybe you don’t have all of these laying around… You can still wind up saving some $$$ by only buying a portion of the yarns you need instead of all of them.
If it were me, I would prefer to stick to the brown for the crochet chocolate bunny (ya know, because chocolate is also brown), and a green for the leaf. But the neckband (whether you’re crocheting one or using ribbon) and rose colors can be totally interchangeable! You can use all different sorts of odds and ends left over from other projects.
We’re anti-waste here, and I really really dislike throwing things away (Yes this can lead to some clutter, but you just never know! I highly advise spending a few bucks on a big tub to store said scraps). So those bits you thought would never see the light of day again? Surprise! They are now, here in this project. Read on for a quick note on substitution below, then we’ll get going on the pattern!

Yarn + Substitution
I used a combination of Lion Brand’s Heartland in Sequoia for the crochet chocolate bunny body portion, and some of Lion Brand’s Vanna’s Choice in Pink, Fern, and Mustard for the accessories.
A note on substituting yarns and blending yarns: there is a lot of variation in the yarn industry within the world of worsted weight category 4 weight yarn. The best way I know to compare yarns of different origins, fiber contents, and brand are to look at the yardage per gram. On the yarn label for any yarn, the yardage for the ball or skein will be listed.
Normally, I try to make sure any yarns I’m blending within one project like this are absolutely no more than 0.5 yards per gram difference from each other. But because of the uses for these two different yarns in this pattern, it’s not as important for the gauge to be exact. Especially with needing multiple colors, I would advise just trying to find what matches. This would also be a great use of your stash yarn or leftovers from other projects, since you only need a small amount for each accessory!

PATTERN
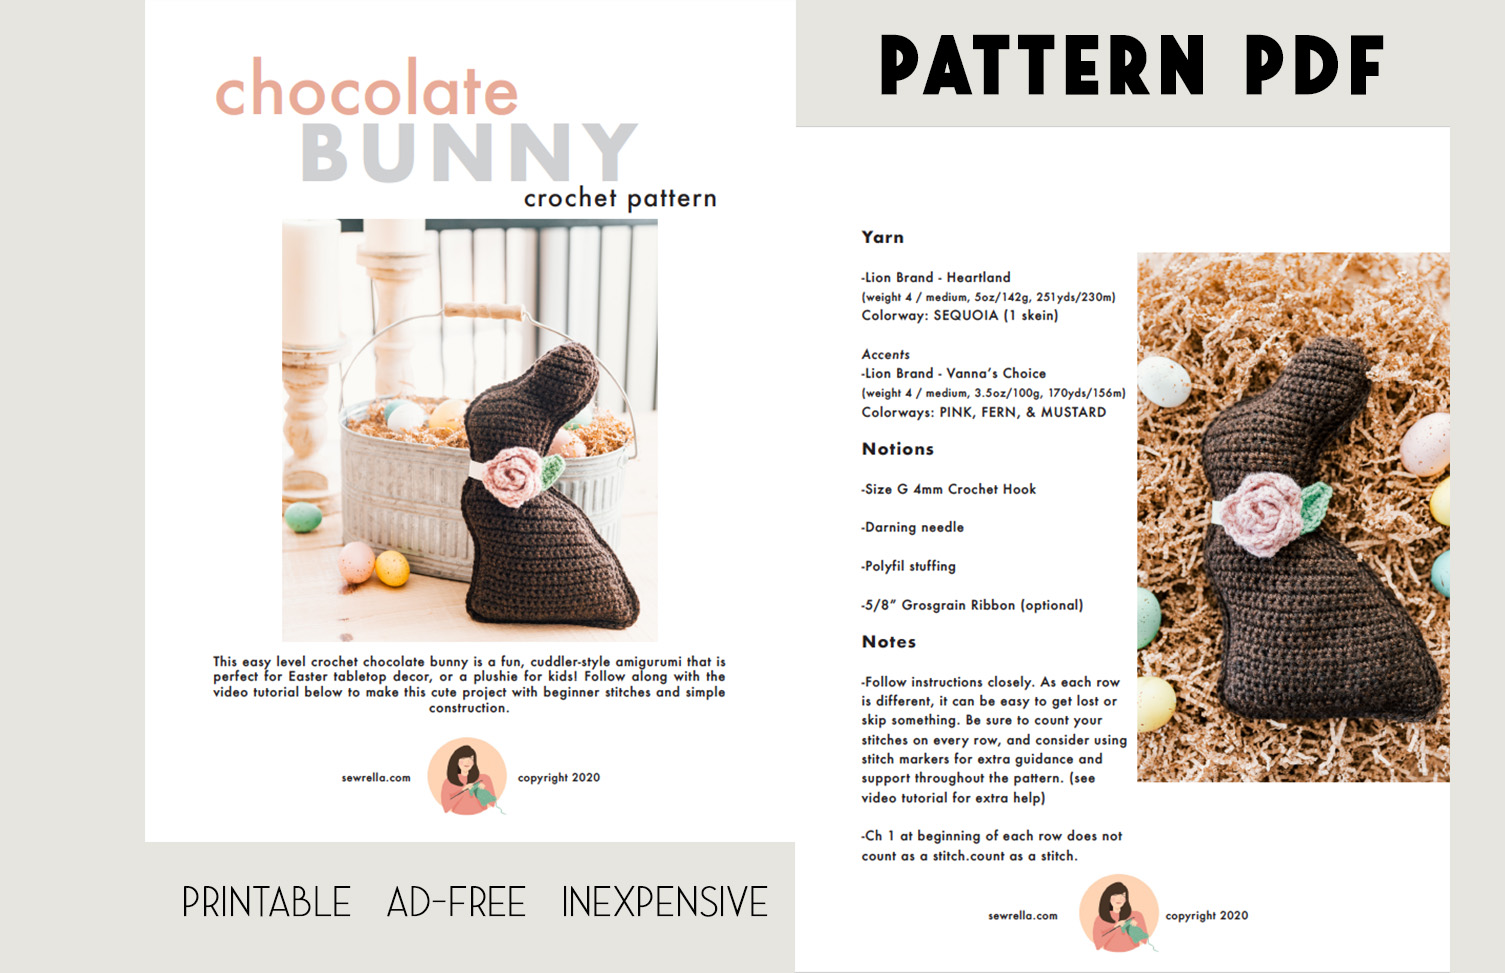
- Get the ad-free, large print, printable PDF pattern HERE.
- Grab the Ultimate Pattern Bundle that includes 150+ patterns just like this one on sale for $20 today HERE.
- PIN this pattern to your Pinterest boards for later HERE.
Description
This easy level crochet chocolate bunny is a fun, cuddler-style amigurumi that is perfect for Easter tabletop decor, or a plushie for kids! Follow along with the video tutorial below to make this cute project with beginner stitches and simple construction.
Yarn
Bunny Body
–Lion Brand – Heartland
(weight 4 / medium, 5oz/142g, 251yds/230m)
Colorway: SEQUOIA (1 skein)
Accents
–Lion Brand – Vanna’s Choice
(weight 4 / medium, 3.5oz/100g, 170yds/156m)
Colorways: PINK, FERN, & MUSTARD
Notions
–5/8″ Grosgrain Ribbon (optional)
Notes
–Follow instructions closely. As each row is different, it can be easy to get lost or skip something. Be sure to count your stitches on every row, and consider using stitch markers for extra guidance and support throughout the pattern. (see video tutorial for extra help)
-Ch 1 at the end of each row does not count as a stitch.
CROCHET CHOCOLATE BUNNY
Crochet Chocolate Bunny Body Pieces (using brown yarn)
*make 2
Ch 26
Row 1: Sc in 2nd ch and across, ch 1, t <25>
Row 2: Dec, sc in each across, ch 1, t <24>
Row 3: Dec, sc in next 20, dec, ch 1, t <22>
Row 4: Sc in next 20, dec, ch 1, t <21>
Row 5: Sc across, ch 1, t <21>
Row 6: Sc in next 19, dec, ch 1, t <20>
Rows 7-9: Sc across, ch 1, t <20>
Row 10: Inc, sc across, ch 1, t <21>
Row 11: Dec, sc across, ch 1, t <20>
Row 12: Inc, sc across, ch 1, t <21>
Row 13: Dec, sc across, ch 1, t <20>
Row 14: Inc, sc in next 17, dec, ch 1, t <20>
Row 15: Dec, sc across, ch 1, t <19>
Row 16: Inc, sc in next 16, dec, ch 1, t <19>
Row 17: Dec, sc across, ch 1, t <18>
Row 18: Inc, sc across, ch 1, t <19>
Row 19: Sk first st, dec, sc across, ch 1, t <17>
Row 20: Dec, sc in next 13, leave the rest of the row unworked, DO NOT ch, t <14>
Row 21: Sk first st, dec, sc in next 9, dec, ch 1, t <11>
Row 22: Sc in next 9, dec, ch 1, t <10>
Row 23: Sk first st, dec, sc across, ch 1, t <8>
Row 24: Sc across, ch 1, t <8>
Row 25: Sc in next 7, inc, ch 1, t <9>
Row 26: Sc across, ch 1, t <9>
Row 27: Sc in next 8, inc, ch 1, t <10>
Row 28: Sc across, ch 1, t <10>
Row 29: Sc in next 9, inc, ch 1, t <11>
Row 30: Sc across, ch 1, t <11>
Row 31: Inc, sc in next 9, inc, ch 1, t <13>
Row 32: Sc across, ch 1, t <13>
Row 33: Inc, sc across, DO NOT ch, t <14>
Row 34: Sk first st, dec, sc in next 10, inc, ch 1, t <13>
Row 35: Sc across, ch 1, t <13>
Row 36: Sk first st, dec, sc in next 9, inc, ch 1, t <12>
Row 37: Sc in next 8, leave rest of the row unworked, DO NOT ch, t <8>
Row 38: Dec, sc in next 5, inc, ch 1, t <8>
Row 39: Inc, sc across, ch 1, t <9>
Row 40: Sc in next 8, inc, ch 1, t <10>
Rows 41-42: Sc across, ch 1, t <10>
Row 43: Sc across, DO NOT ch, t <10>
Row 44: Sk first st, dec, sc across, ch 1, t <8>
Row 45: Sc in next 6, dec, ch 1, t <7>
Row 46: Sc across, DO NOT ch, t <7>
Row 47: Sk first st, dec, sc in next 2, dec, DO NOT ch, t <4>
Row 48: Dec 2, DO NOT ch, t <2>
Row 49: Dec, ch 1 <1>
Row 50: Sc evenly around the perimeter of the crochet chocolate bunny piece, with 3 sc at all corners (bottom 2 corners, at the nose, and top of the ear), sl st to join to 1st st of the round, ch 1
Row 51: Sc around, sl st to join
Finish off first piece.
*complete 2nd crochet chocolate bunny body piece, and continue without breaking yarn
Row 52: Hold both pieces together and sc around to join working through both pieces. Begin stuffing with polyfil 2/3 of the way around, continue stuffing as you finish stitching the top, sl st to join, finish off and weave all ends.
Neck Ribbon (using gold yarn)
Ch 35
Row 1: Sc in 2nd ch and across <34>
Finish off leaving a long tail for sewing. Sew onto neck of crochet chocolate bunny.
OR
Use any 5/8″ grosgrain ribbon (I used this one)
Rose (using pink yarn)
Ch 40
Row 1: Sc in 2nd ch, *ch 2, sk 1, sc, rep from * across, ch 2, t <20>
Row 2: *(3 dc, ch 1, sl st) in 1st ch sp, sl st in next ch sp, rep from * 4 more times, **(3 hdc, ch 1, sl st) in next ch sp, sl st in next ch sp, rep from ** 3 more times, (3 sc, ch 1, sl st) in last ch sp
Finish off leaving a long tail for sewing.
Starting with the sc “petal”, roll up the rose keeping the bottom (foundation ch) in a flat spiral, not a cone shape.
Sew through the foundation ch spiral to secure.

Leaf (using green yarn)
Ch 6
Row 1: Sc in 2nd ch, hdc, dc in next 2, 5 dc in last st, t to work down other side of foundation ch, dc in next, dc, hdc, sc, ch 2, sl st into 1st of the round <14>
Finish off leaving a long tail for sewing, sew tucked under the rose.

Abbreviations (US terms):
ch – chain
dec – decrease
hdc – half double crochet
inc – increase
rep – repeat
sc – single crochet
sk – skip
sl st(s) – slip stitch(es)
sp – space
st(s) – stitch(es)
t – turn
<> – stitch count
OTHER FREE CROCHET SPRING DECOR PATTERNS


Sweeeet! What is the final size of the Bunny?
Mine ended up ten inches from bottom to top of ear.
What is mustard color yarn used for in this bunny pattern? I didn’t see a reference to it.
Thanks!
Please verify – row 3 is 1 dec and 20 sc – wouldnt the stitch count be 21 – its listed as 22 – sorry im new to crochet. Thank you for fun pattern.
Im so sorry – i see I missed the dec at the end. Again – thank you for the fun pattern.