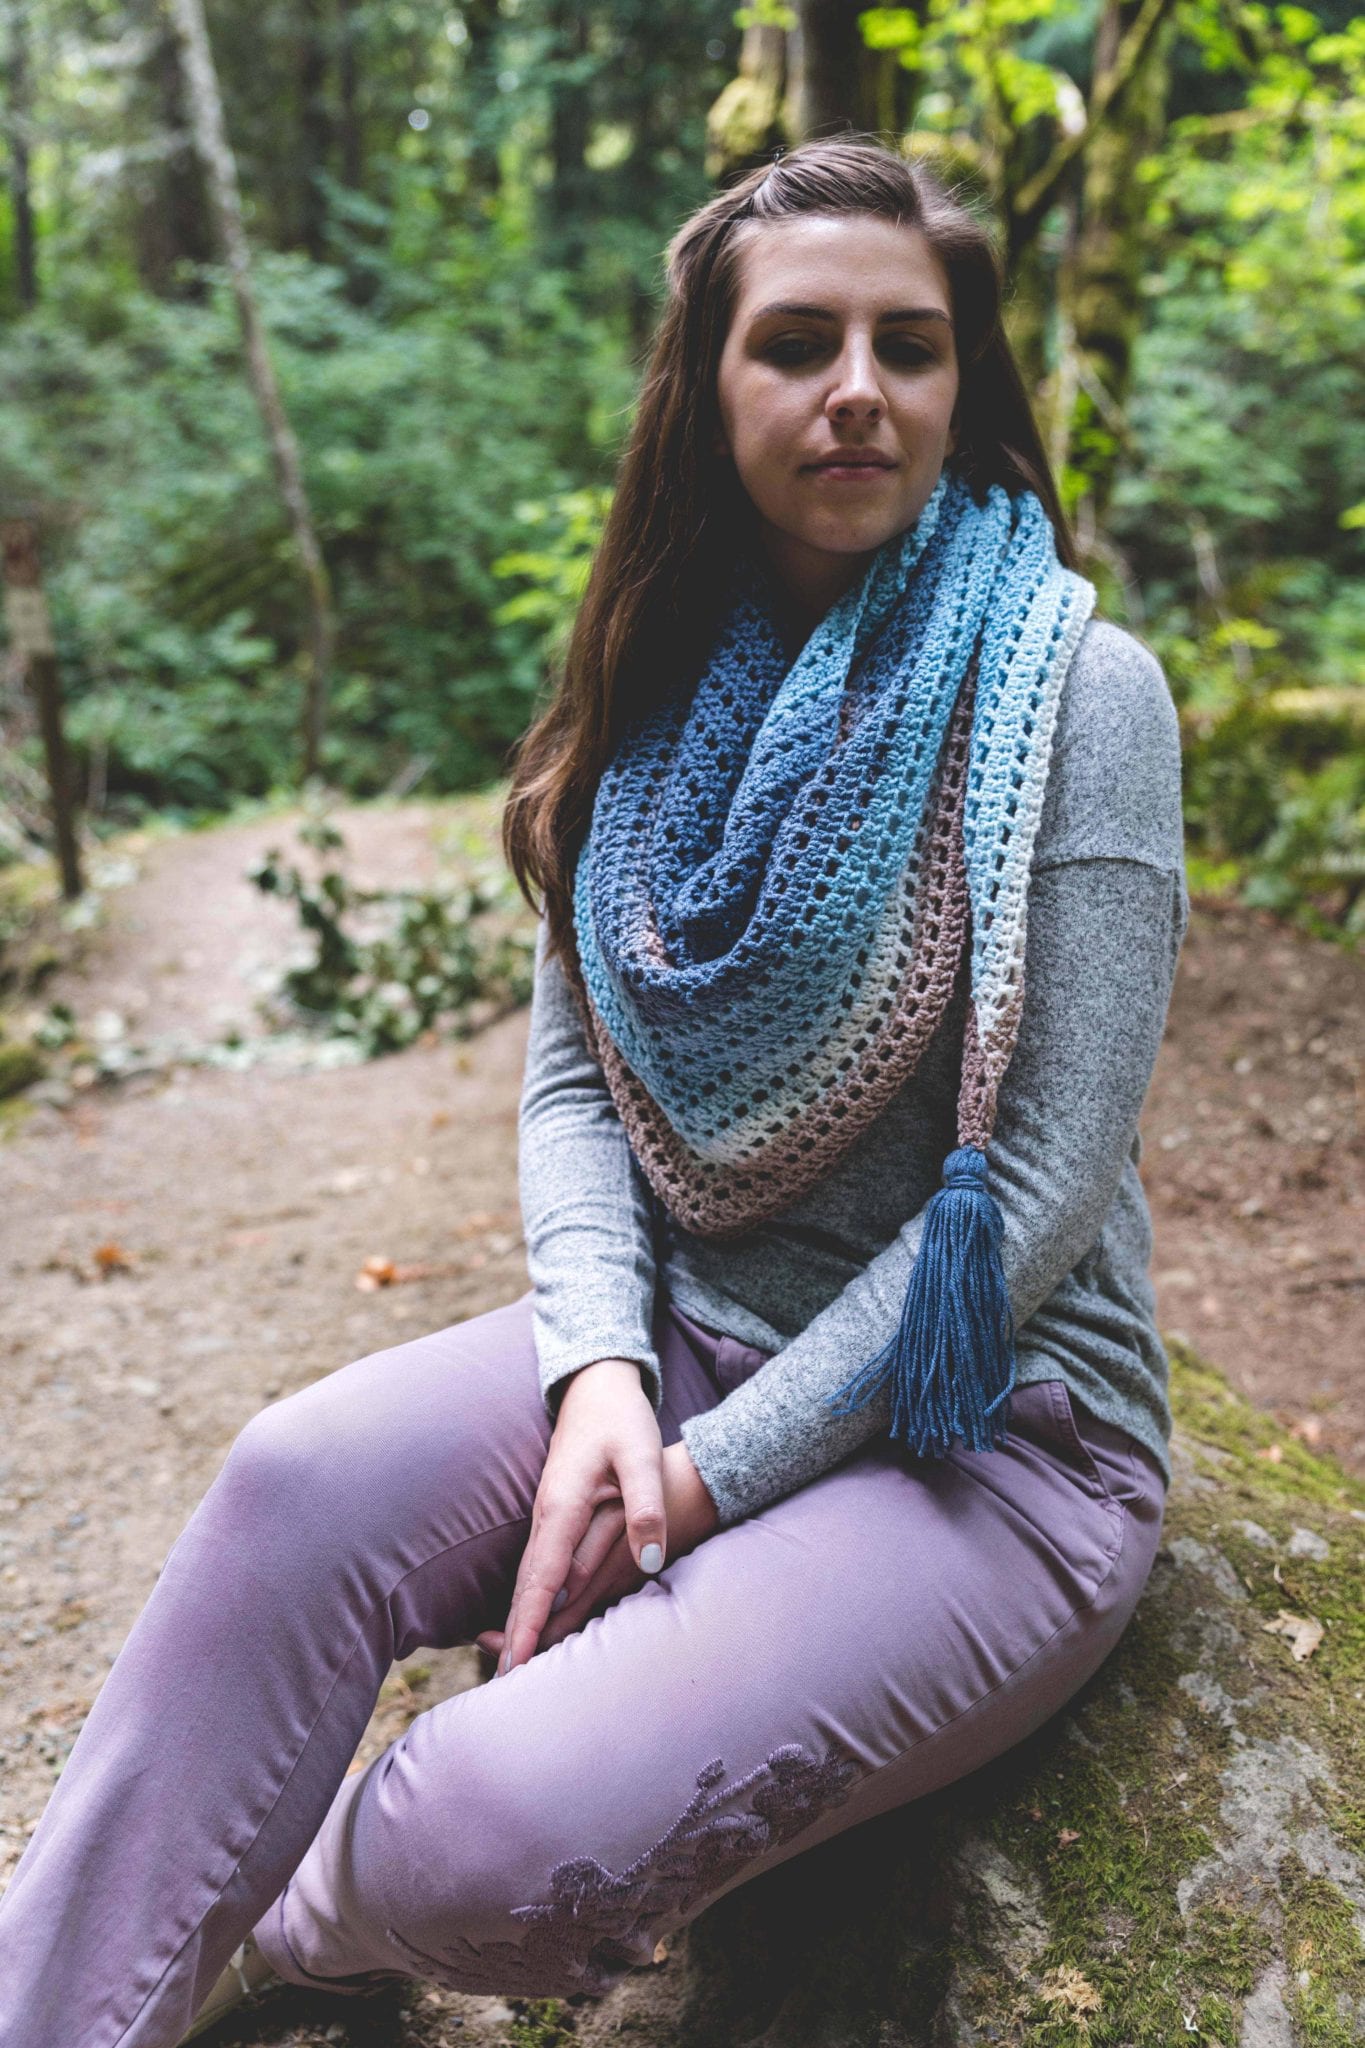
The Crochet Wishing Well Wrap is one of my favorite patterns from last spring so I’m bringing it back in a new fall feature!
You might remember this pattern from when I first posted it here on the blog earlier this year. This post holds the same pattern, showing you a bit of a different way to style it!

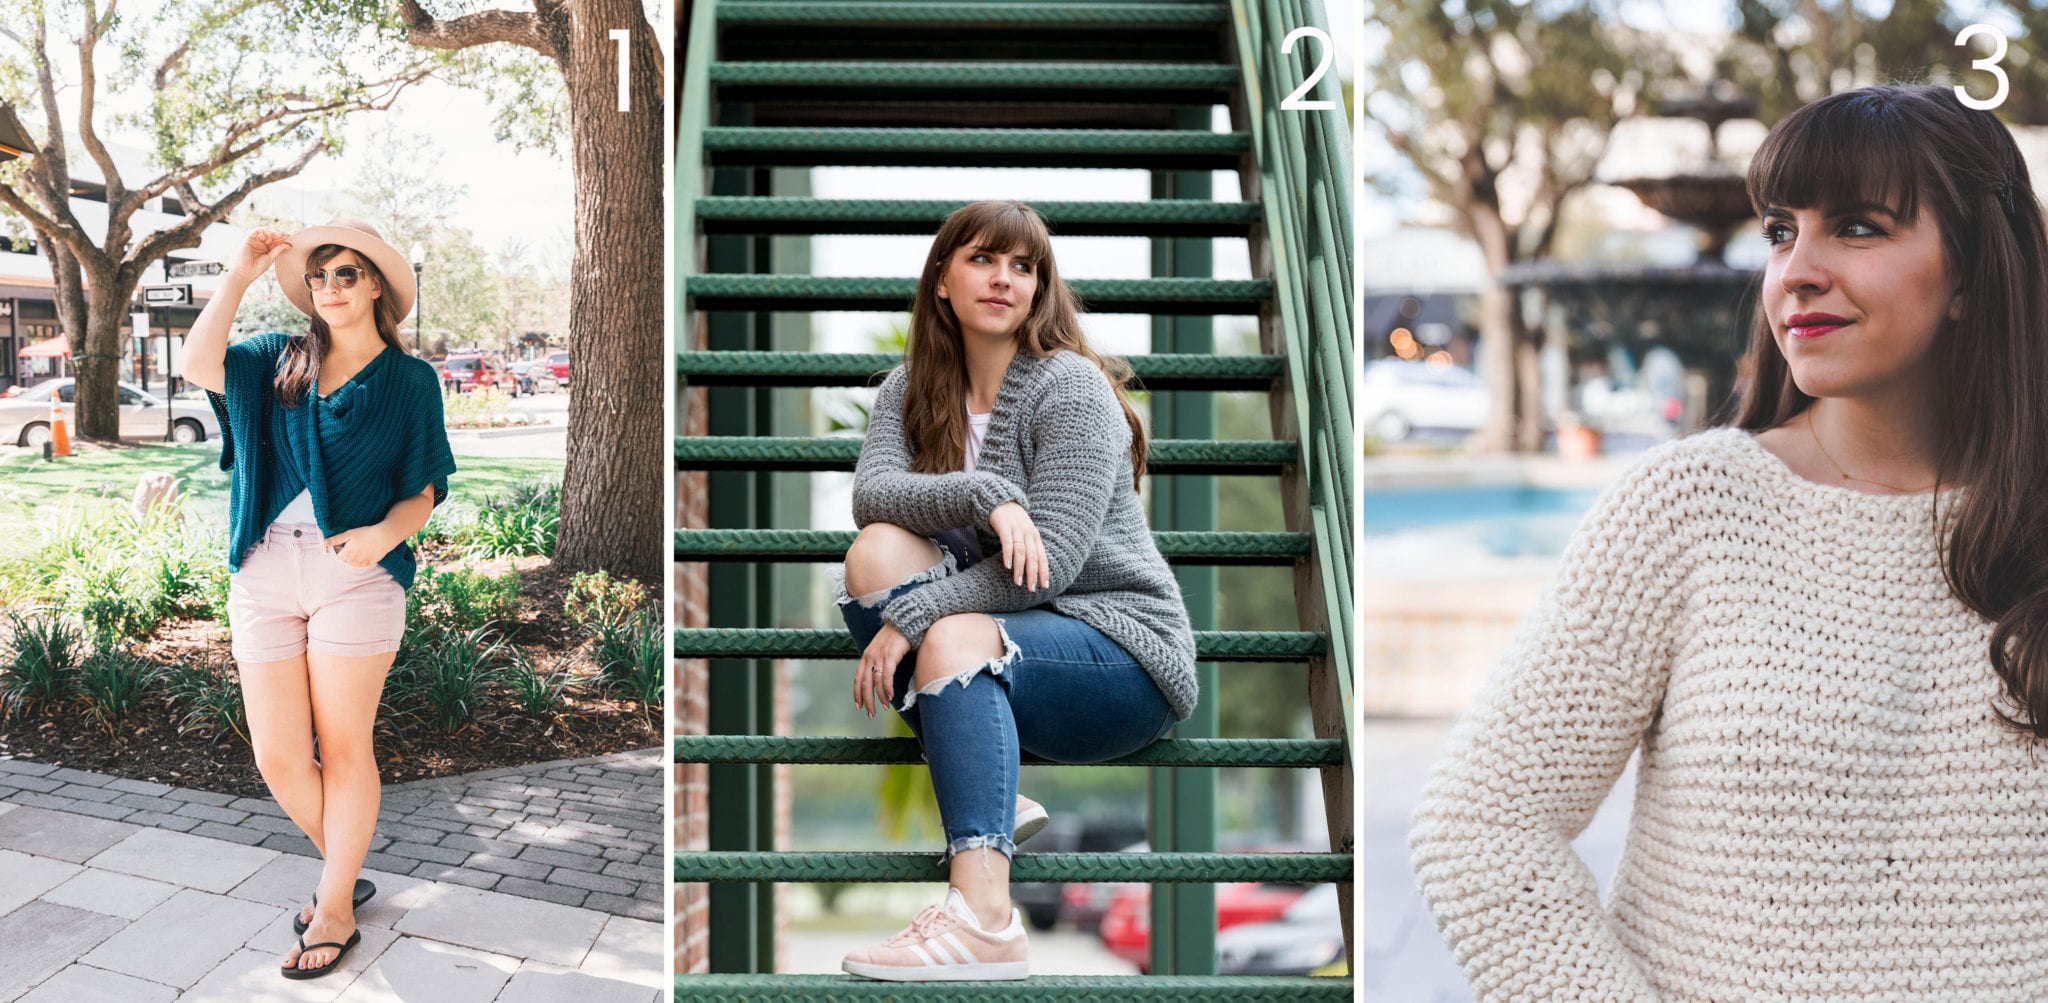
SWEATER PATTERNS I LOVE (& you should too)

1. Crochet Twist Swancho / 2. Crochet Everyday Cardigan / 3. Simple Knit Sweater
The Yarn
I chose to use Lion Brand Yarn’s Mandala Baby yarn for this project! I first saw this colorway in New York City during the Lion Brand Yarn Blogger’s Bash and as soon as I saw it, I turned it over to see the colorway name (anybody else do that? The name of the color pretty much decides if I’ll use it or not, ha!). It was called Wishing Well! As if I couldn’t love it any more.
All of the new Mandala Baby line are available only at Walmart Stores and LionBrand.com & they were created with little ones in mind. Soft colors and neutrals perfect for tiny babes with the cutest colorway names you guys! Some include Neverland, Echo Caves, Pixie Hollow, and Unicorn Cloud – how cute is that?! Browse them all here.
This wrap would be stunning in any of the Mandala Baby yarns or even the original Mandala line of yarns with some deeper hues and equally fun colorway names – like Wizard, Harpy, Pegasus, and Brownie. Check those out here (so many more options online than in stores!)
Lion Brand even come out with a third extension of the self striping yarn cake extravaganza called Cupcake. Theses are the brightest of the family and they really pack a punch! There are tons of Cupcake colorways and they might have the cutest names of all – Apple Picking, Sand Castle, Jelly Bean, and my favorite Coffee Break – are you kidding me?! Can it get any cuter?! See those cuties here.


PATTERN
- Get the ad-free, large print, printable PDF pattern HERE.
- Grab the Ultimate Pattern Bundle that includes 150+ patterns just like this one on sale for $20 today HERE.
- PIN this pattern to your Pinterest boards for later HERE.
- Add this pattern to your Ravelry queue HERE.
To sum it up:
The Wishing Well Wrap is the softly striped, simply made, triangle scarf + wrap that summer nights were made for. It’s perfect company around the campfire with a s’more in hand or layered over easy basics for a warm day of shopping. Designed with the beginner in mind, this pattern consists of easy double crochets and skipped stitches to create beautiful drape and a mindless bingewatch-friendly pattern.
Materials:
–Lion Brand Yarn Mandala Baby in Wishing Well – 2 cakes
Click HERE to grab the kit from Lion Brand with everything you need!
(Click HERE to shop all my favorite tools!)
Gauge:
14 sts x 9 rows in Double Crochet = 4″
Dimensions:
75″ x 33″
Abbreviations:
ch – chain
dc – double crochet
sl st – slip stitch
sk – skip
st(s) – stitch(es)
rep – repeat
t – turn
Difficulty Level:
Level 2 – Easy
Pattern Notes:
-For reference, model is 5’5” tall with a 39″ bust.
-Ch 2 sts DO count as a st throughout the pattern.
-Pattern is worked beginning in the center of the wrap and worked in turned rows to expand the size. Close attention paid to increases at the beginning and end of each row are imperative.
-Each long side of the triangle (and each row) should always have the same number of stitches.
-Whether pulling from the center or outside of the cake, be sure you pull from the same place when you join a new cake to your project.
-I pull from the center and used up a good chunk of that dark blue yarn for my accent tassels. If you want tassels a different color than what you’ll end your wrap with, make tassels before beginning wrap.
-I cut the yarn to skip to the next color whenever I was beginning a new row and didn’t have enough of that color left to finish the next row. Cut yarn, set aside the rest of that color for tassels, and join new yarn where color abruptly changes in your cake before beginning another row. This will create more even striping without color changes in the middle of your rows. To conserve yarn or get a more randomly striped look, don’t splice yarn – just crochet as normal.
-To alter sizing, simply omit or add on repeats of the 2 Row stitch pattern to desired size. In general, this wrap is best sized as a few inches longer than your wingspan (middle fingers tip to tip when held out straight from your sides). 1 cake may be sufficient for toddlers and small kids, 2 cakes are enough for teens and most adults, plus sizes or any larger than my sample (70″ wide) may need a 3rd cake.
-Click here to get the easy-to-print PDF copy!
Wishing Well Wrap
Ch 4, sl st to 1st Ch (next to slip knot) to form a ring
Row 1: Working into center of the ring made from your Ch 4, Ch 2, 2 Dc, Ch 2, 3 Dc into ring (6)
Row 2: Ch 2, t, 2 Dc in 1st st, Dc, Dc, (Dc, Ch 2, Dc) into Ch 2 space, Dc, Dc, 3 Dc in last st (12)
Row 3: Ch 2, t, 2 Dc in 1st st, Ch 1, sk 1, Dc, Ch 1, sk 1, Dc, Ch 1, sk 1, (Dc, Ch 2, Dc) into Ch 2 space, Ch 1, sk 1, Dc, Ch 1, sk 1, Dc, Ch 1, Sk 1, 3 Dc in last st (18)
Row 4: Ch 2, t, 2 Dc in 1st st, Dc in each st to Ch 2 space (including Ch 1 sts), (Dc, Ch 2, Dc) into Ch 2 space, Dc in each st to last, 3 Dc in last st (24)
Row 5: Ch 2, t, 2 Dc in 1st st, Ch 1, sk 1, *Dc, Ch 1, sk 1, repeat from * to Ch 2 space (end with a Ch 1, sk 1), (Dc, Ch 2, Dc) into Ch 2 space, Ch 1, skip 1, *Dc, Ch 1, sk 1, repeat from * to last st (end with a Ch 1, sk 1), 3 Dc into last st (30)
Repeat Rows 4-5 until you’ve finished Row 60
Last Row: Ch 1, t, sl st loosely in each st across (including 1 sl st in Ch 2 space) to end, finish off, weave ends.

Tassels
*make 2

Use a hardcover book to help you here.
Wrap the yarn around the width of your book about 50 times (not too tight!)

Slide yarn loop off of book without dismantling your loop shape.

Cut your yarn loop through all the strands of yarn as pictured.
You should have about 50 pieces of yarn all the same length now.

Cut 2 pieces of yarn about 12″ long each.
Tie one piece of yarn around center of your yarn strands to secure.

Gather up into more of a tassel shape. Your first yarn tie should be at the top and all loose strands going in the opposite direction.
Lay your other cut piece of yarn under your tassel widthwise about 1″ below your first tie.
Straighten all loose strands and tie tightly to secure, You should have a much more recognizable tassel shape.


Wrap tails of second tie around the cinched spot until you run out of tail and use your hook to slip the remaining tail under the loop. Trim ends.


I like to straighten my tassels by steaming them! This is optional but will give your tassel a more polished look.
Attach 1 tassel to each end of your wrap and weave ends.

Earning a Living with my Handmade Home
If you love crocheting and knitting, you should think about starting a blog! I’ll help you get started to turn your hobby into a money-making career with my free “Start a Blog” guide.
Or you can check out my latest income report to see how this blog earned over $10,000 last month!
I’m just starting crochet well I’ve done it for a year . Haven’t done any patterns yet. Love to learn more and love to get good at it.