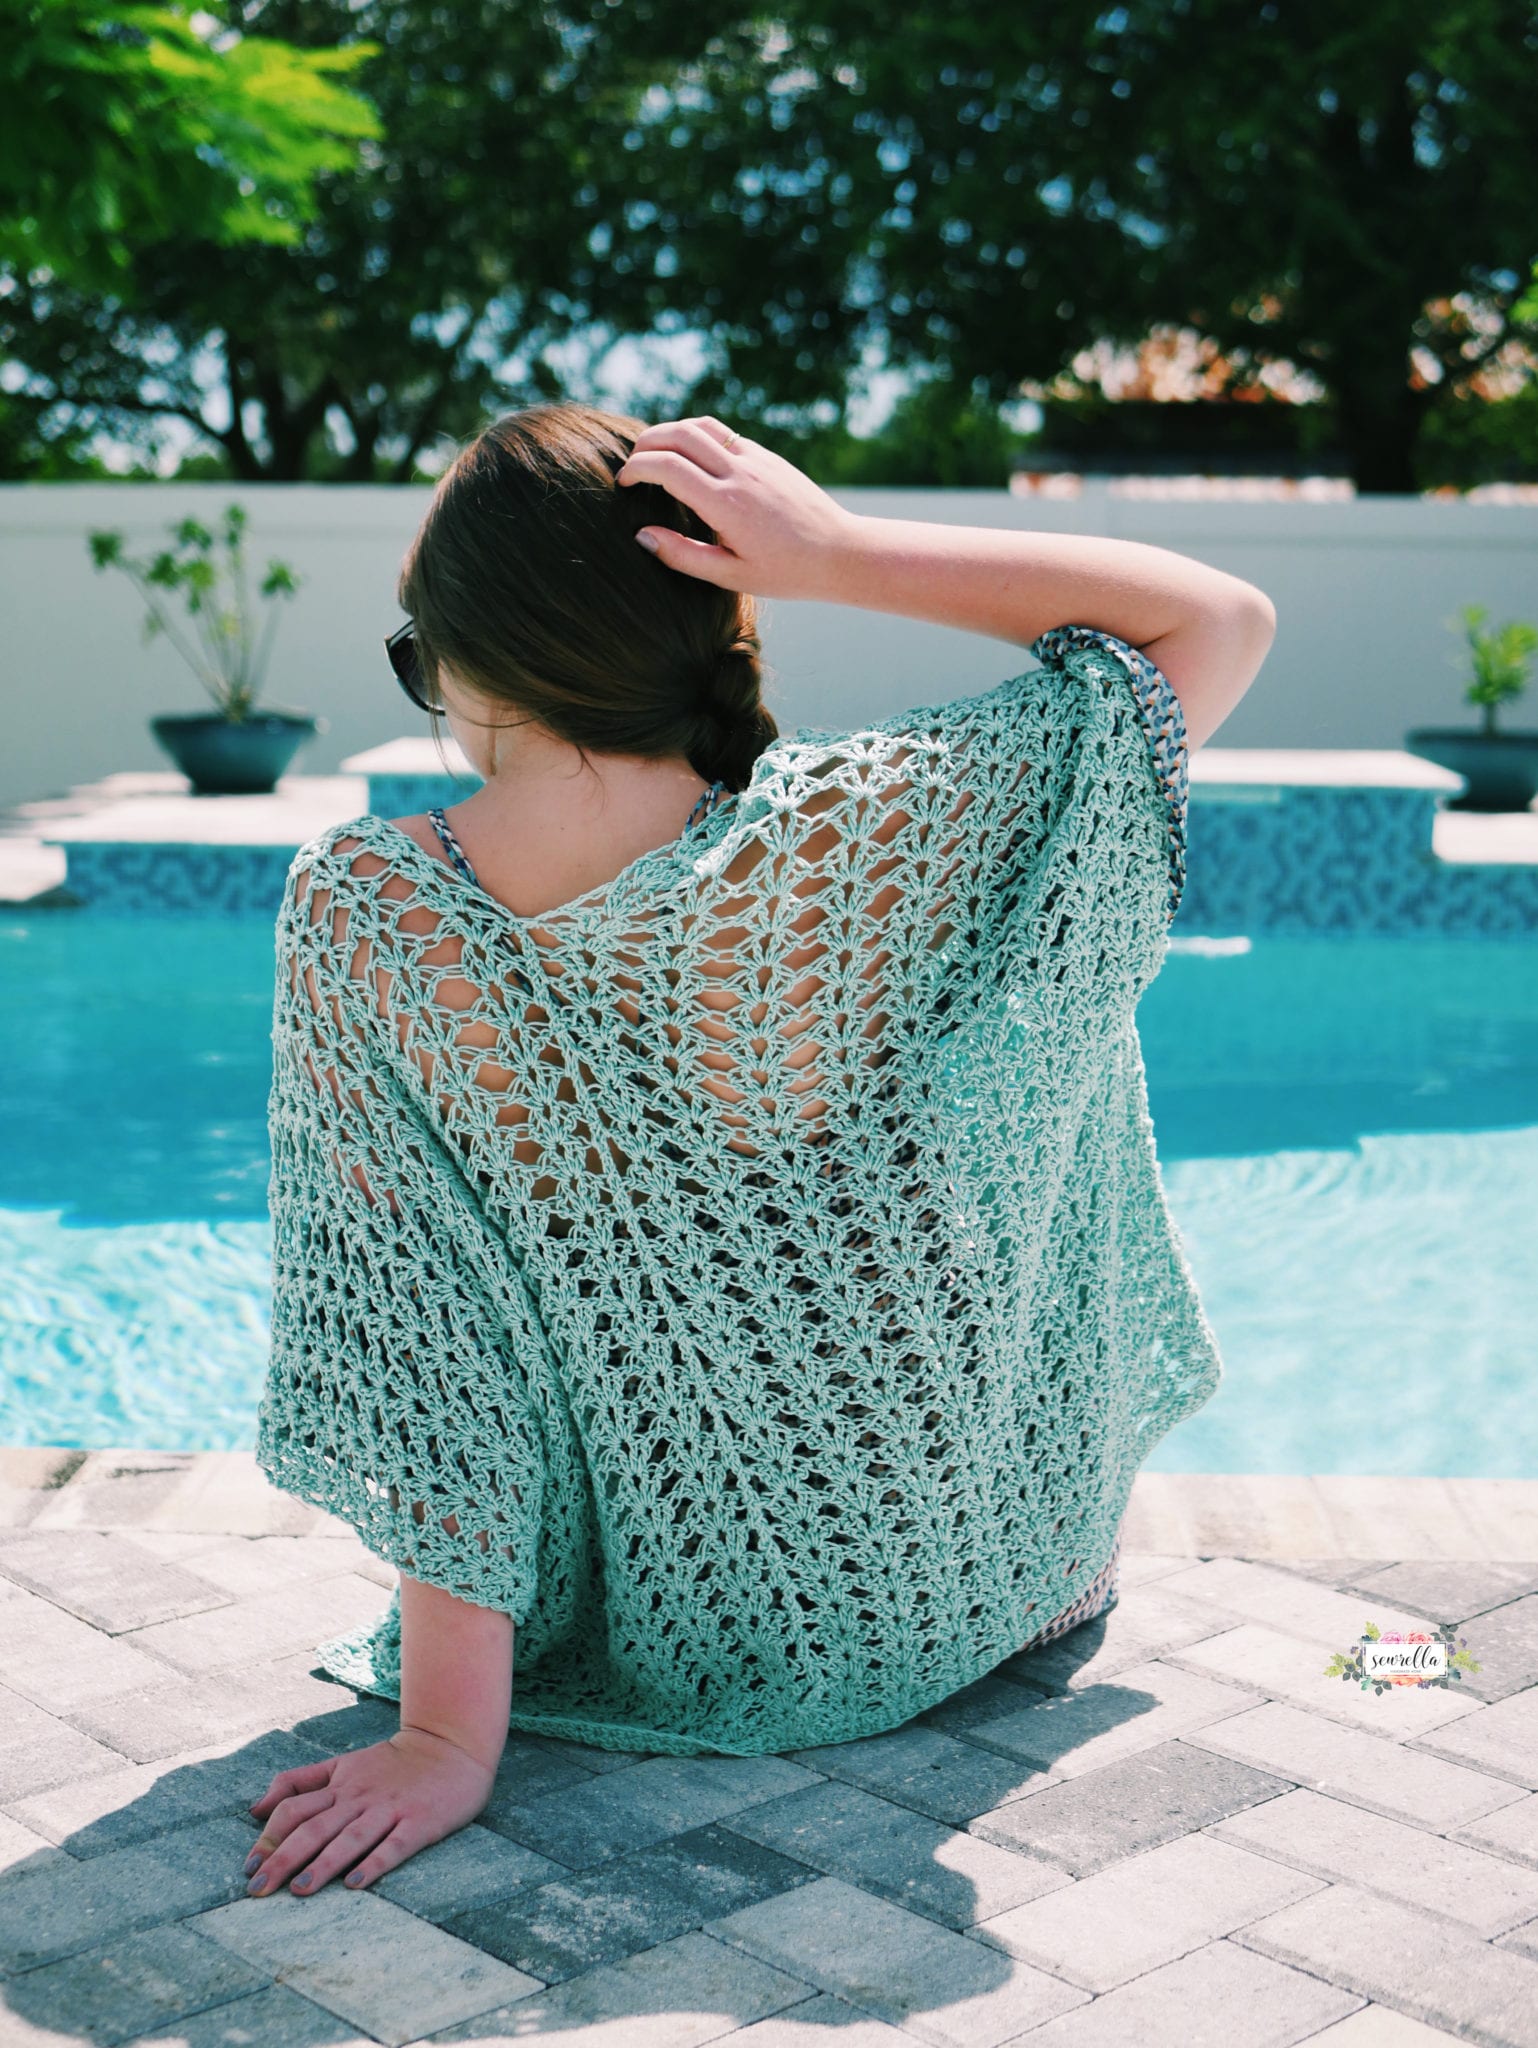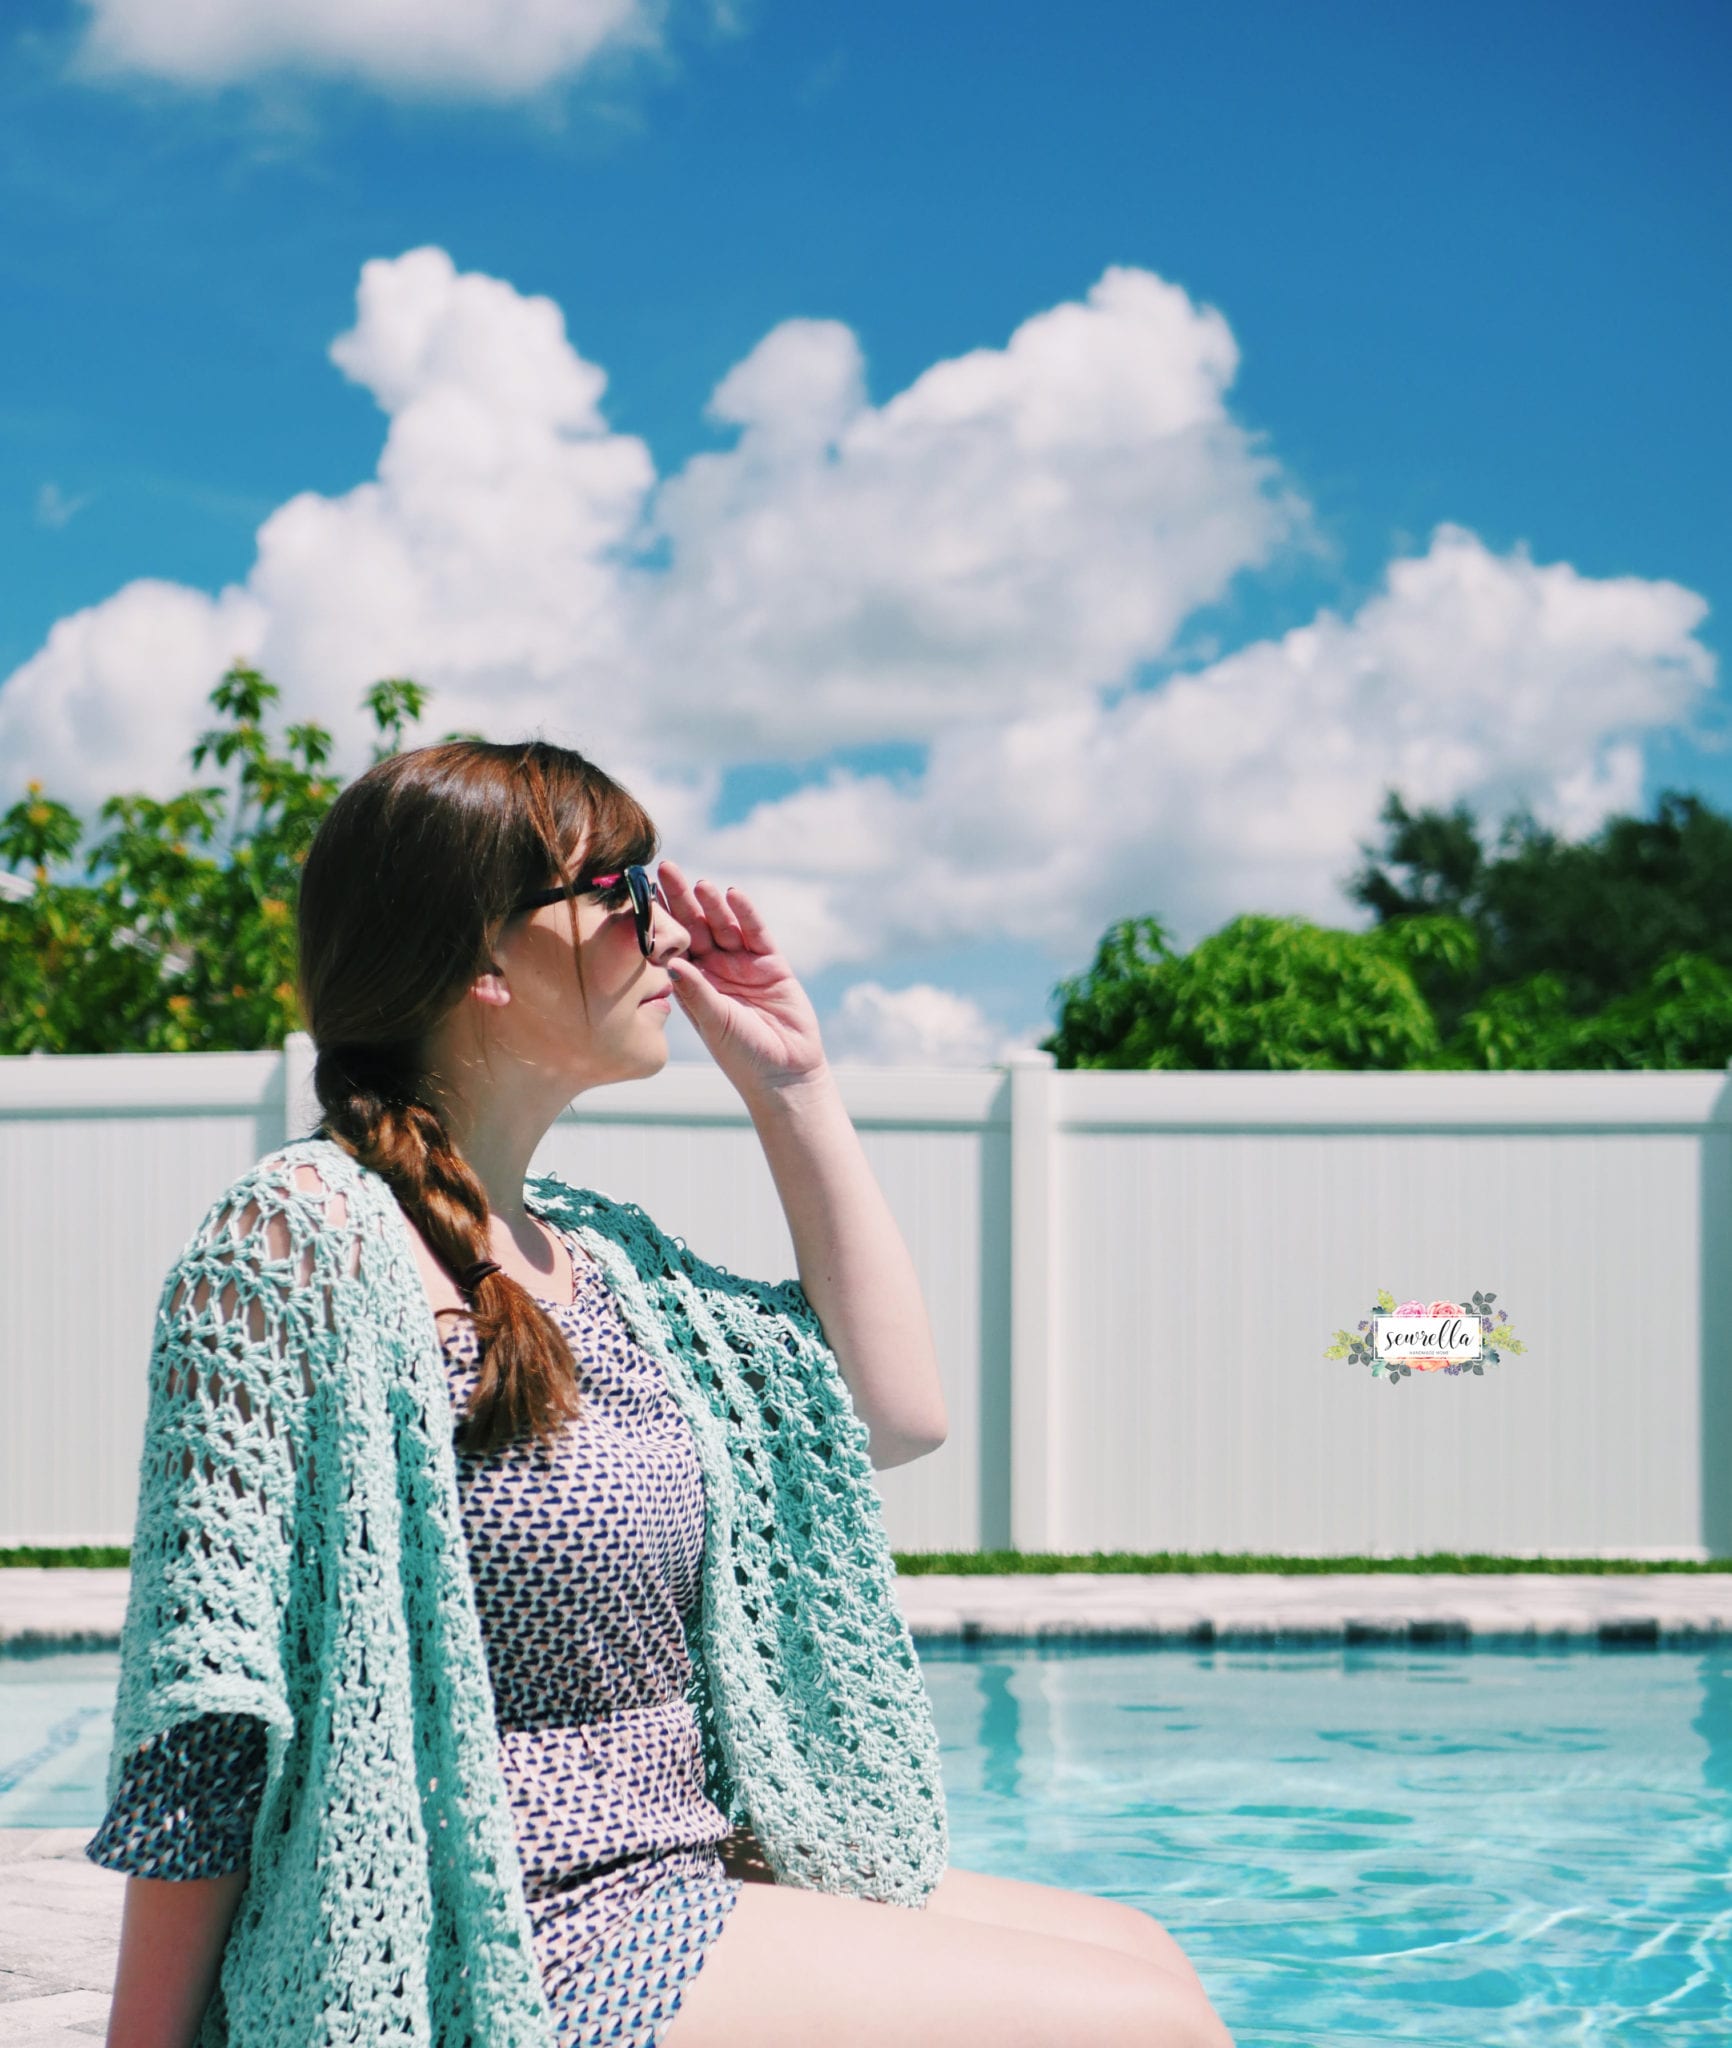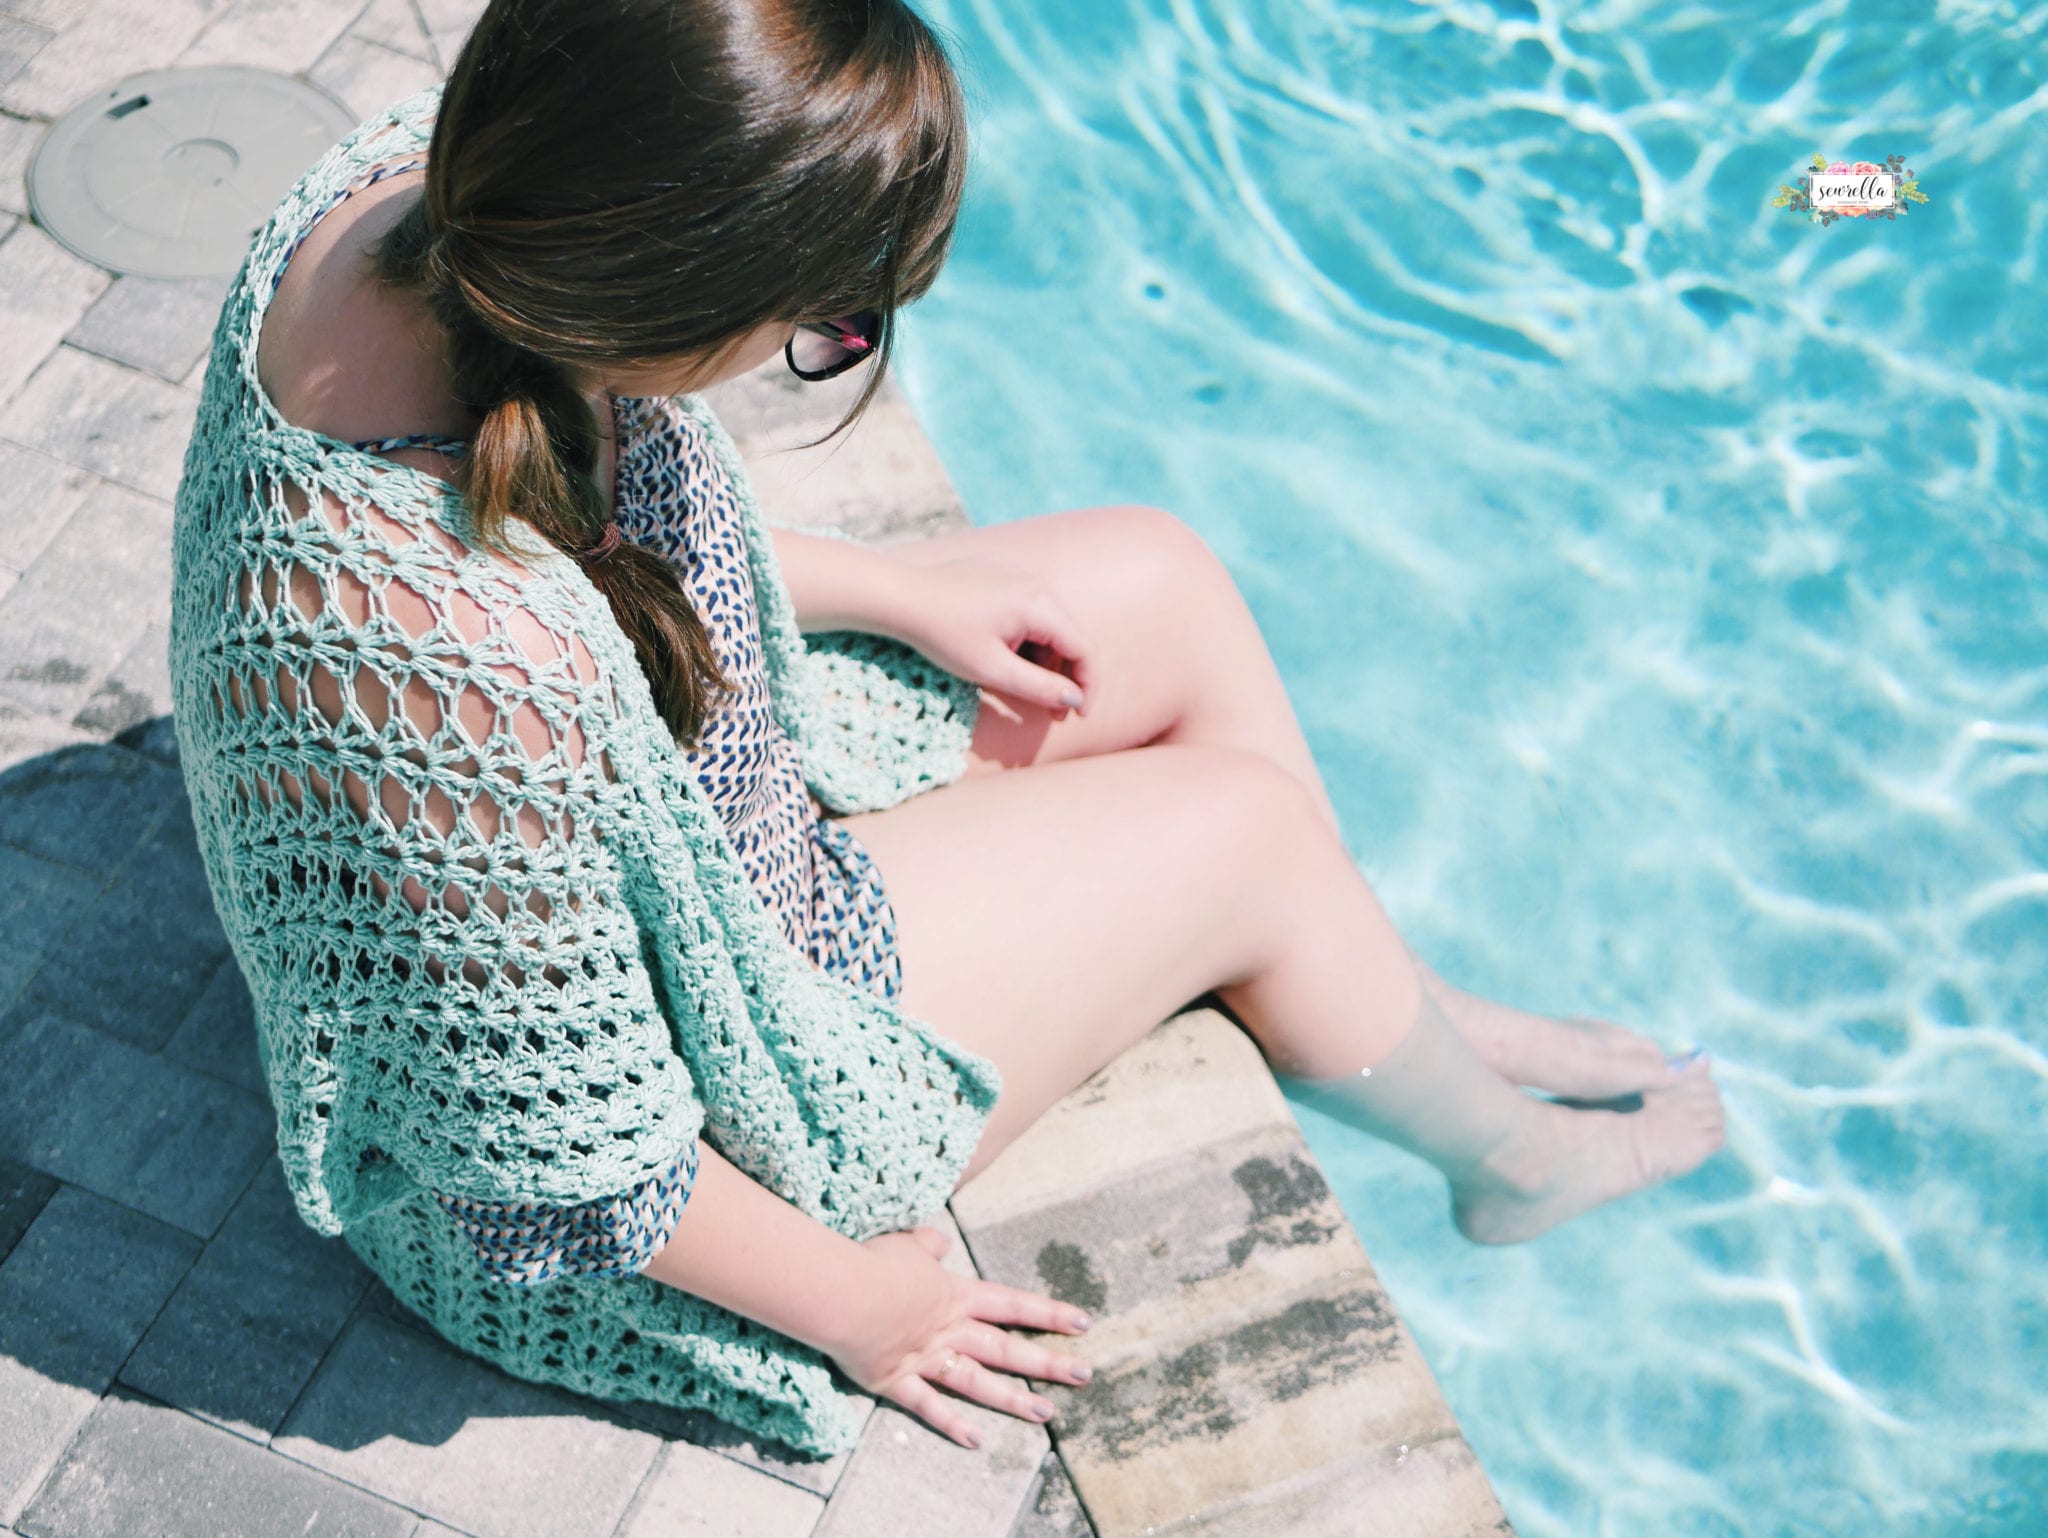
This crochet pattern is my favorite wearable I’ve ever made – really! It’s so comfortable, light weight, and pretty.
Remember the Lana Kimono from last month? If you’ve made one, or seen the way it was constructed, the Laikini Cardigan is assembled the same way. 2 panels seamed up to create a beautiful shrug.


Laikini is the hawaiian word for lace, the perfect moniker for this open, lacey cardigan. My fiance was actually born and raised in Honolulu, how amazing is that? This cotton cardigan is the perfect thing for tropical vacations, poolside days, or even layering for the fall season.
I used Lion Brand 24/7 Cotton for this cardigan and I’m SO glad I went with this yarn. It’s a mercerized cotton which gives such a beautiful sheen to finished projects. It’s super durable and smooth to work with too (we all know those cotton yarns that are stiff and rough in your hands, not this one!).
Lion Brand Yarn created a kit from this fantastic pattern that’s available HERE! It includes all the yarn you need for your size and a printed copy of the pattern below shipped right to your door. Yay!


I need one of these cardigans in every color! Make yours and be sure to tag me @sewrella when you post it on social media.


PATTERN
- Get the ad-free, large print, printable PDF pattern HERE.
- Grab the Ultimate Pattern Bundle that includes 150+ patterns just like this one on sale for $20 today HERE.
- PIN this pattern to your Pinterest boards for later HERE.
- Add this pattern to your Ravelry queue HERE.
Materials:
-Lion Brand 24/7 Cotton in Mint (5 balls for Original size & 7 Balls for Tall & Curvy)
Click HERE to grab the kit that includes everything you need from Lion Brand!
-Size N 10mm crochet hook
-Tapestry needle
(Click HERE to shop all my favorite tools!)
Abbreviations (US terms):
ch – chain
sc – single crochet
dc – double crochet
rep – repeat
sk – skip
st(s) – stitch(es)
Notes:
-Below is the pattern for both Original and Tall & Curvy sizing. Original sizing is pictured in Jeans yarn and Tall & Curvy is pictured in Shawl in a Ball yarn on the same model. Generally, Original size fits S/M/L and Tall & Curvy fits XL/2X/3X. It’s worth noting that many people may be able to wear either size, with Original being more fitted/shorter and Tall & Curvy being oversized.
-Panel sizing is as follows (you may prefer a tighter stitched fabric, or replicating this pattern with another weight yarn – use these measurements to help you get the same look!)
Original: 24 in. x 60 in.
Tall & Curvy: 34 in. x 60 in.
Gauge:
Original Size:
*make 2 panels
Ch 41, Sc in 2nd from hook and each ch, Ch 1, turn (40)
Row 2: Sc in each sc, Ch 3, turn (40)
Row 3: Sk 1 st, *work (2 dc, ch 1, 2 dc) in the next st, sk 3 sts, rep from * to last 2 sts. Sk 1 st, dc in last st, ch 3, turn (41)
Rows 4-56: Work (2 dc, ch 1, 2 dc) in the center of each fan shape (ch 1 space from the previous row), work a dc in the turning ch space, ch 3, turn (41)
Row 57: Work (2 dc, ch 1, 2 dc) in the center of each fan shape (ch 1 space from the previous row), work a dc in the turning ch space, ch 1, turn (41)
Row 58: Sc in each dc (do not sc into the ch 1 sp), ch 1, turn (40)
Row 59: Sc in each st, finish off, weave ends
-Follow assembly instructions below to learn how to seam up your panels to form the kimono!
Tall & Curvy Size:
*make 2 panels
Ch 57, Sc in 2nd from hook and each ch, Ch 1, turn (56)
Row 2: Sc in each sc, Ch 3, turn (56)
Row 3: Sk 1 st, *work (2 dc, ch 1, 2 dc) in the next st, sk 3 sts, rep from * to last 2 sts. Sk 1 st, dc in last st, ch 3, turn (57)
Rows 4-56: Work (2 dc, ch 1, 2 dc) in the center of each fan shape (ch 1 space from the previous row), work a dc in the turning ch space, ch 3, turn (57)
Row 57: Work (2 dc, ch 1, 2 dc) in the center of each fan shape (ch 1 space from the previous row), work a dc in the turning ch space, ch 1, turn (57)
Row 58: Sc in each dc (do not sc into the ch 1 sp), ch 1, turn (56)
Row 59: Sc in each st, finish off, weave ends
-Follow assembly instructions below to learn how to seam up your panels to form the kimono.
Assembly:
-Lay one panel over the other with right sides facing, lining up the foundation chain sides, or Row 1 from both panels together and Row 28 (40) together. Cut a spare piece of yarn twice the length of the long side of your panels.
-With a tapestry needle, use a whip stitch to seam up the long side of your kimono where the raw edges meet each other. Insert your needle through the turning chain from each panel. Stitch halfway down the long side, matching up each stitch.
-Once you reach halfway, whip stitch the last stitch 3 or 4 times (you should have seamed up half of that long side now). Weave your ends from this seam.

-Unfold your kimono and you should have a shape as pictured

-Fold your piece across the middle line in the opposite direction you folded before. You should now have your first seam at the front facing you and the open area of that join lying below it away from you.

-Now we will seam up the sides to create arm holes. Cut a piece of yarn twice the length of the side.
-With a tapestry needle, use a whip stitch to seam up the short side of your kimono where these pieces meet each other, starting with where the rows of Sc meet each other. You are now stitching along the raw edge of each panel. Insert your needle through both loops of the turning chain from each piece. Stitch halfway down the side, matching up each stitch.
-Once you reach halfway, whip stitch the last stitch 3 or 4 times (you should have seamed up half of that side now). Weave your ends from this seam.
-Repeat on the other side.

Enjoy your cardigan!

Ashleigh, I really love this. Can’t wait to make it. Thanks for all of your hard work and tireless inspiration. <3
This is lovely! Thank you for the pattern.
What does VSCO with C1 preset mean? Thank you.
Are the dimensions for this the same as the ones for the Lana Kimno?
Yes!
cute it wont fit someone fat like me though 🙁
I would like to make this top for myself, however I think it will be too big for me?
I wear a Large tank top and am only 112 lbs.
Do I use a smaller crochet hook than you show? and do I use less stitches to start?
This is so pretty! I love your work and I also love your blog. keep up the good work!