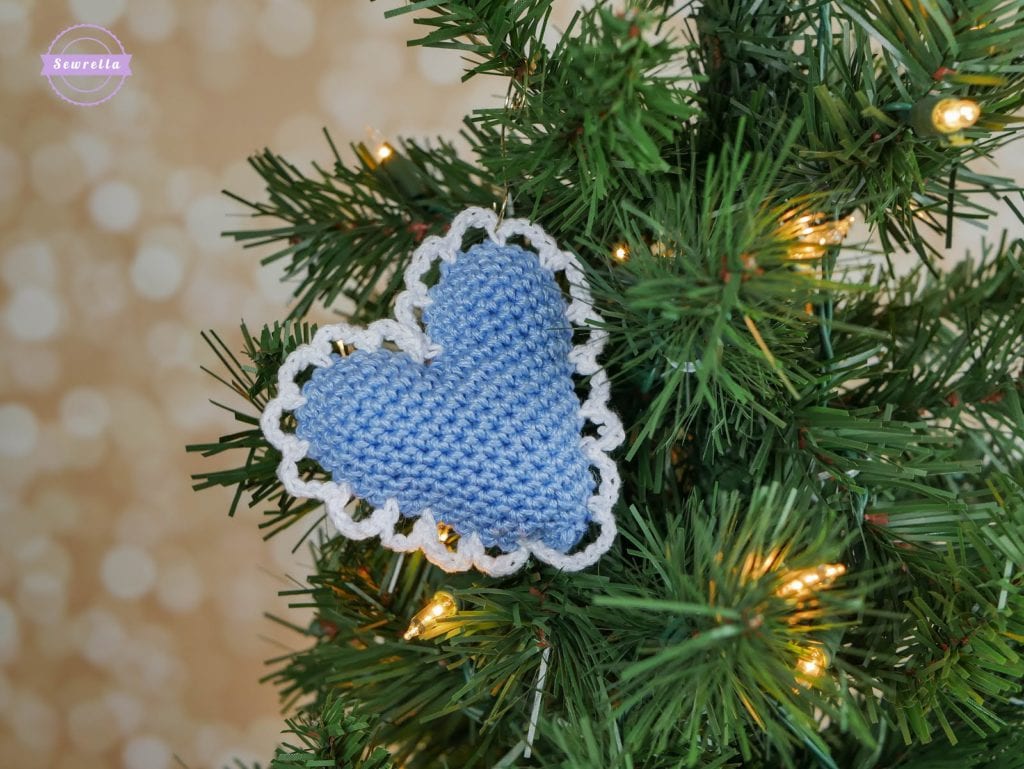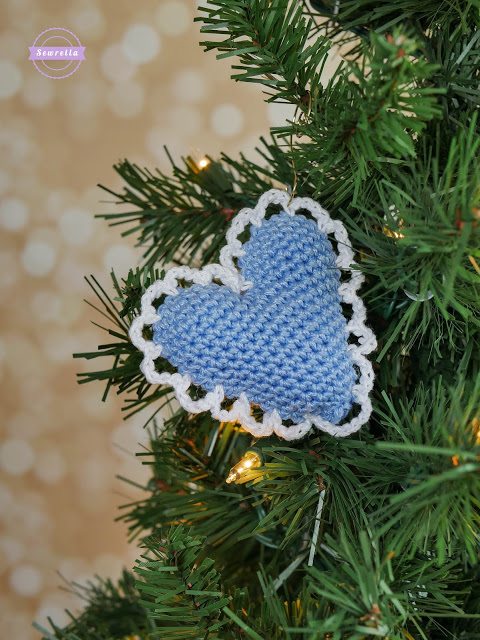
Lacy hearts and heart doilies always scream “southern” to me.
Maybe it’s because my grandmothers always kept sweet little lacy heart things around the house and they were as southern as southern can be – banana pudding and all.
This sweet little ornament is a reminder to keep your heart open at the holidays – and all year round.
Replace negative feelings with love, for anyone and everyone.
A simple heart ornament would have been good enough, but while making it I remembered those southern heart doilies and decided to add an easy little embellishment to my amigurumi heart.
Also, this little heart might be my favorite ornament to add to a wrapped present around the holidays – how sweet and perfect for someone you love!

THE TRADITION: With an open heart, I urge you to donate something this holiday season. It can be something extravagant or a simple crochet hat. Whatever you choose to give openly and without strings attached, give it with love.
I also encourage you to involve your kids, if you have any! The holidays are about giving, not receiving and I see so many children that aren’t involved at all in the giving part of the holiday. They are only on the receiving end of things and what a shame that is!
Go to the yarn store, and let the little one pick out what color yarn you’ll work with for a donated crochet hat, scarf, or mittens after you talk together about how this project will help someone who we don’t know.
It doesn’t have to be complicated to be important!
PATTERN
- Get the ad-free, large print, printable PDF pattern from Etsy HERE.
- PIN this pattern to your Pinterest boards for later HERE.
Materials:
– Lion Brand 24/7 Cotton in Sky and White
– Size C 2.75 crochet hook
– Tapestry needle
– Polyfil stuffing
*For the entirety of this project don’t join rounds, simply place a stitch marker in the first stitch of each round and move it with each round
Top bumps of the heart:
*make 2
With Sky, make a magic ring, 6 Sc inside ring (6)
Round 2: 2 Sc in each around (12)
Round 3: 2 Sc in first, Sc in next, repeat around (18)
Rounds 4-6: Sc in each around (18)
– After working first bump of the heart, break yarn, finish off and start second bump
– After working Round 6 of the second bump, don’t finish off
Round 7: Join to the next st after you finished off on the first bump of the heart with a Sc, Sc in each st around that bump and then in each st around the second bump (36)
– Now the bumps are joined and you continue working around the body of the heart
Body of the heart:
Round 8: Sc next 8, Sc decrease, Sc next 16, Sc decrease, Sc next 8 (34)
Round 9: Sc next 7, Sc decrease, Sc next 16, Sc decrease, Sc next 7 (32)
Round 10: Sc next 7, Sc decrease, Sc next 14, Sc decrease, Sc next 7 (30)
Round 11: Sc next 6, Sc decrease, Sc next 14, Sc decrease, Sc next 6 (28)
Round 12: Sc next 6, Sc decrease, Sc next 12, Sc decrease, Sc next 6 (26)
Round 13: Sc next 6, Sc decrease, Sc next 10, Sc decrease, Sc next 6 (24)
Round 14: Sc next 5, Sc decrease, Sc next 10, Sc decrease, Sc next 5 (22)
Round 15: Sc next 4, Sc decrease, Sc next 10, Sc decrease, Sc next 4 (20)
Round 16: Sc next 4, Sc decrease, Sc next 8, Sc decrease, Sc next 4 (18)
Round 17: Sc next 4, Sc decrease, Sc next 6, Sc decrease, Sc next 4 (16)
– Stuff until firm with polyfil stuffing
Round 18: Sc decrease, Sc, repeat around (8)
– Continue stuffing with polyfil
Round 19: Sc decrease around, finish off leaving a long tail for sewing (4)
– Thread tail on a tapestry needle, sew up through top of the heart between bumps and sew up gap from joining during Round 7, weave ends
Lace:
With White, join yarn to the edge of Round 16, *Ch 4, skip 2, Sc in next, repeat from * around working around the edge
– Note: the skip 2 above is skipping 2 rounds before placing your Sc since you are working vertically along the edge
Once you get to the bottom point of the heart, Ch 8 and sl st to starting Ch 4, finish off and weave all ends
*I hung this little heart by the lace for a cute, dangling heart effect. You could tie a piece of yarn to the lace if you wanted to hang it centered!
Don’t forget to PIN this project to your Pinterest boards!


I’m lost when it comes joining the two heart humps I’m a visual learner is there maybe a video showing the joining is the two pieces. I started cal a little late and I catching up. I am enjoying the idea of making my ornaments this year. I really like your blog.
Thanks so much! I wasn’t able to put together a photo tutorial for this one, but this post has a similar way of joining the two heart bumps: http://happyamigurumi.blogspot.com/2016/02/preparations-for-valentines-day-crochet.html
Hope this helps!
Hi there. I realised that starting from round 19, the number of stitches stated are incorrect, i.e. 7+1+15+1+7=31. However, it is stated as 30. Do let me know if i got the pattern wrongly. Thank you.
Hey there! I’ve revised the pattern a bit and corrected the error you’re talking about. Thanks for pointing this out, you’re a gem! 😉