Hey there everybody!
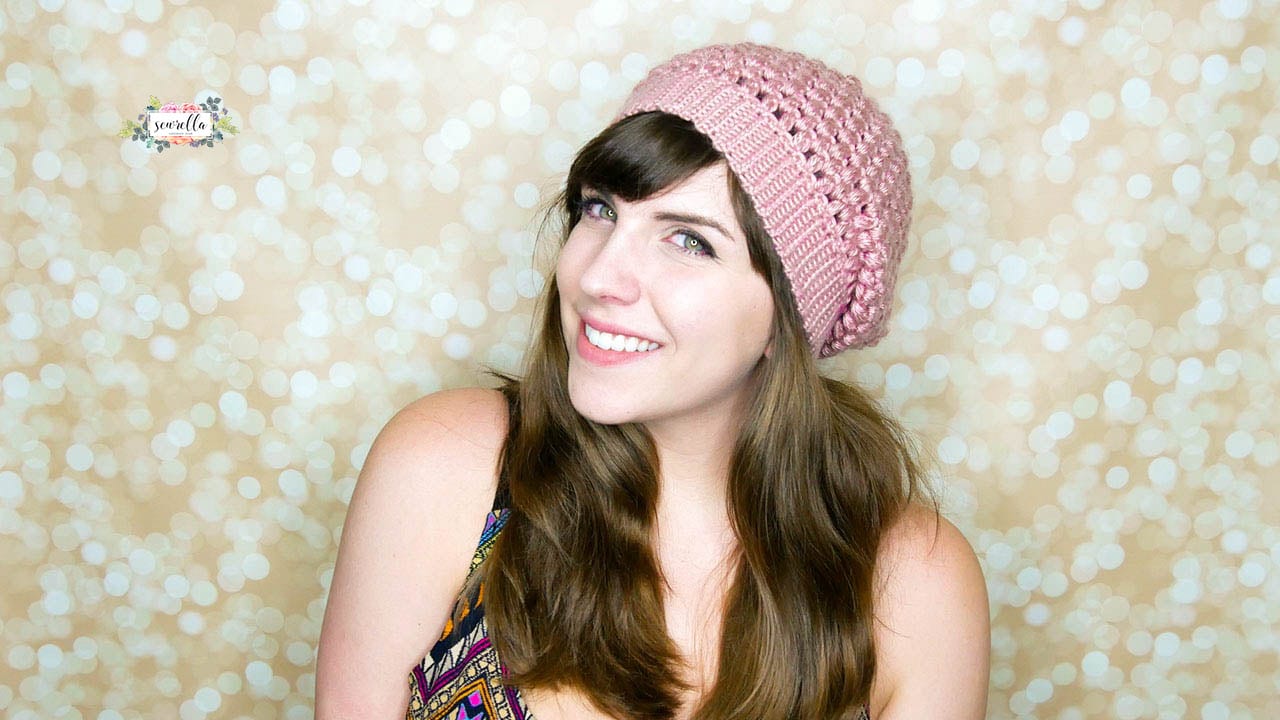
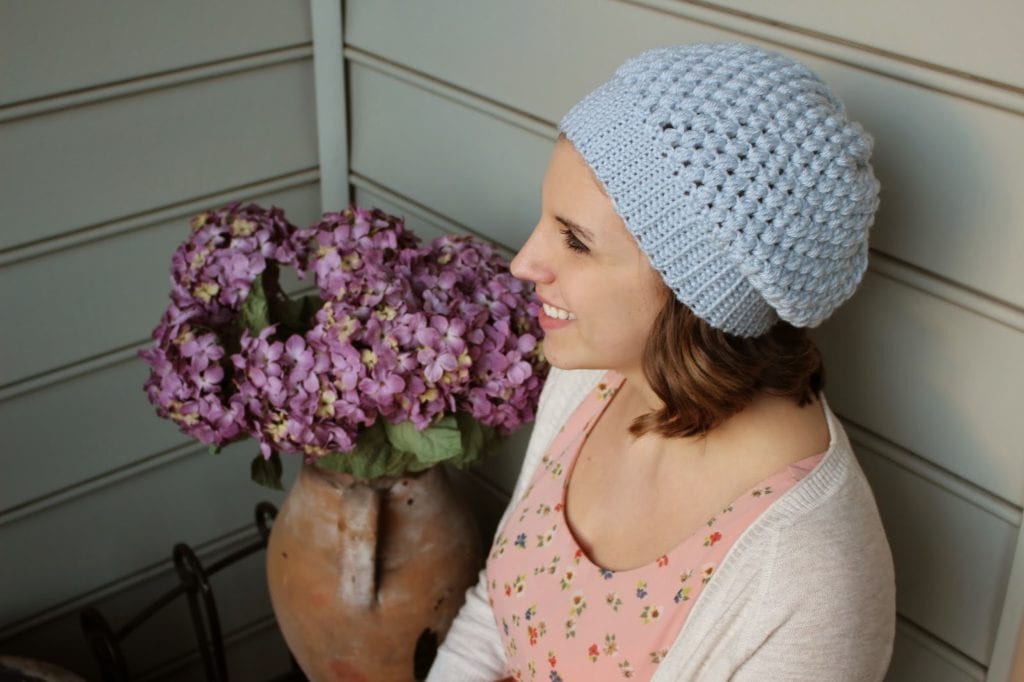
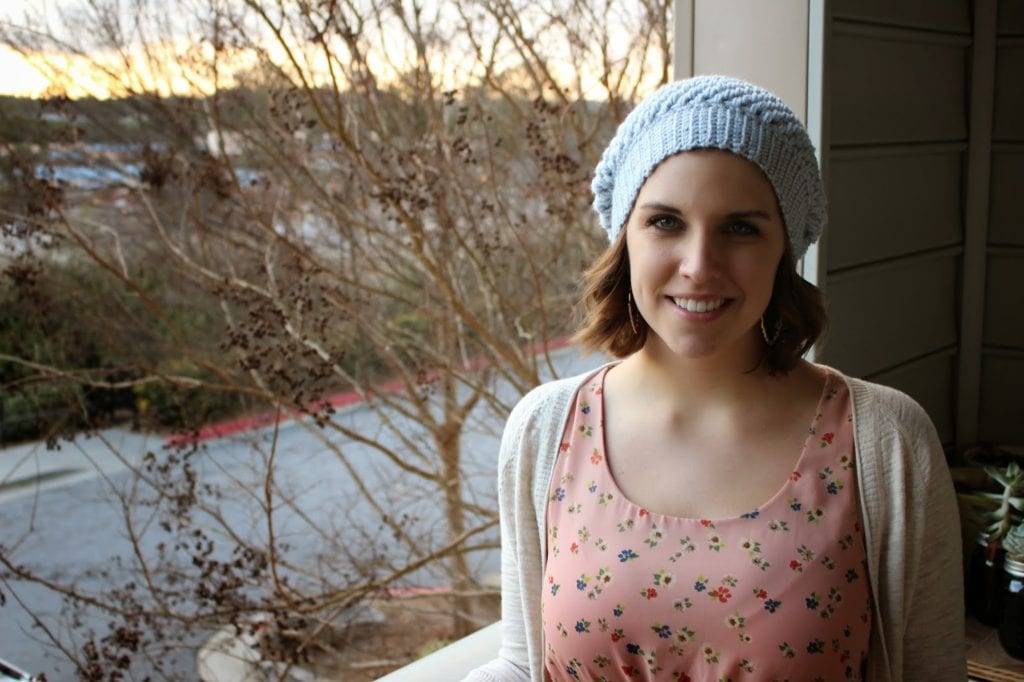
So I posted the video tutorial for this puff stitch slouchy beanie a little over a week ago and realized I never wrote out the pattern!
Oops… (gulp!)
So here ya go, the long-awaited pattern to follow along with the video!

And here’s the handy video tutorial too. Because I love ya.
Enjoy, friends!
- Get the ad-free, large print, printable PDF pattern from Etsy HERE.
- PIN this pattern to your Pinterest boards for later HERE.
- Add this pattern to your Ravelry queue HERE.
Materials
-One skein of worsted weight yarn. My favorite is Caron brand’s Simply Soft or Lion Brand Vanna’s Choice
-Size H/8 5.0mm crochet hook
-Tapestry needle
CH 10
SC in second st from hook and all the way across in front loop only (to create ribbing, see video), turn
SC enough rows for this band to wrap all the way around your head – mine wound up being 96 rows!
SL ST the two ends of the band together to make what looks like a thick headband
CH 1
SC around entire band – so 96 sts for me, one SC in each row of the band (it is really best to see the video for this part!)
SL ST to join
CH 2
ROW A : *PUFF ST in first SC, CH 1 & skip next SC*, repeat from * all the way around
SL ST to join
ROW B : Skip first PUFF ST, *PUFF ST in gap where CH 1 lies, CH 1 and skip next SC*, repeat from * all the way around
Alternate rows A & B until you end up with 9 rows of each, or 18 rows total.
Finishing off:
This part gets tricky, pleeeeeease refer to my video for help!
Hook is at the center back of your hat (the seam!). SC the front center of your hat to the back center.
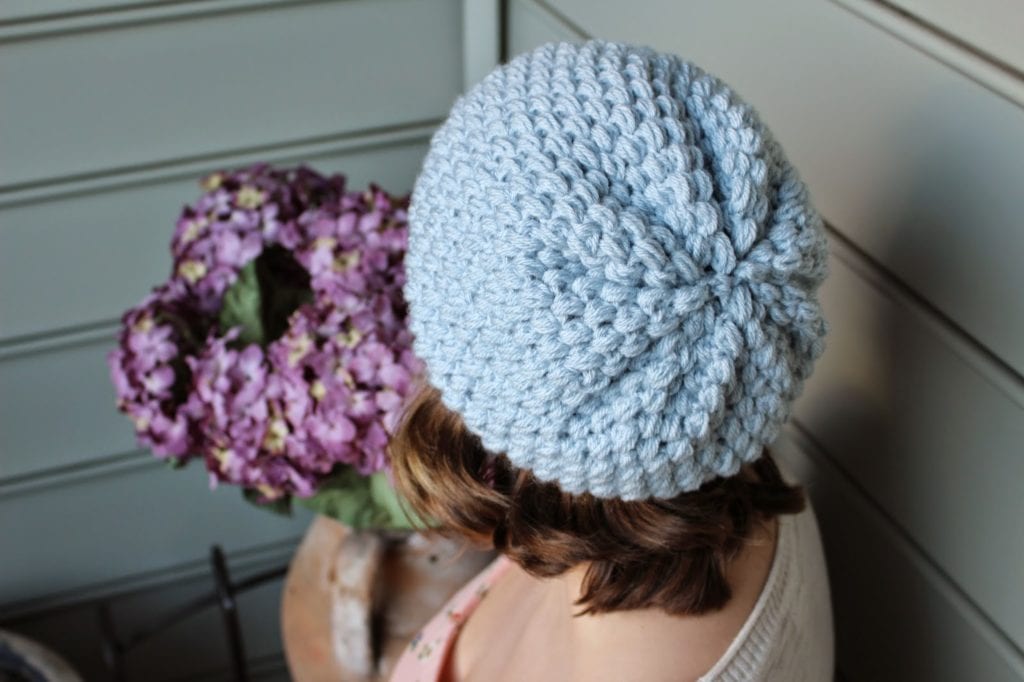
Pinch in the sides and SC these to the center, the top of your beanie should start to look like a star shape.
Pinch in each of those “points of the star” (4 of them) and SC these to the center also.
Finish off and sew in all your tails. Turn your hat inside out and love it!
That’s it, ya’ll! I love love love this beanie and wear it all the time, and I know you will too!
What color will you make this in?
Comment below!


I started off from a different website but I got stuck after the band part. The other pattern was just a little different for the band, cause at the end of each row they said to chain two. So it has a bumpier look at the edging. But I couldn't figure out where to single crochet after I tied the band together. The side of the band theres too many to know where to put in the single crochets. Do you think you can help me?
Hi Lisa – In this situation I would try to SC once for every row that you made on your band. Wherever you can fudge it in the chain spaces from those CH 2's or in the last stitch of that row, place a SC. During this step, even following my pattern it can be tricky. When in doubt – fudge it! Best of luck 🙂
I couldn’t see how many grams is the ball of yarn..I have a nice dark chocolate I want to use, weighed it and it is 110 grams. Do you think that will be enough for this hat?
I used a skein of yarn that was 2.5 oz, which I believe is about 70 grams. So you should have plenty!
I wish the written pattern was actually written out 🙁 I use my phone for everything and have no home Internet. So I can’t watch videos often.
Thanks for sharing though!!! Love this hat ☺
The pattern is written out at the bottom it’s just a lot more straight forward in the video. You can make the hat by just the written pattern though if you need to.
Hi! I made a very similar hat with the Vickie howell pattern on Ravelry (I like yours better!). I found the hat stretched even though I made the ribbing a smaller circumference to fit my head (planning ahead for the stretching). Unfortunately, it still stretched too much.
Any tips for stretching? Thanks! Can’t wait to try this!
Mine stretch a bit too, I just avoid washing unless it really gets dirty and use a stiffer yarn!
Hello,
I was wondering if you could help me with making your hat. When I make the sc in each stitch of the band it looks like its extended. I looked on your video but it went a little too fast for me. The band I made is with sc in the back loops because of the ribbed pattern so i wasn’t sure if that would be an issue. could you help me please? I want to make this for a friend.
Thank you
Hi there! No, stitching in the back loops for the band shouldn’t affect the sizing. Make sure that you are evenly spacing the Sc sts around the band. Don’t put too many stitches here. It will depend on how large or small your band is, but you should have one Sc stitch for each row of sts in the band. So if you have 60 rows of back loop Sc for the band then you should have 60 sts around when you start making the top portion for the hat. As long as the hat is fitted, though, it should wind up fitting nicely overall. It will be a slouchy fit so it may look a bit loose getting started.
Thank you very much! 🙂 I will be finishing it tonight. Hopefully I get it to close properly. Thank you again. Have a great day!
I love this pattern. I made one for myself and now I have 2 orders from friends wanting them too. Thank you so much