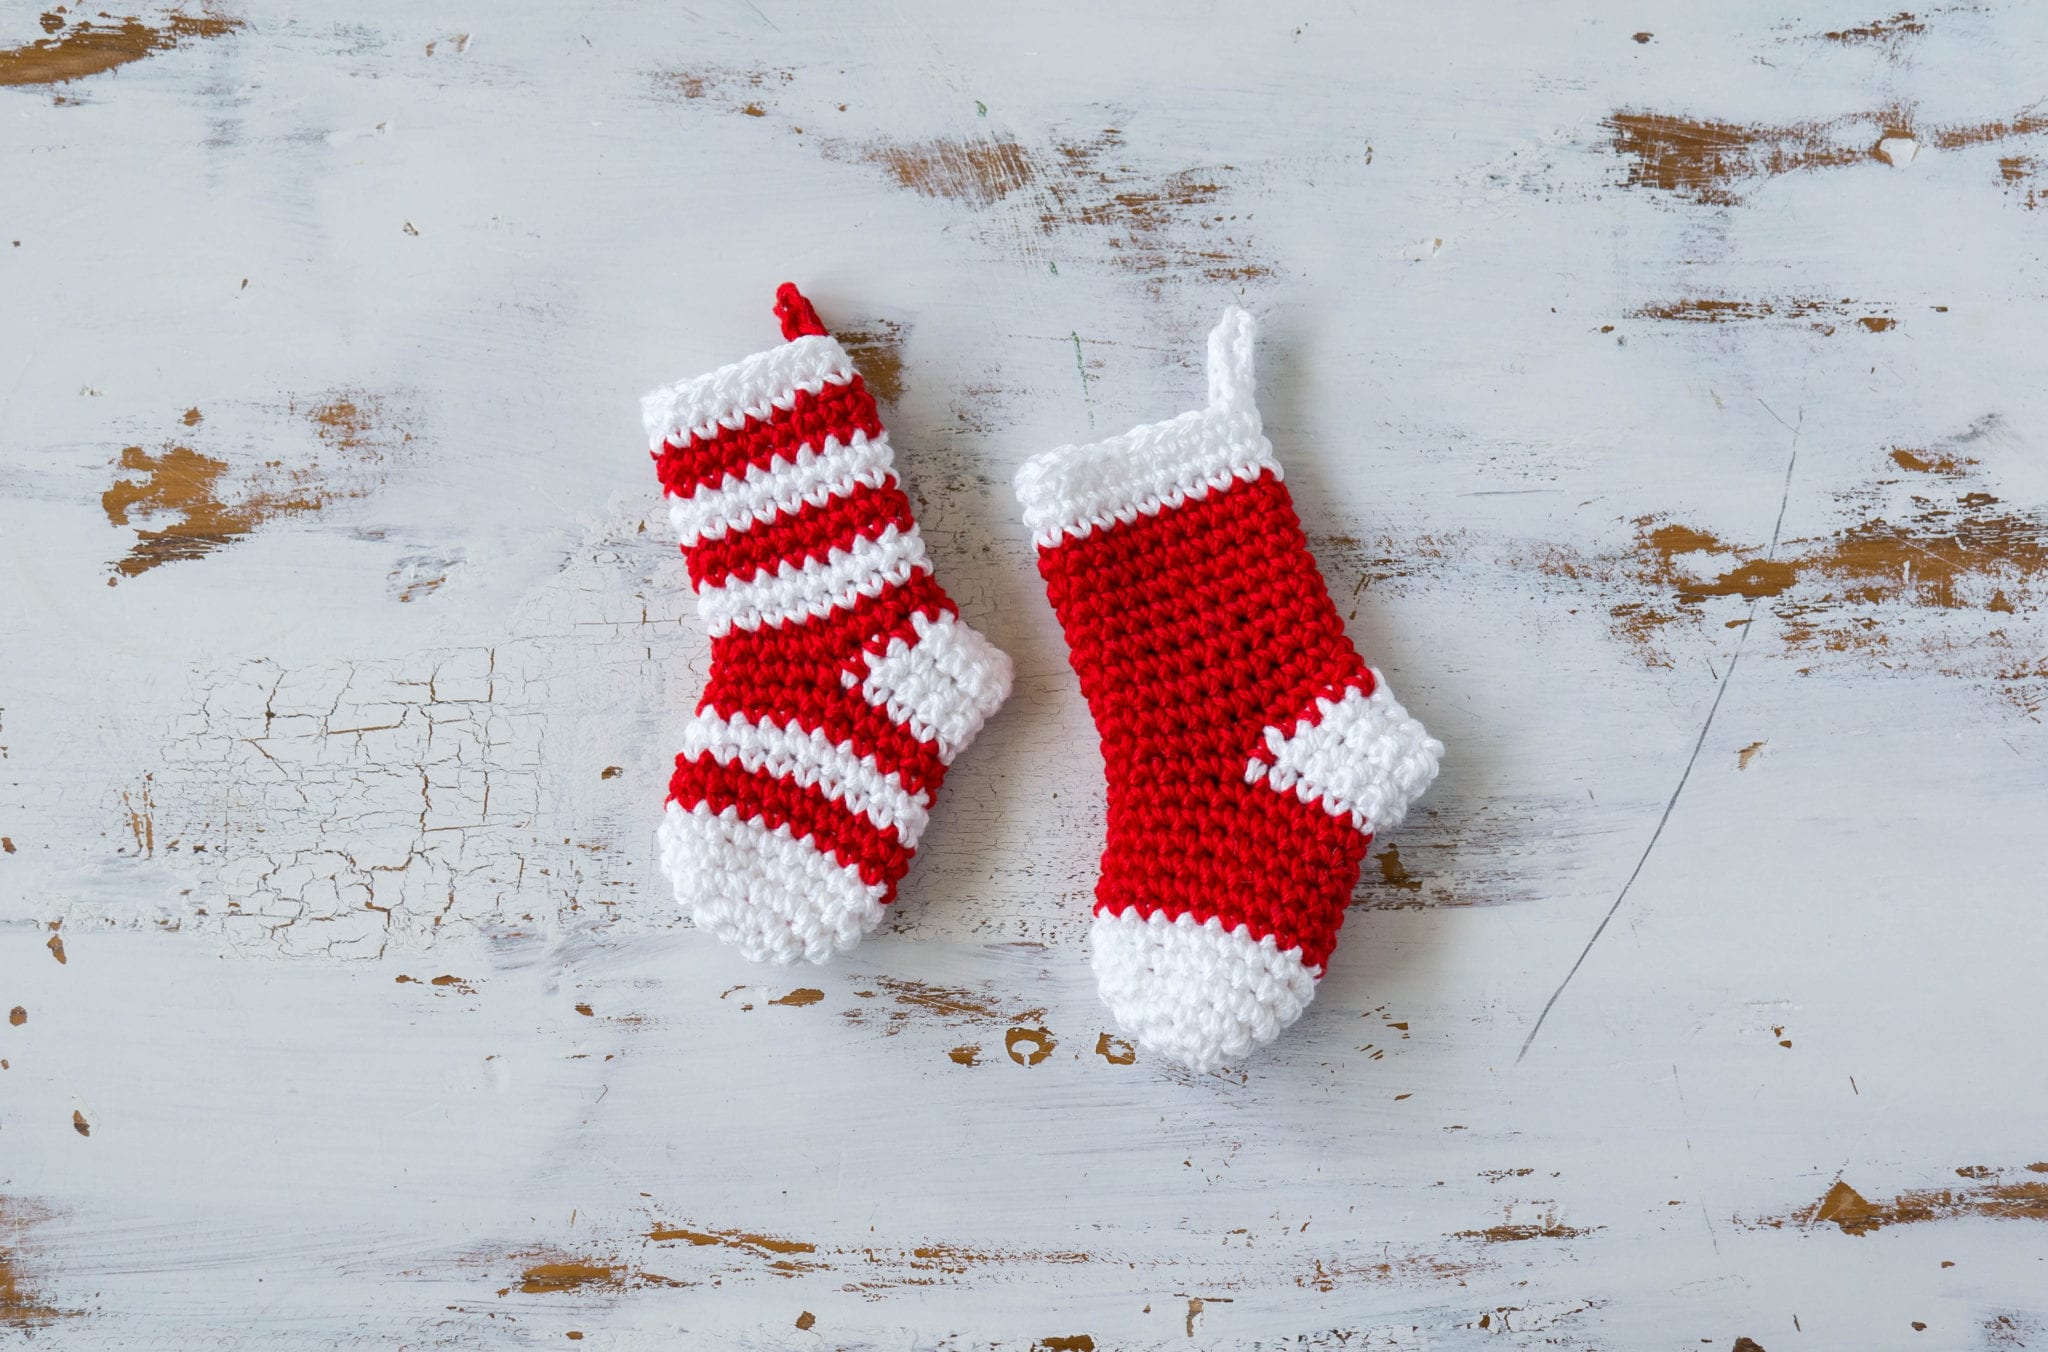
Stockings are always cute – but do you know what’s cuter than a stocking?
A MINI STOCKING!
I love stockings hung up on the mantle or banister, and they are always one of my favorite parts of Christmas morning – so why not add one to our tree too?
Stockings bring me back to a favorite Christmas memory…
When I was a little girl, my parents and I went to a store and we each had $20 to stuff each others’ stockings. We had to get something for each person in our family and contribute to the stocking stuffing.
(So that Santa didn’t have to carry so many heavy gifts, you know)
It was so much fun to run around the store and look for something small but meaningful for each person in my family (there were six of us, so $20 was quite a challenge!)
I remember getting hot sauce for my dad, a tiny jar of honey for my mom, and different kinds of cookies for my sisters.
And I was all the more excited on Christmas morning to see my family enjoying their stockings!
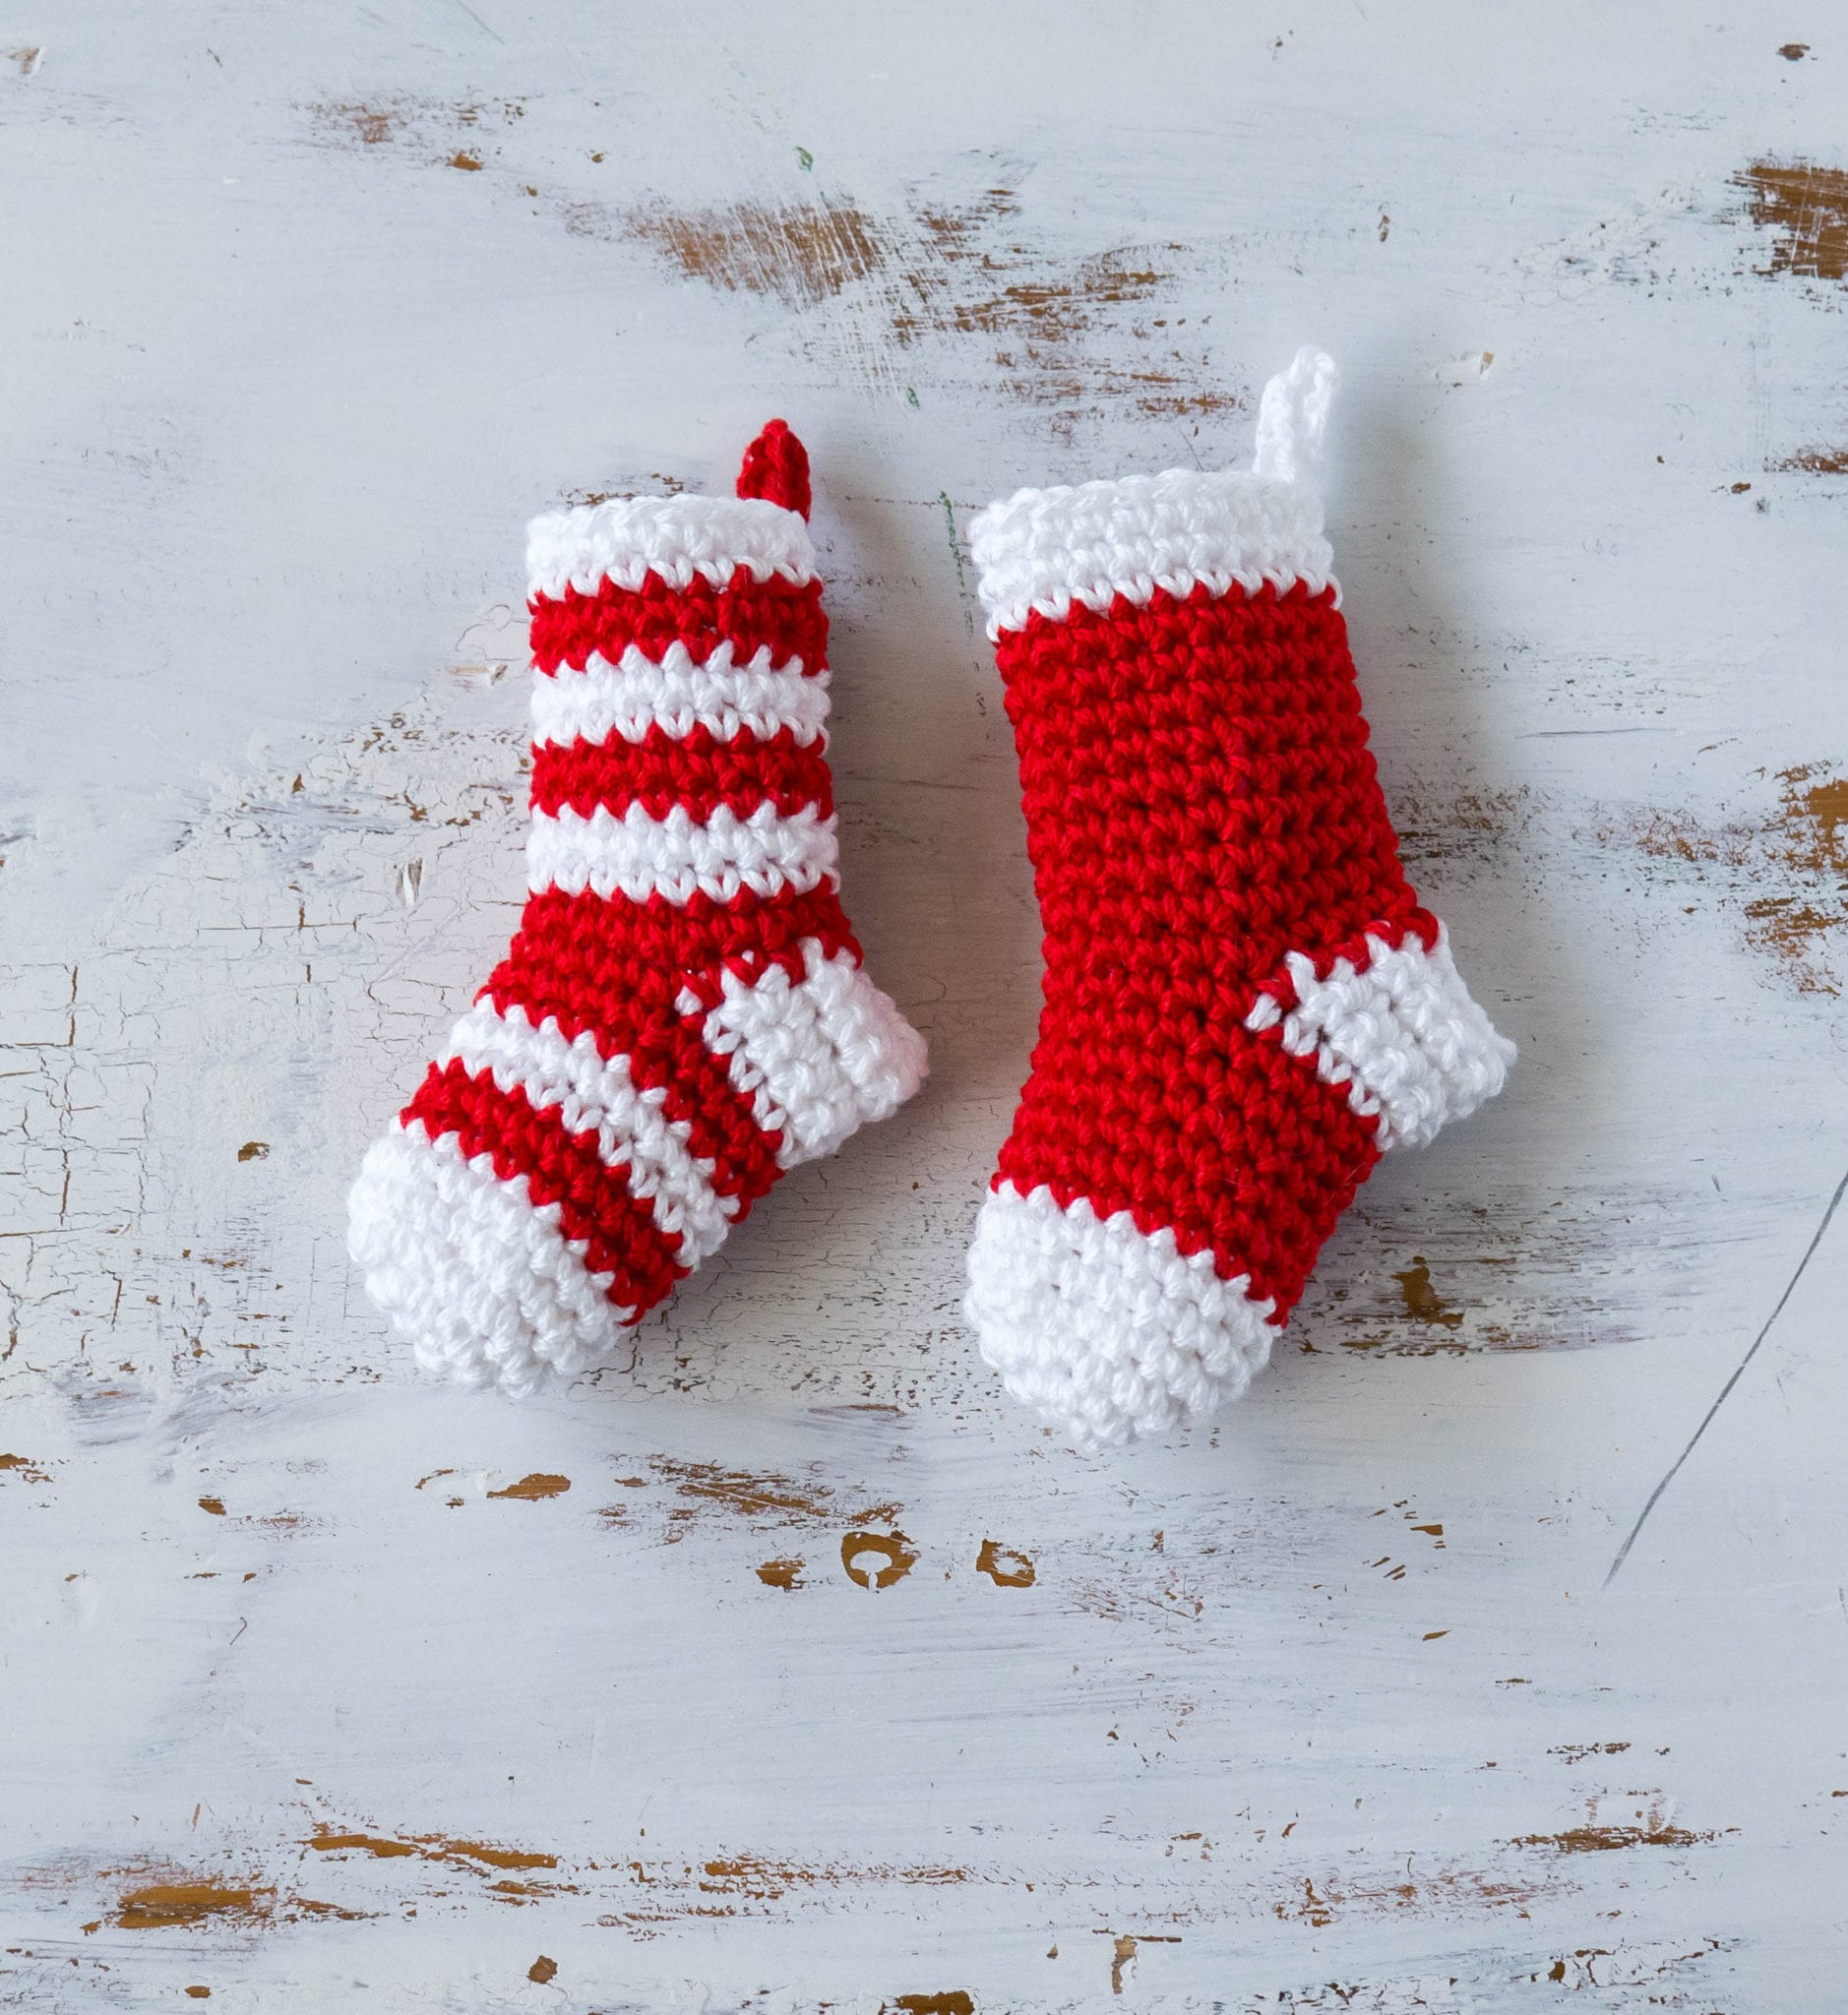
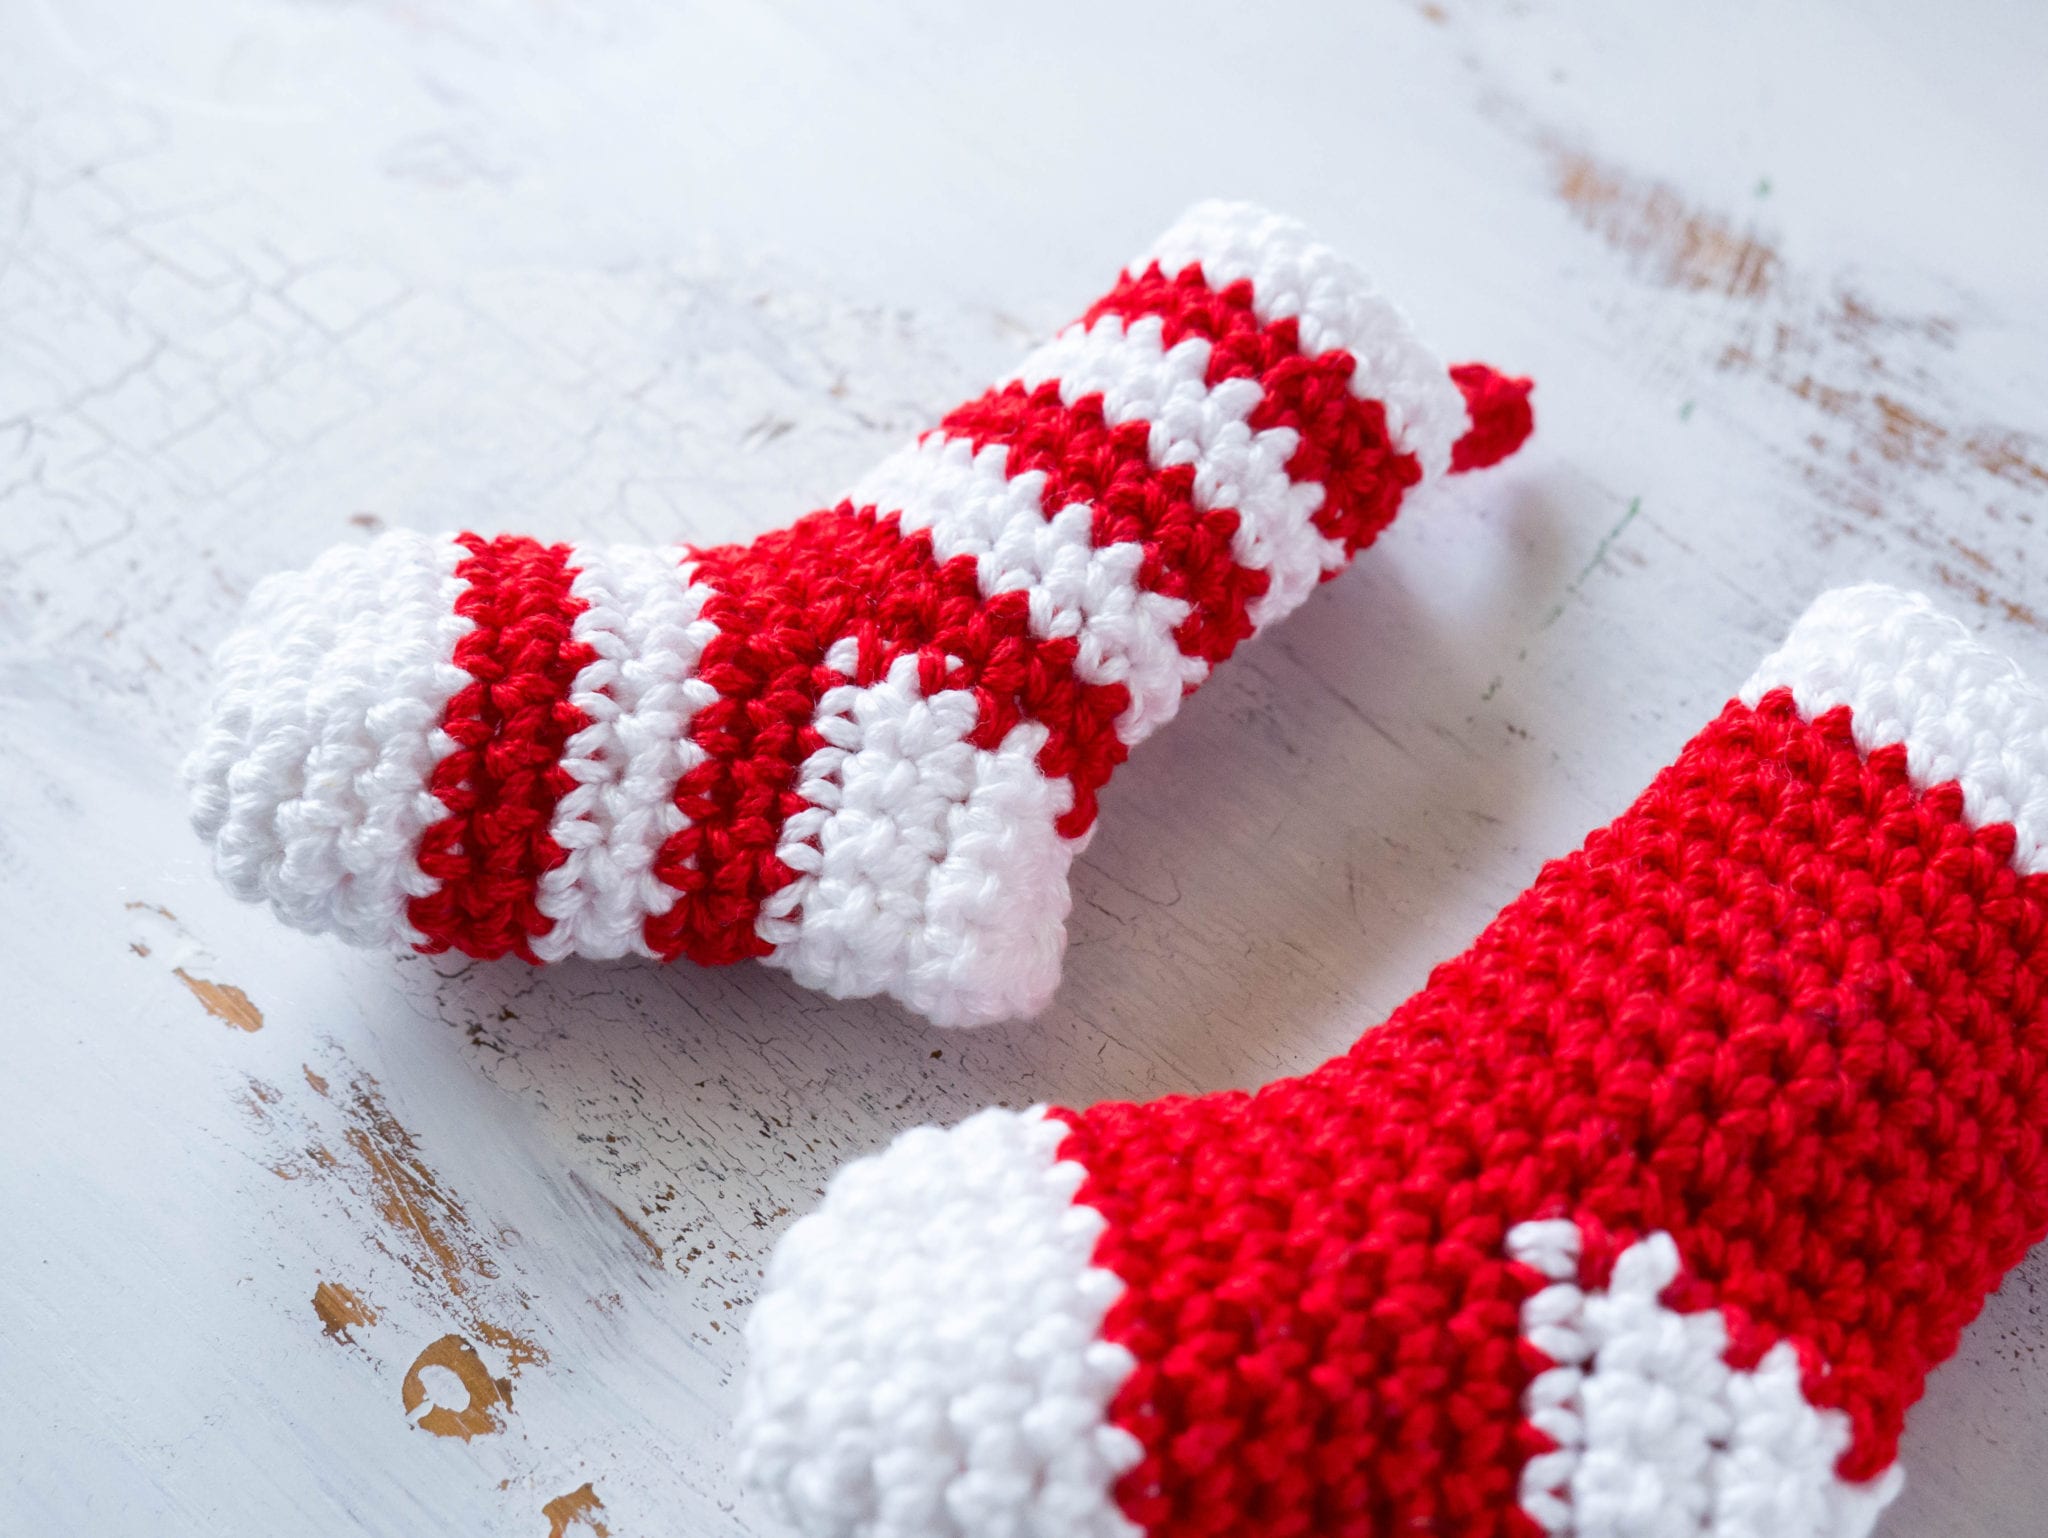
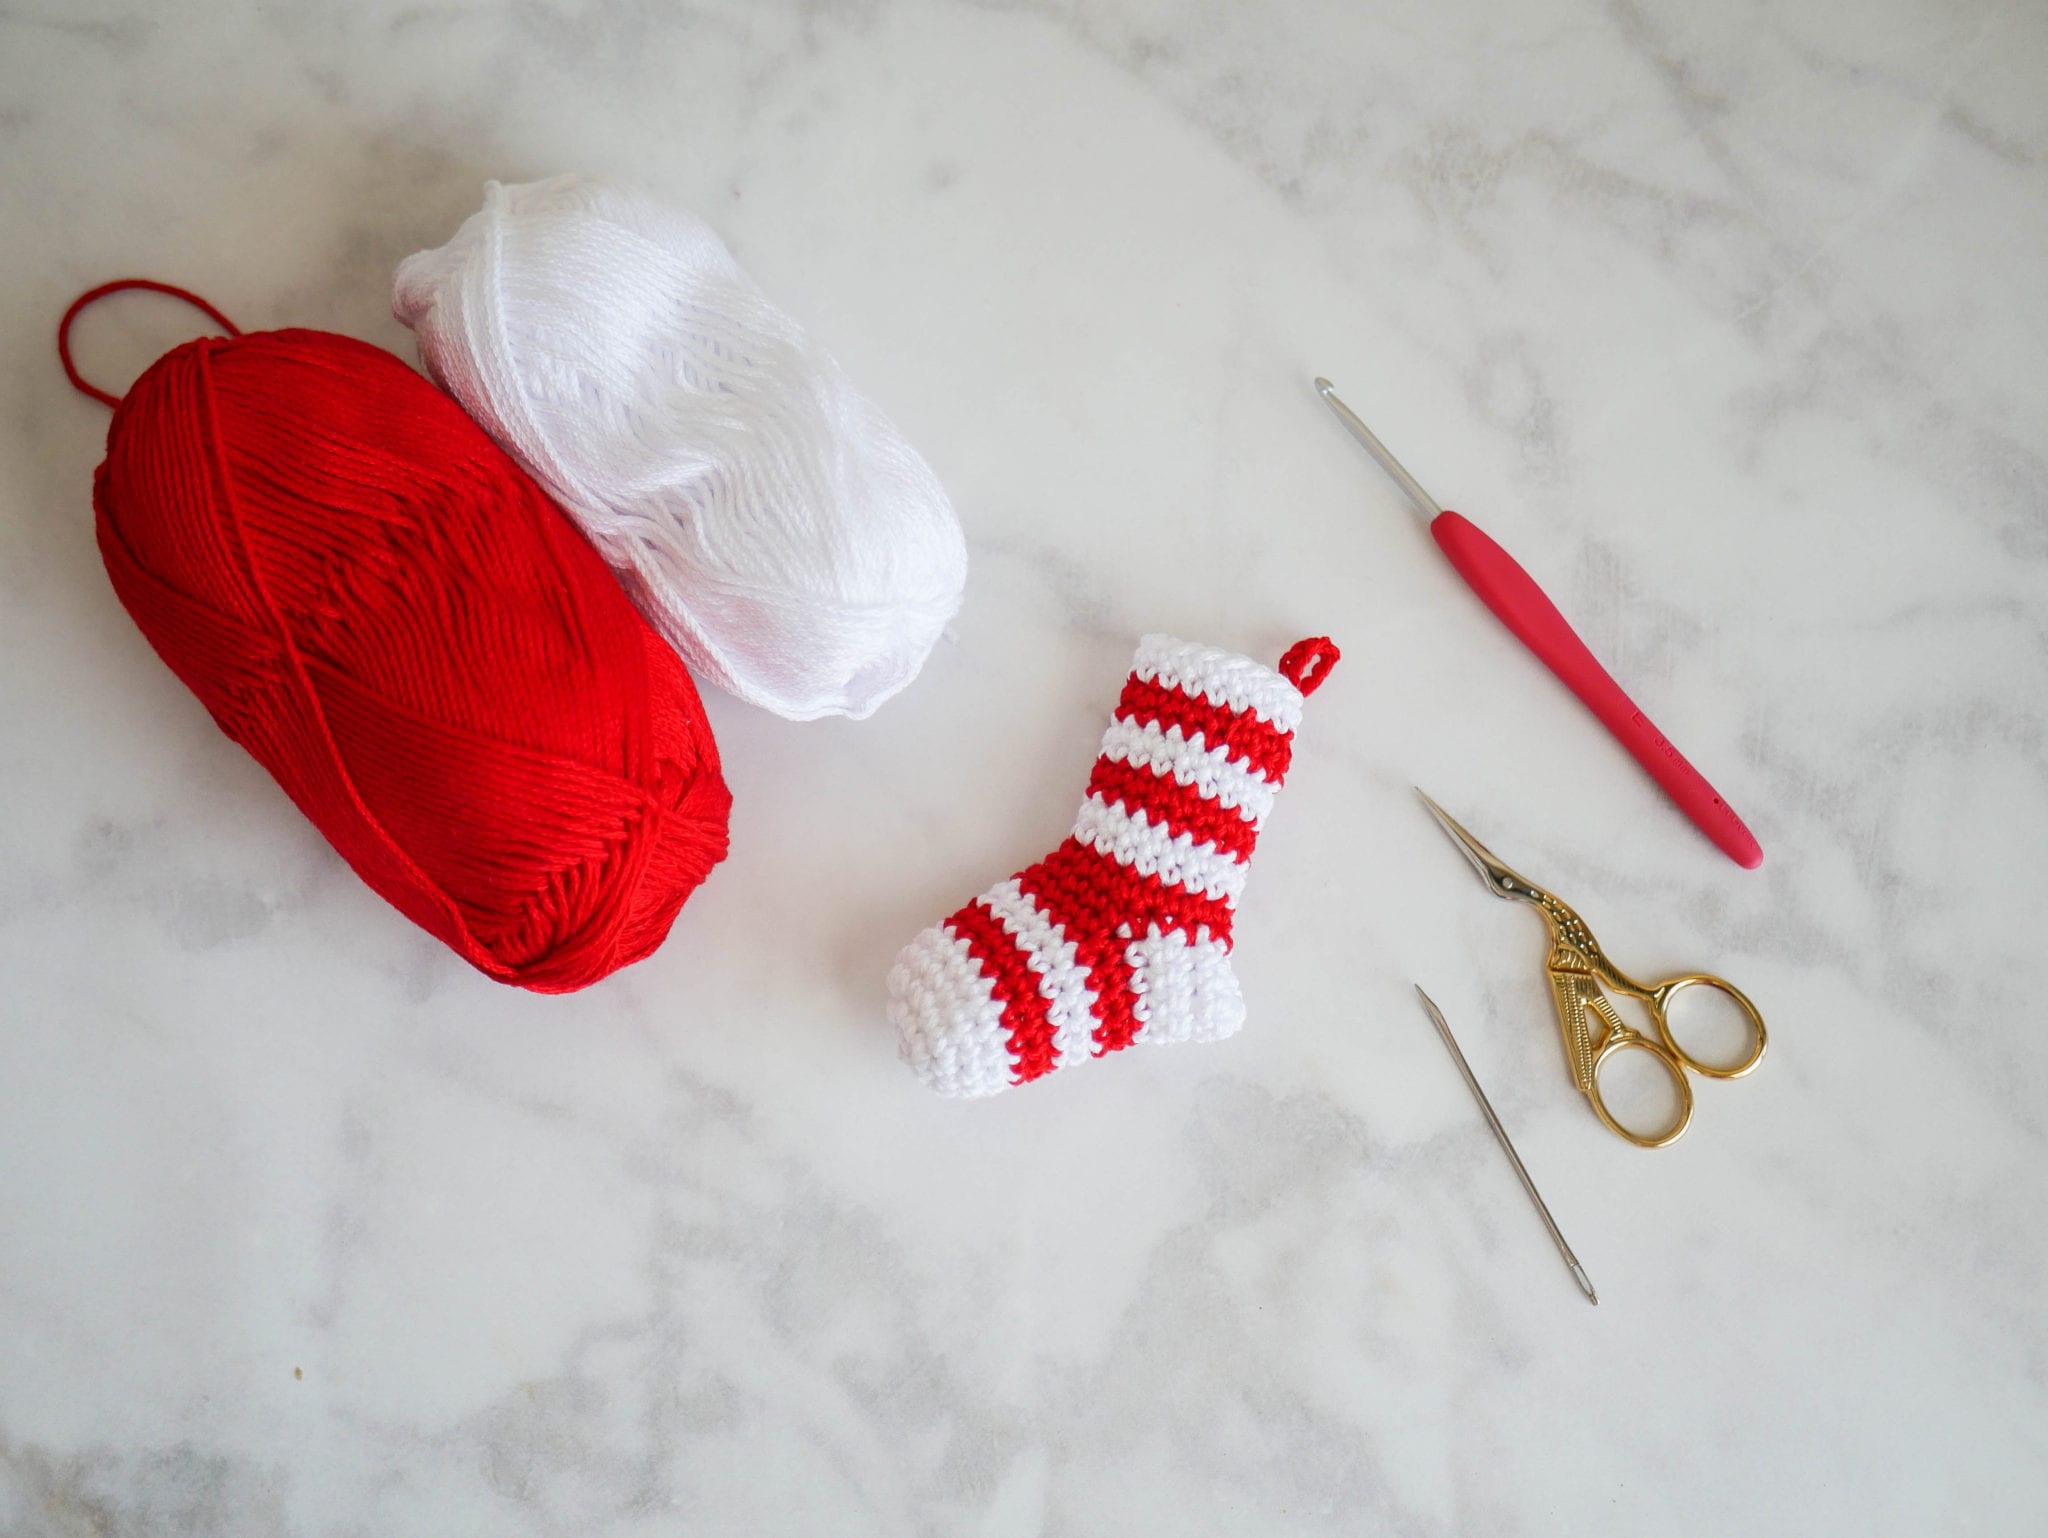
I made two versions because this little ornament was so darn cute I couldn’t help myself!
I’m partial to the striped version, but both are definitely adorable!
THE TRADITION: Set a stocking budget and stick to it! Whether you shop with kids for the whole family, or shop for a friend (or just your kitty!) – set a small budget and think outside the box about what that person may like.
This is a really fun tradition with kids, I know I loved it and still remember it decades later. It’s the simple things, people!
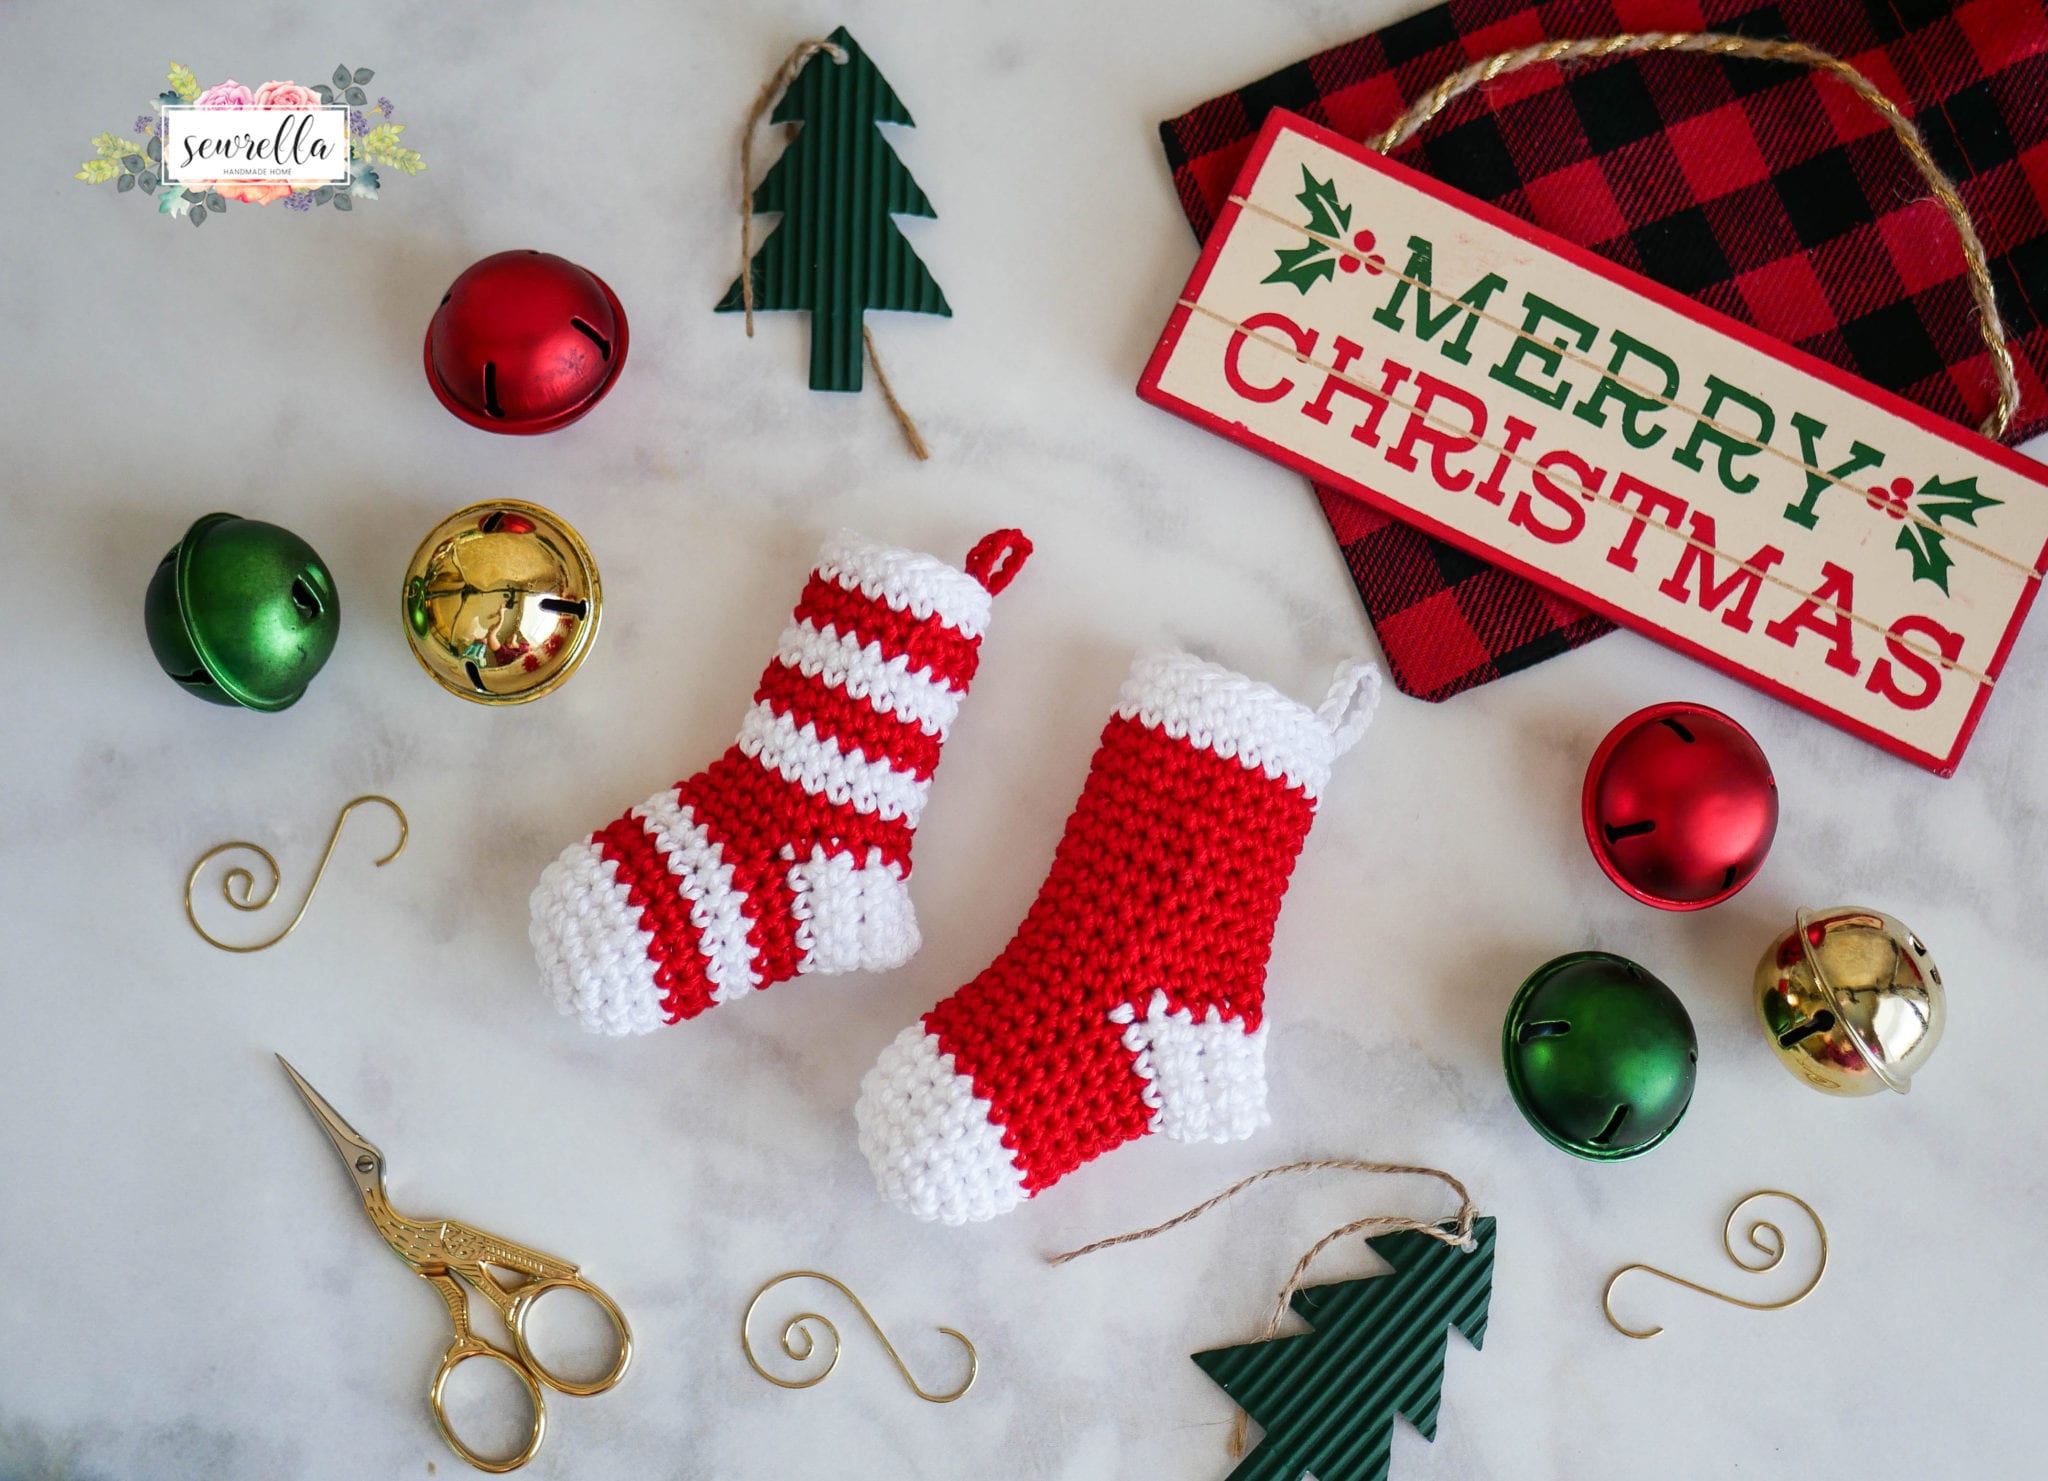
PATTERN
- Get the ad-free, large print, printable PDF pattern from Etsy HERE.
- PIN this pattern to your Pinterest boards for later HERE.
- Add this pattern to your Ravelry queue HERE.
Materials:
-Lion Brand 24/7 Cotton in Red and White
-Size E crochet hook
-Tapestry needle
*Do not join rounds, places a stitch marker in the first stitch of the round and move it up with each round
Striped Stocking:
With white, make a magic ring, Ch 1, 6 Sc in ring (6)
Round 2: 2 Sc in each around (12)
Round 3: 2 Sc, Sc in next, repeat around (18)
Rounds 4-6: Sc in each around (18)
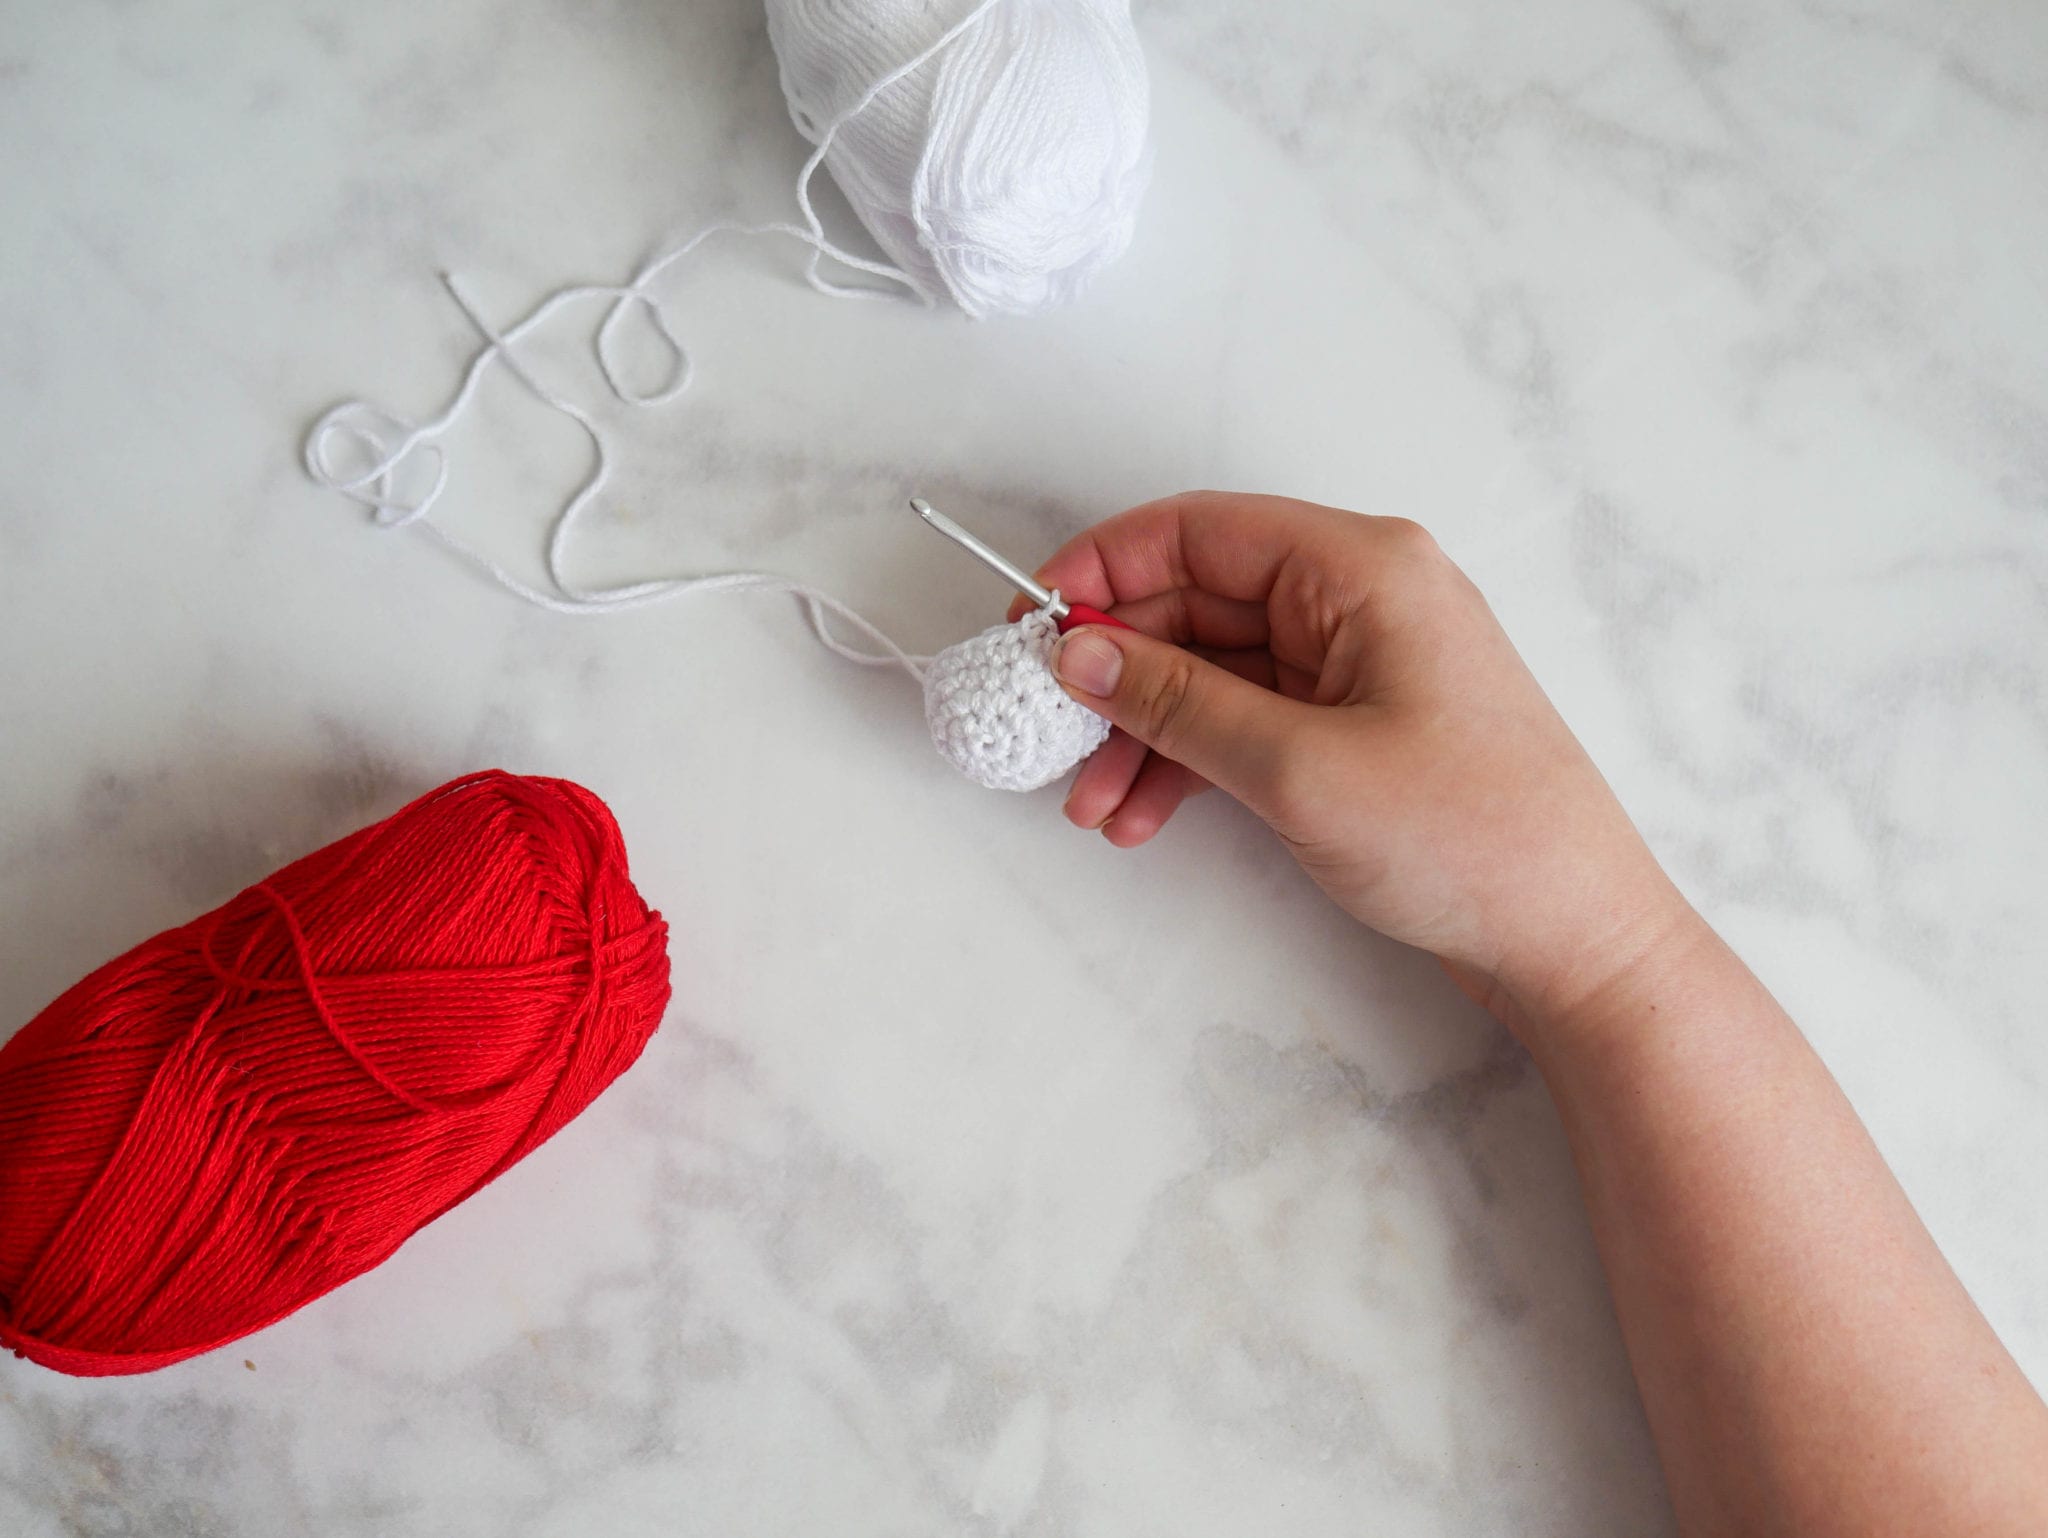
*Color change to Red
Rounds 7-8: Sc in each around (18)
*Color change to White
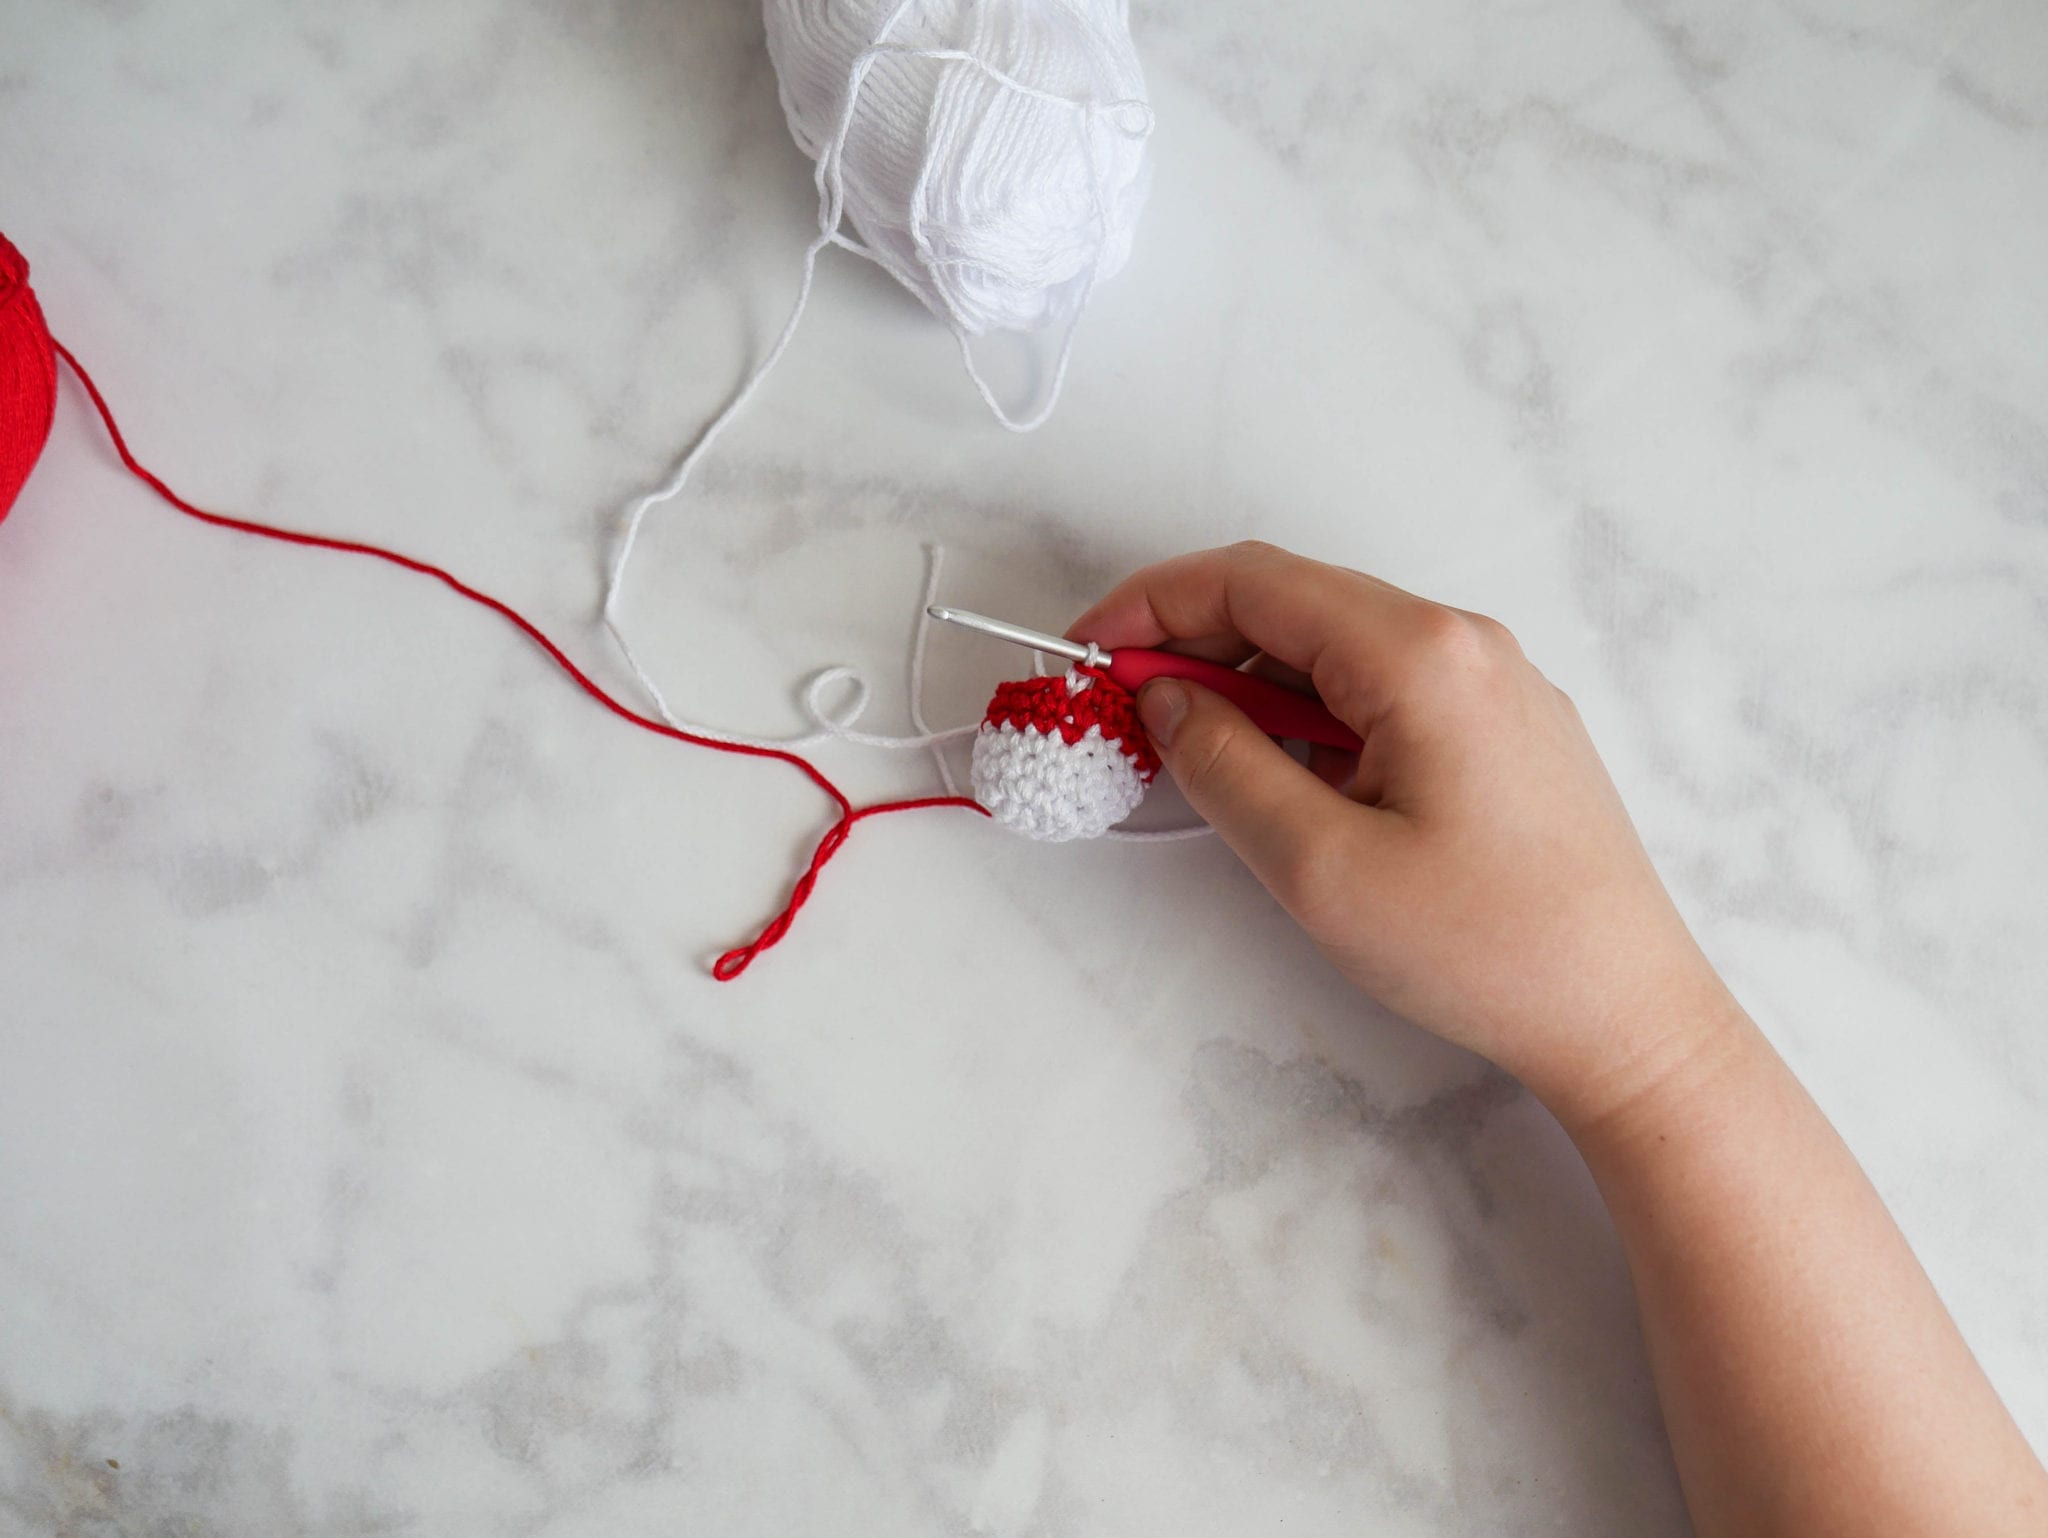
Rounds 9-10: Sc in each around (18)
*Color change to Red
Rounds 11-12: Sc in each around (18)
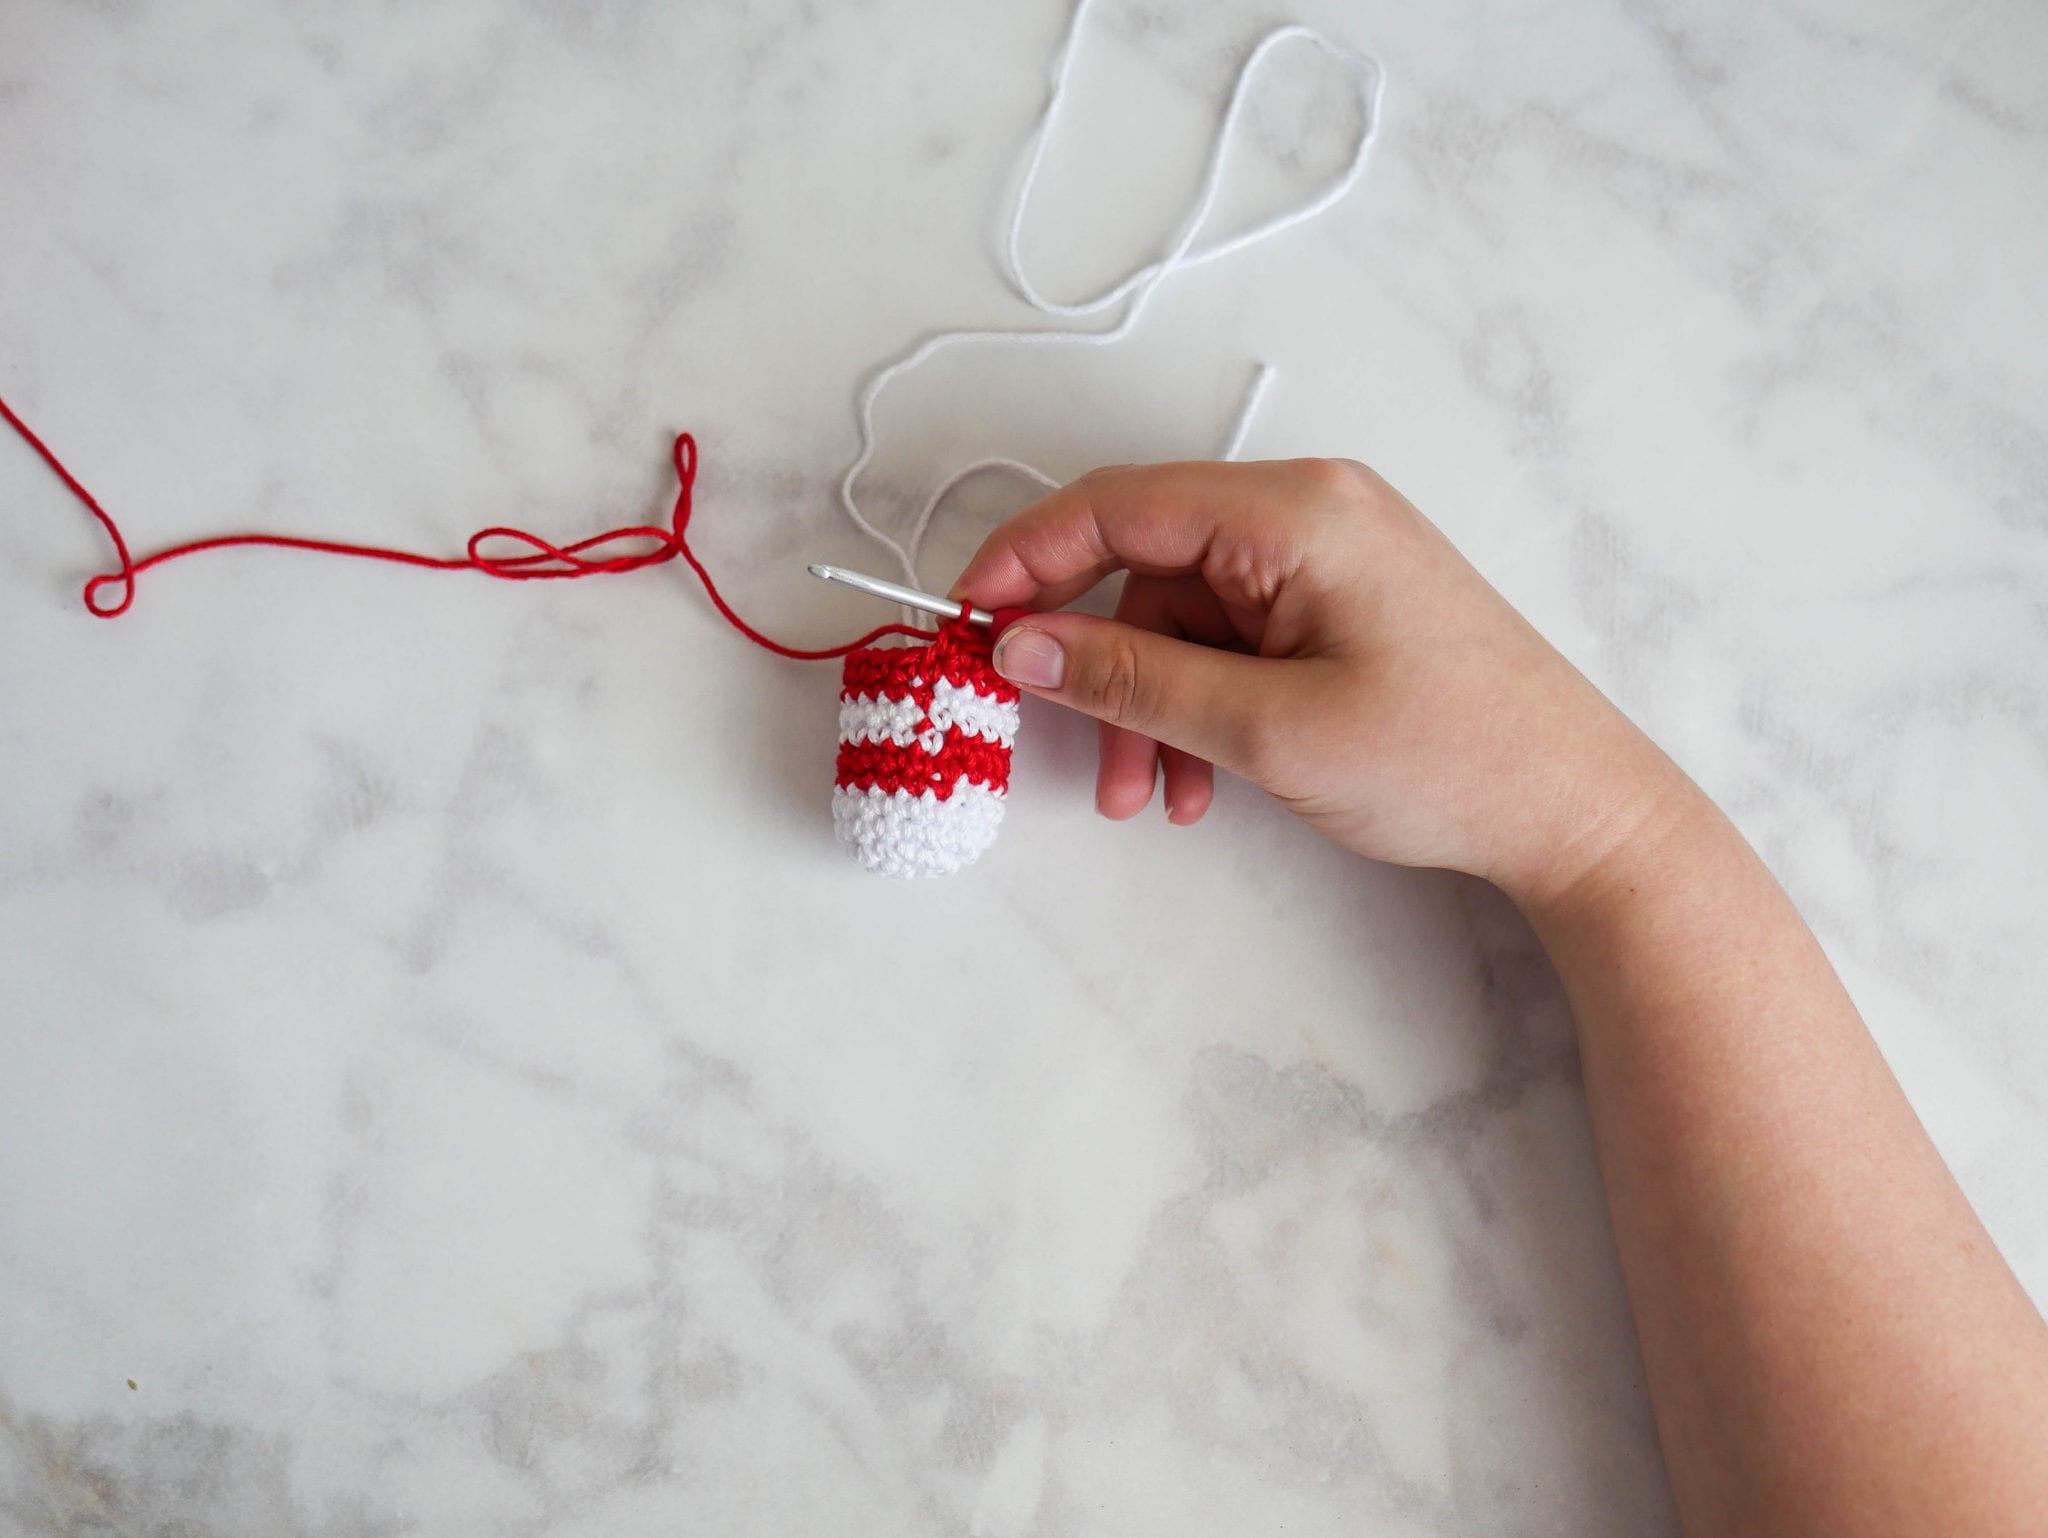
*Color change to White — don’t finish off Red yarn
Round 13: Sc in next 9 sts, Ch 1, turn (9)
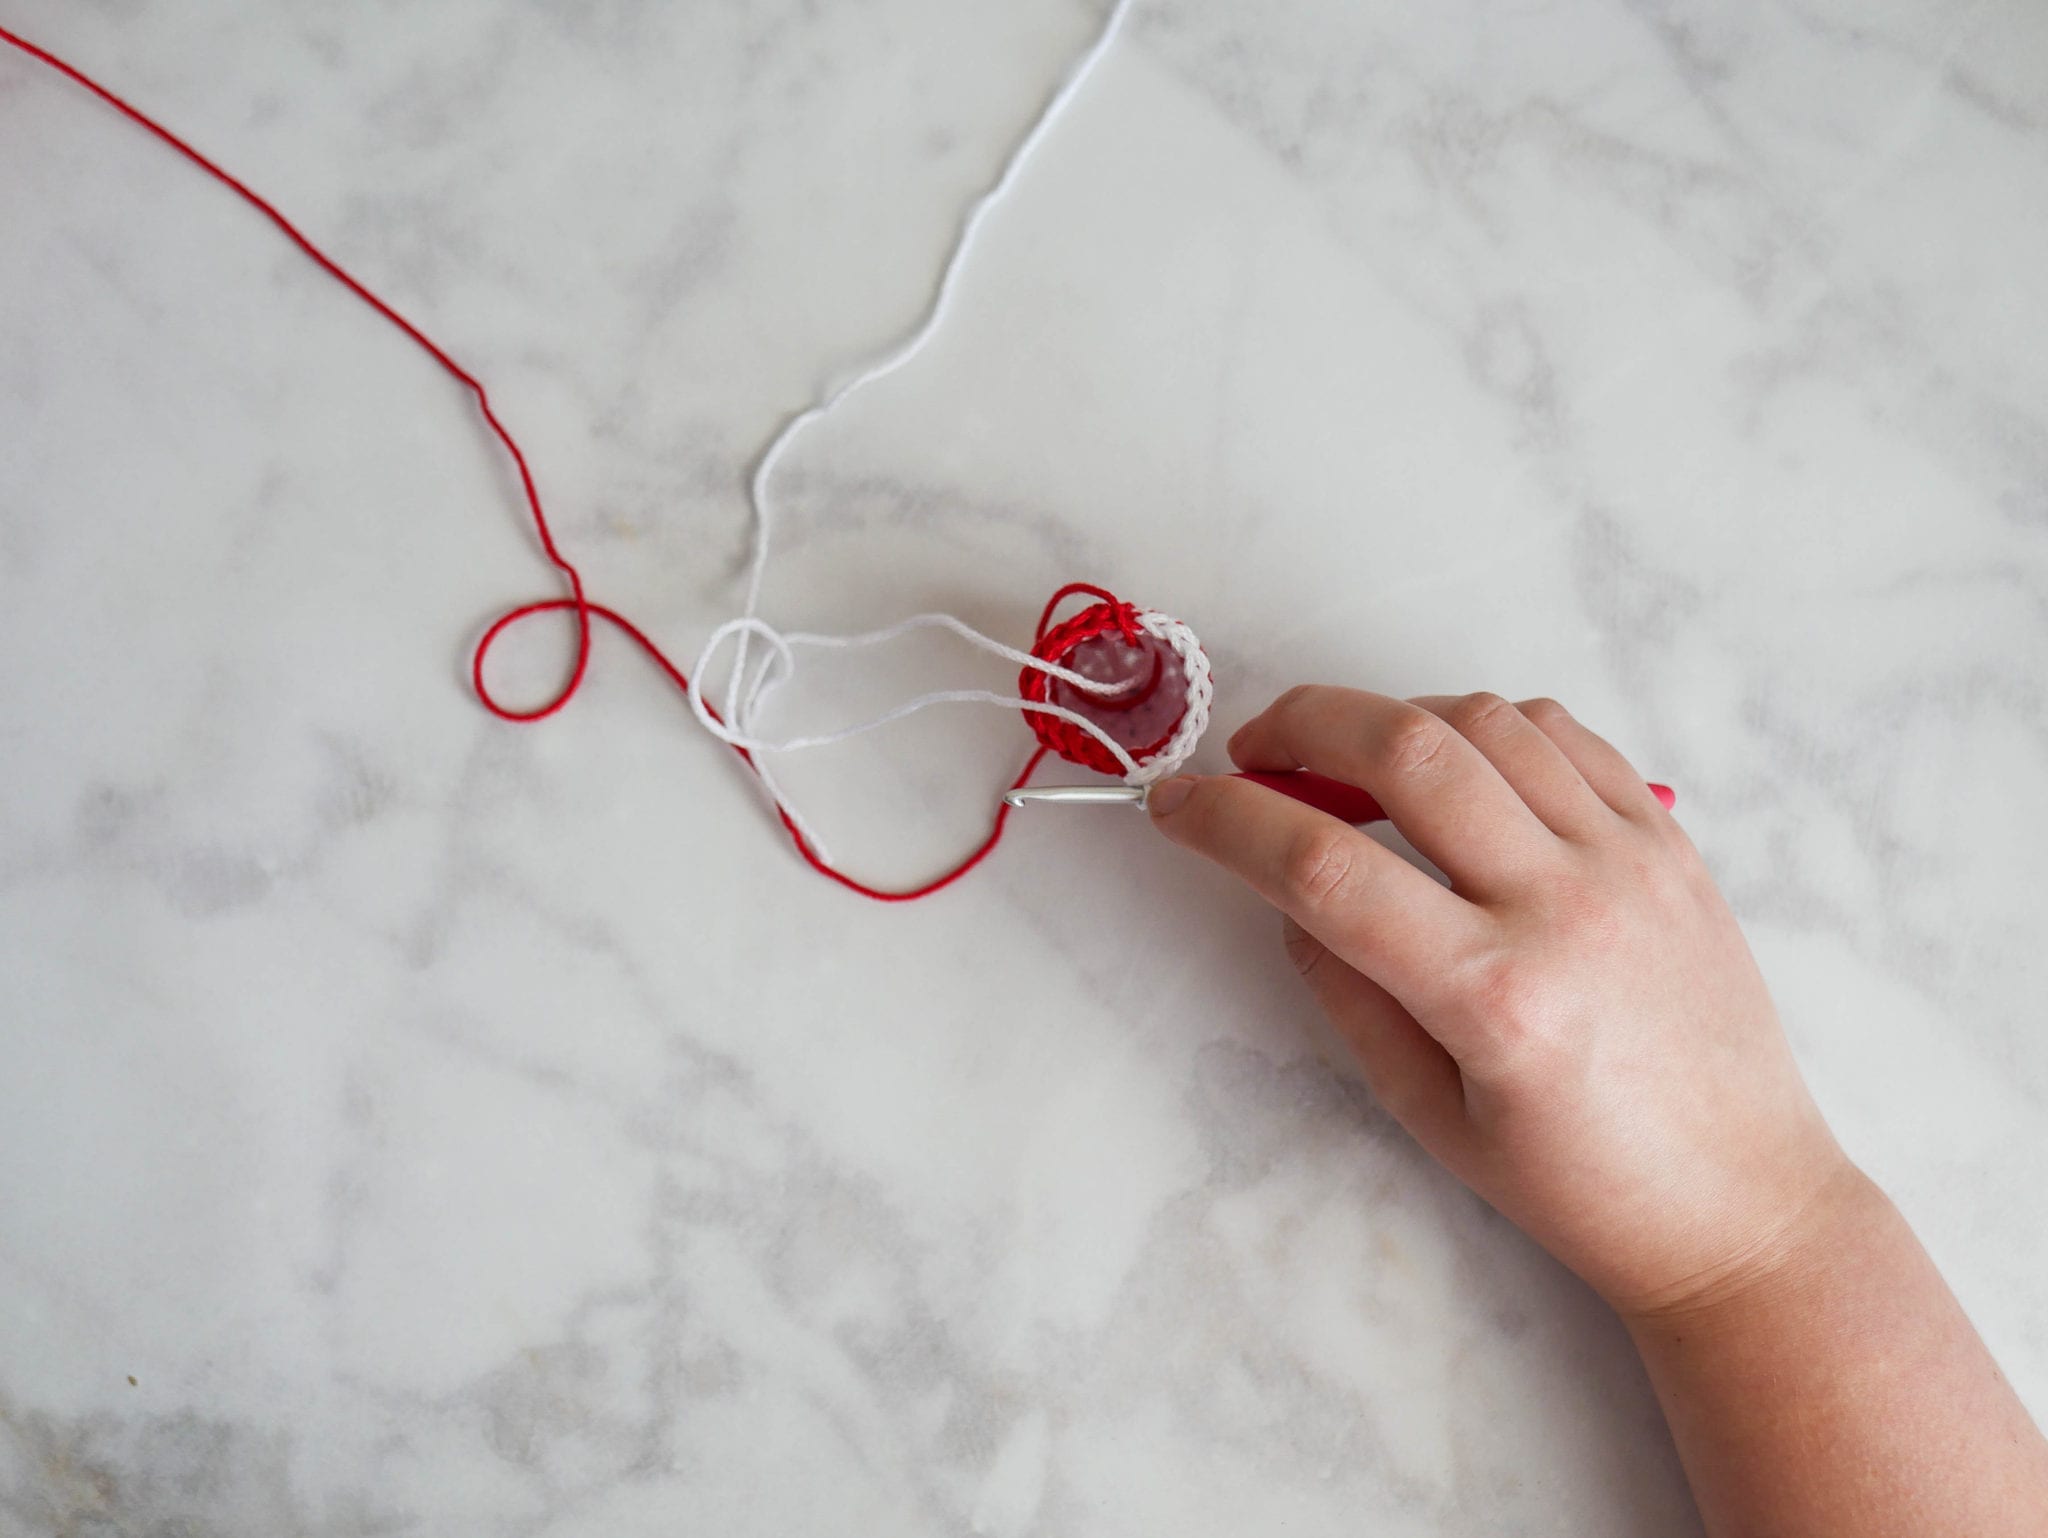
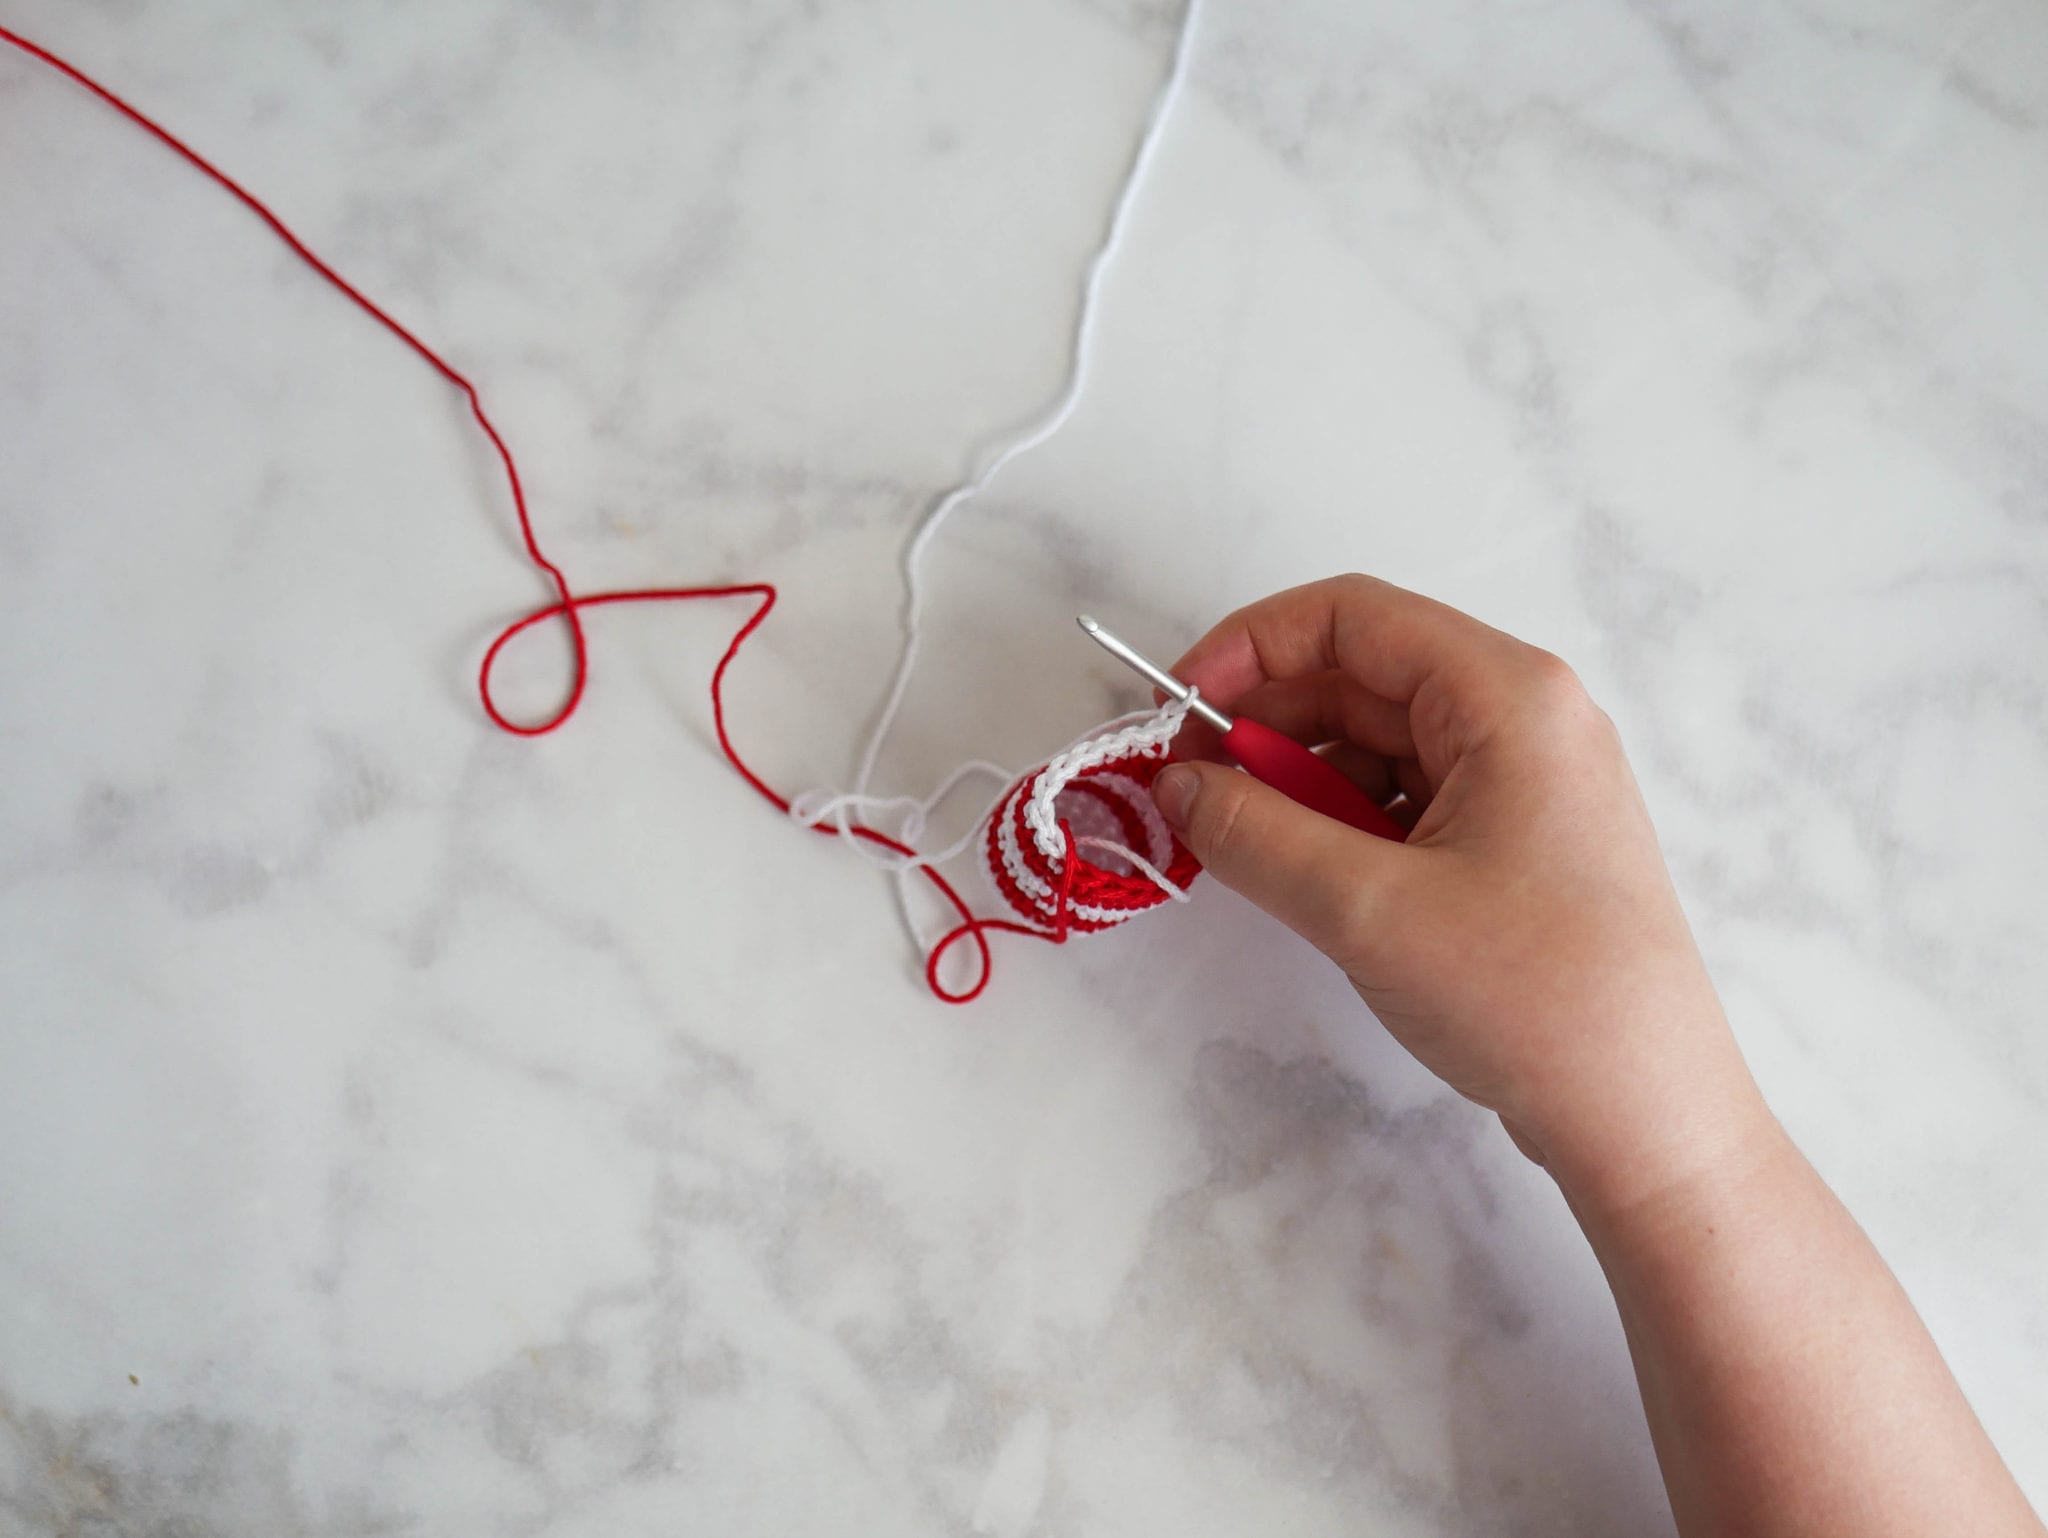
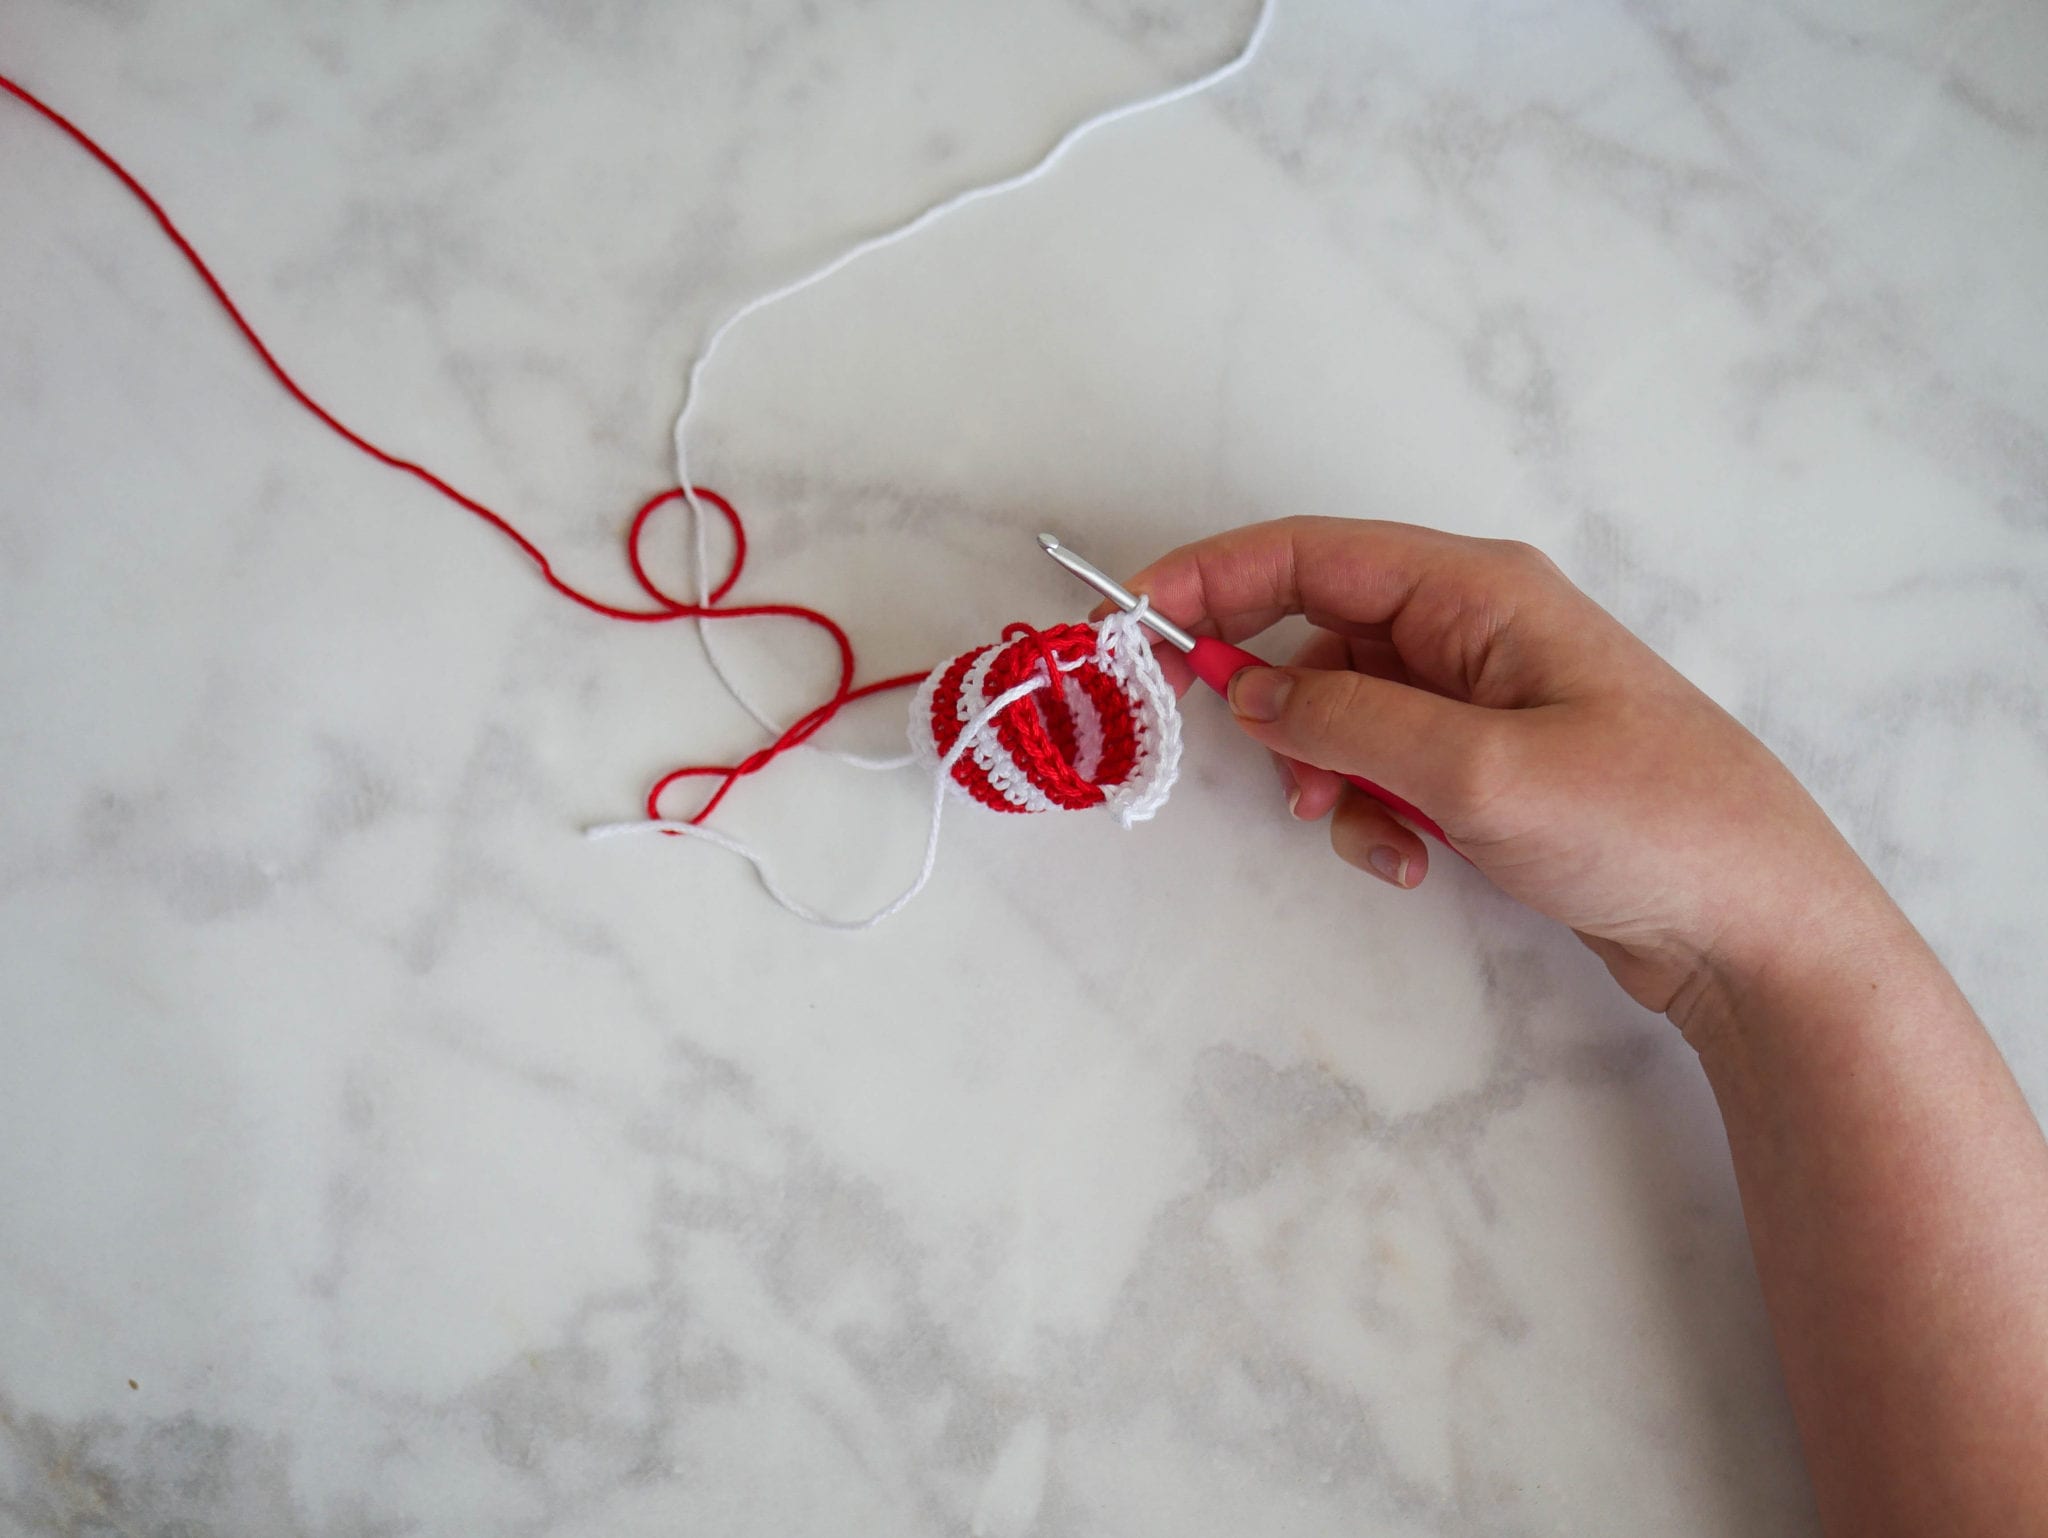
Rounds 14-17: Sc in each across, Ch 1, turn (9)
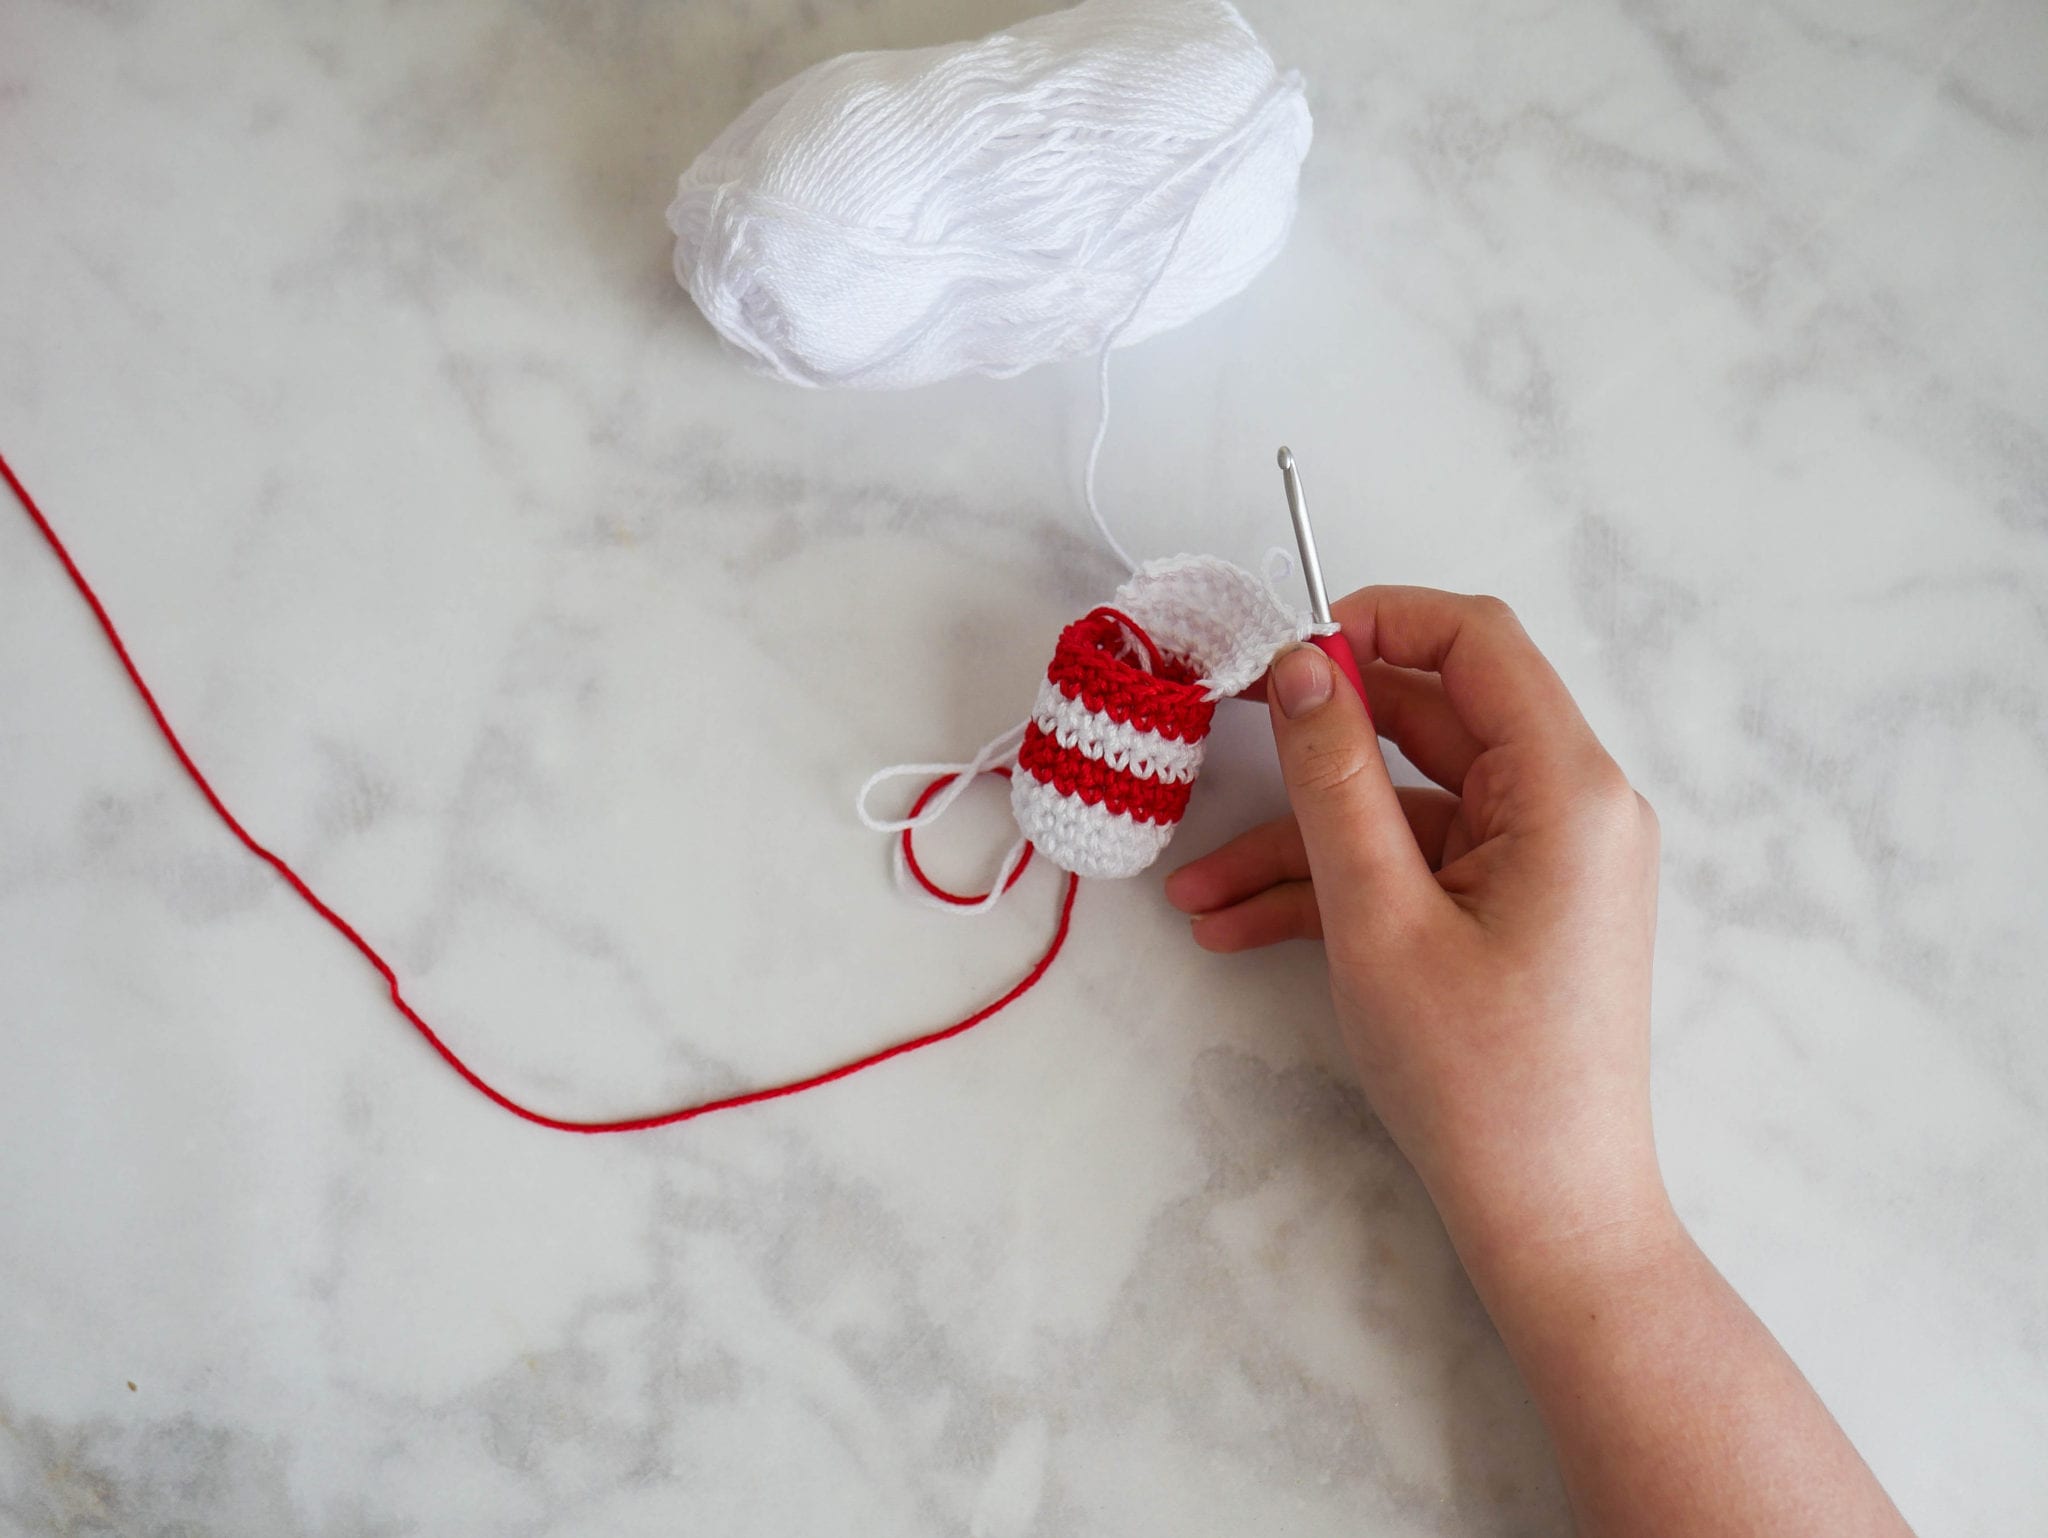
Finish off leaving a long tail for sewing, using a tapestry needle sew the heel closed as pictured
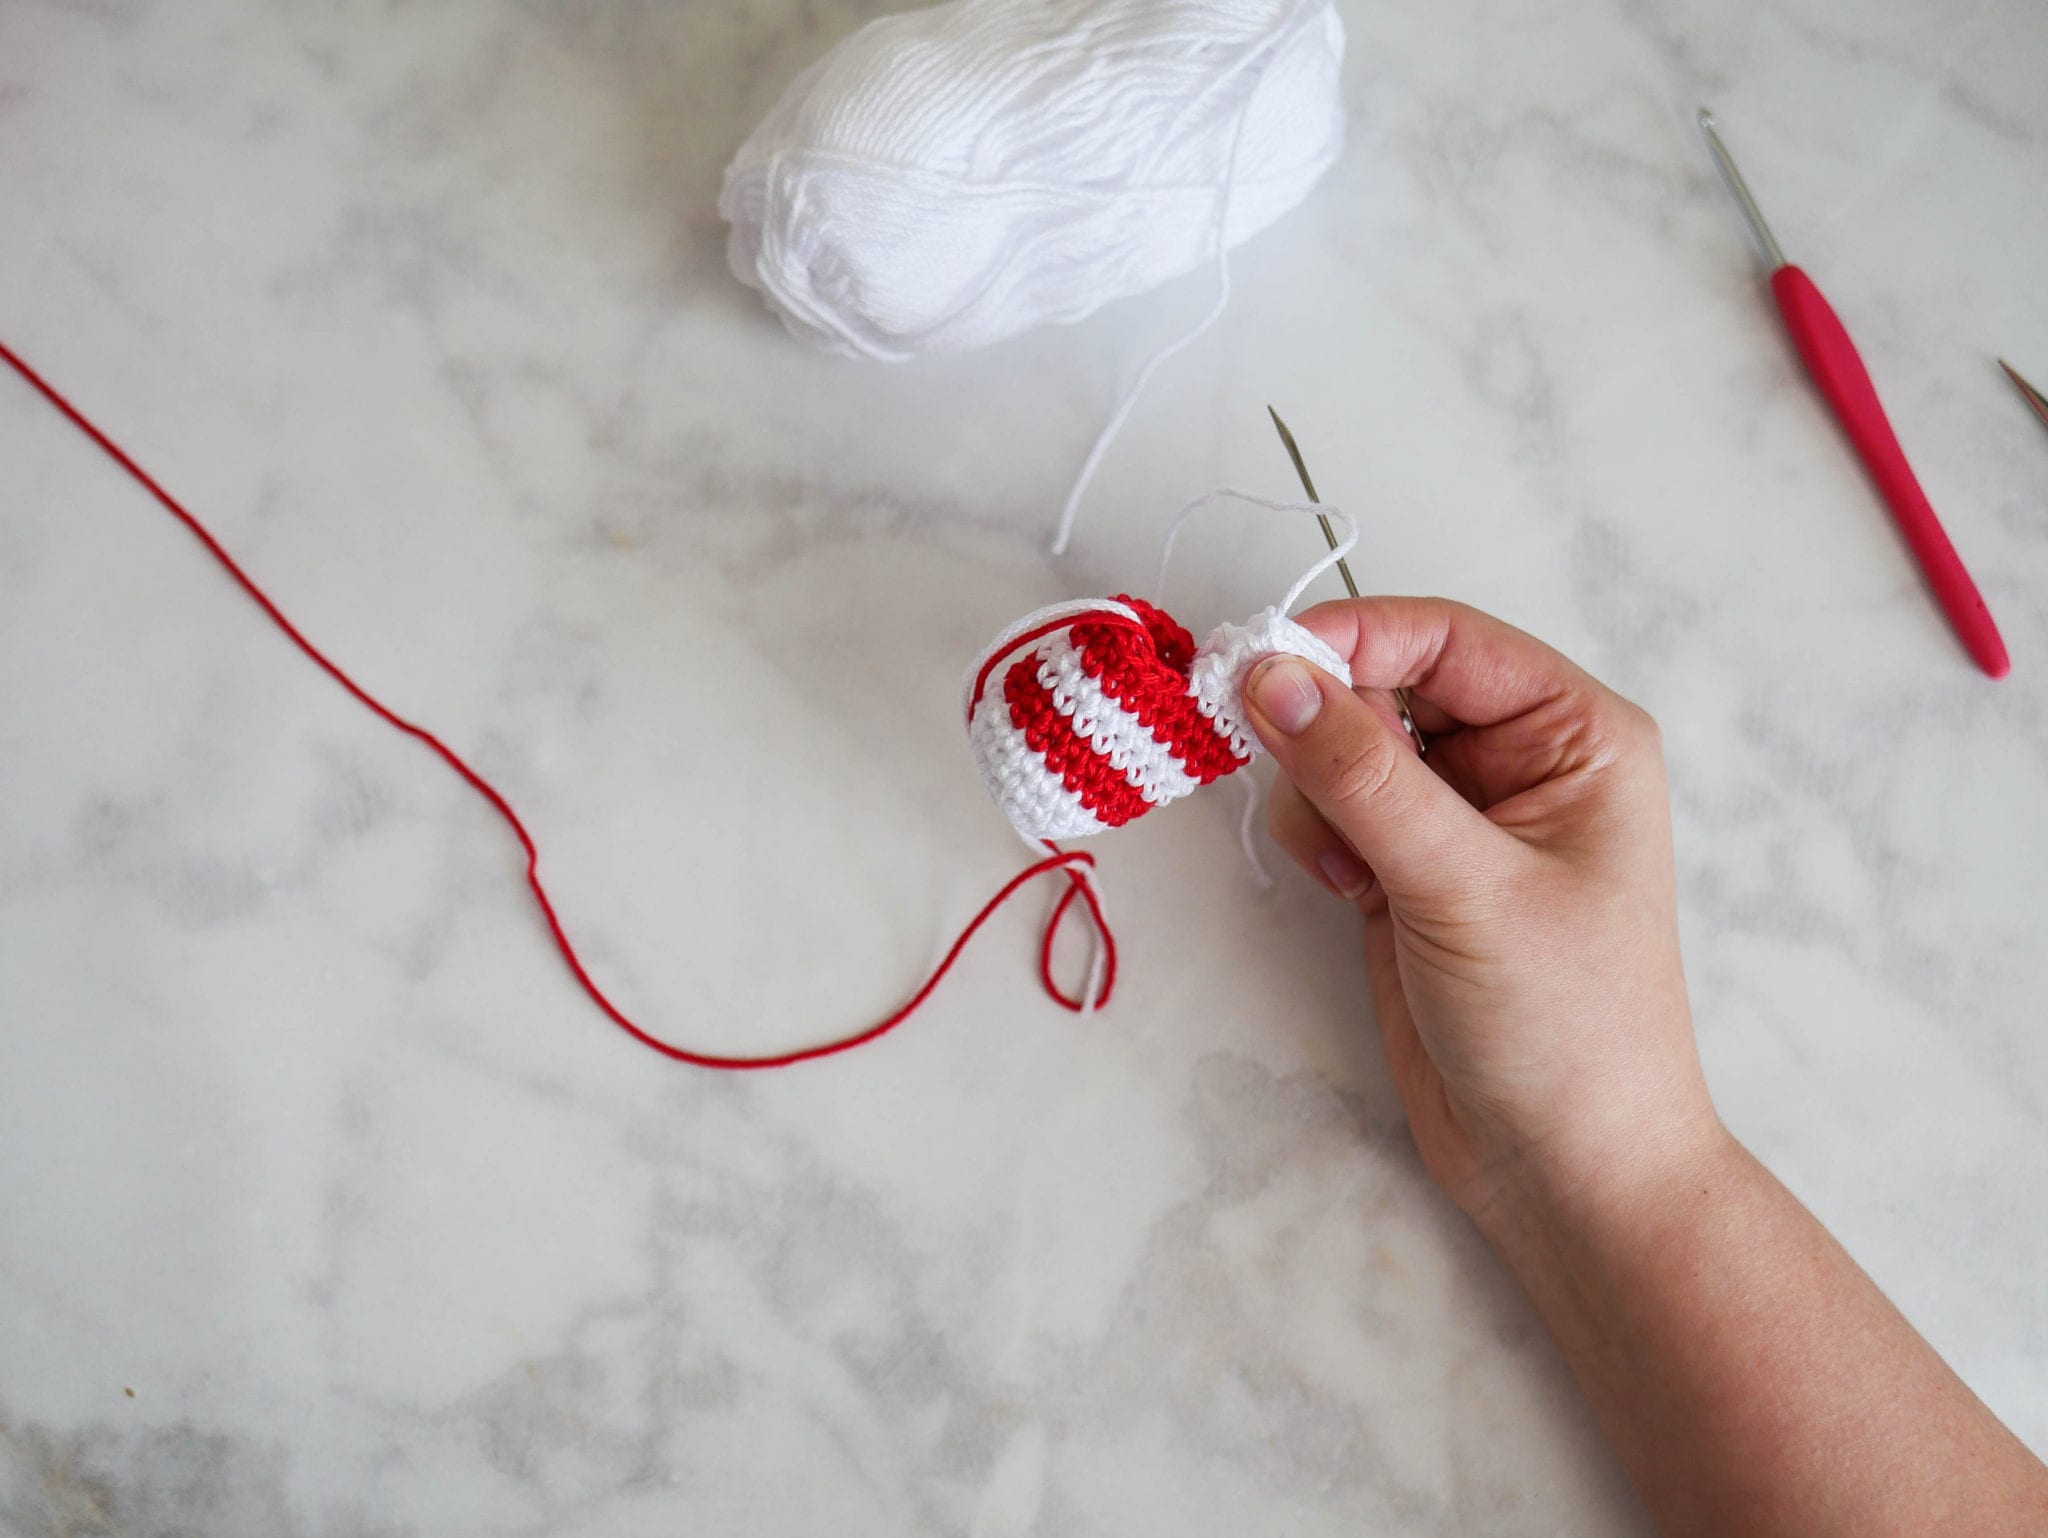
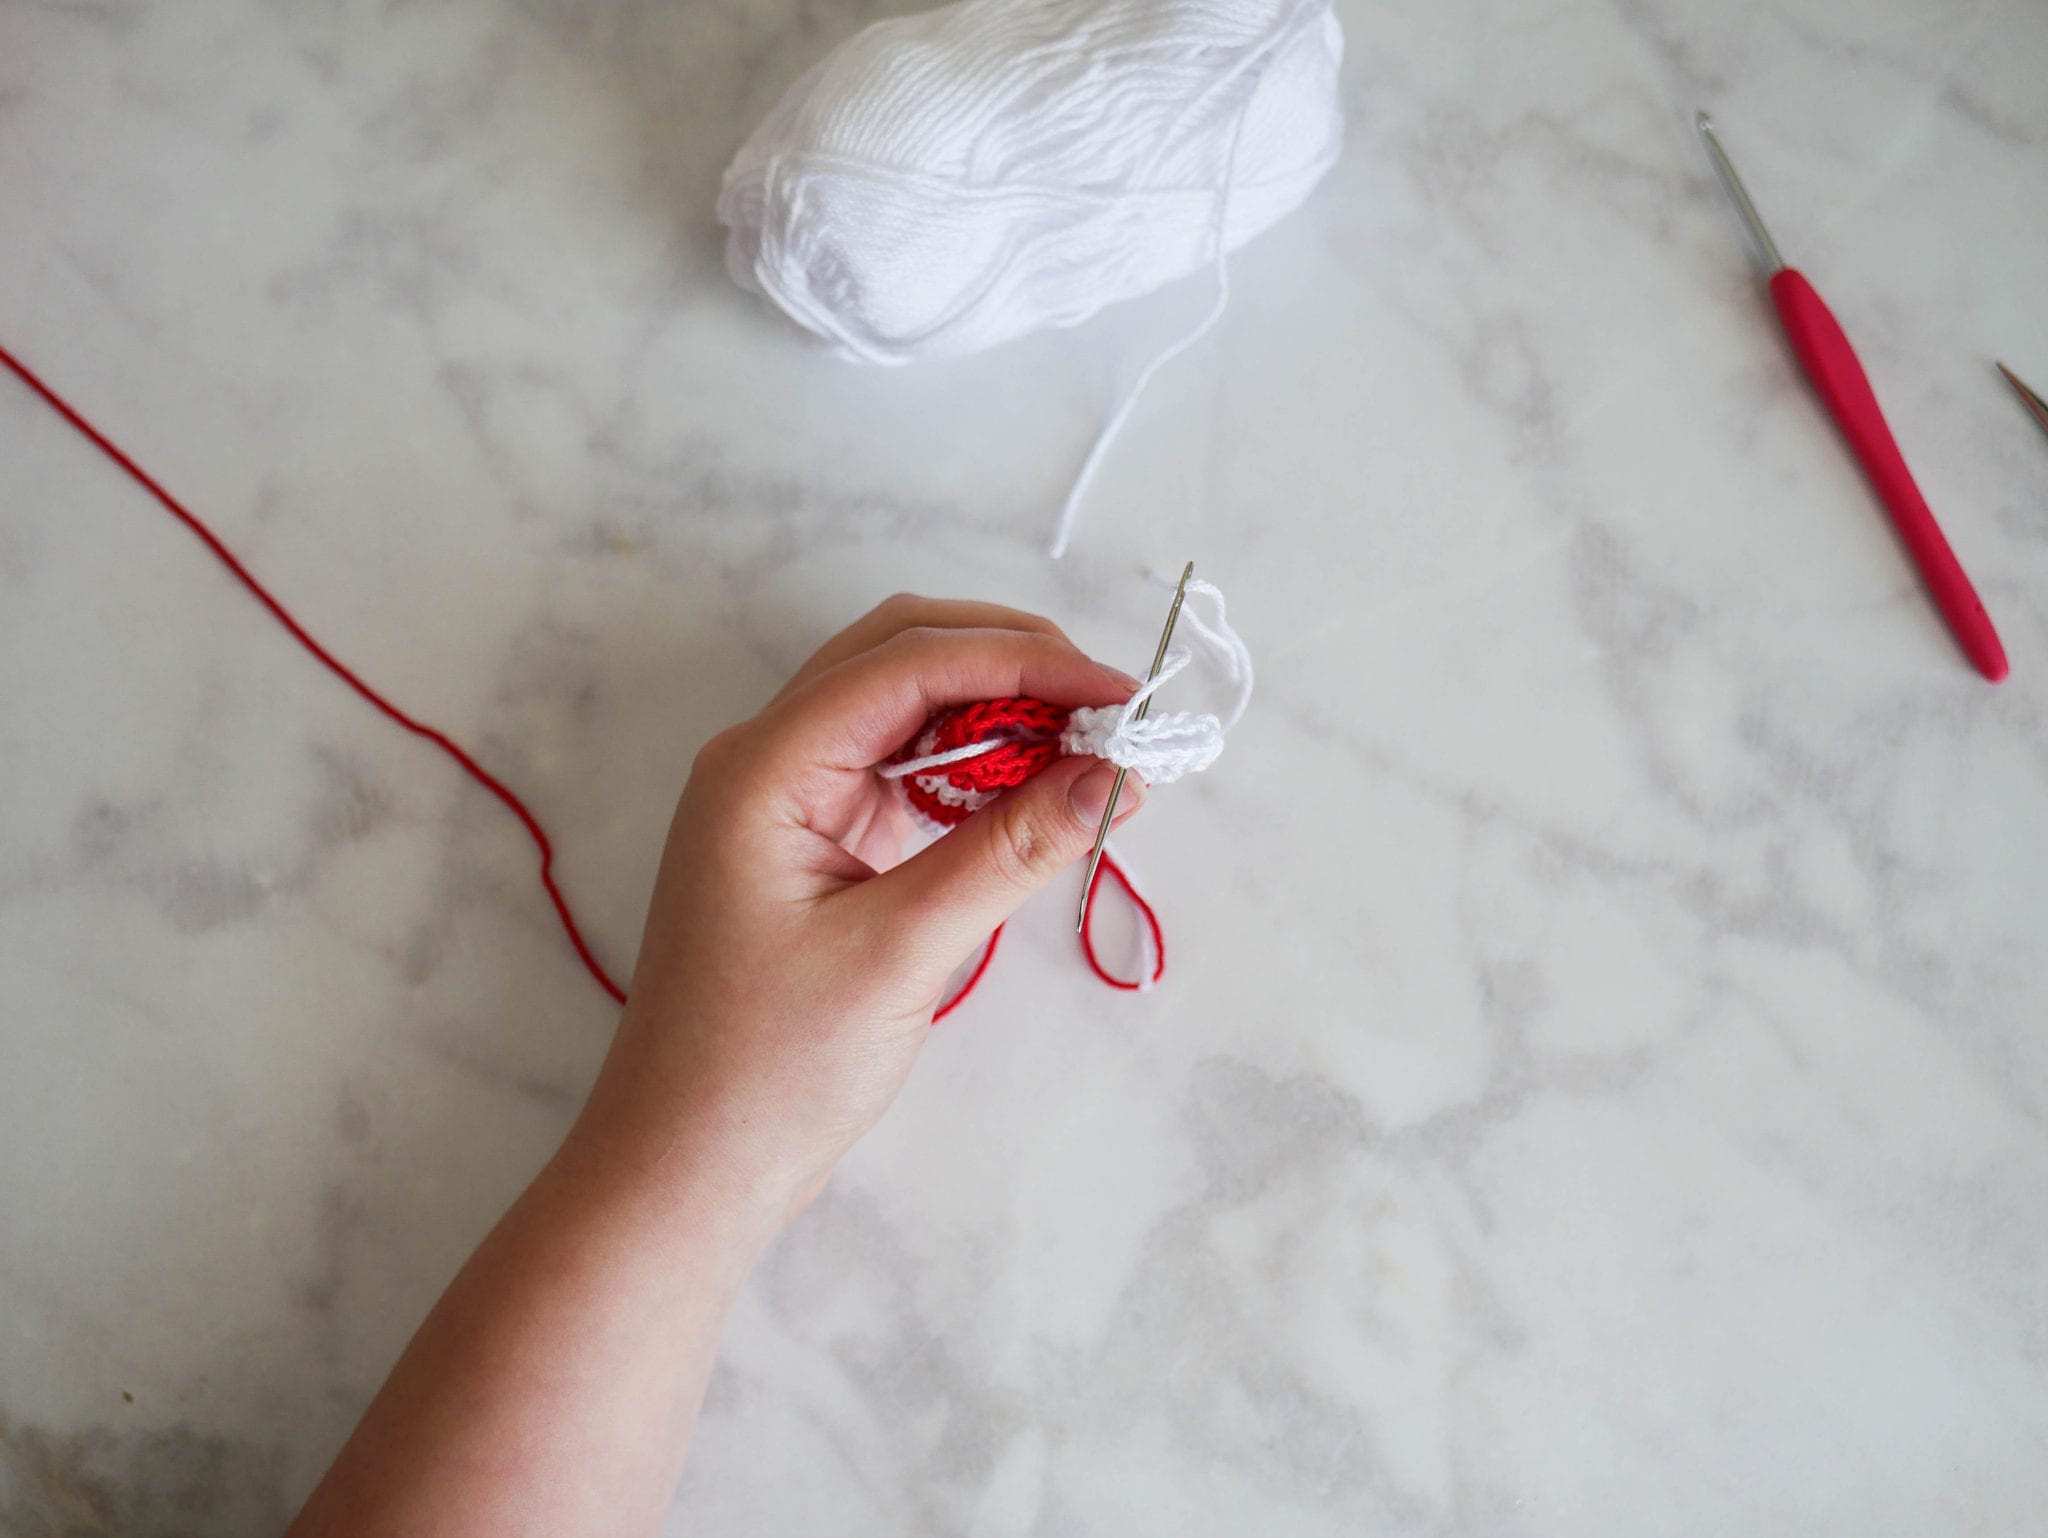
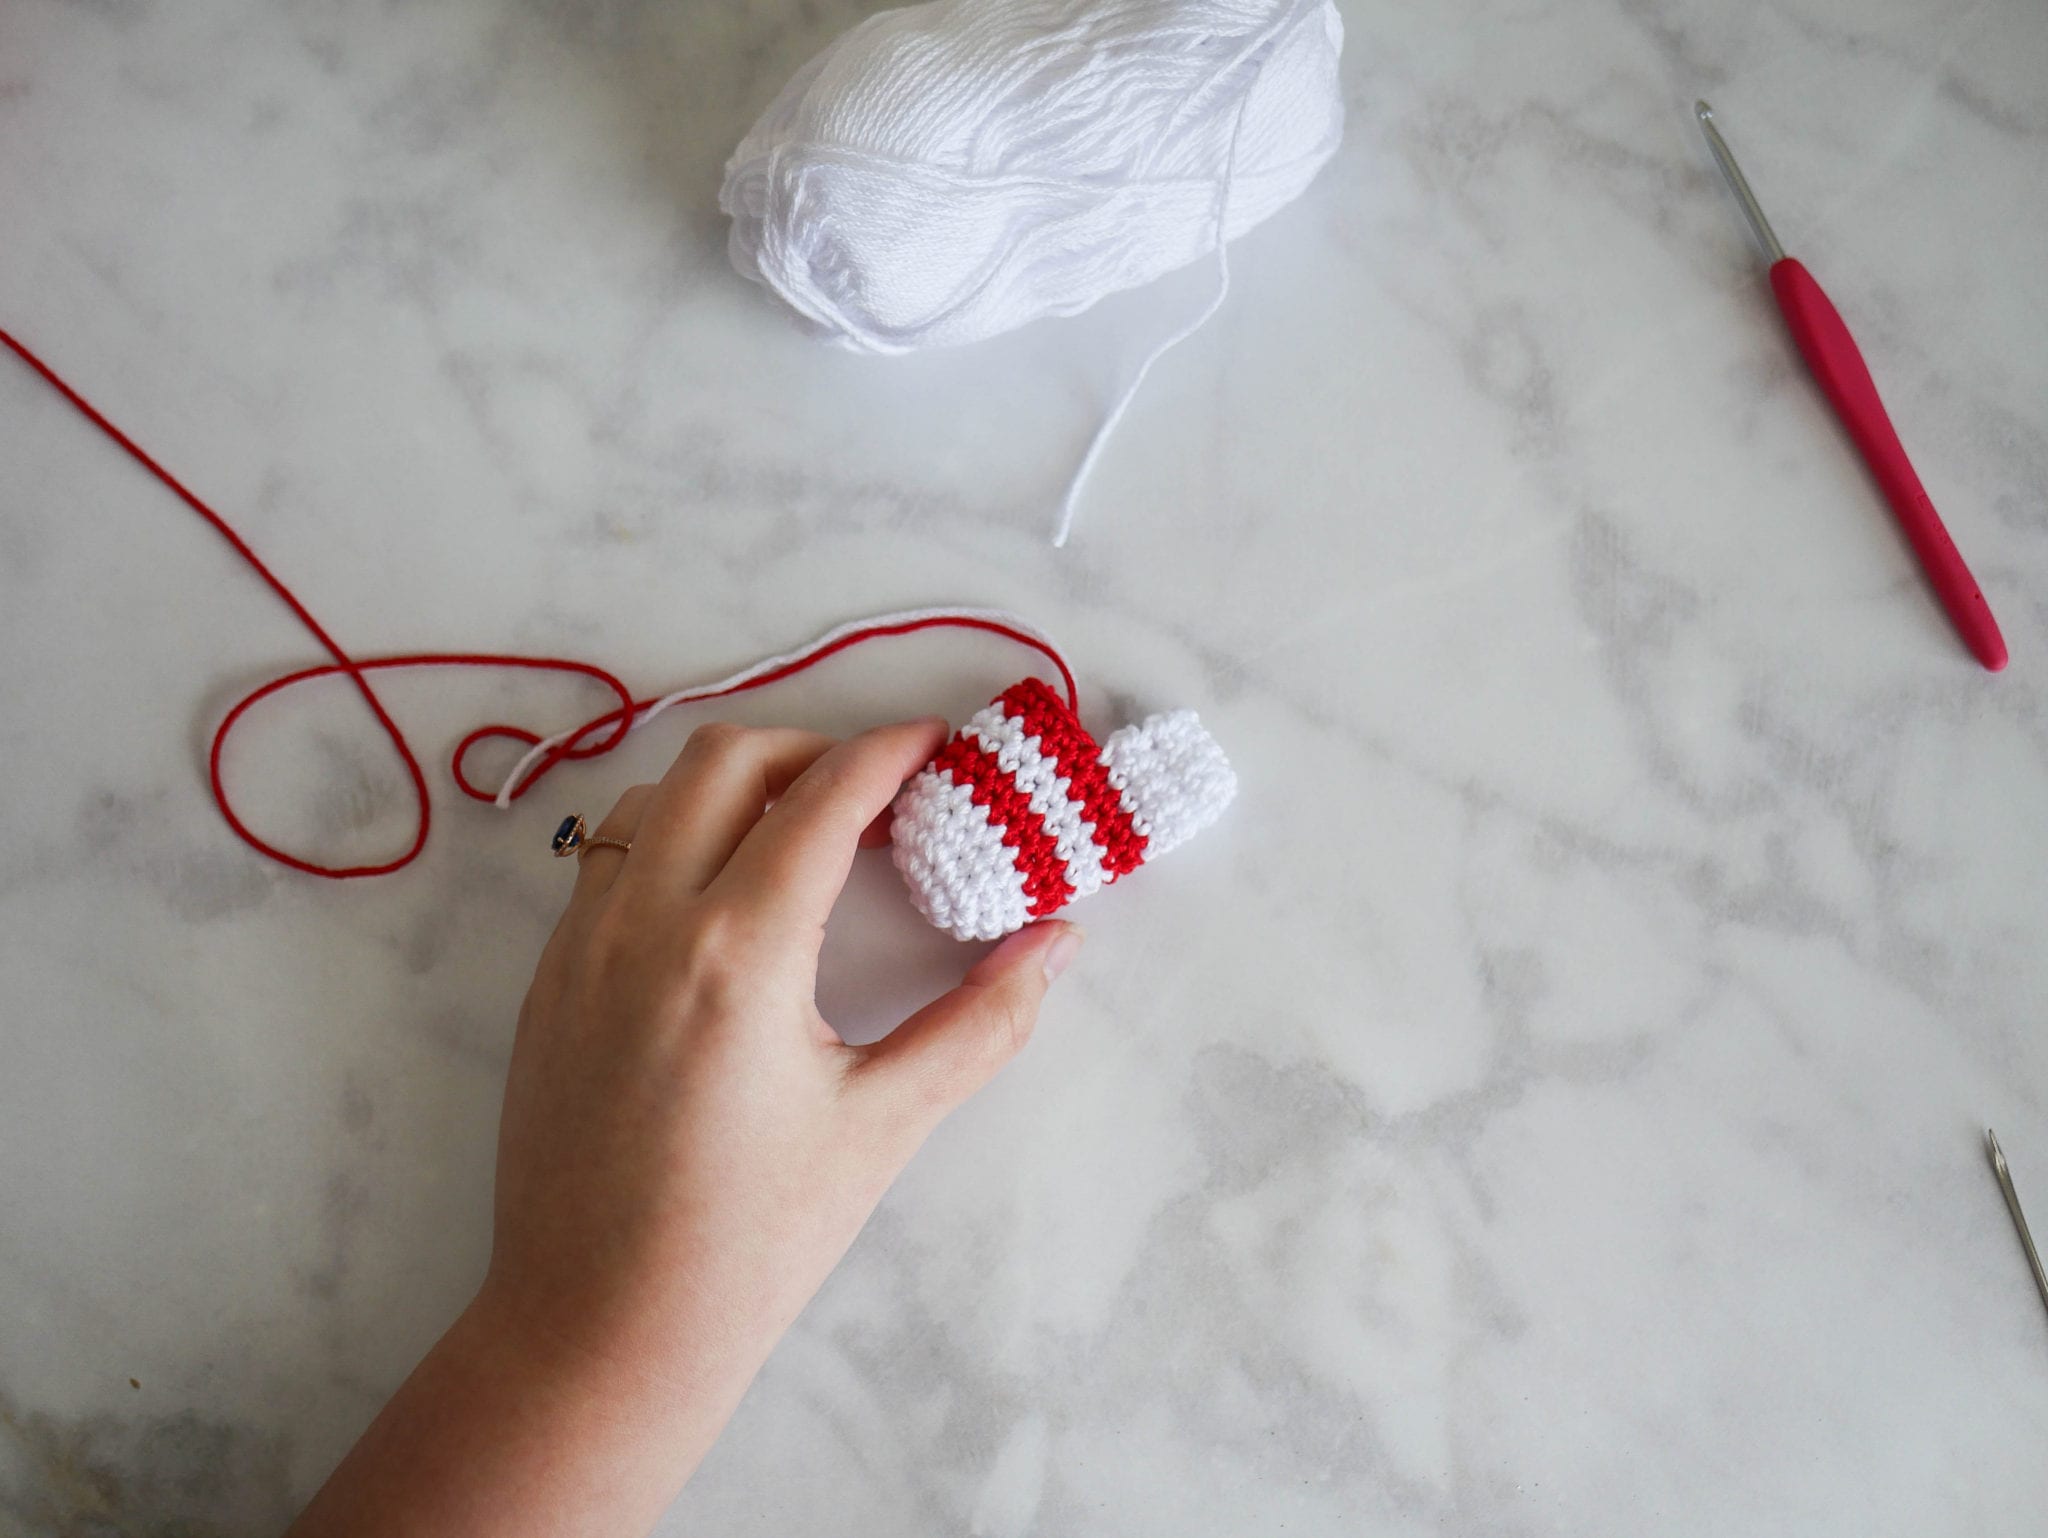
Round 18: Pick up Red yarn from Round 12, Sc around the stocking and heel as pictured (18)
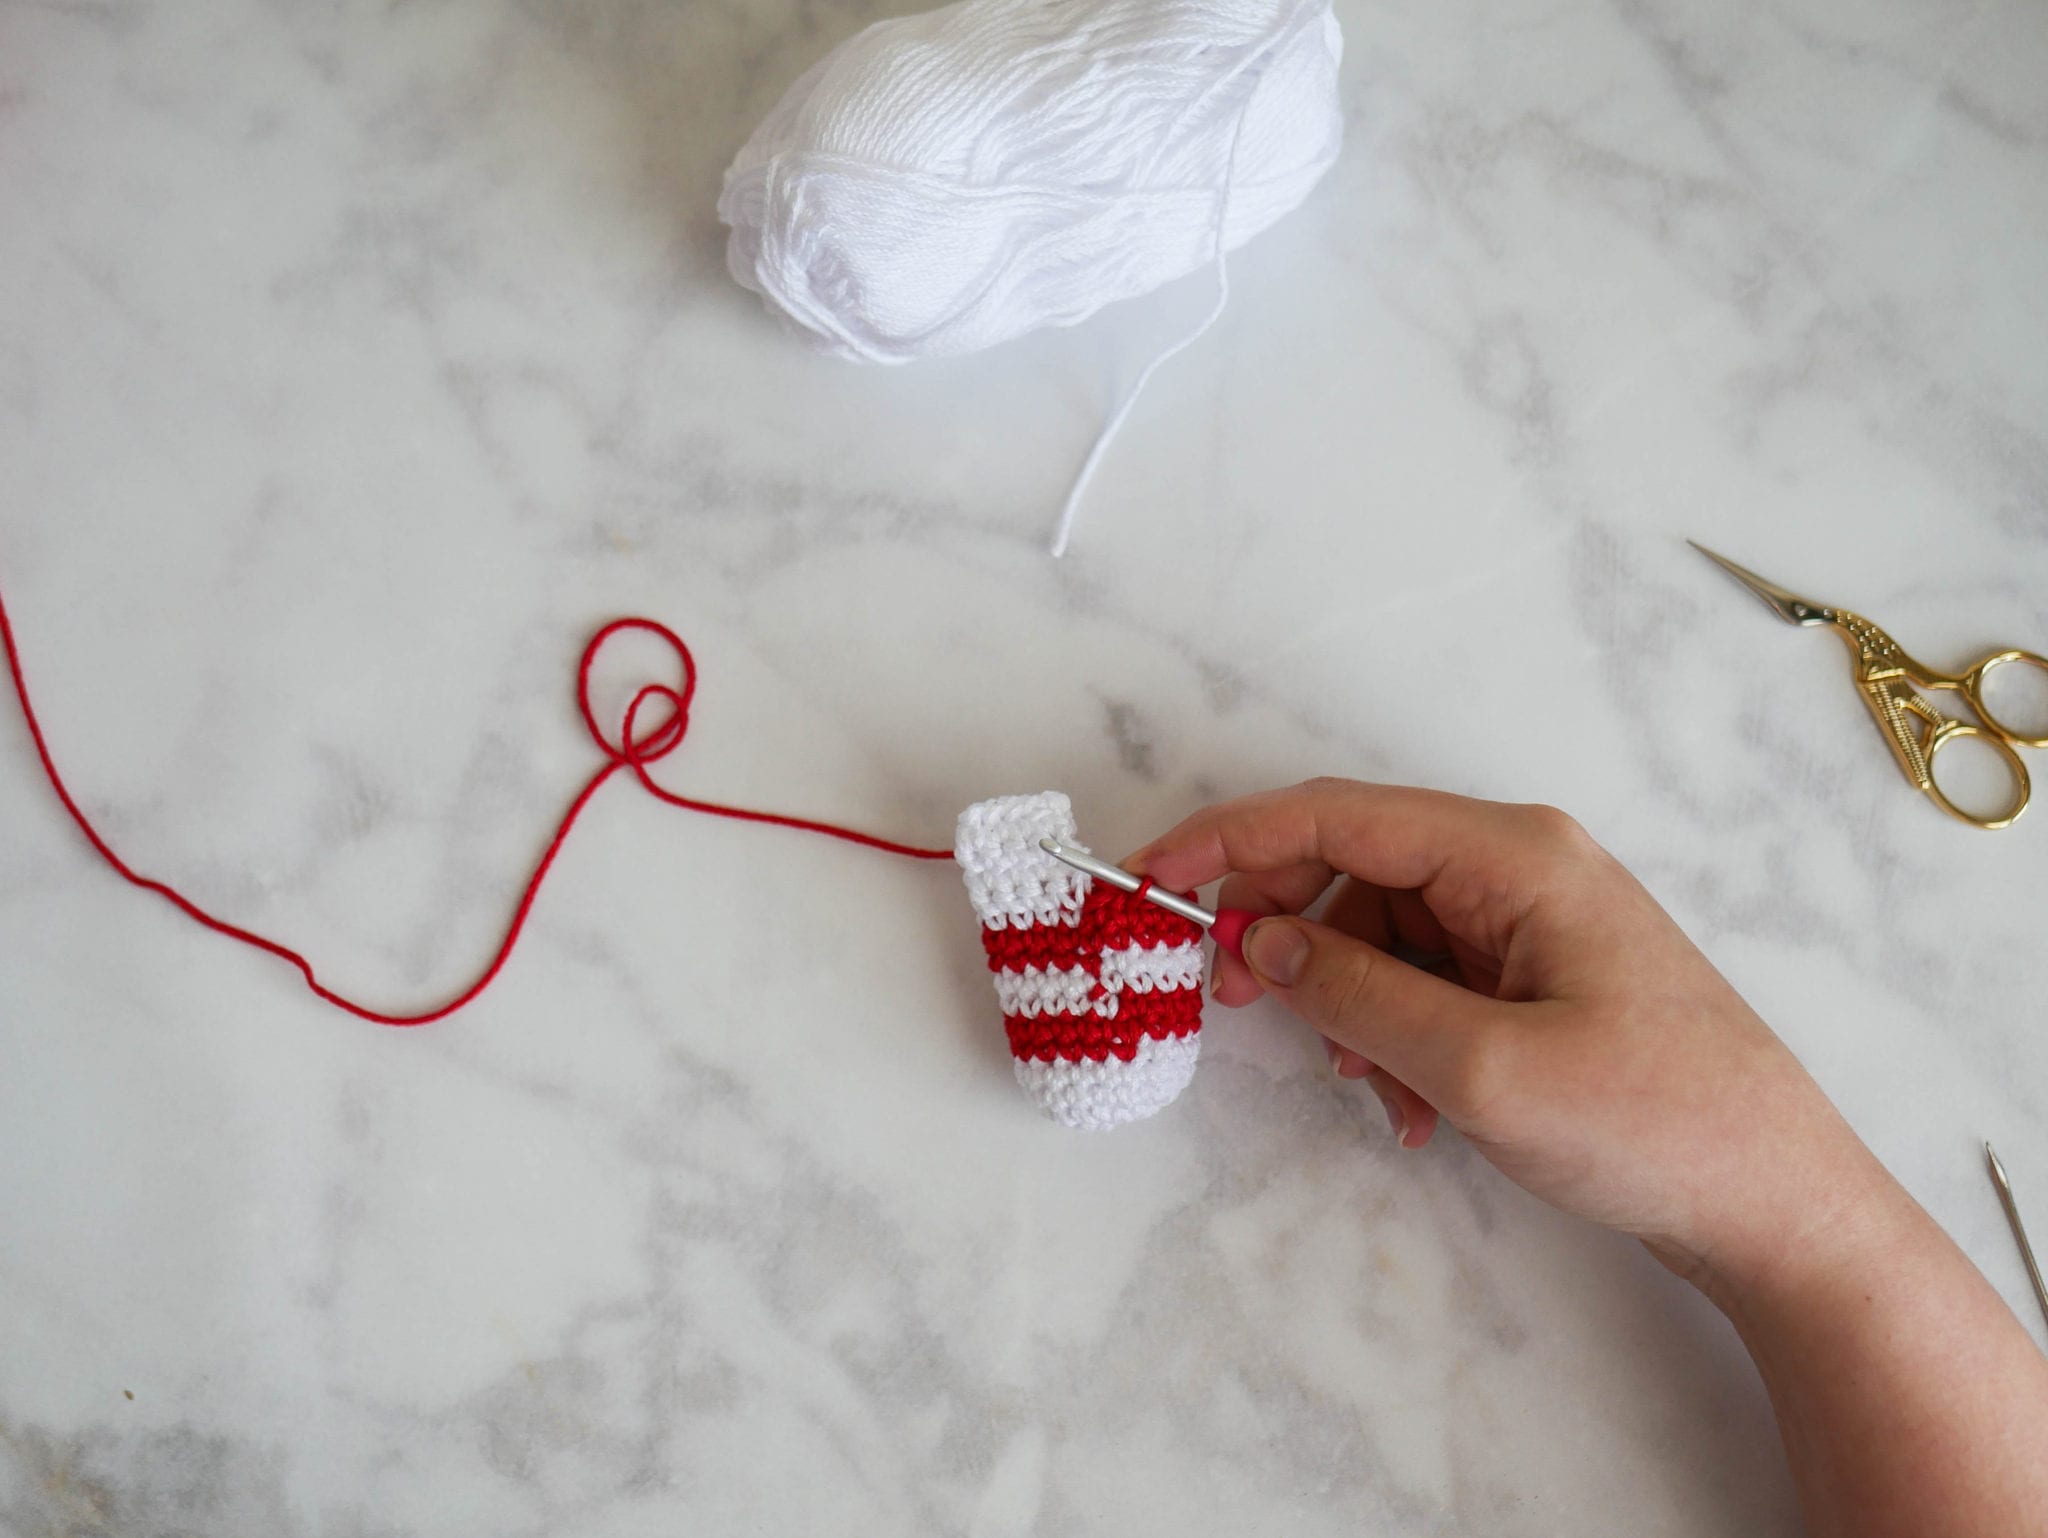
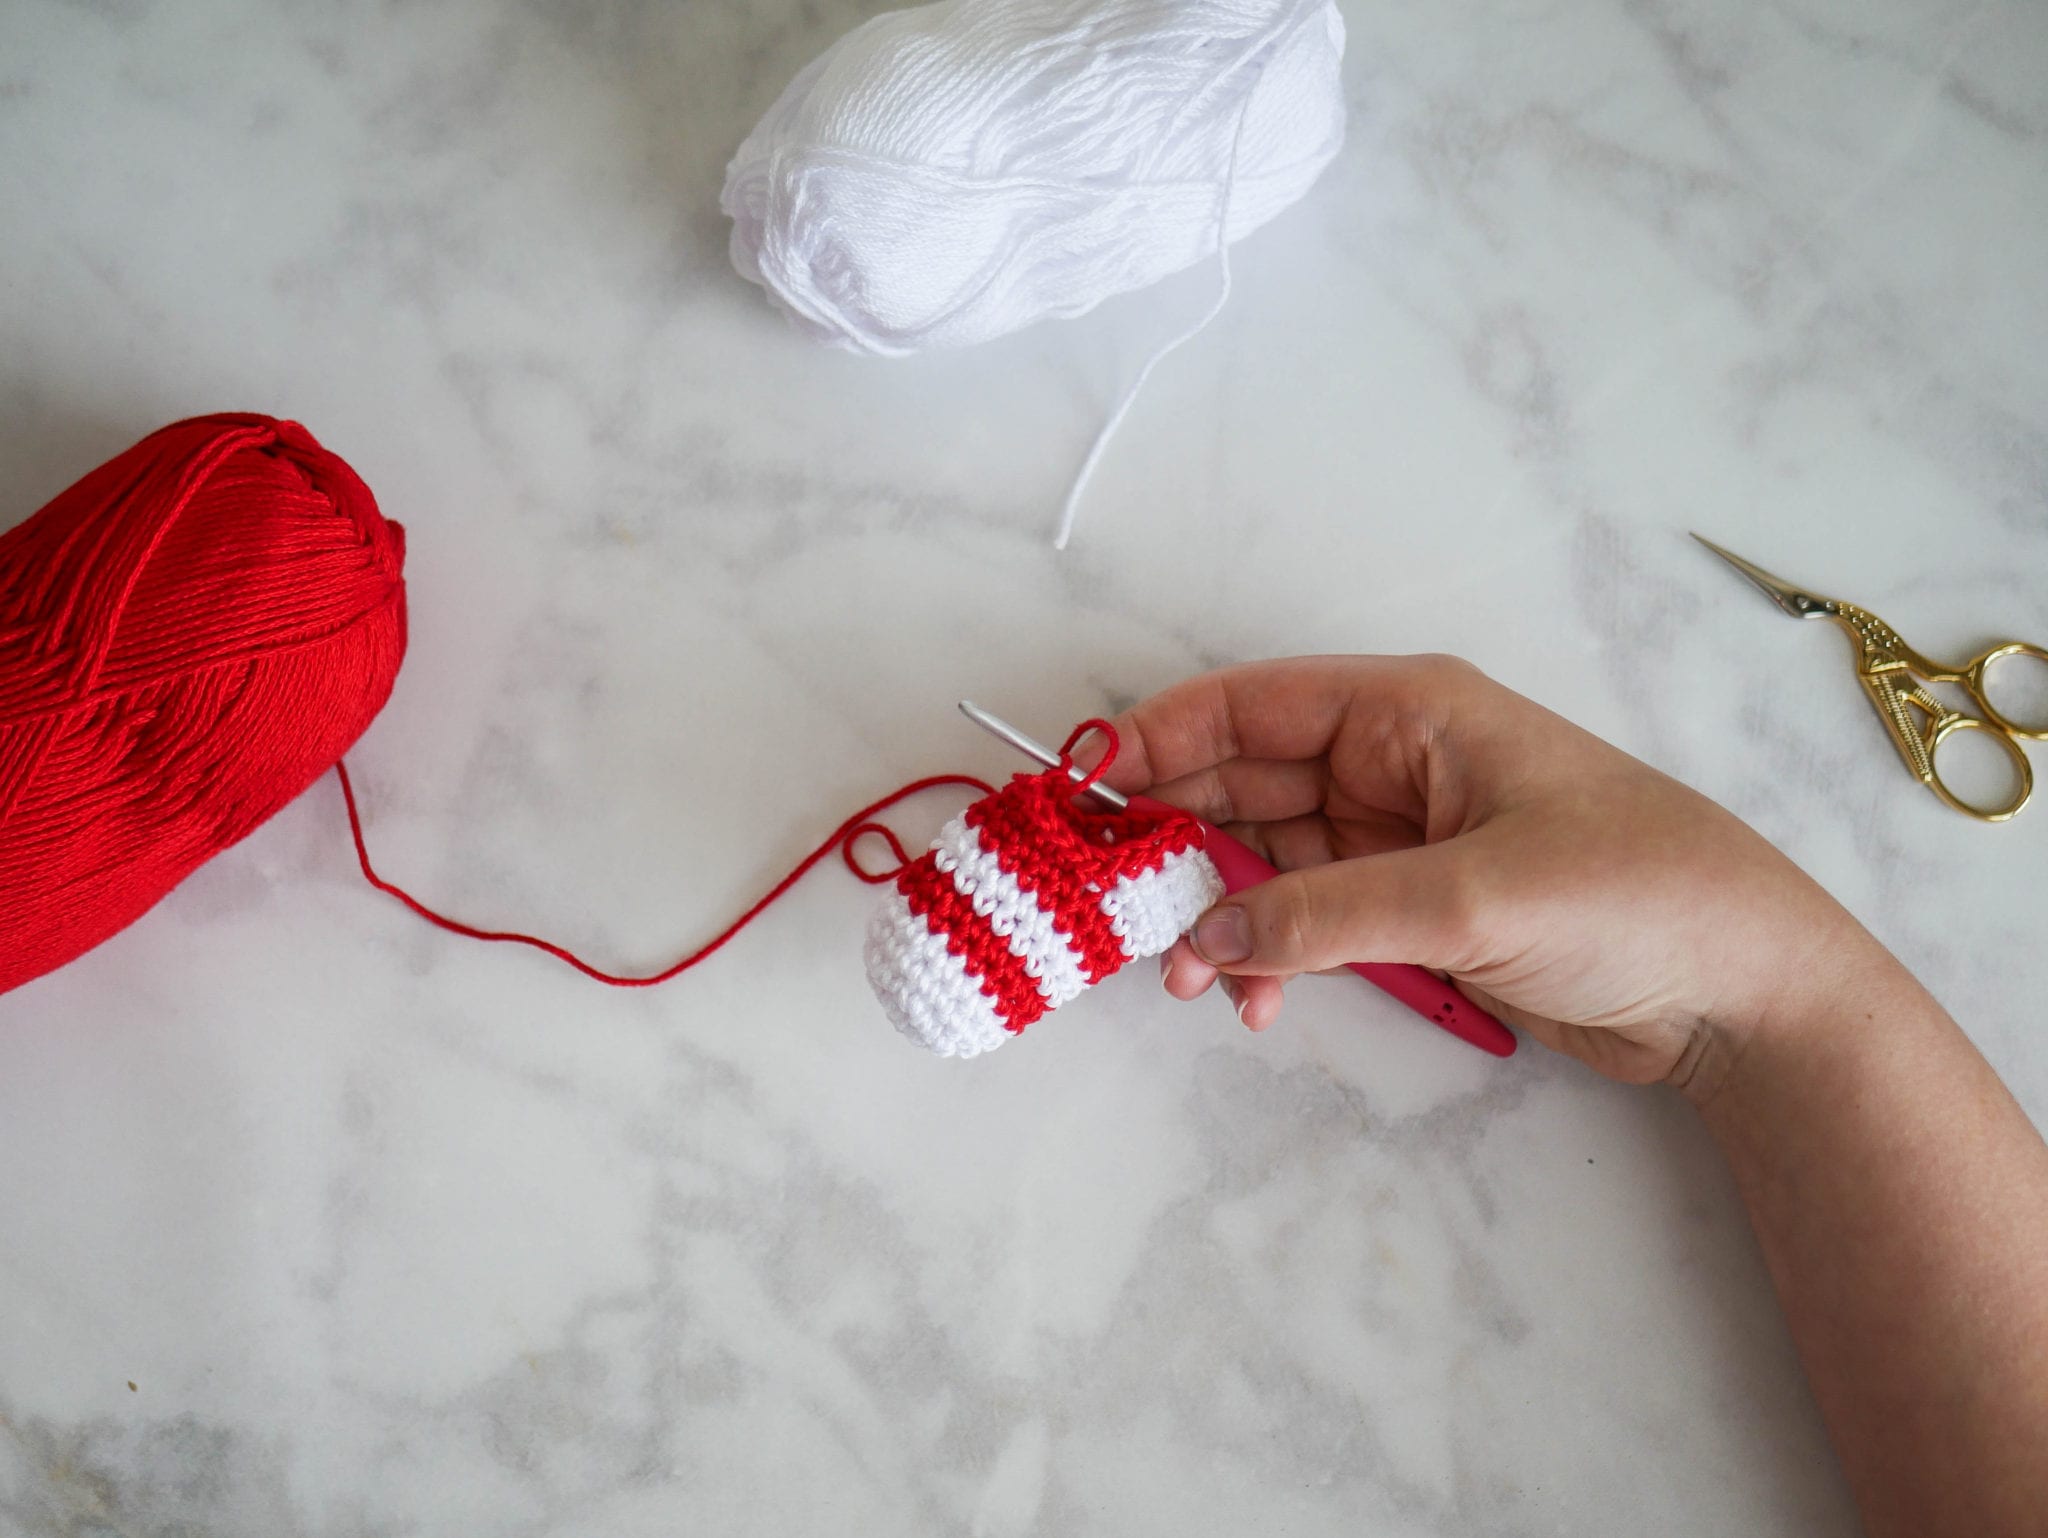
Round 19: Sc in each around (18)
*Color change to White
Rounds 20-21: Sc in each around (18)
*Color change to Red
Rounds 22-23: Sc in each around (18)
*Color change to White
Rounds 24-25: Sc in each around (18)
*Color change to Red
Rounds 26-27: Sc in each around (18)
*Color change to White
Rounds 28-29: Sc in each around (18)
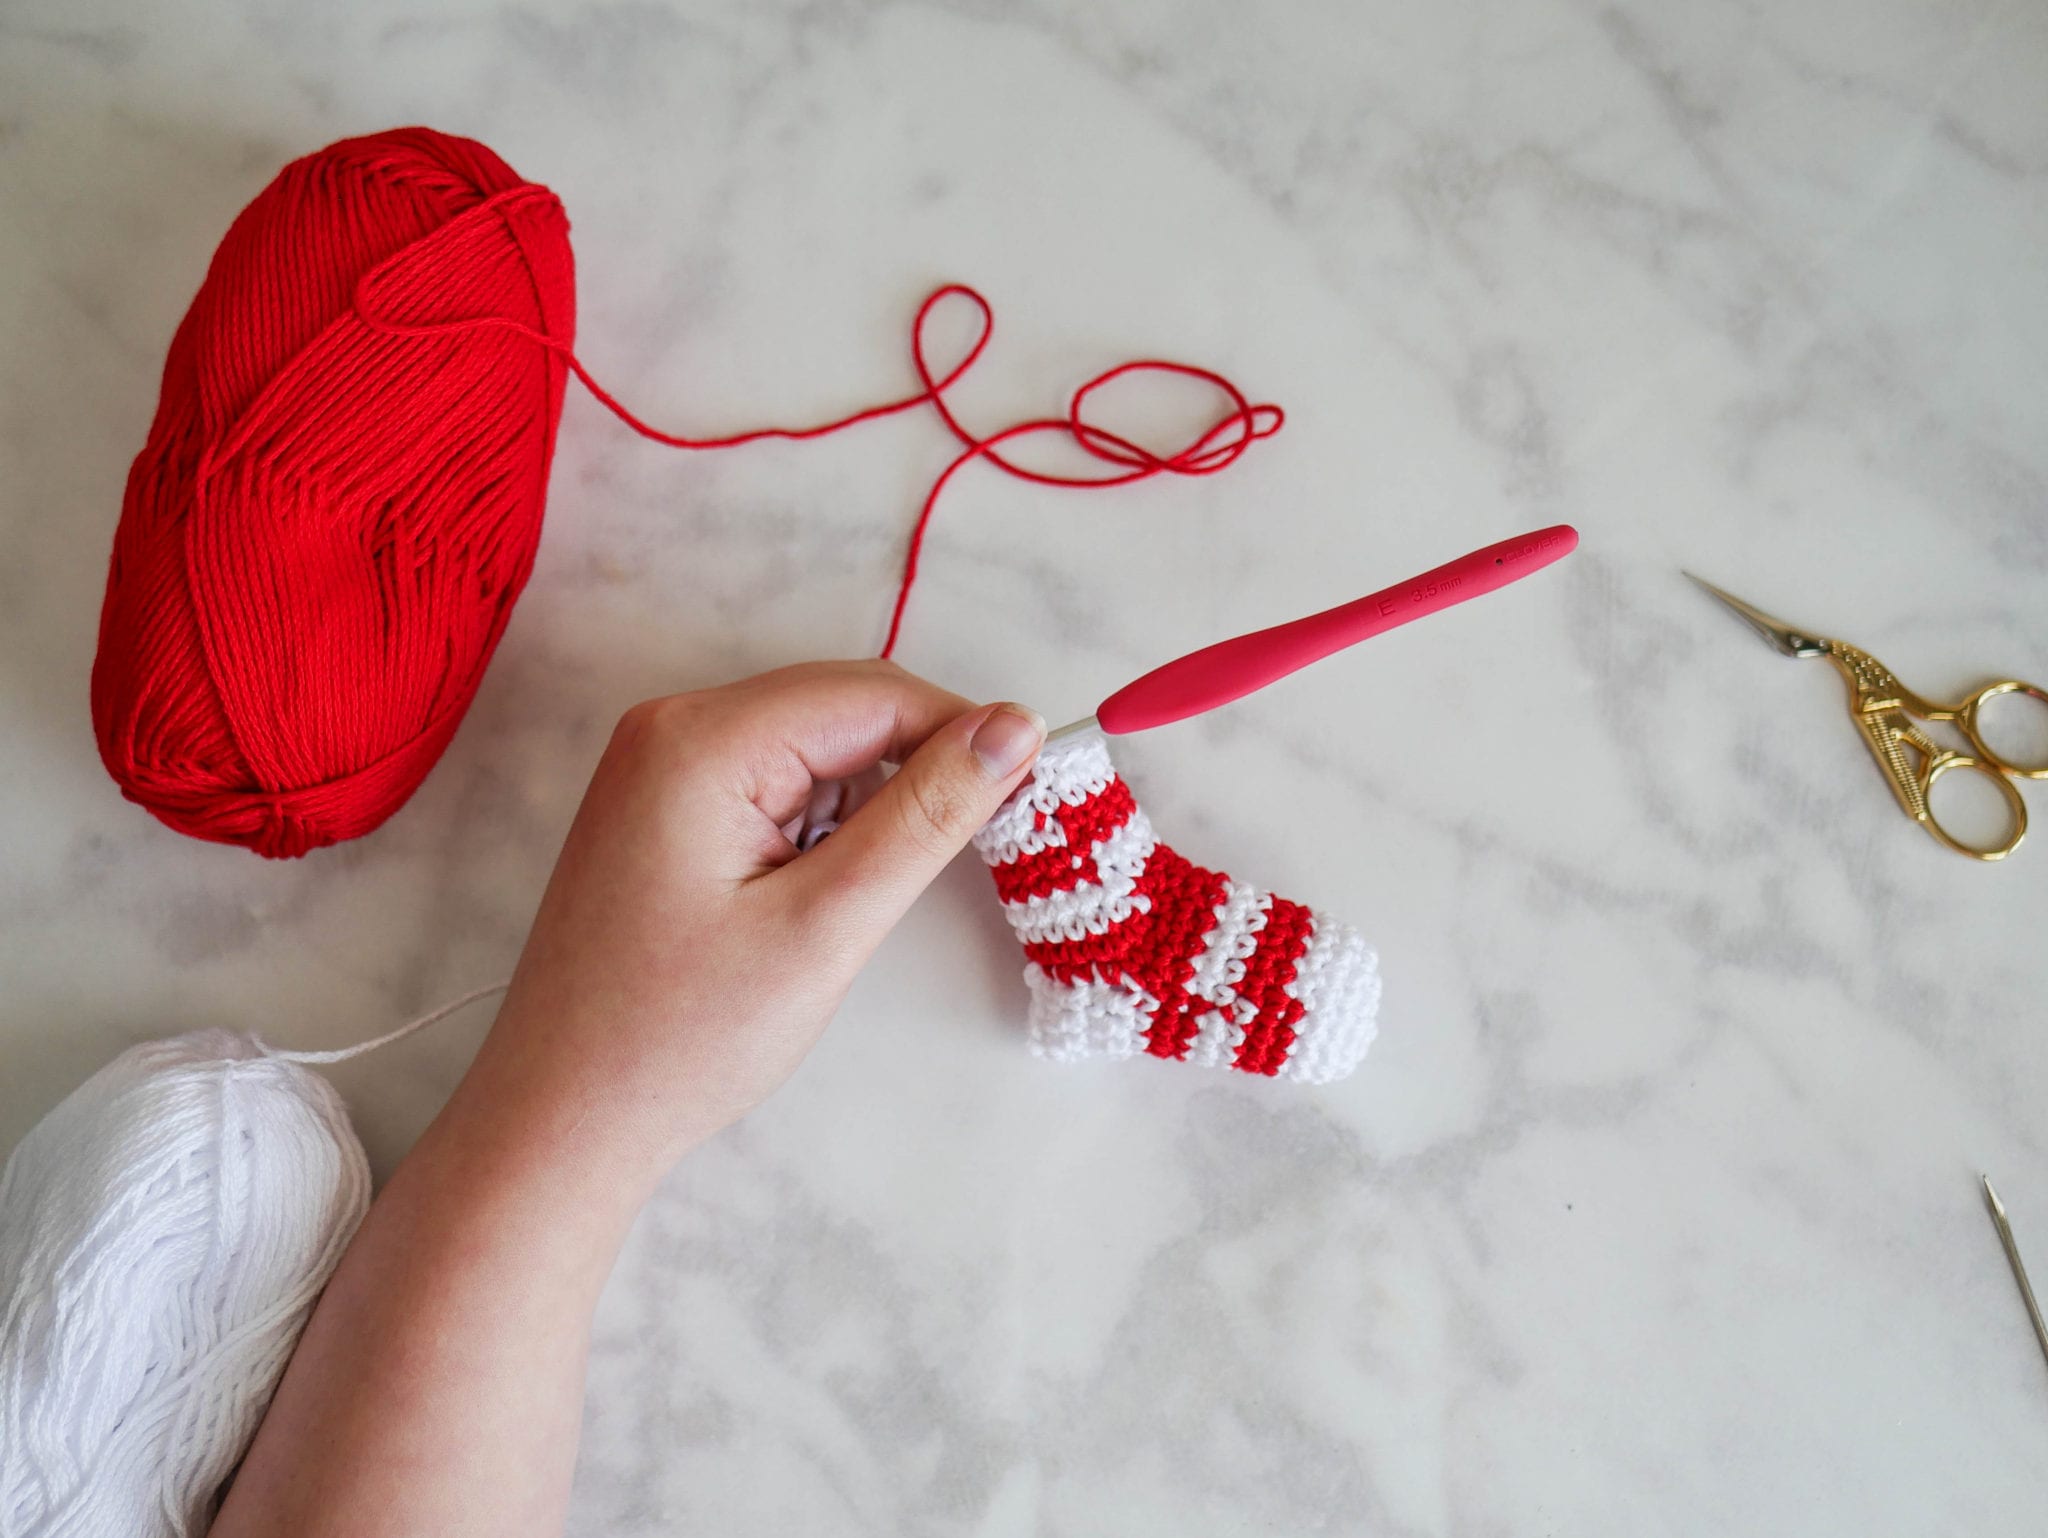
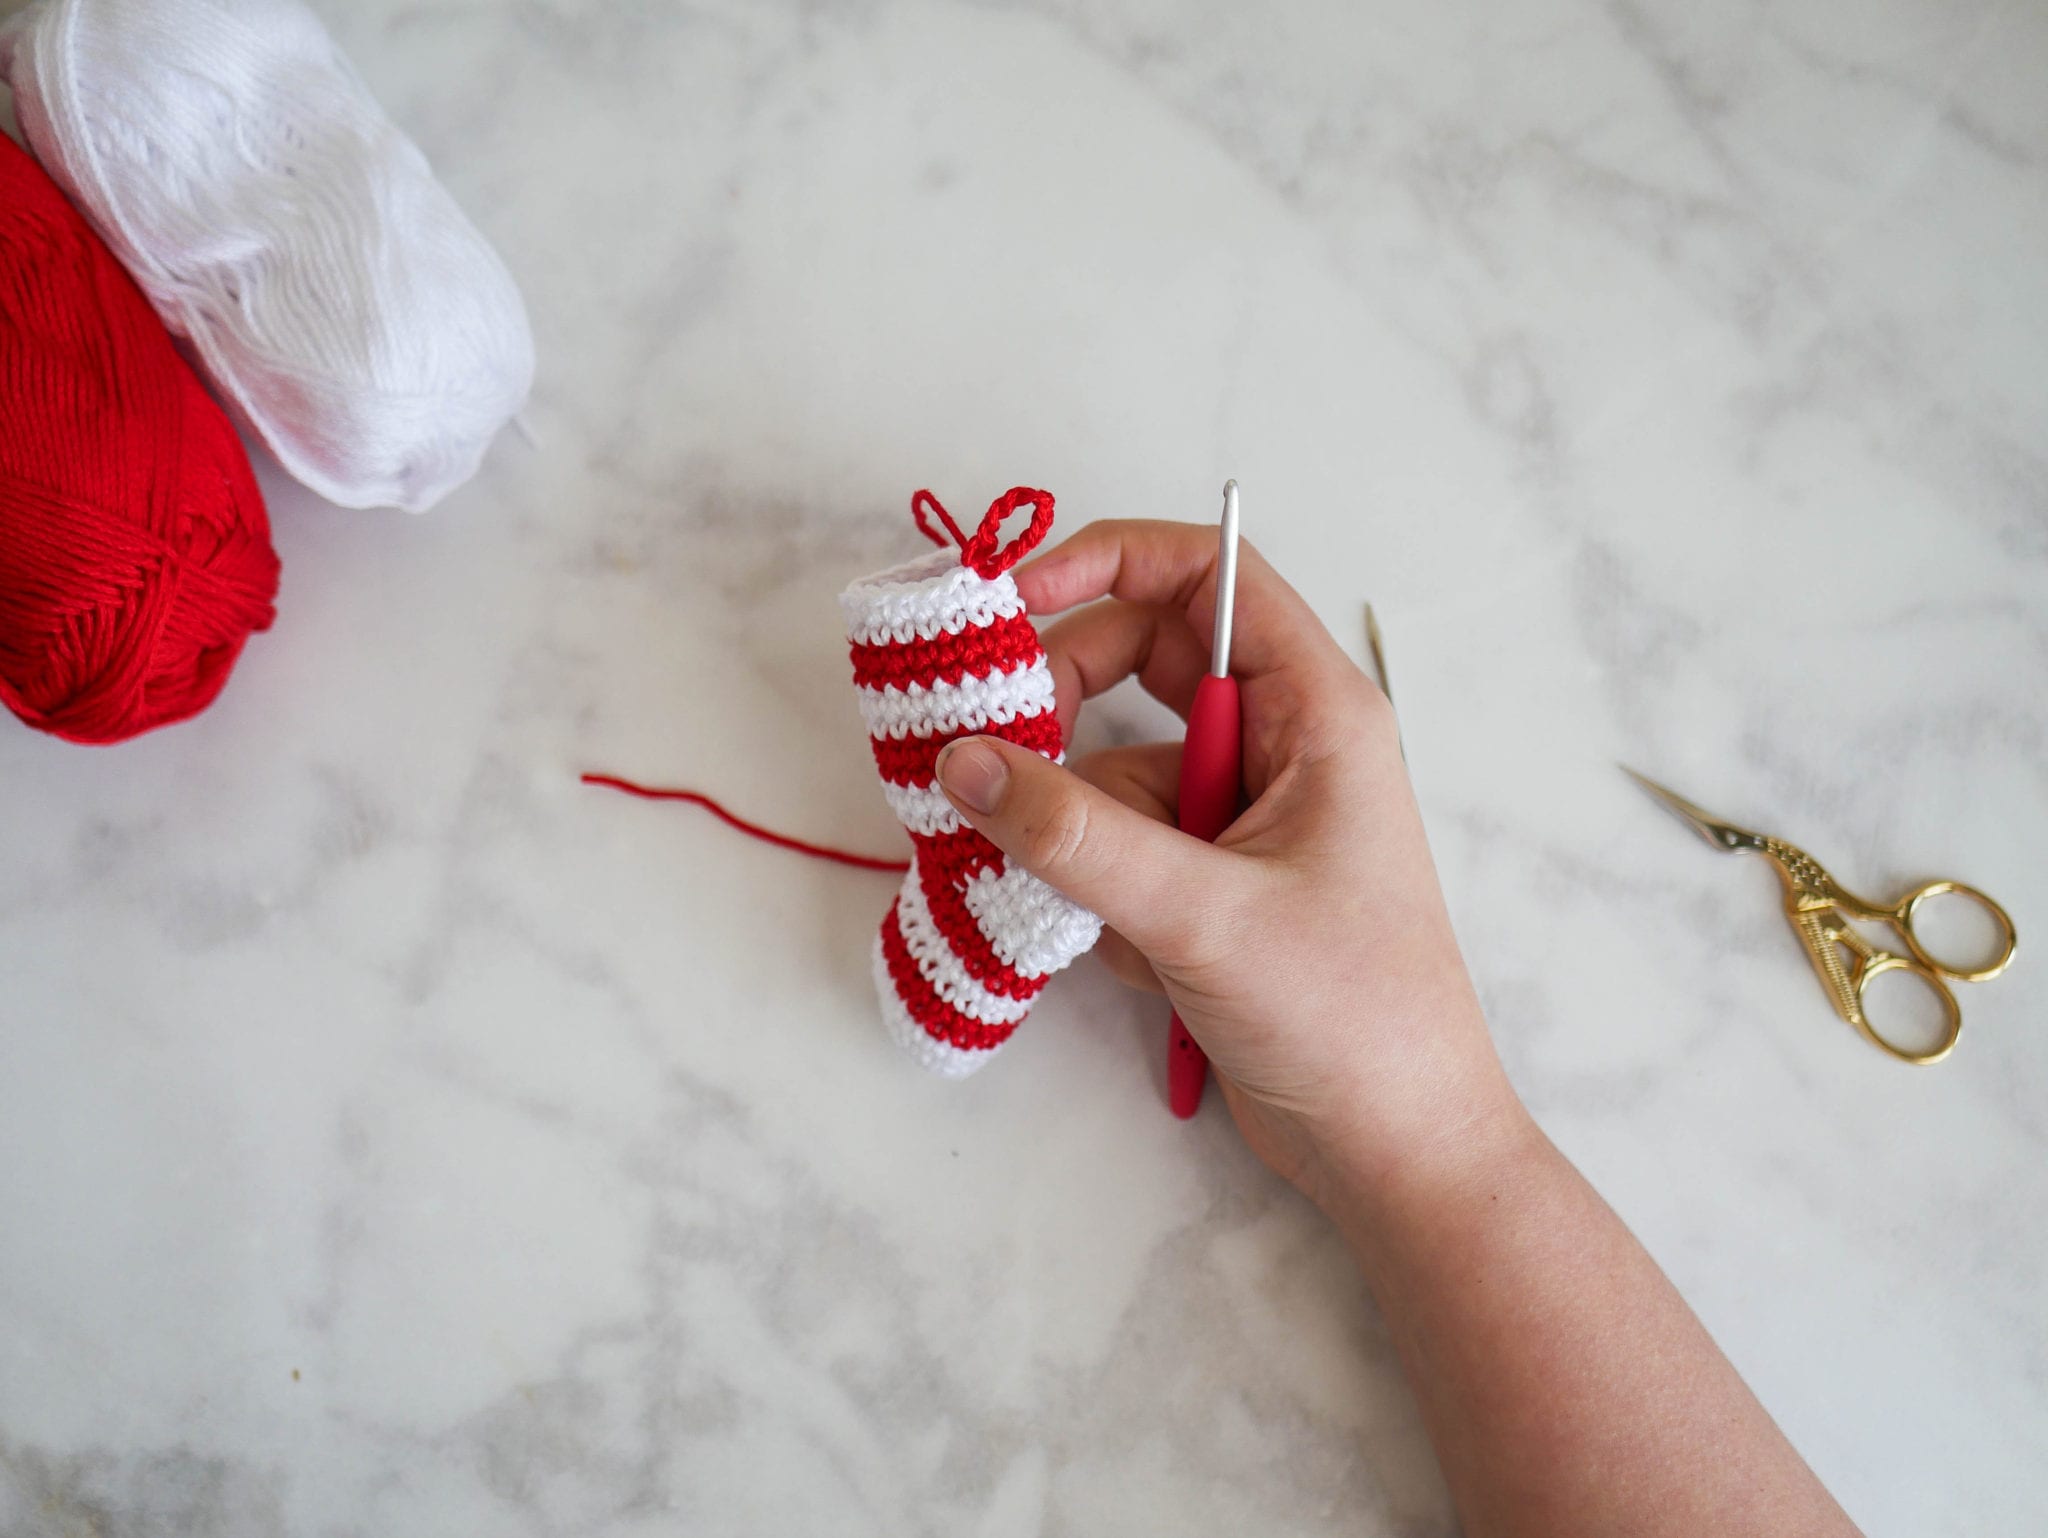
Finish off, weave ends, join red yarn to the side above the heel, Ch 8, sl st in same st where you joined yarn, finish off and weave ends
Solid Stocking:
With white, make a magic ring, Ch 1, 6 Sc in ring (6)
Round 2: 2 Sc in each around (12)
Round 3: 2 Sc, Sc in next, repeat around (18)
Rounds 4-6: Sc in each around (18)
*Color change to Red
Rounds 7-12: Sc in each around (18)
*Color change to White — don’t finish off Red yarn
Round 13: Sc in next 9 sts, Ch 1, turn (9)
Rounds 14-17: Sc in each across, Ch 1, turn (9)
Finish off leaving a long tail for sewing, using a tapestry needle sew the heel closed as pictured
Round 18: Pick up Red yarn from Round 12, Sc around the stocking and heel as pictured (18)
Rounds 19-27: Sc in each around (18)
*Color change to White
Rounds 28-29: Sc in each around (18)
Round 30: Sc in next 7, Ch 8, Sc in next 13 sts of the round, sl st in next, finish off and weave all ends
Don’t forget to PIN this pattern to your Pinterest boards!

Luv ur site. Trying to find the pattern for the red xmas bows can u help please keep hey are so cite
Need free version of pattern, unable to find it. You do have as stated?
Scroll to the bottom of the post, it’s there 🙂
These are adorable and just what I was looking for. Thanks so much for sharing.