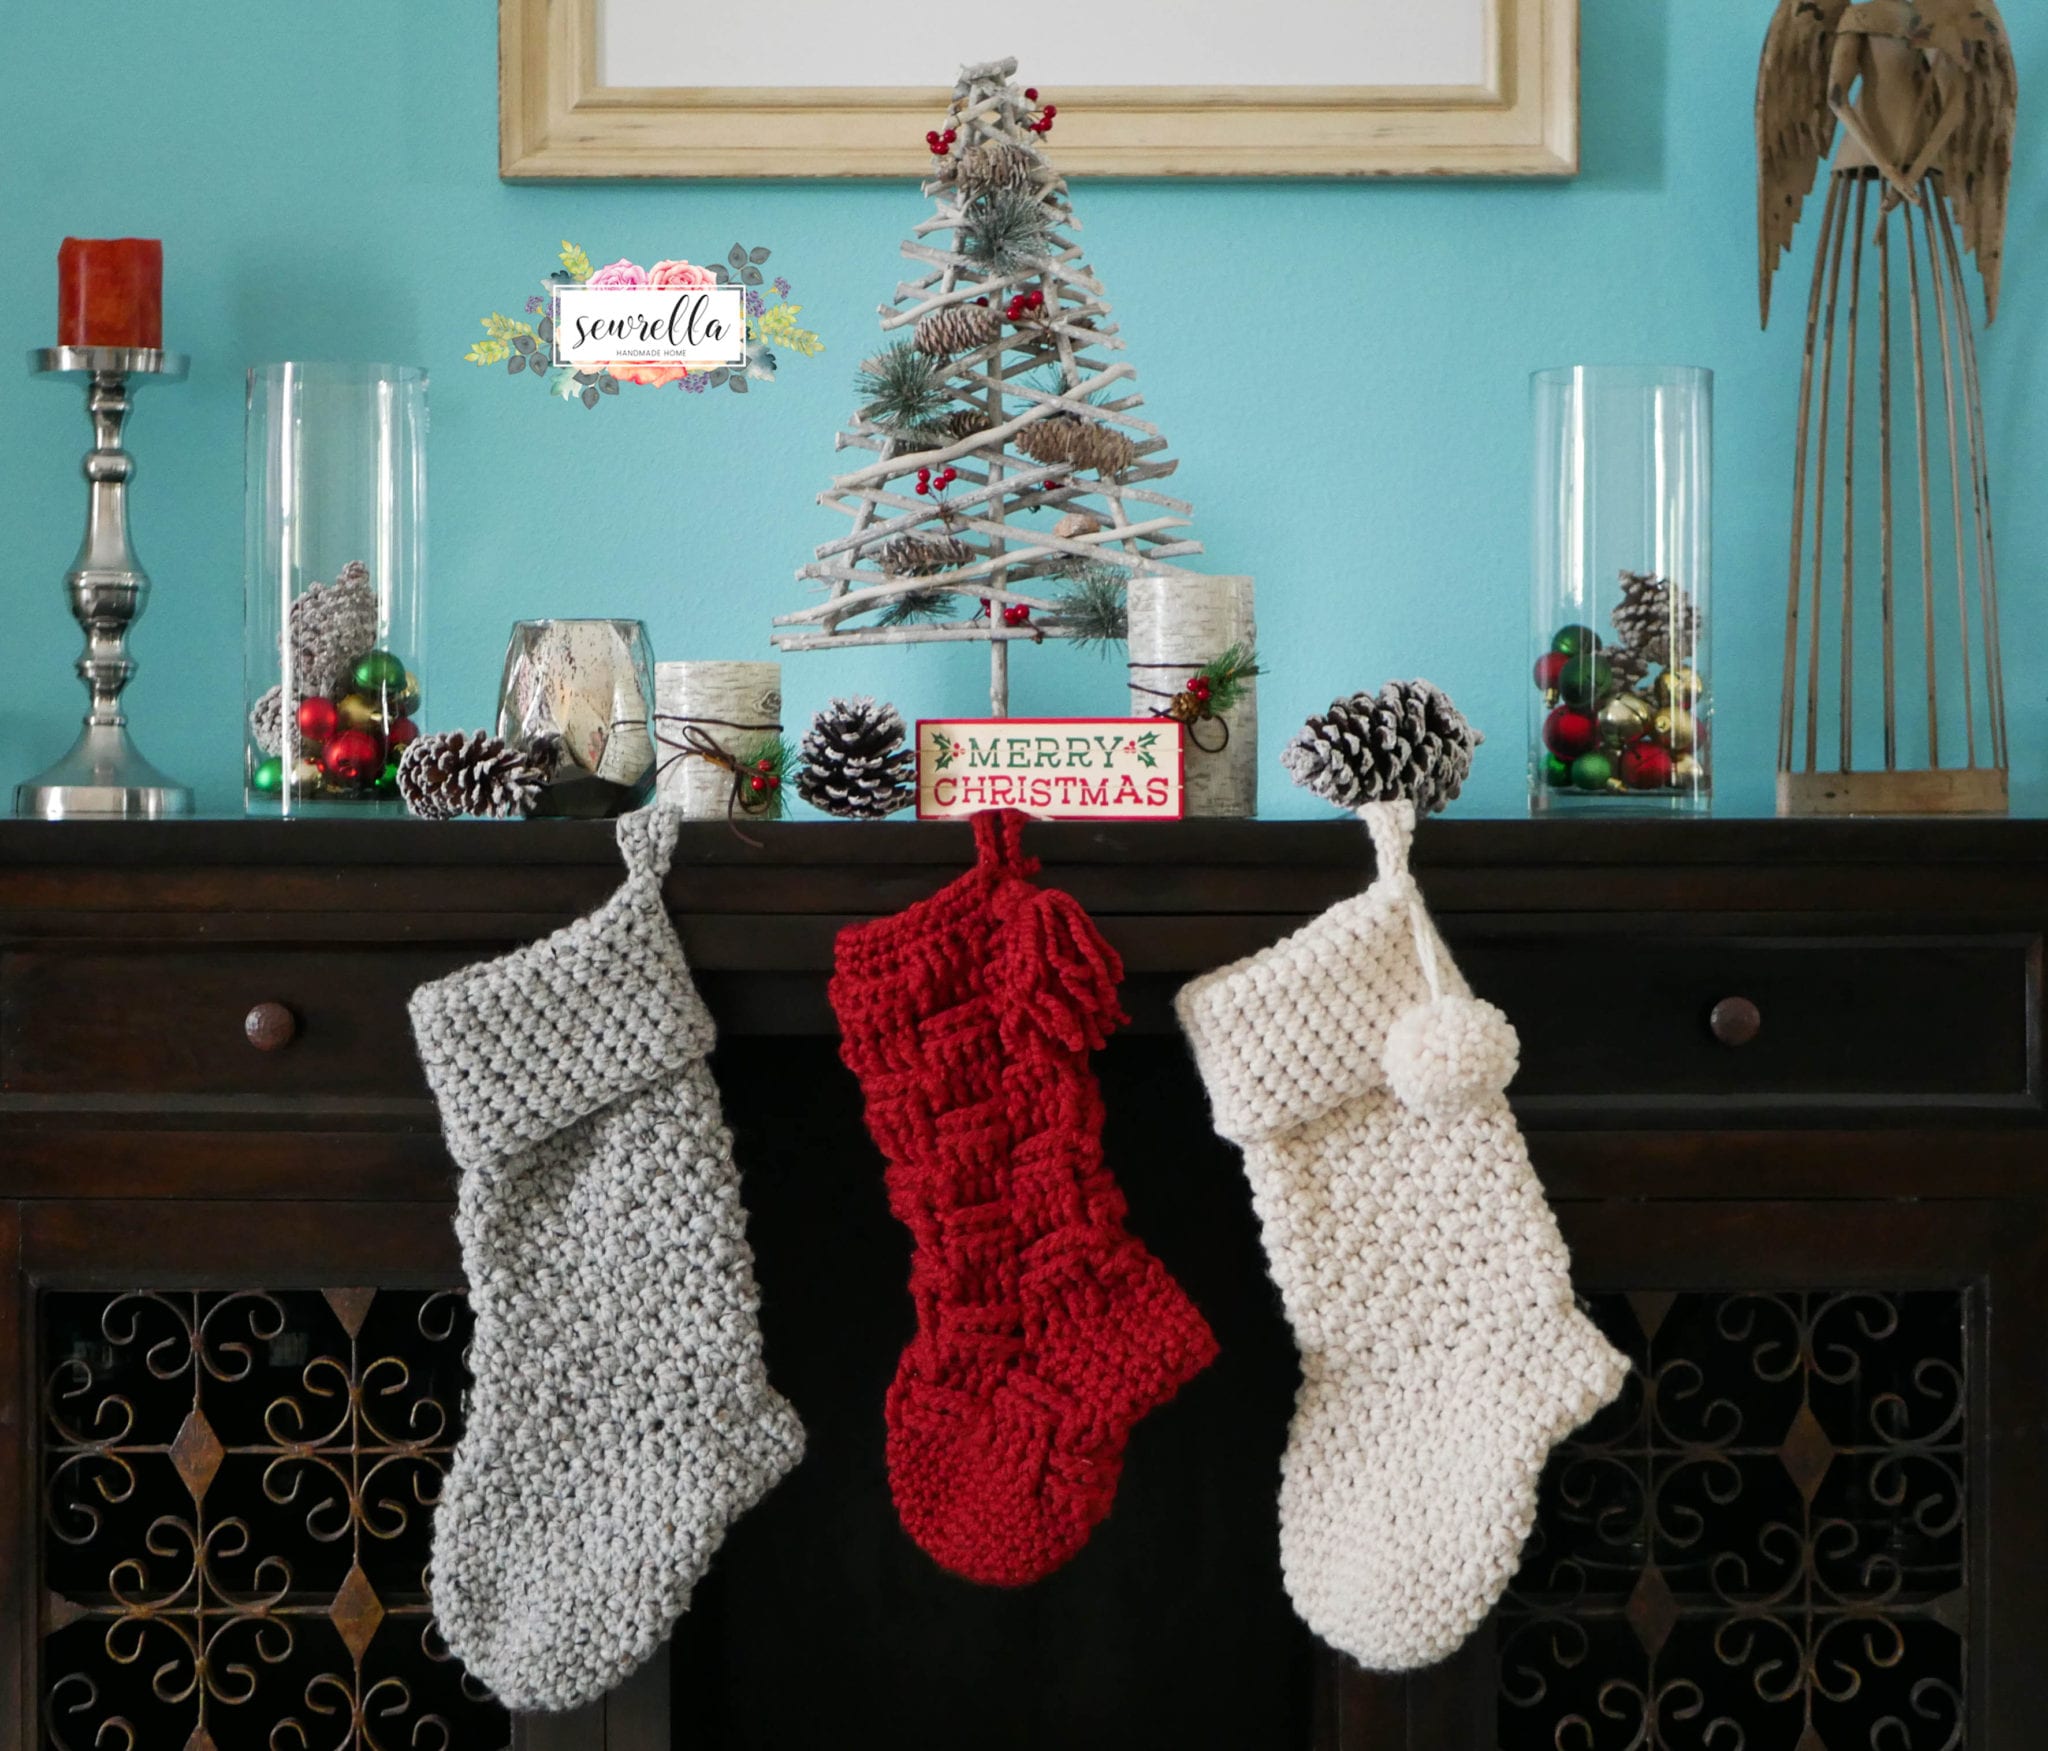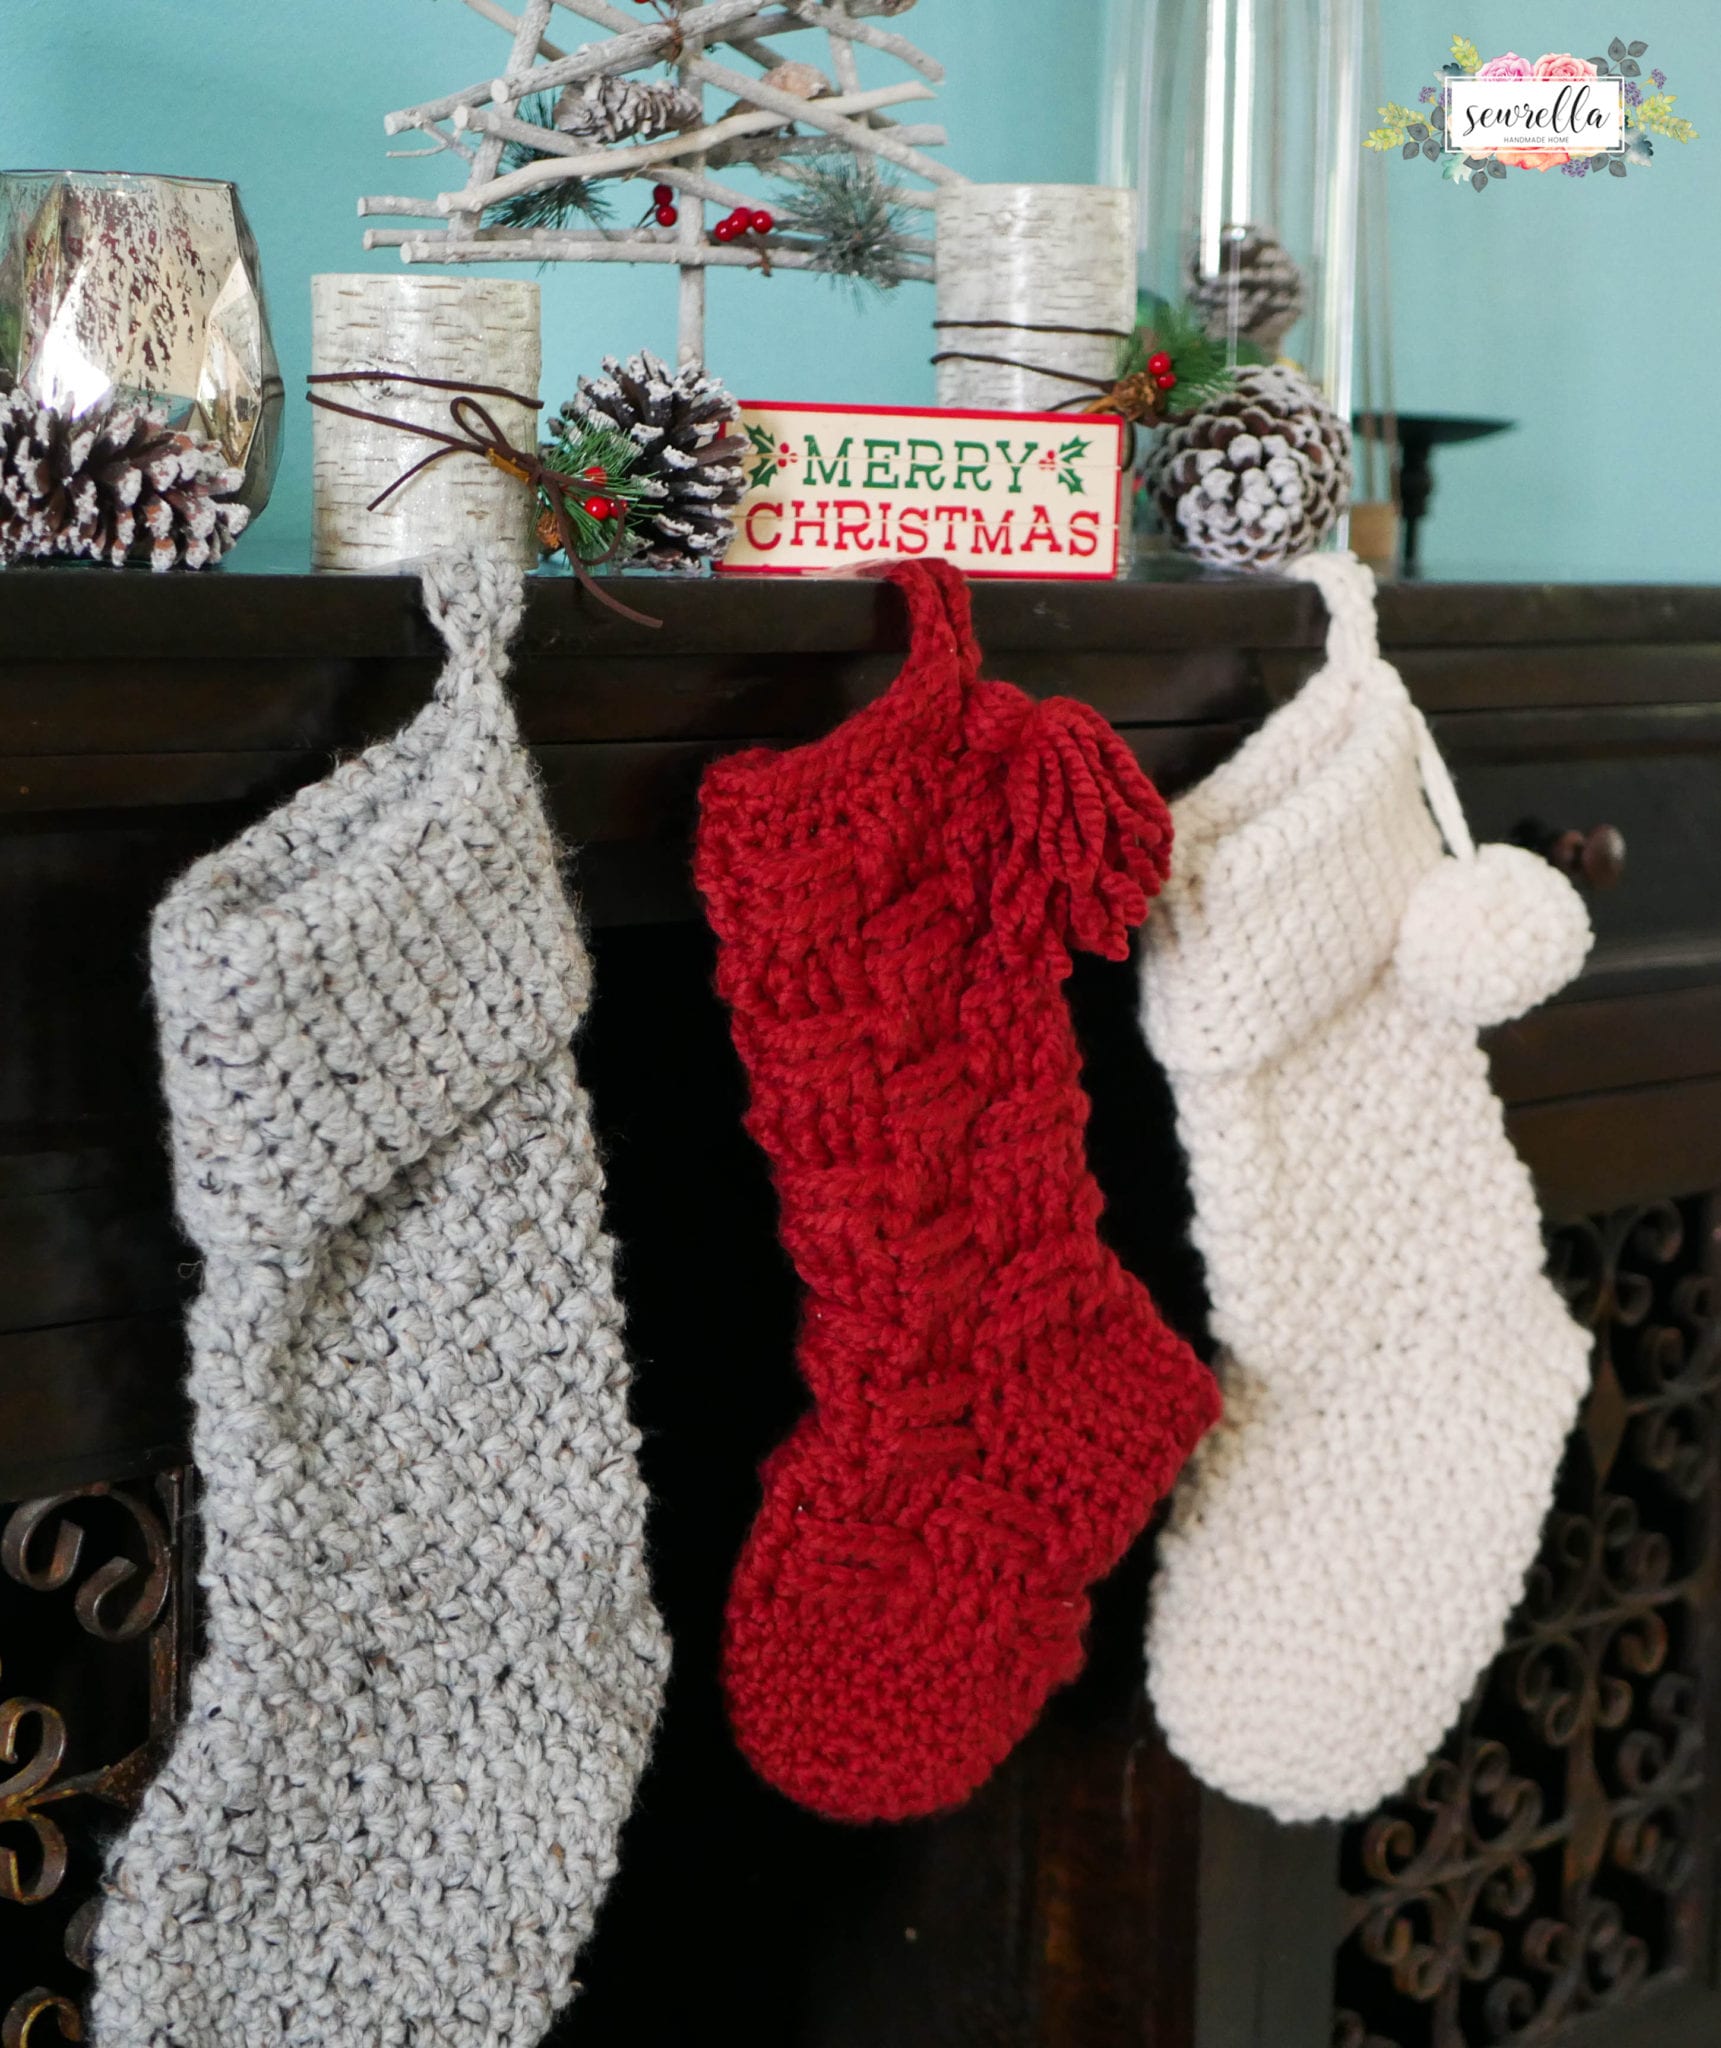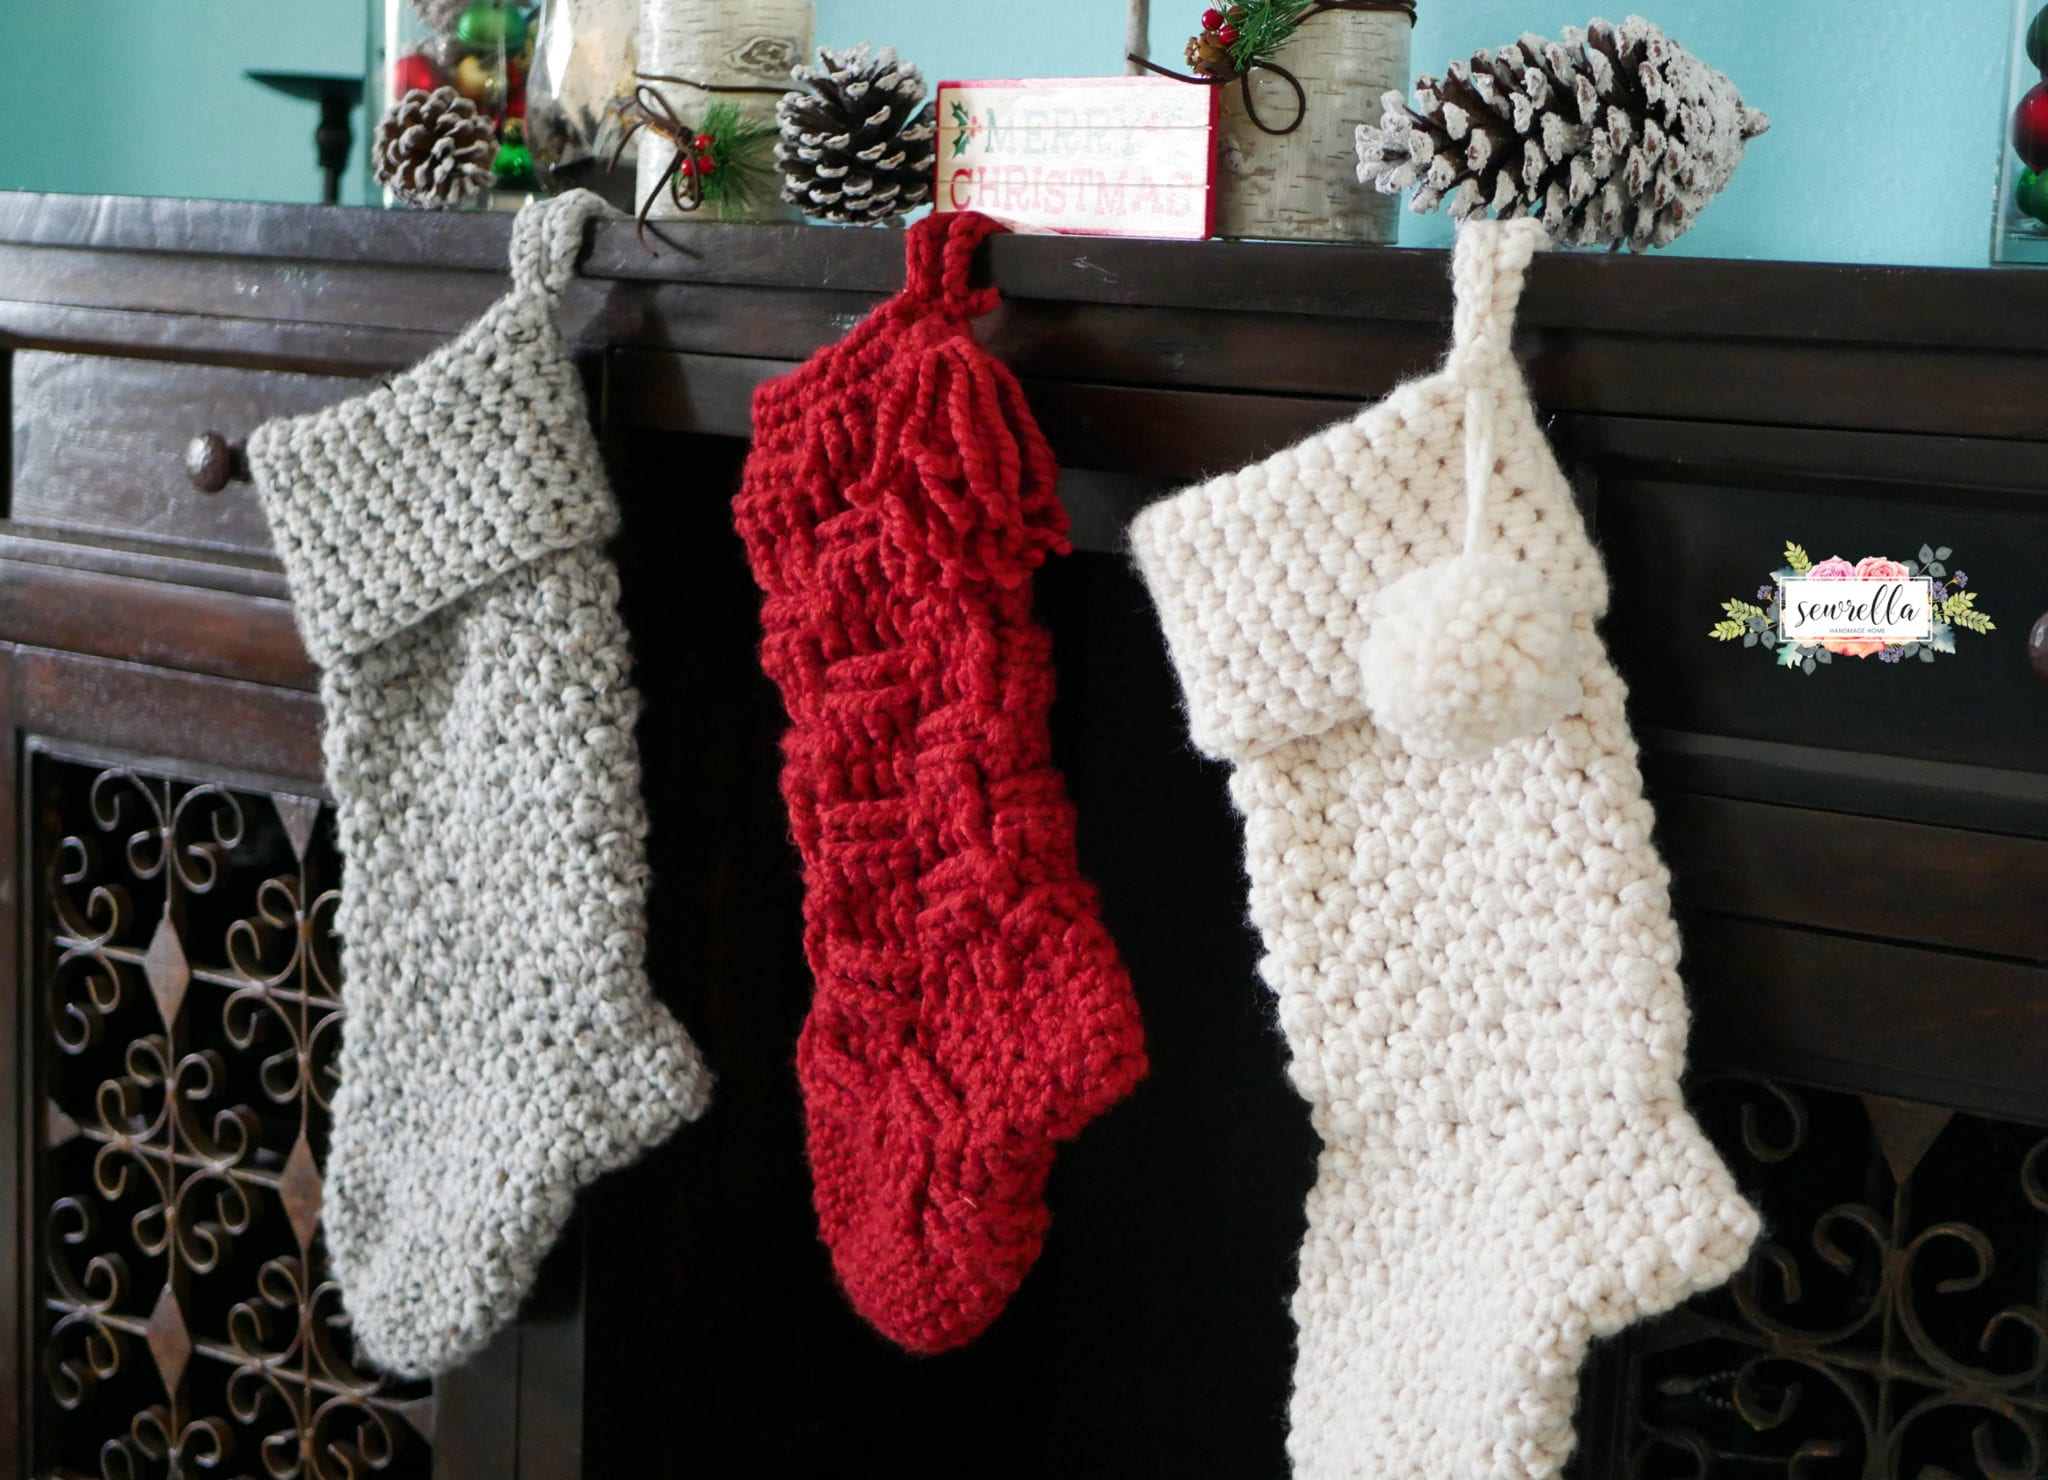
This beginner-friendly pattern is just begging to be made!
Make these stockings with just one skein of Lion Brand Wool-Ease Thick & Quick Bonus Bundle (with some leftover to make some cup cozies!).
These stockings are jumbo in size, thanks in part to the extra squishy/cuddly/warm nature of the Wool-Ease Thick & Quick. And you know I love some extra squishy yarn.
Who doesn’t like extra squishy yarn?? Nobody. That’s who.

These stockings use simple stitches like single and double crochets and work up in about 2 hours. And that’s if you take your sweet time watching Grey’s Anatomy like I did.
I have not one but TWO stocking designs for you. Because I love ya.

One is a griddle stitch with yummy texture (the white and grey marble ones pictured!).
And for this one there is a VIDEO TUTORIAL that I made with Lion Brand to teach you all the ins & outs of this here stocking. Yeehaw!
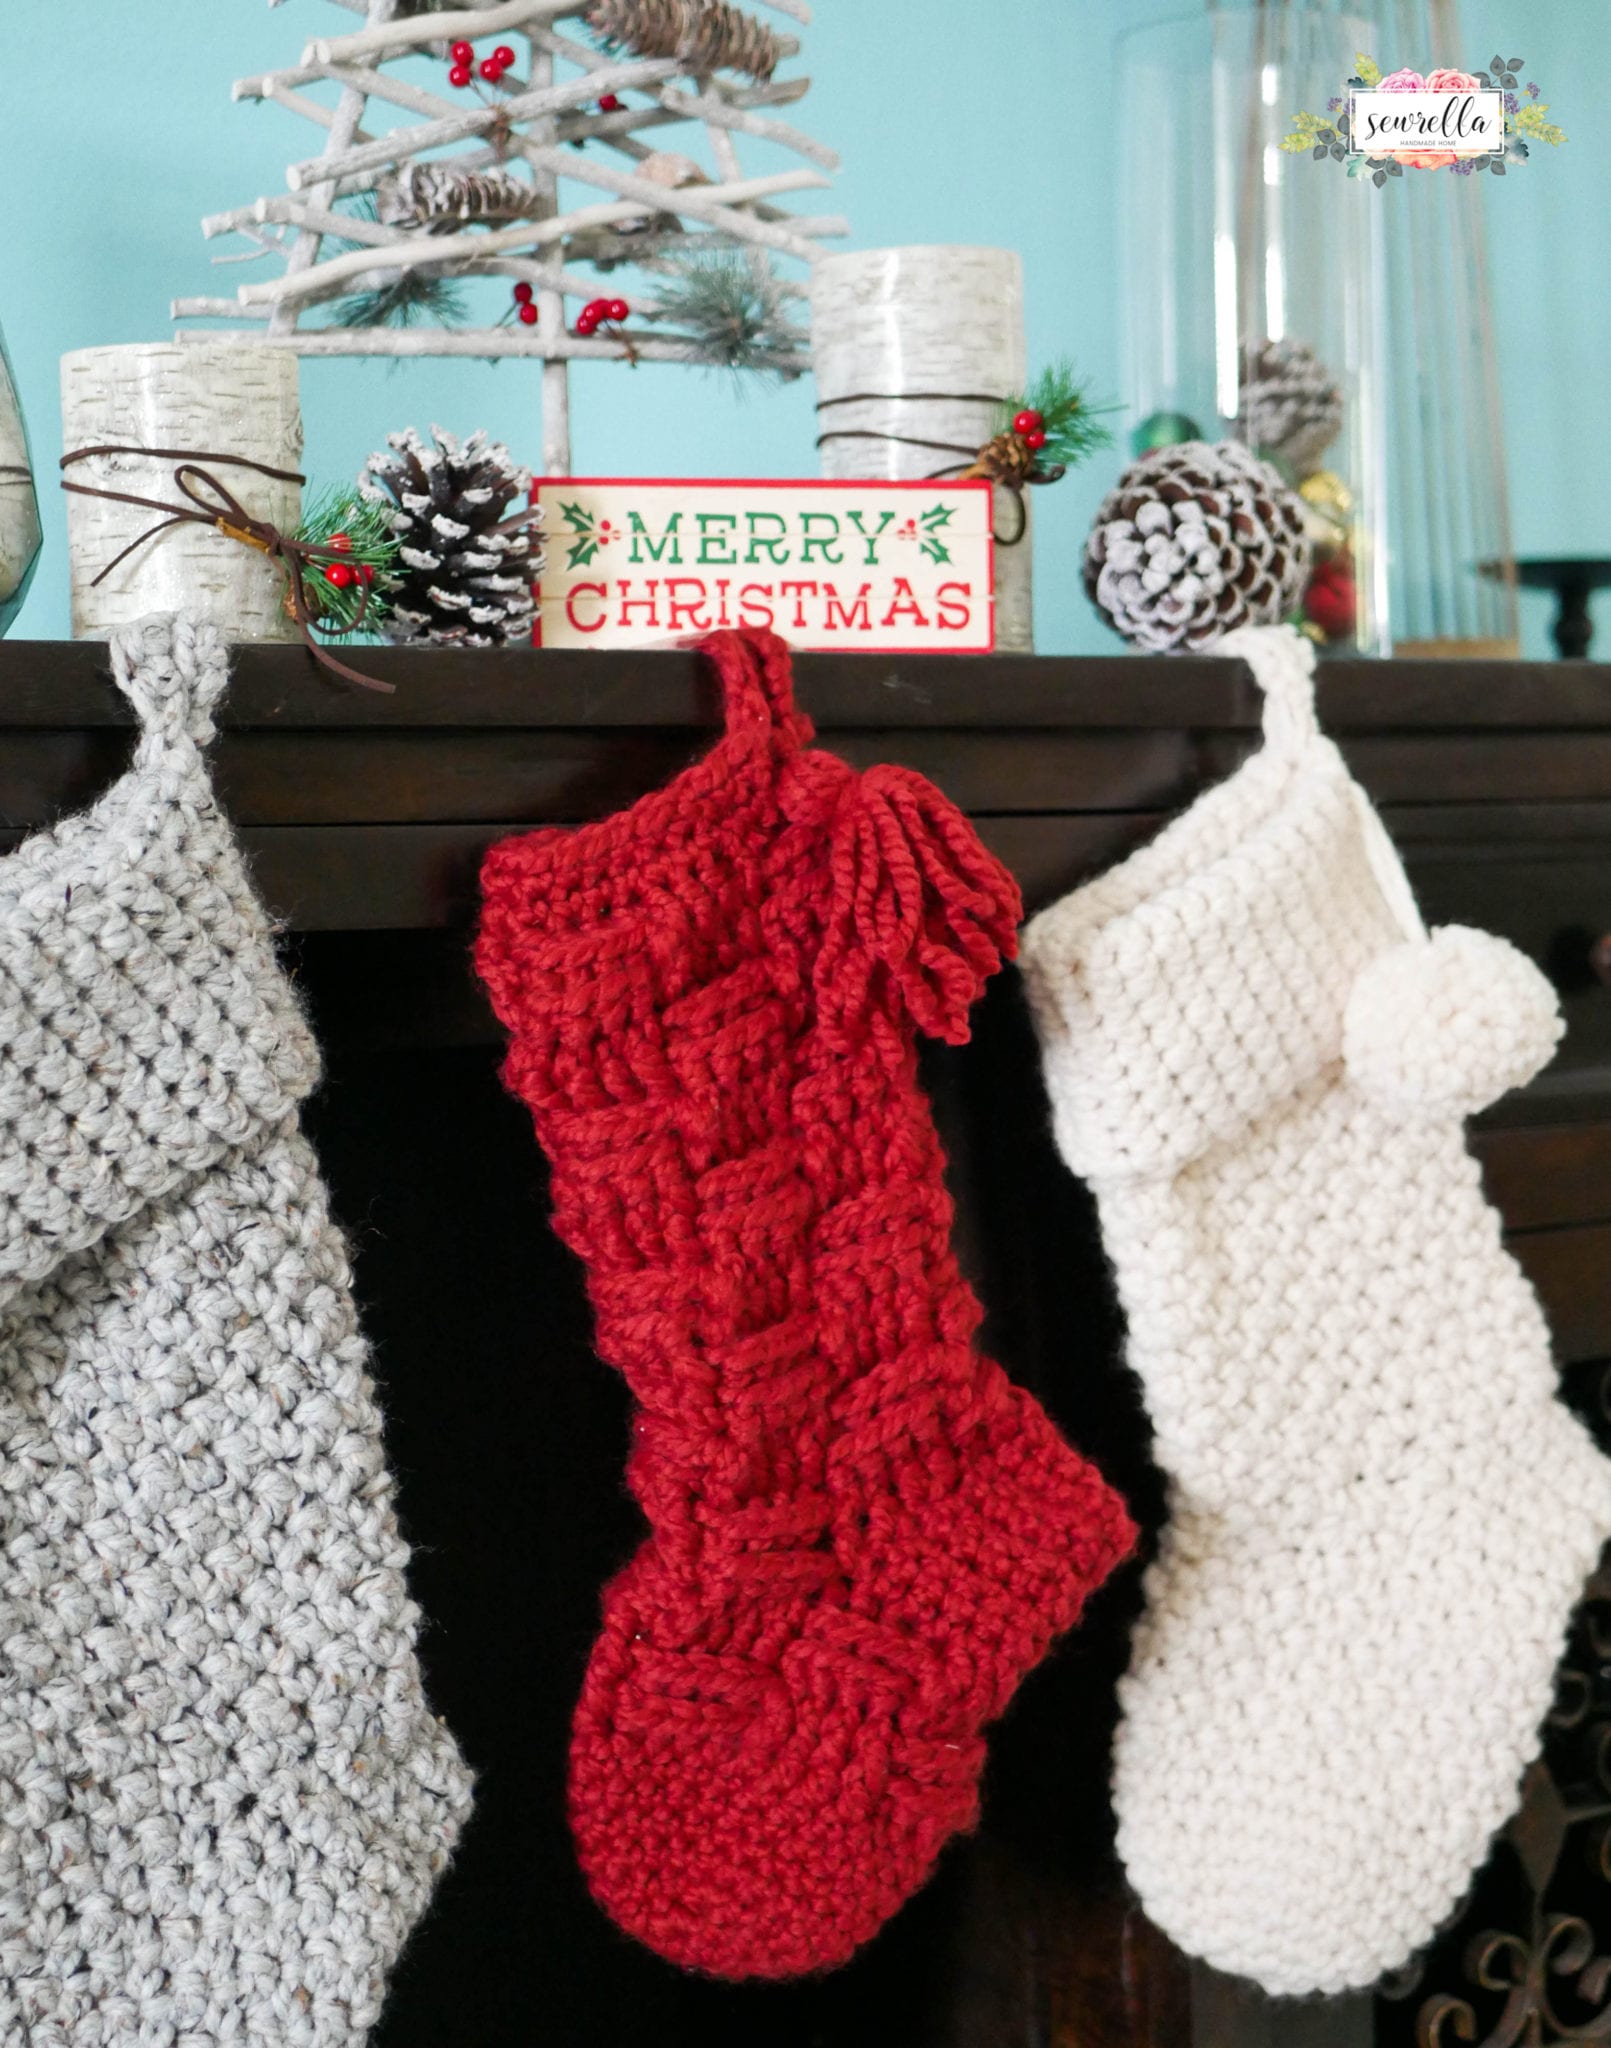
The other (the red one) is a basketweave stitch stocking and is so much fun.
Talk about TEXTURE. This one’s got loads of it. It is barely smaller than the griddle and is the perfect thing for my son’s first Christmas. Oh, my momma heart.


Get both patterns below, or grab the yarn & pattern KIT from LionBrand.com! They’ve got a wicked deal going on and I’m so glad to bring it to all you lovely readers.
PATTERN
- PIN this pattern to your Pinterest boards for later HERE.
Materials:
– One Skein Lion Brand Wool-Ease Thick & Quick Bonus Bundle (I used grey marble, russet, and fisherman)
– Size N/P 10mm crochet hook
– Jumbo tapestry needle
– Clover tassel maker or pom pom maker (optional)
Griddle Stitch Stocking:
*Don’t join rounds
Begin with a magic ring, Ch 1, 6 Sc inside ring (6)
Round 2: 2 Sc in each around (12)
Round 3: 2 Sc, Sc, repeat around (18)
Round 4: 2 Sc, Sc next 2, repeat around (24)
Rounds 5-8: Sc in each around (24)
Rounds 9-15: Sc, Dc, repeat around (24)
Round 16: Sc in next 12 only, Ch 1, turn (12)
Rounds 17-22: Sc in each across, Ch 1, turn (12)
– Finish off yarn and sew up the heel (see video linked above!)
– Join yarn to corner next to the heel
Round 23: Sc along the rough edge of the heel working 6 Sc on each side of the heel, Sc, Dc, repeat around the other 12 sts opposite the heel (24)
Rounds 24-35: Sc, Dc, repeat around (24)
Rounds 36-48: Sc in each around (24)
– Finish off yarn and weave ends.
– Fold over cuff (fold at Round 35)
Hanging loop:
– Join yarn to corner above the heel
Ch 8, sl st into the same st your yarn is joined to, Ch 1, turn
8 Sc in Ch loop, Sl st into the same st your yarn was joined to, finish off, weave ends
Optional: Add a tassel or pom pom. You could even embroider initials or a name to this stocking!
Basketweave Stocking:
*Don’t join rounds
Begin with a magic ring, Ch 1, 6 Sc inside ring (6)
Round 2: 2 Sc in each around (12)
Round 3: 2 Sc, Sc, repeat around (18)
Round 4: 2 Sc, Sc next 2, repeat around (24)
Rounds 5-8: Sc in each around (24)
Round 9: Dc in each around (24)
– Begin basketweave st –
Round 10: FpDc in next 4, BpDc in next 4, repeat around (24)
Round 11: Repeat Round 10
Round 12: BpDc in next 4, FpDc in next 4, repeat around (24)
Round 13: Repeat Round 12
Round 14: Sc in next 12, Ch 1, turn (12)
Rounds 15-20: Sc in each across, Ch 1, turn (12)
– Finish off yarn and sew up the heel (see video linked above!)
– Join yarn to corner next to the heel
Round 21: Dc along the rough edge of the heel working 6 Dc on each side of the heel, BpDc next 4, FpDc next 4, repeat around the other 12 sts opposite the heel (24)
Round 22: Repeat Round 12
Round 23: Repeat Round 10
Round 24: Repeat Round 10
Round 25: Repeat Round 12
Round 26: Repeat Round 12
Round 27: Repeat Round 10
Round 28: Repeat Round 10
Round 29: Repeat Round 12
Round 30: Repeat Round 12
Round 31: Repeat Round 10
Round 32: Repeat Round 10
Round 33: Repeat Round 12
Round 34: Repeat Round 12
Round 35: Repeat Round 10
Round 36: Repeat Round 10
Round 37: Sc in each around, at the edge of the stocking (over heel) Ch 8, Sc into same st to form a loop, continue Sc around (24)
Round 38: Sc around, work 8 Sc in Ch loop space, continue Sc around, finish off and weave ends (32)
Optional: Add a tassel or pom pom. You could even embroider initials or a name to this stocking!
Don’t forget to PIN this project to your Pinterest boards!
These stockings are adorable!