We are down to our last 3 ornaments of the Christmas Traditions Crochet-a-Long!
I’m excited to see this biopic of a project wrapping up, but a little sad to see what has been my favorite project to date coming to a close.
I won’t stay sad too long, because I will have 25 beautiful handmade ornaments to admire!
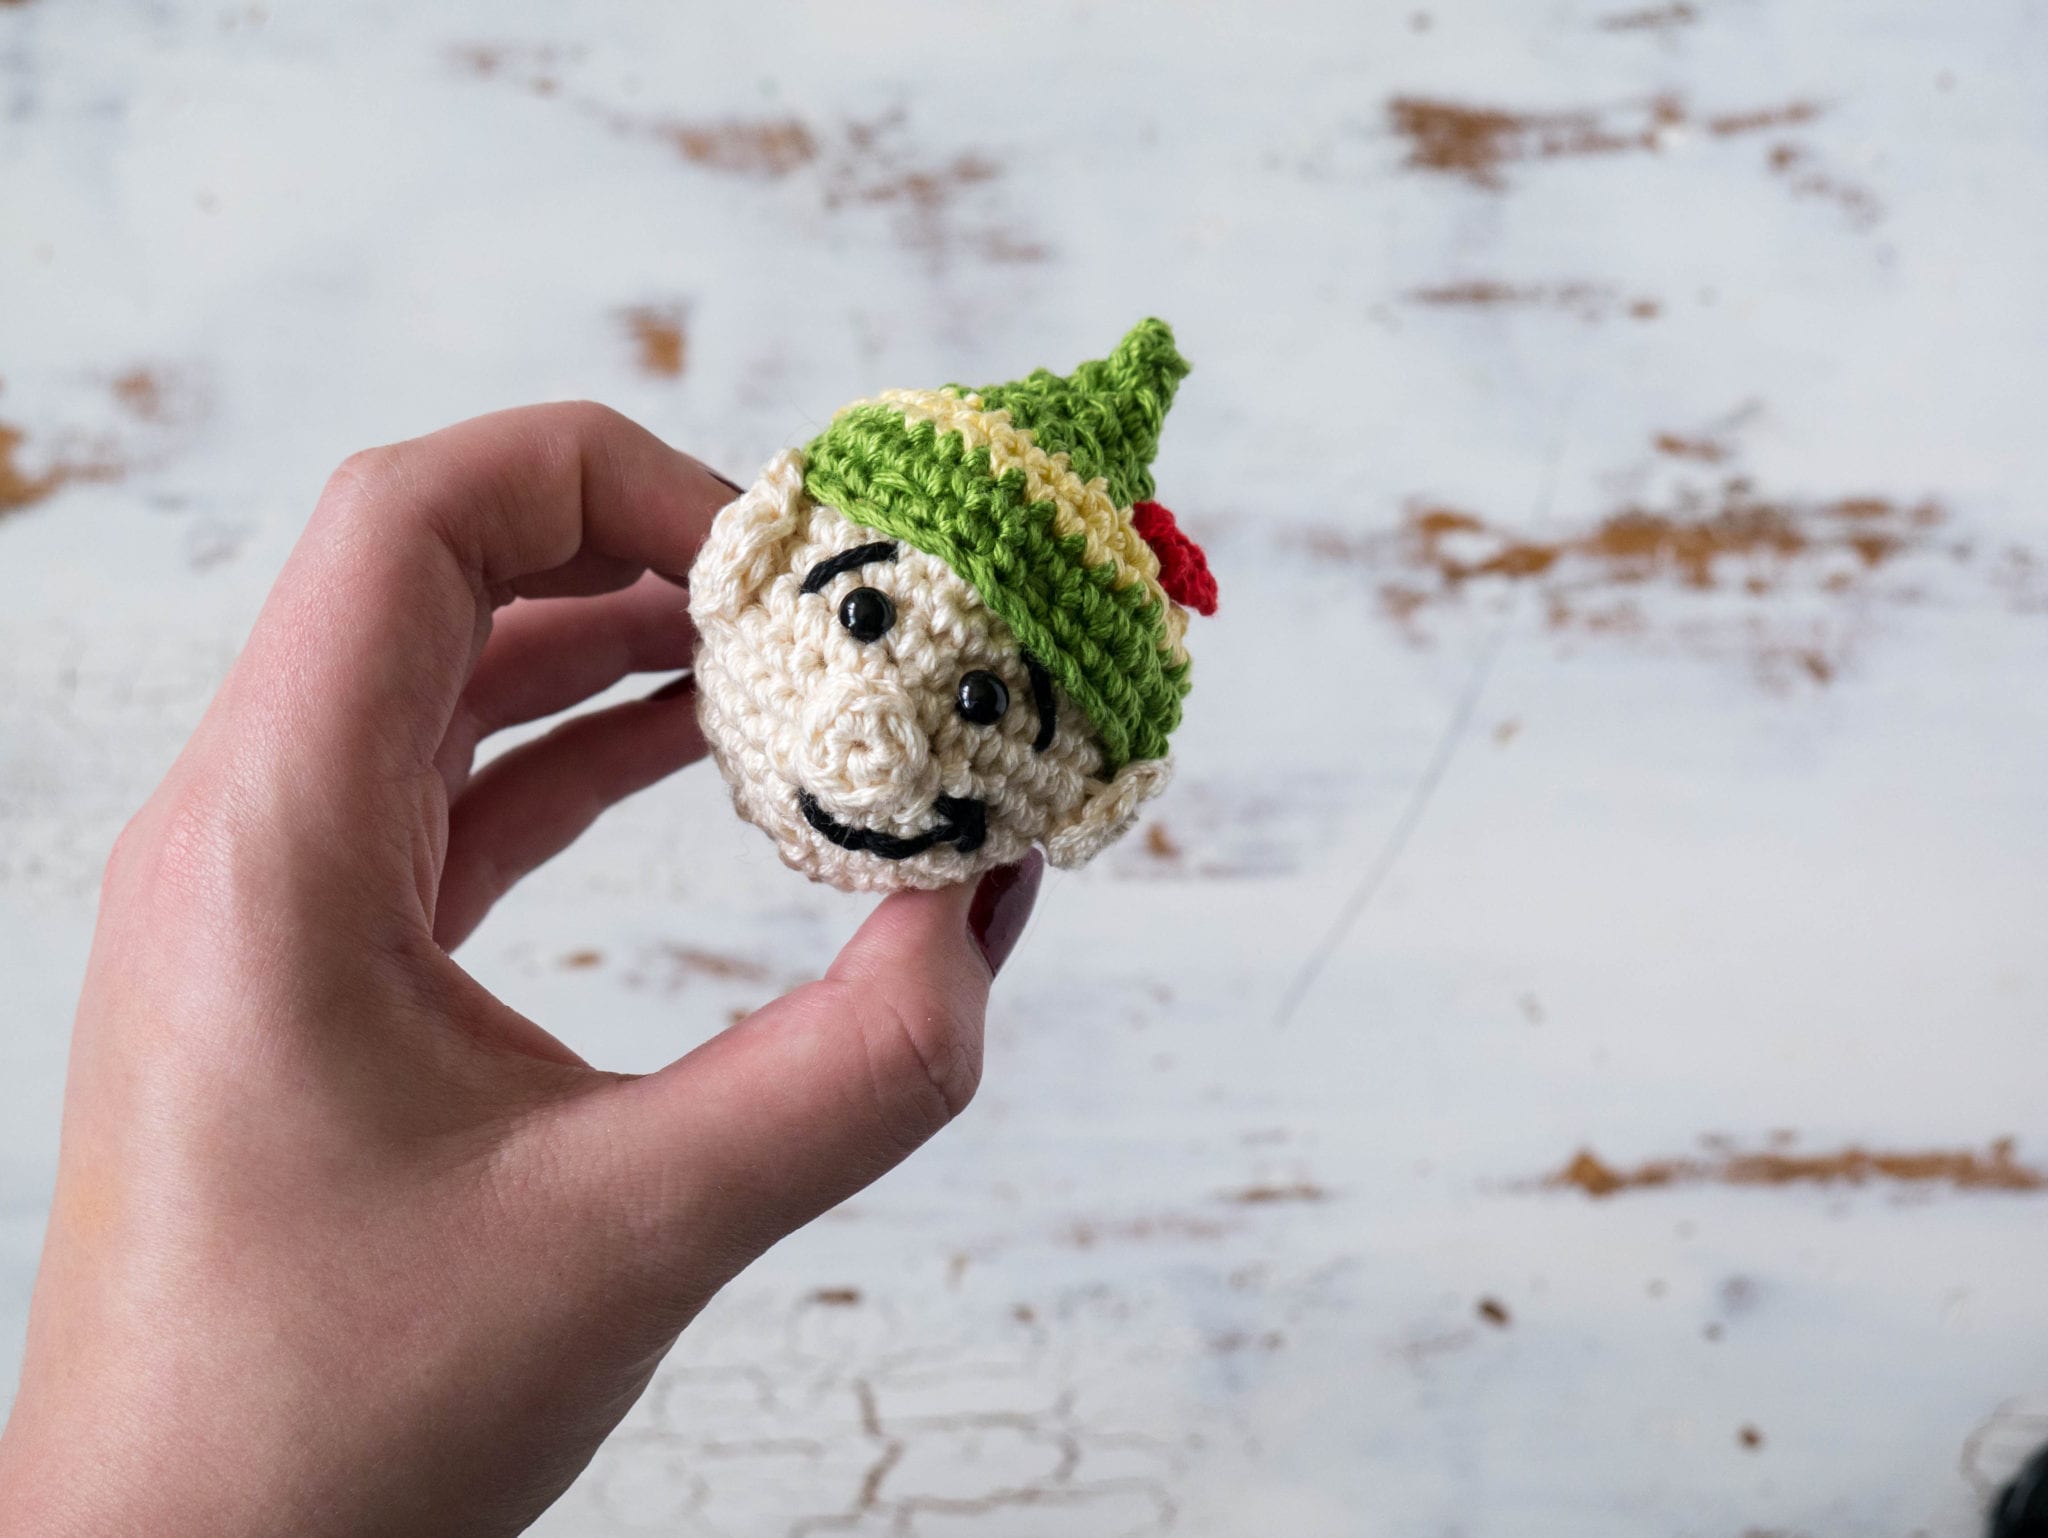
Today’s ornament is a cute little elf inspired by (you guessed it) the movie Elf!
I’m not a huge fan of Will Farrell (sorry, Will, if you’re reading this) and didn’t really model the elf after him.
Elf is really the only Farrell movie I like – and I think that’s because he had to seriously reign himself in to make a kid’s film.
I did totally steal the hat design and color scheme though – I admit to that!
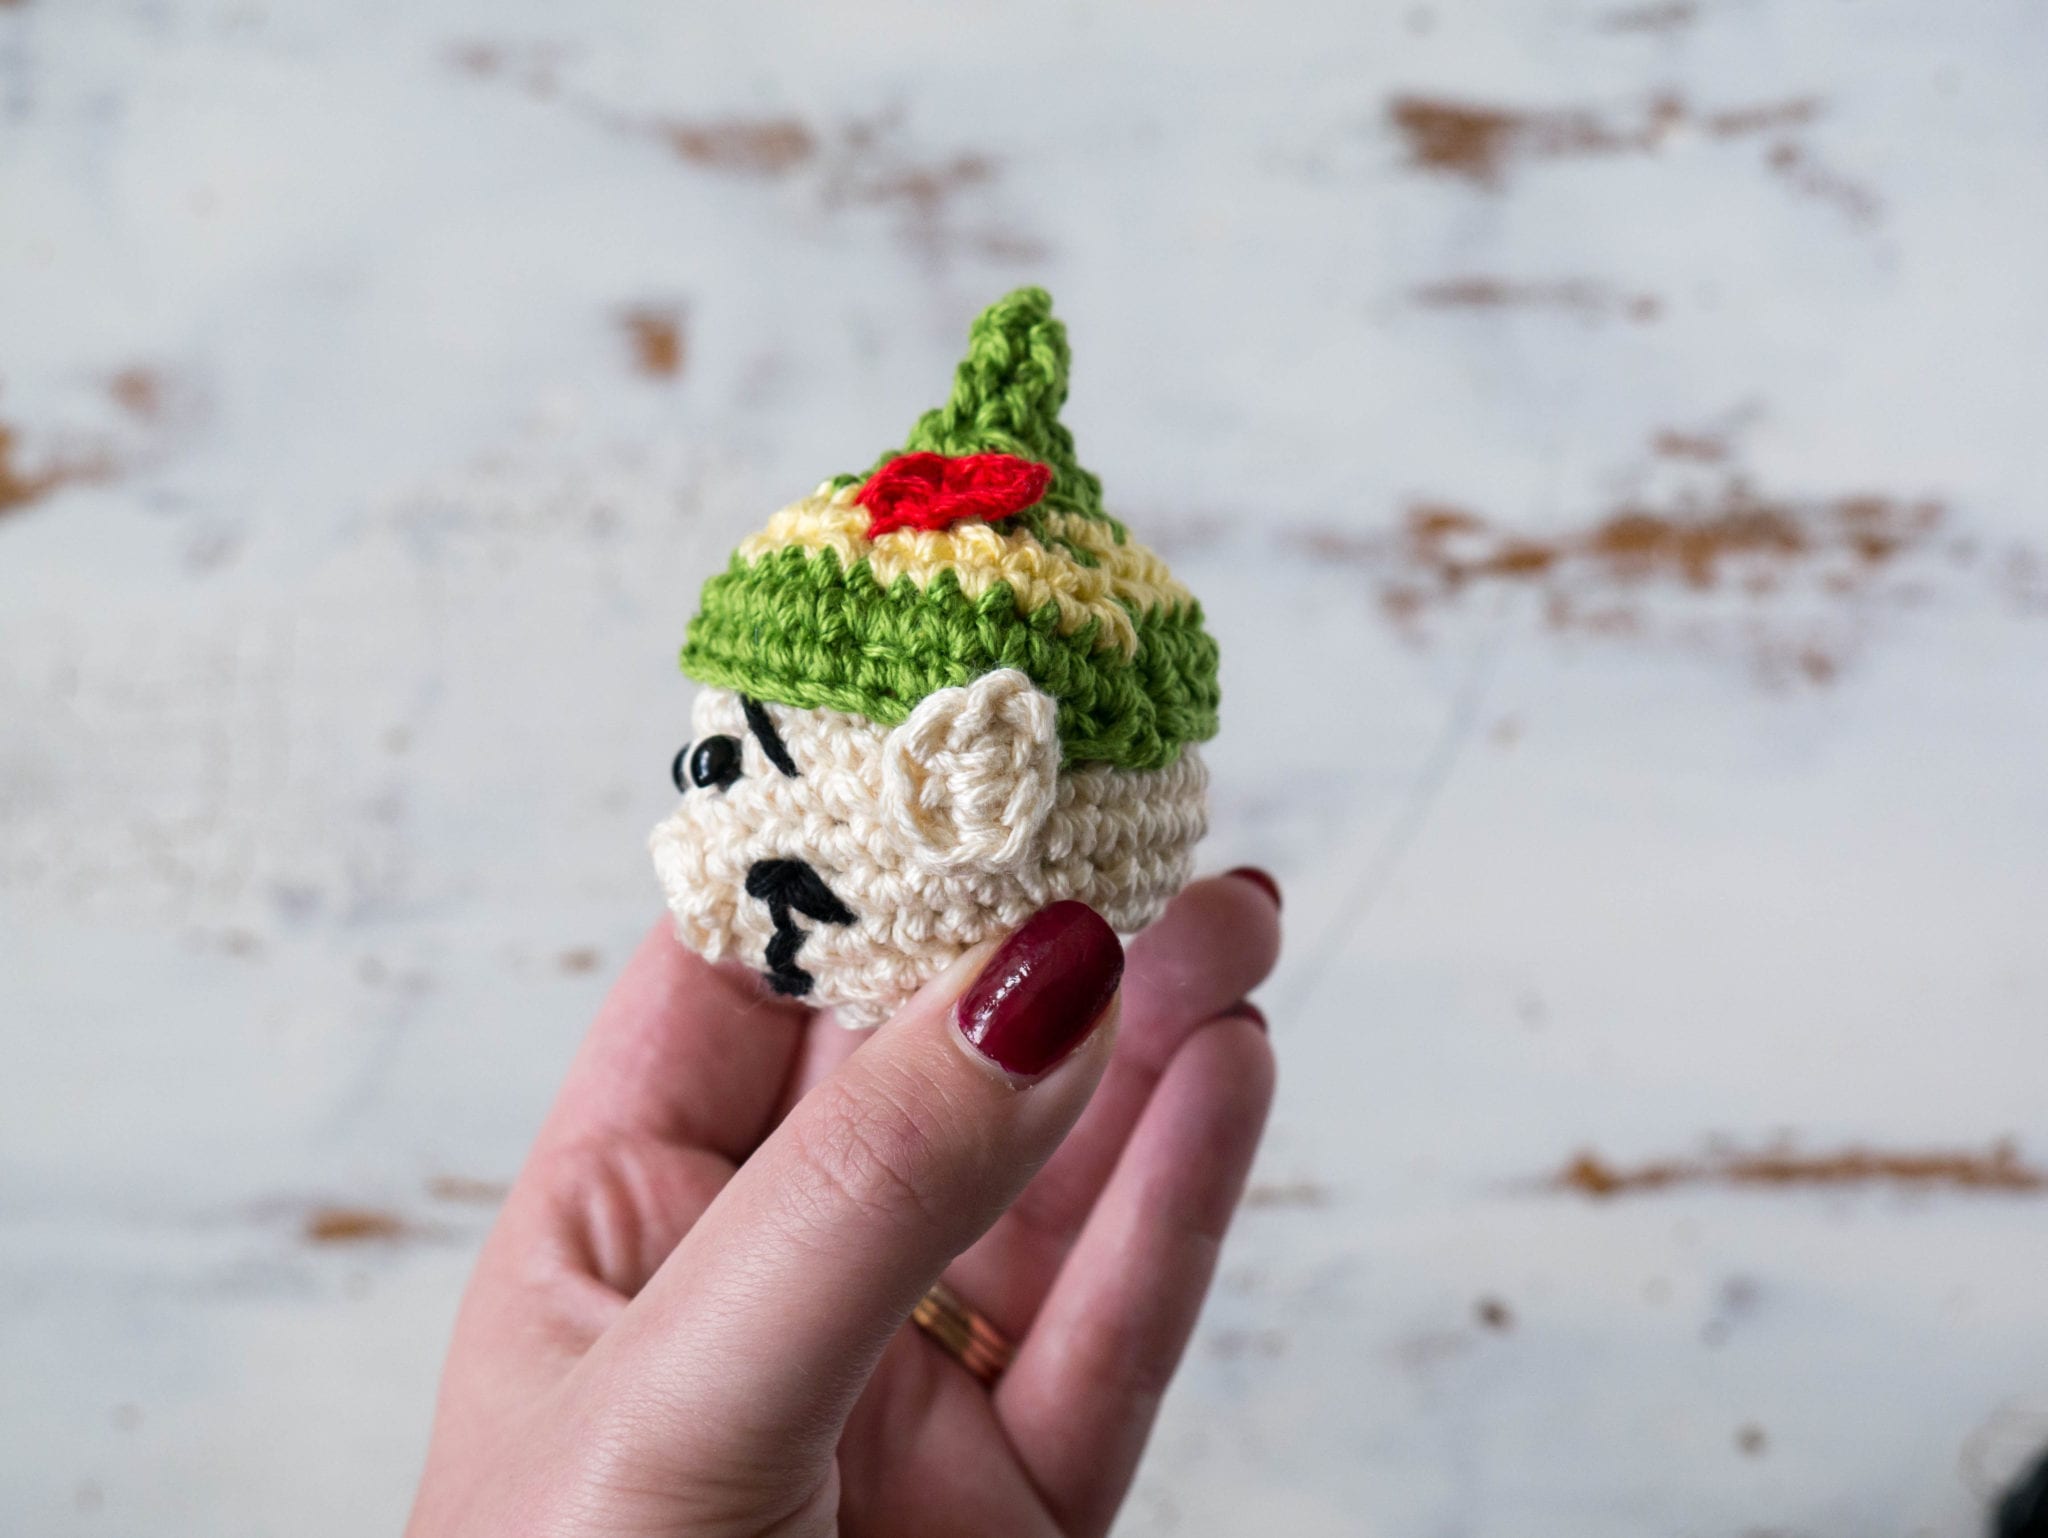
My little elf has a sweet smile and even tiny pointed elf ears!
This little guy is my favorite yet.

THE TRADITION: ‘Elf’ your friends or family! You may have read all about Elfing earlier this week on my Crochet Elfing Holiday Gift Basket post.
If not, basically Elfing is the act of anonymously giving a basket of goodies to an unsuspecting friend or family member! Leave it on their front porch, on their desk while they’re at lunch, or anywhere else.
I’ll be Elfing my sister and her kids with a basket full of candy, stickers, a cute toy polar bear, and other goodies. I’ll leave it on their porch, ring the bell, and run away!
Surprising people with an unexpected treat is my favorite thing to do year round. Remind those around you that you’re thinking of them and that you love them!
And of course, that evening we will be watching Elf with big bowls of popcorn!
PATTERN
CLICK HERE for the ad-free, large print, downloadable PDF for $1.99!
Materials:
-Lion Brand 24/7 Cotton in ecru, grass, yellow, black, and red
-Size C crochet hook
-Safety eyes
-Polyfil stuffing
-Tapestry needle
Head:
With ecru, make a magic ring, Ch 1, 6 Sc inside ring (6)
Round 2: 2 Sc in each around (12)
Round 3: 2 Sc, Sc, repeat around (18)
Round 4: 2 Sc, Sc in next 2, repeat around (24)
Round 5: 2 Sc, Sc in next 5, repeat around (28)
Rounds 6-11: Sc in each around (28)
Round 12: Sc decrease, Sc in next 5, repeat around (24)
Round 13: Sc decrease, Sc in next 2, repeat around (18)
-At this point proceed with the hat, ears, and stitching (below)
-Once those steps are completed, stuff with polyfil and continue
Round 14: Sc decrease, Sc, repeat around (12)
Round 15: Sc decrease, repeat around (6)
-Finish off and weave end through Round 15 sts to cinch closed and secure
Hat:
With grass, Ch 37, sl st into 1st Ch (next to the slip knot) to form a ring, Ch 1
-You will now begin working in the round
Round 2: Sc in each around (36)
-Color change to yellow
Round 3: Sc decrease, Sc in next 4, repeat around (30)
Round 4: Sc decrease, Sc in next 3, repeat around (24)
-Color change to grass
Round 5: Sc decrease, Sc in next 2, repeat around (18)
Round 6: Sc decrease, Sc in next, repeat around (12)
Round 7: Sc decrease, Sc in next, repeat around (8)
Round 8: Sc decrease, Sc in next, repeat around, Sc decrease in last (5)
Round 9: Sc decrease, Sc in next, Sc decrease (3)
-Finish off, weave tail through the stitches in Round 9 to cinch up
Feather:
With red, Ch 5, Sl st in the 3rd Ch from hook, Sc in next, Hdc in last, finish off and sew onto hat over yellow stripe
(I only sewed the feather down on the larger end so that the tip would stick up away from the hat as a real feather on a cap would)
-Sew the hat onto the head
Ears:
*make 2
With ecru, Ch 6, sl st in the 4th Ch from hook, Sc in next, 3 Hdc in last, turn to work back down the other side of the Ch, Sc in next, sl st in point (made by 3 Ch from the beginning)
-Finish off leaving a long tail for sewing
-Sew the ears on the sides of the Elf’s head, where the tip of the ear is sticking out over the hat
Nose:
With ecru, make a magic ring, Ch 1, 6 Sc in ring, sl st to join, finish off leaving a long tail for sewing
-Sew onto head over Rounds 9-10
-Add safety eyes over Round 7 with 2 sts between them
-With black yarn and a tapestry needle, embroider eyebrows over the eyes and a smile below the nose
-Weave all ends and continue with finishing the head (above)
Don’t forget to PIN this project to your Pinterest boards!
Make this cutie and watch out for the last two ornaments next week! (Here’s a tip: they’re both inhabitants of the North Pole too!)


I have a question. If the hat should be sewed on the head at row 9…. how does it fit? The head has 28 stitches around and the hat has 36. Wouldn’t the hat be too big for the head then?
I like the hat a little big because it makes the elf head look even smaller (they’re supposed to be tiny little guys, right?). Also you need plenty of extra room for fitting the hat over the head. When you sew one piece of crochet fabric over another, you want it to lie nicely without having to stretch over the head (like a c=hat on a human head would). Hope this makes sense!
I just finished it. You were right. When I stuffed the head the hat was perfectly sitting on it.
Thank you