Hey y’all!
So there I was yesterday morning, enjoying my hot cup of coffee thinking about how hot it’s been outside here in South Florida lately.
Naturally, I start online shopping for spring-y shoes (because what else do you do when you have a thought like that?). I fell in love with a pair of fabric sandals from Neiman Marcus… until I saw the price tag. $350! For sandals!
I don’t know about you all but that’s not the kind of chump change I carry around in my little ole pocketbook.
There’s probably more like $3.50 in there…
It was then that my wheels started a-turnin’! I’d seen several AMAZING patterns from Jess over at Make & Do Crew that involved some type of crochet shoe with a flip flop sole.
As if Neiman Marcus and Jess aren’t enough inspiration, I also had a pile of this Lion Brand 24/7 Cotton burning a hole in my stash – and it all came to me in a vision.
Crochet… Sandals… Lacy… Summery… Breathable cotton… with little scallop edging… and I could see my new shoes in my mind’s eye!

I abandoned everything on the agenda for the day, sat down to work, and didn’t leave until there was something handmade on my foot. And by golly, they’re cute too.


This pattern fits me at a Size 9-9.5 womens US size. I haven’t made them in other sizes but I’m fairly certain that the pattern as it’s written now will fit any womens US size 6-10.
I do have plans to add to this pattern both kids and plus sizing options in the near future – but I wanted to get what I had out to ya lickity split! So here’s the average woman’s size. Be sure your subscribed to my email newsletter list for updates on sizing!
Here’s the handy video tutorial & pattern, enjoy!

- Get the ad-free, large print, printable PDF pattern HERE.
- Grab the Ultimate Pattern Bundle that includes 150+ patterns just like this one on sale for $20 today HERE.
- PIN this pattern to your Pinterest boards for later HERE.
- Add this pattern to your Ravelry queue HERE.
Materials:
-Lion Brand 24/7 Cotton in Ecru and Cafe Au Lait (1 skein each should make 2 pairs of shoes)
-Sizes D 3.25mm and 2mm crochet hooks
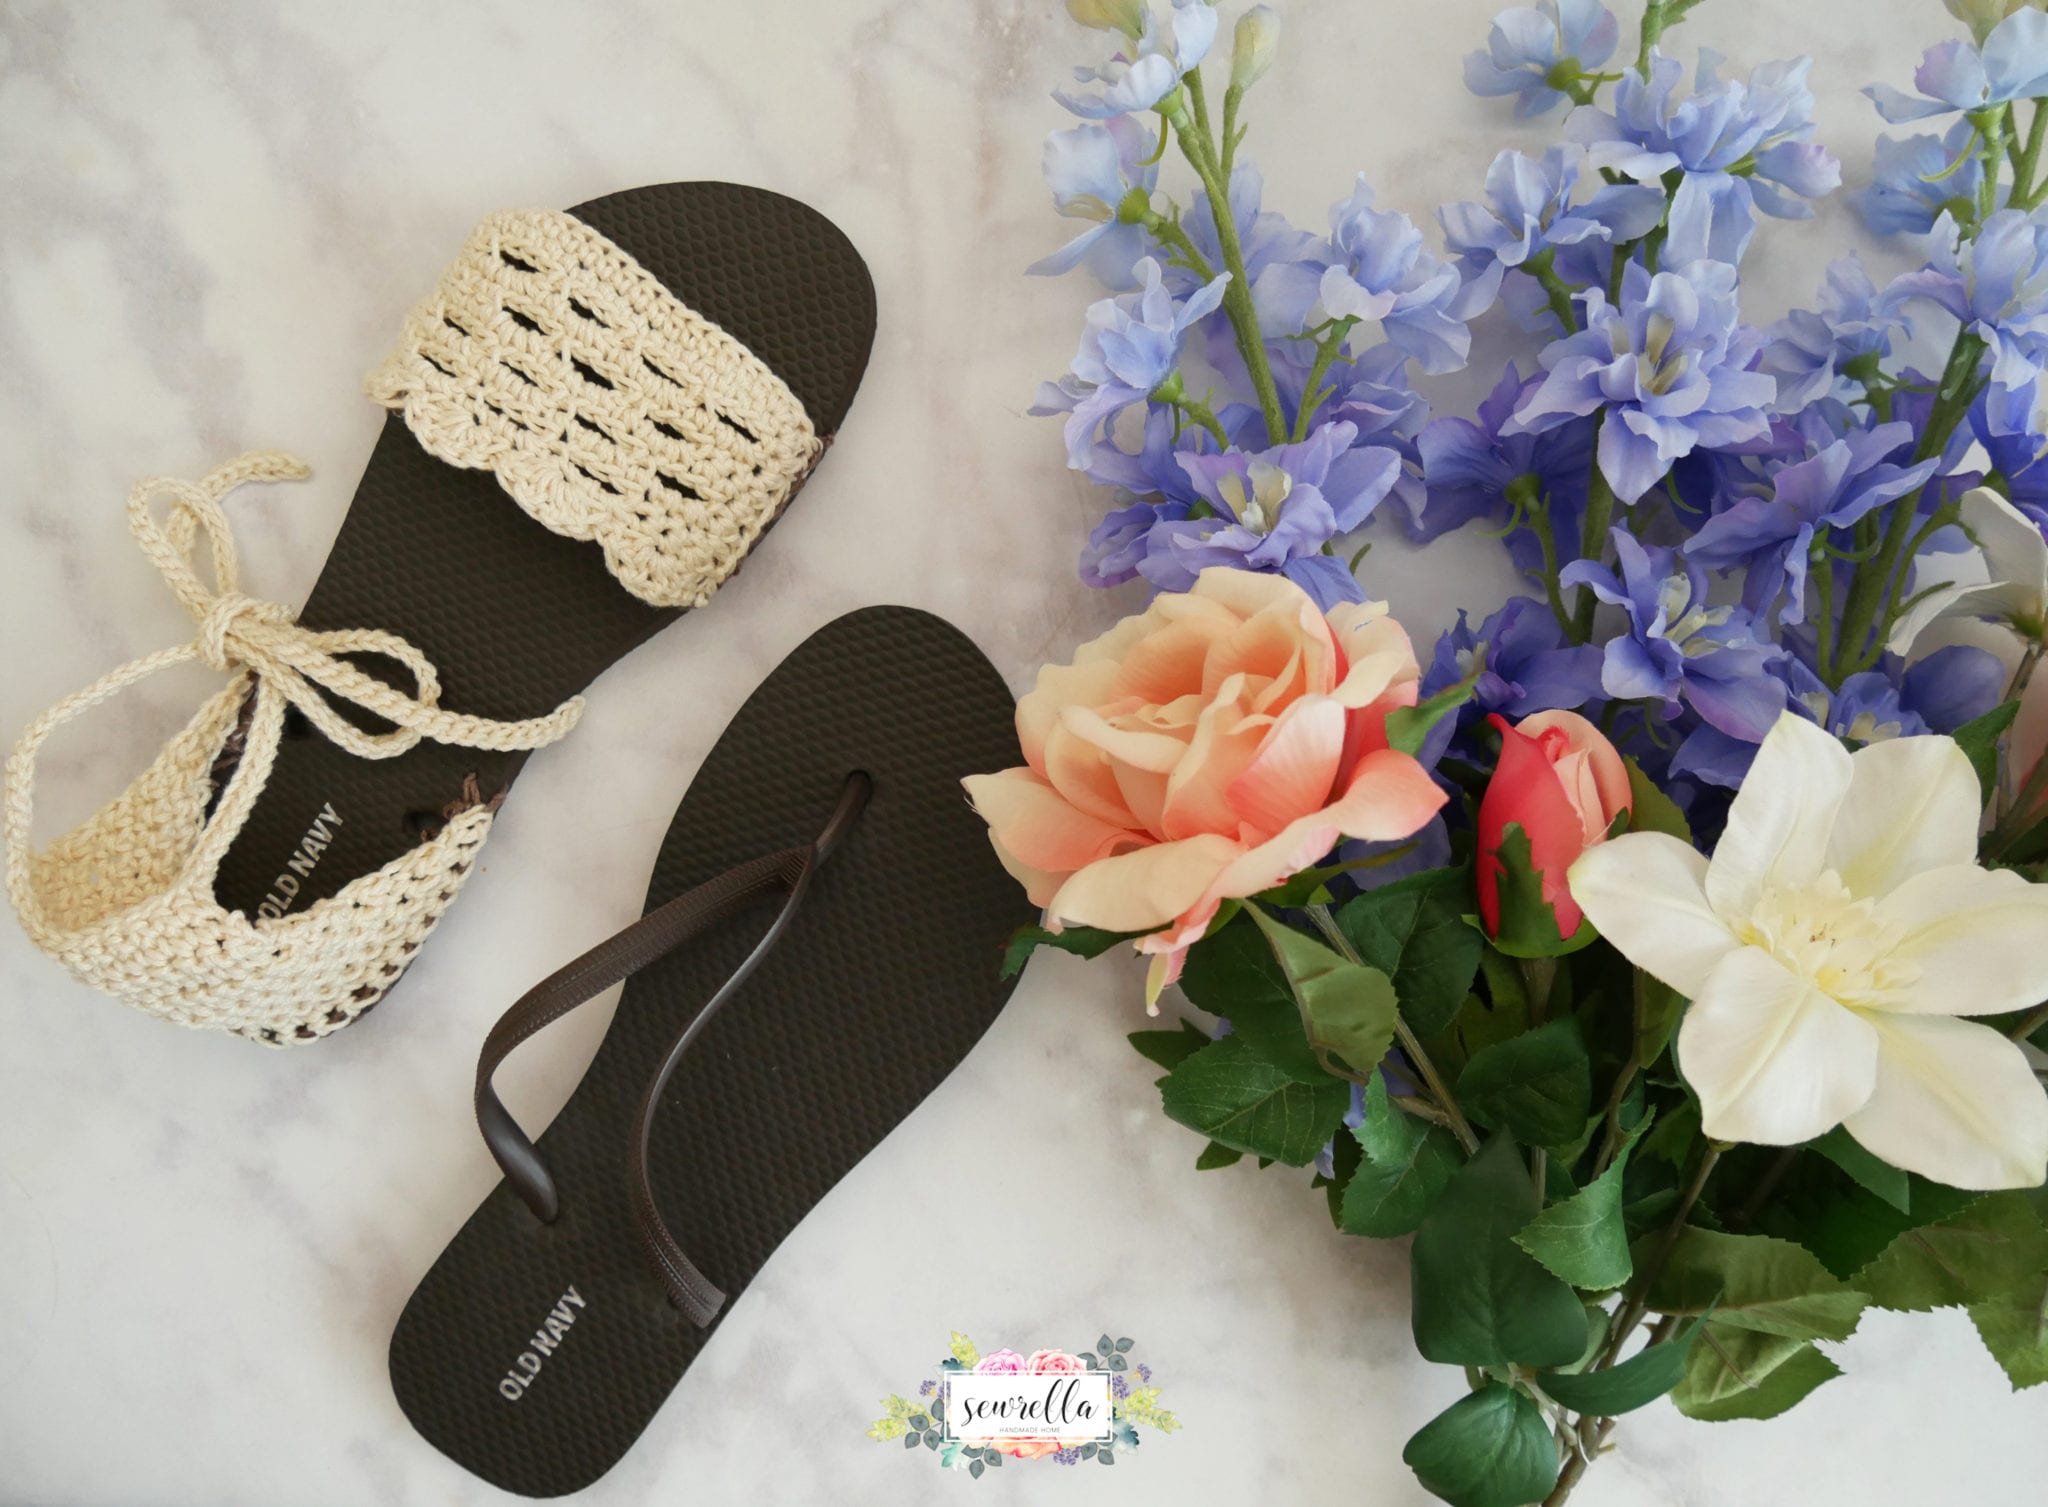
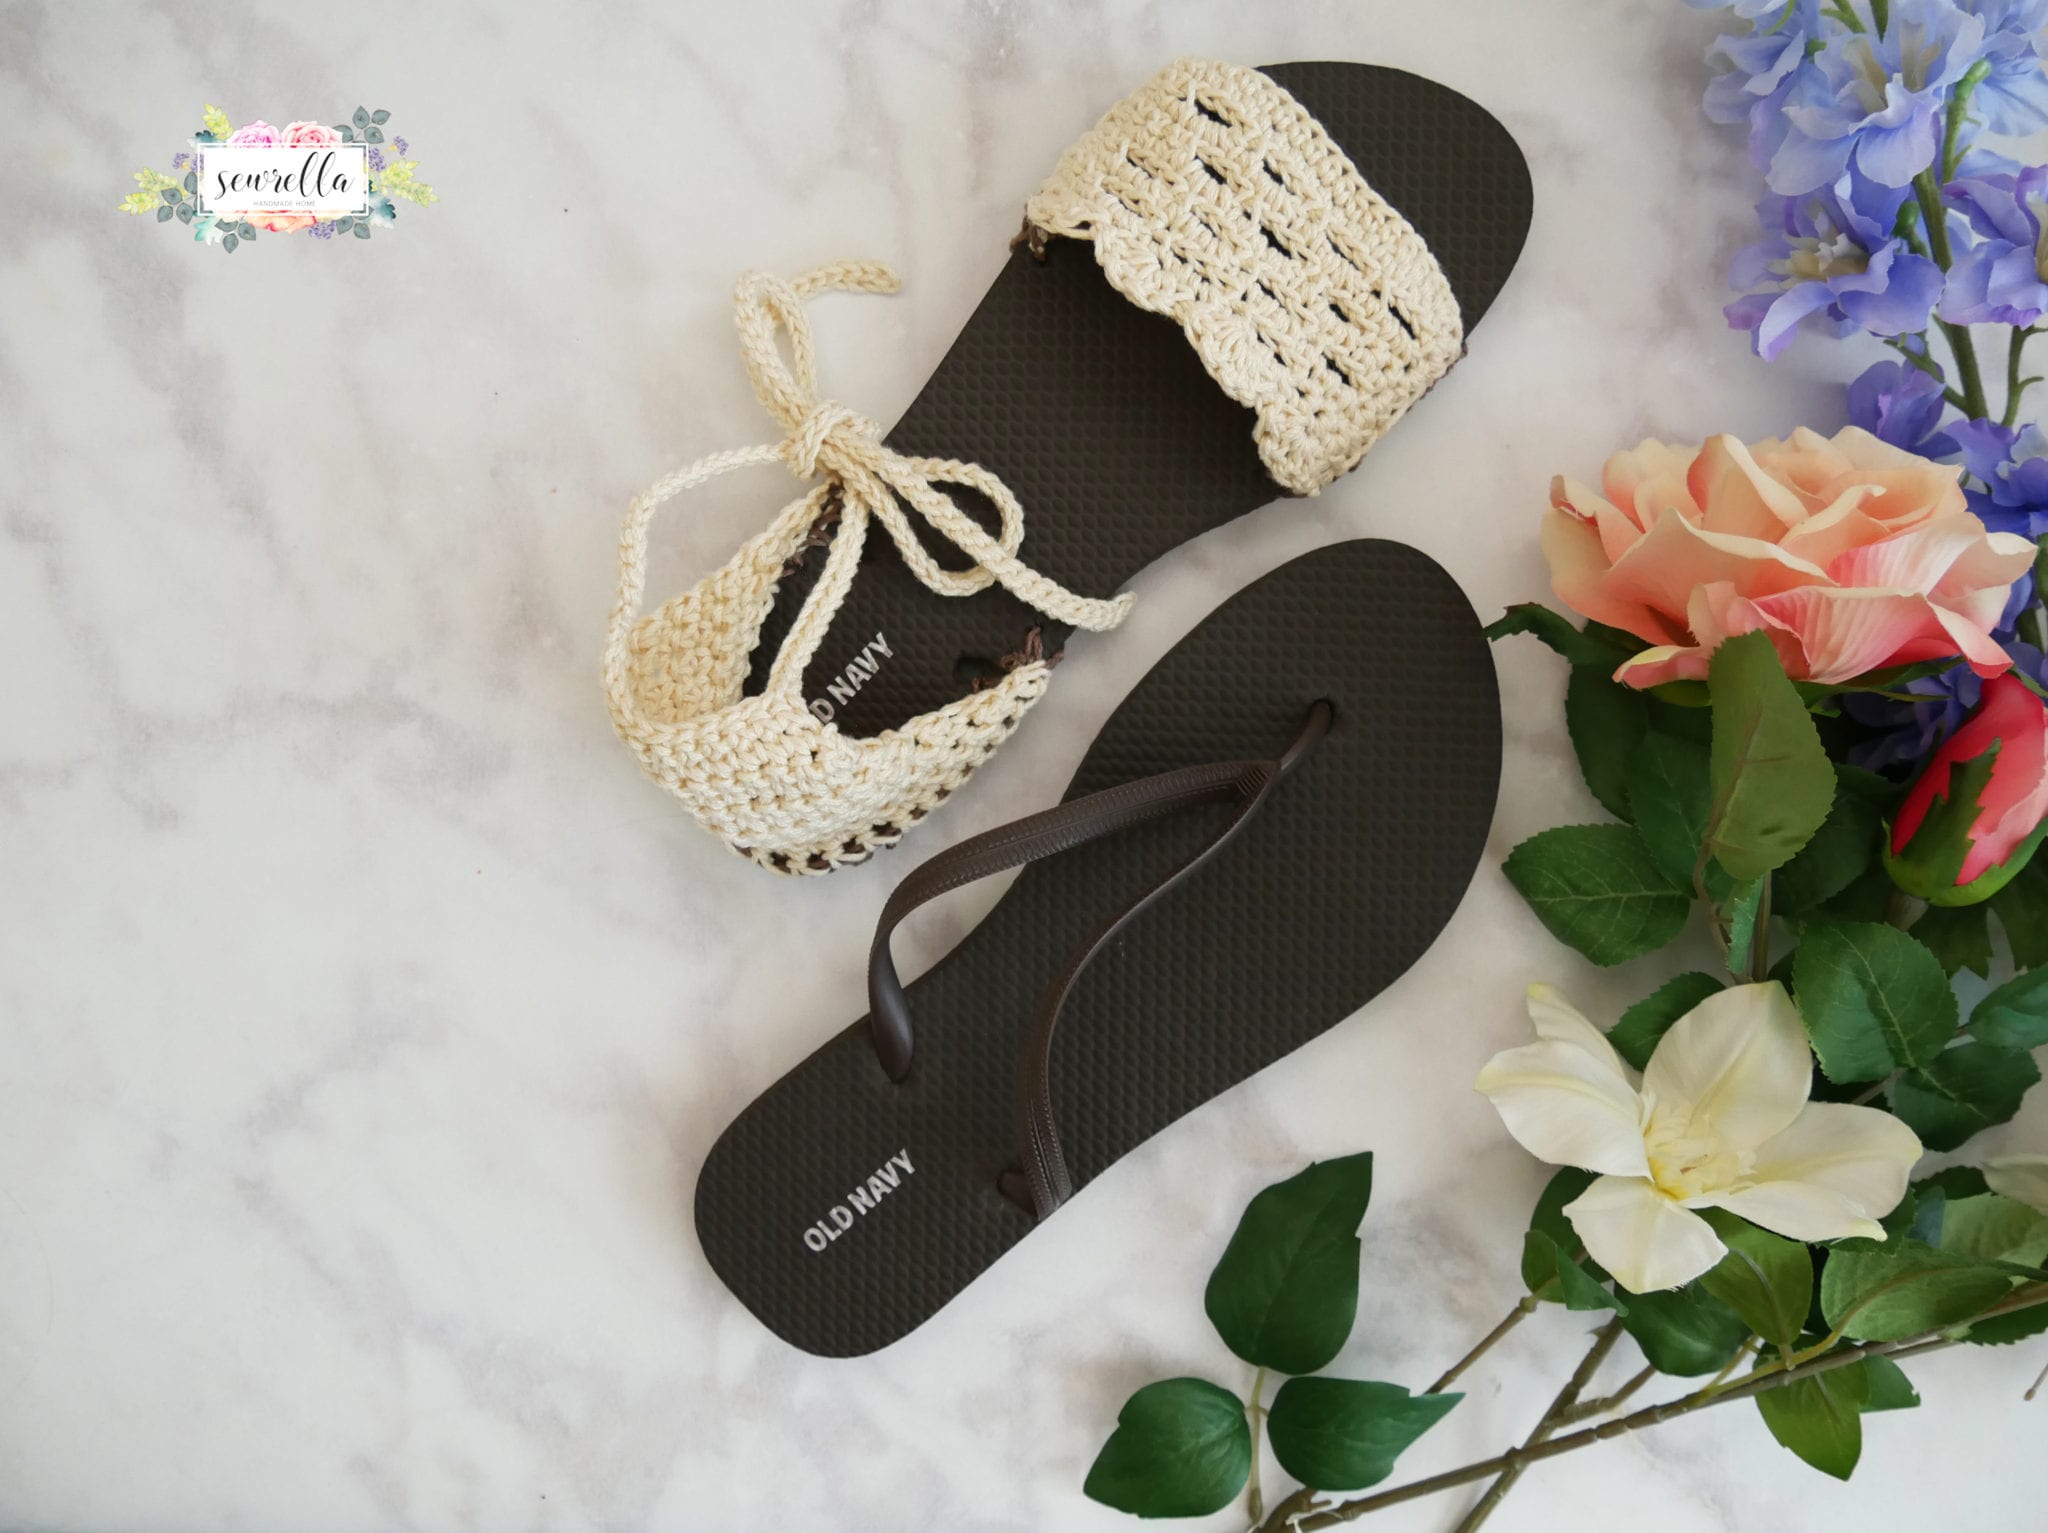
-Rubber sole flip flops 1 size smaller than you usually wear (mine are from Old Navy)
-Sharp tool for poking holes in the sole, a skewer works great
-Tapestry needle
-Sharp scissors
(Click HERE to shop all my favorite tools for amazing prices!)
*Note: As number of stitches and number of holes poked will vary from shoe size to shoe size, I’m not including my stitch counts here. Follow the written pattern and consult the video above to be sure you’ve got the correct shape.
-Begin by cutting off the plastic piece of the flip flop, leaving only the sole.
Heel:
Thumb distance from the holes at the heel, poke holes using your sharp tool in from the side and up through the top of the sole about a 1/4 inch in (it’s best to see the video for this part!)


Poke holes all the way around the heel.
Join your cafe au lait yarn with the 2mm crochet hook, Ch 1, Sc in each hole all the way around (carefully, don’t tear the sole!)

Row 2: Change color to ecru with size D hook, Ch 1, turn, Sc in each across, Ch 1, turn
Row 3: Skip first st, sl st in next, Sc in each around, Ch 1, turn
Rows 4-11: Repeat Row 3

Rows 12-13: Skip first st, Sc in each around, Ch 1, turn
Row 14: (to form straps) Ch 71, sl st in 2nd and in each ch st, sl st across heel piece, Ch 71, sl st in 2nd and in each ch st, sl st into heel piece to join, finish off and weave all ends.

Toe Piece:
With Ecru and size D hook, Ch 19, Sc in 2nd and across, Ch 1, turn
Row 2: Sc in first, *Ch 3, sk 3, Sc in next, repeat from * across, Sc in last, Ch 1, turn
Row 3: Sc across (working 3 Sc in each Ch 3 space), Ch 1, turn
Row 4: Sc in next 3 sts, *Ch 3, sk 3, Sc in next, repeat from * across, Sc in last 3, Ch 1, turn
Row 5:Sc across (working 3 Sc in each Ch 3 space), Ch 1, turn
Rows 6-9: Repeat Rows 2-5
Row 10: Sc in first, *sk 1, 4 Dc in next, sk 1, sl st in next, repeat across, Sc in last, Ch 1
Row 11: Hdc evenly around the perimeter of the piece until you get back up to the row of scallops, sl st into first scallop and finish off, weave ends

Line up your toe piece with where you want it on the toe of your shoe, I line my bottom row of Hdc up with the top hole in the sole.
Poke holes in the same way as the heel along the sides just where the toe piece lies.
Join cafe au lait yarn with the 2mm hook, Ch 1, Sc into the holes along one side, break yarn, and work other side.

With ecru yarn, whip stitch to sew the toe piece to these stitches.

Repeat on the other side and weave ends.
Don’t forget to PIN this pattern to your Pinterest boards!
Enjoy your new sandals!
Thank you, thank you thank you for making a video tutorial! These will no doubt be my next project!! (:
Cute & Clever!! Thank you!!
Bravo to you, Ashleigh — you did a WONDERFUL job of showing how you worked this project. The stitching turned out nicely. Thank you for taking the time to explain every step.
Love them!
Love it! Hope is as easy as you make it look!
Love theach sandals have to make one for my grand daughter.
Anxious to make a pair. Love the back feature,better for an Older person to wear.
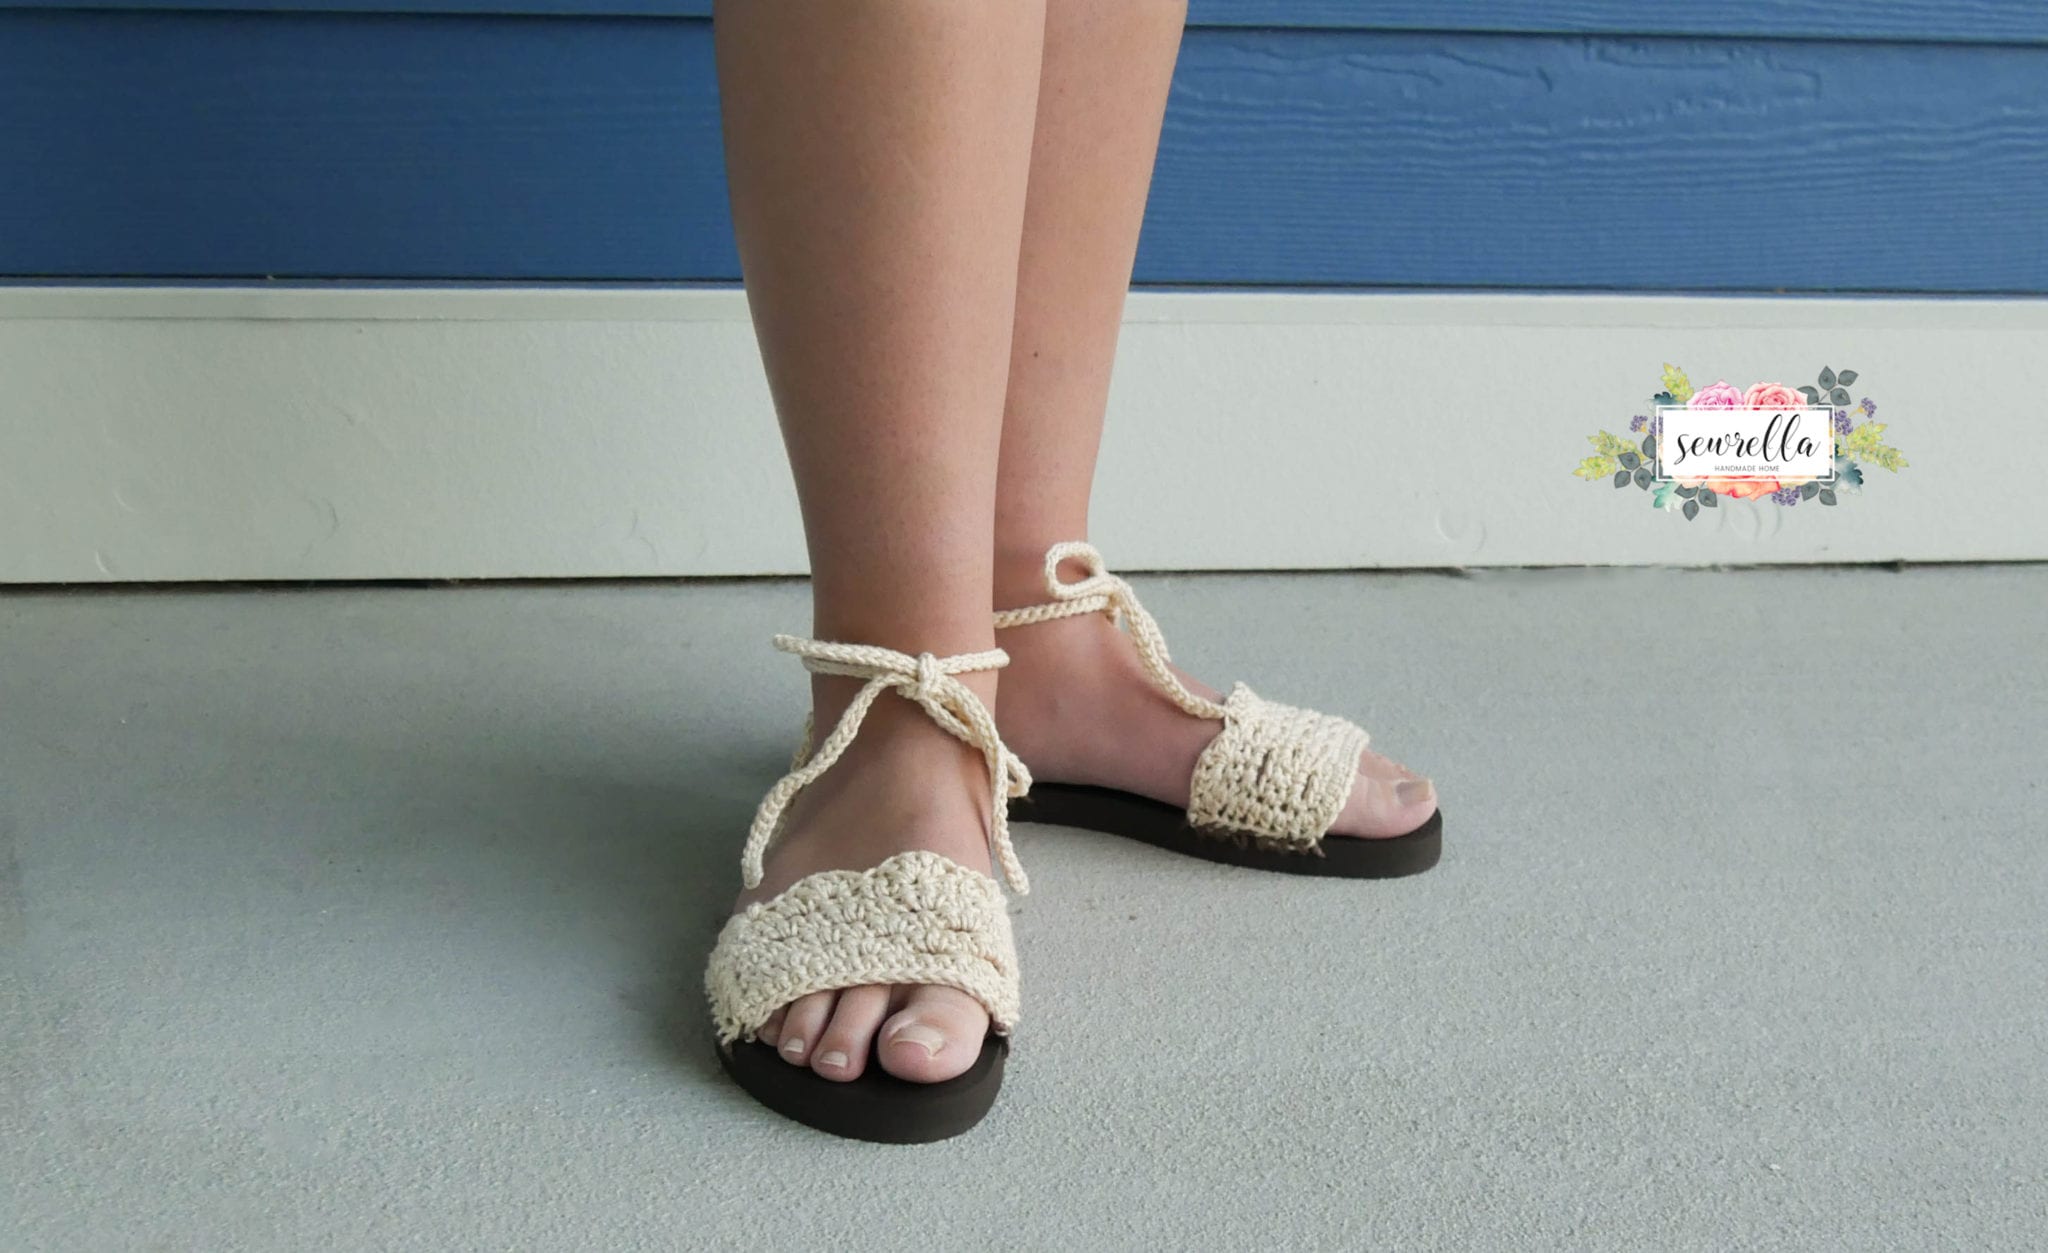
I would really like to see what these look like on someone’s feet. I love the pics and the video is great.
More photos have been added 🙂
I ABSOLUTELY am in love with these!! What an inspiration you are!! THANK YOU FOR THE PATTERN!!
Thank you
Would you please post a picture of the shoes being worn? I would love to see the final fit! Also wondering how long they can be worn before there is a risk of the yarn pulling through the flip flop bottom material making yours straps detach. Thanks for the tutorial!
I’ve updated the post with some more photos for you! 🙂 I’ve worn them out and about shopping for two full days now and they’re holding up great, no wear and tear yet!
When I made them that crossed my mind too, so I after I finish them, I added a drop of hot glue in every hole hopping that would reinforce the sole and they’ll last longer. ?
They are so beautiful!
I love it please make more.
I’m going to try these.
These look great, I will start on this project asap, will make one for myself to see how they look and then I’ll make them for my daughter, grandaughter and great-grandfather, I’m sure they’ll love them. Thank you so much
I love them. You’re wonderful and your idea is good and appreciated. I’ll try making mine
These sandals are very pretty and your video was great.
Thank you so much. I would definitely try making these ?
Ugh, typos, sorry. Are the holes in the bottom of the soles plugged with anything?
You can reinsert the plastic plugs from the piece you cut off & superglue them in 🙂
I did that too! Keeps them waterproof.
Awesome job. I may get brave and try it.
Do u use cotton yarn or thread on the crochet sandals w/flipflop soles?
100% Cotton yarn!
These look AMAZING!! I’ve been itching to make a pair of flip flop shoes, and these would be perfect! Thank you for sharing this pattern so quickly!
Can I ask you a blogging question? How do you keep on top of all of your ideas/deadlines/ongoing projects? I’ve got at least three projects going on, plus trying to have something worthwhile to post every week, and I feel like I have less time than ever to knit/crochet because I have two littles under age 3. I hit an overwhelmed wall this weekend as I thought about it all. How do you do it? (Aside from no sleep and lots of coffee. :-P)
I just finished making a pair of sandals. My husband said they were cute and I found it was an easy pattern to follow. The video tutorial made the sandals very easy to make.
Thank you,
The toe part was too big for my size 7.5 feet. I figured out how to make it smaller without having to undo all my work: I undid the hdc around and then, when I found it was still a little too big, I did a gather in three rows of the toe piece, fitting it to my foot perfectly. Just do a long stich through the first row, the middle row, and the row before the scallops. Pull it to gather, then fasten the sides. Easy peasy. Working in second toe now. Can’t wait to wear them out!
Excellent video tutorial :& written pattern. Yes please…more patterns. Especially interested in toddler & pre-teen sizes. Thank you.
Wonderful tutorial! Easy to follow.
Love this pattern! I’ve made it twice. Have you adapted it for children yet? I really wanted to make it for my 7 yr old granddaughter.
I love the information and i want to teach others to reduce unemployment in our beloved country keep the good work up
These are SO cute! I have a question, though…..why do you purchase the flip-flops a size smaller than you actually wear? Thanks!
Hi Sandy! I do a tad smaller shoe because traditionally I shop for shoes that have a bit of room in the heel so that they don’t fit too snug. But with these sandals I want the heel perfectly in line with where my heel is – if there’s extra room in the heel the back crochet piece will slip off and won’t fit snug. So however you need to shop to make the fit snug is perfect! For me, that’s sizing down 🙂
What a great idea !!! Thanks for sharing! Bev
Great job! Love them and am talking myself into making a pair. However you say 100% cotton does that mean I could use Sugar &Cream cotton yarn or no? Thanks for the pattern.
Yes, Sugar & Cream is 100& cotton yarn – some yarns are a cotton blend with acrylic and the like mixed in. If it’s 100% cotton, it will say so on the label 🙂