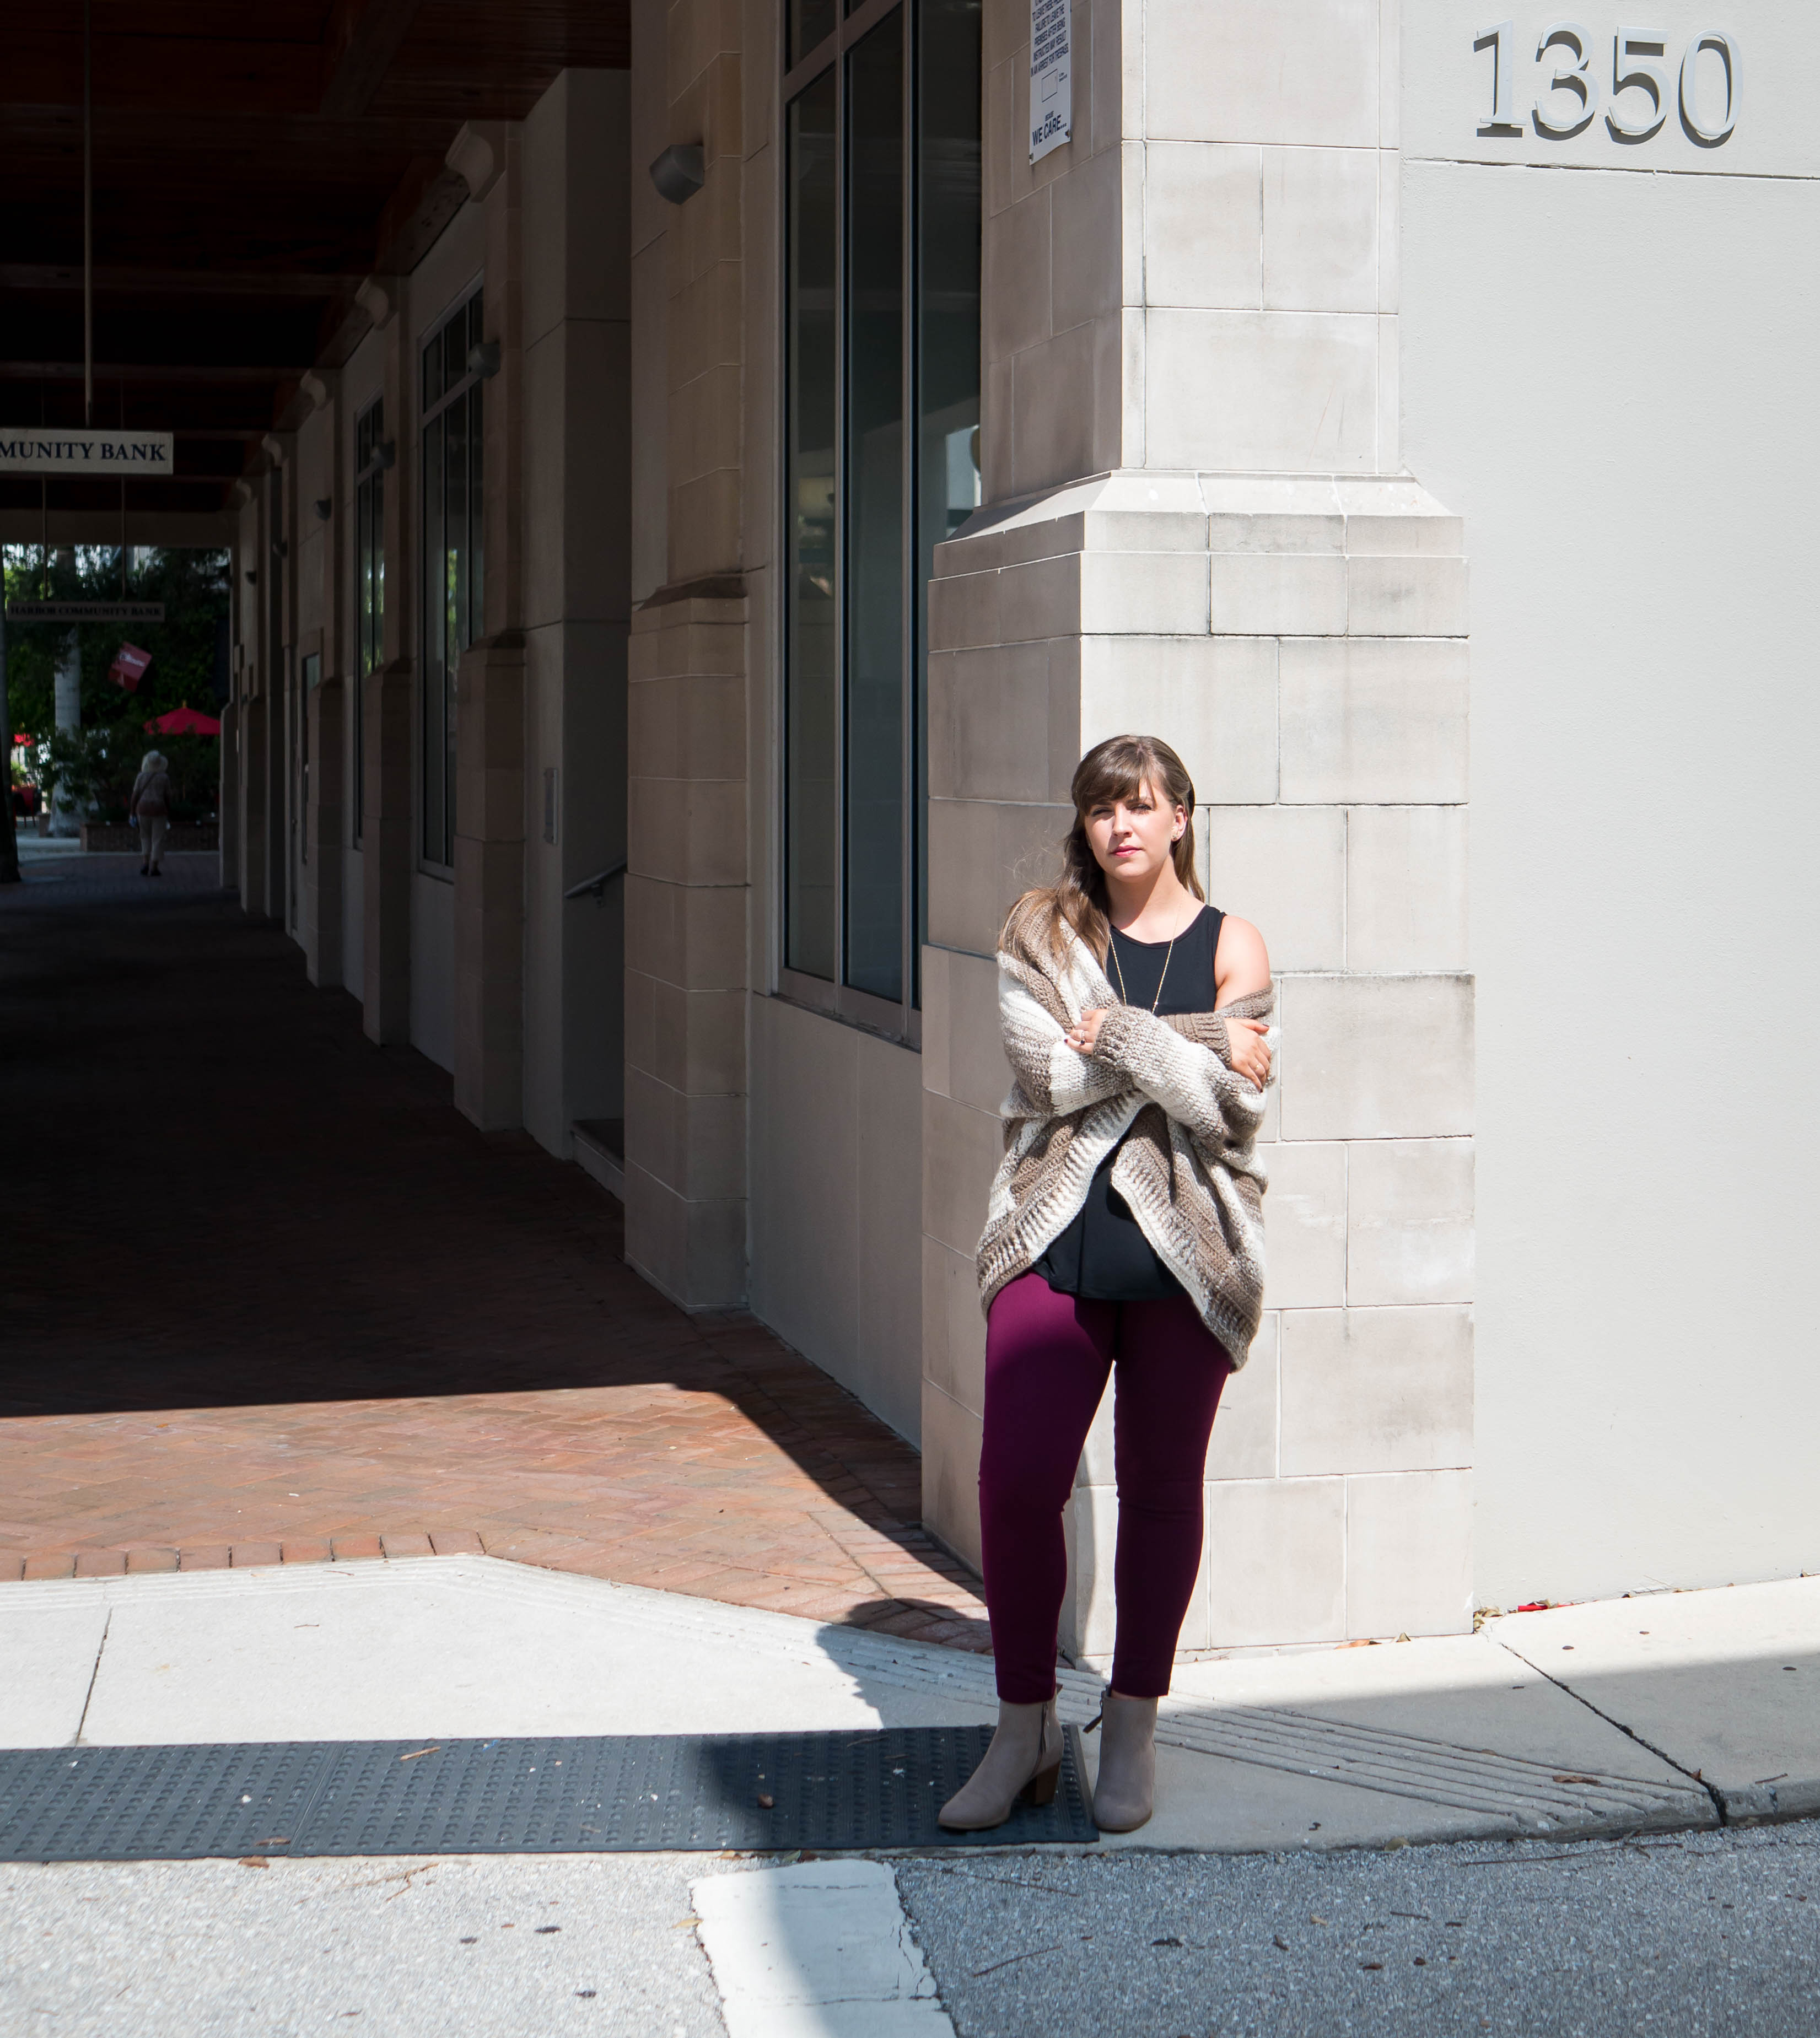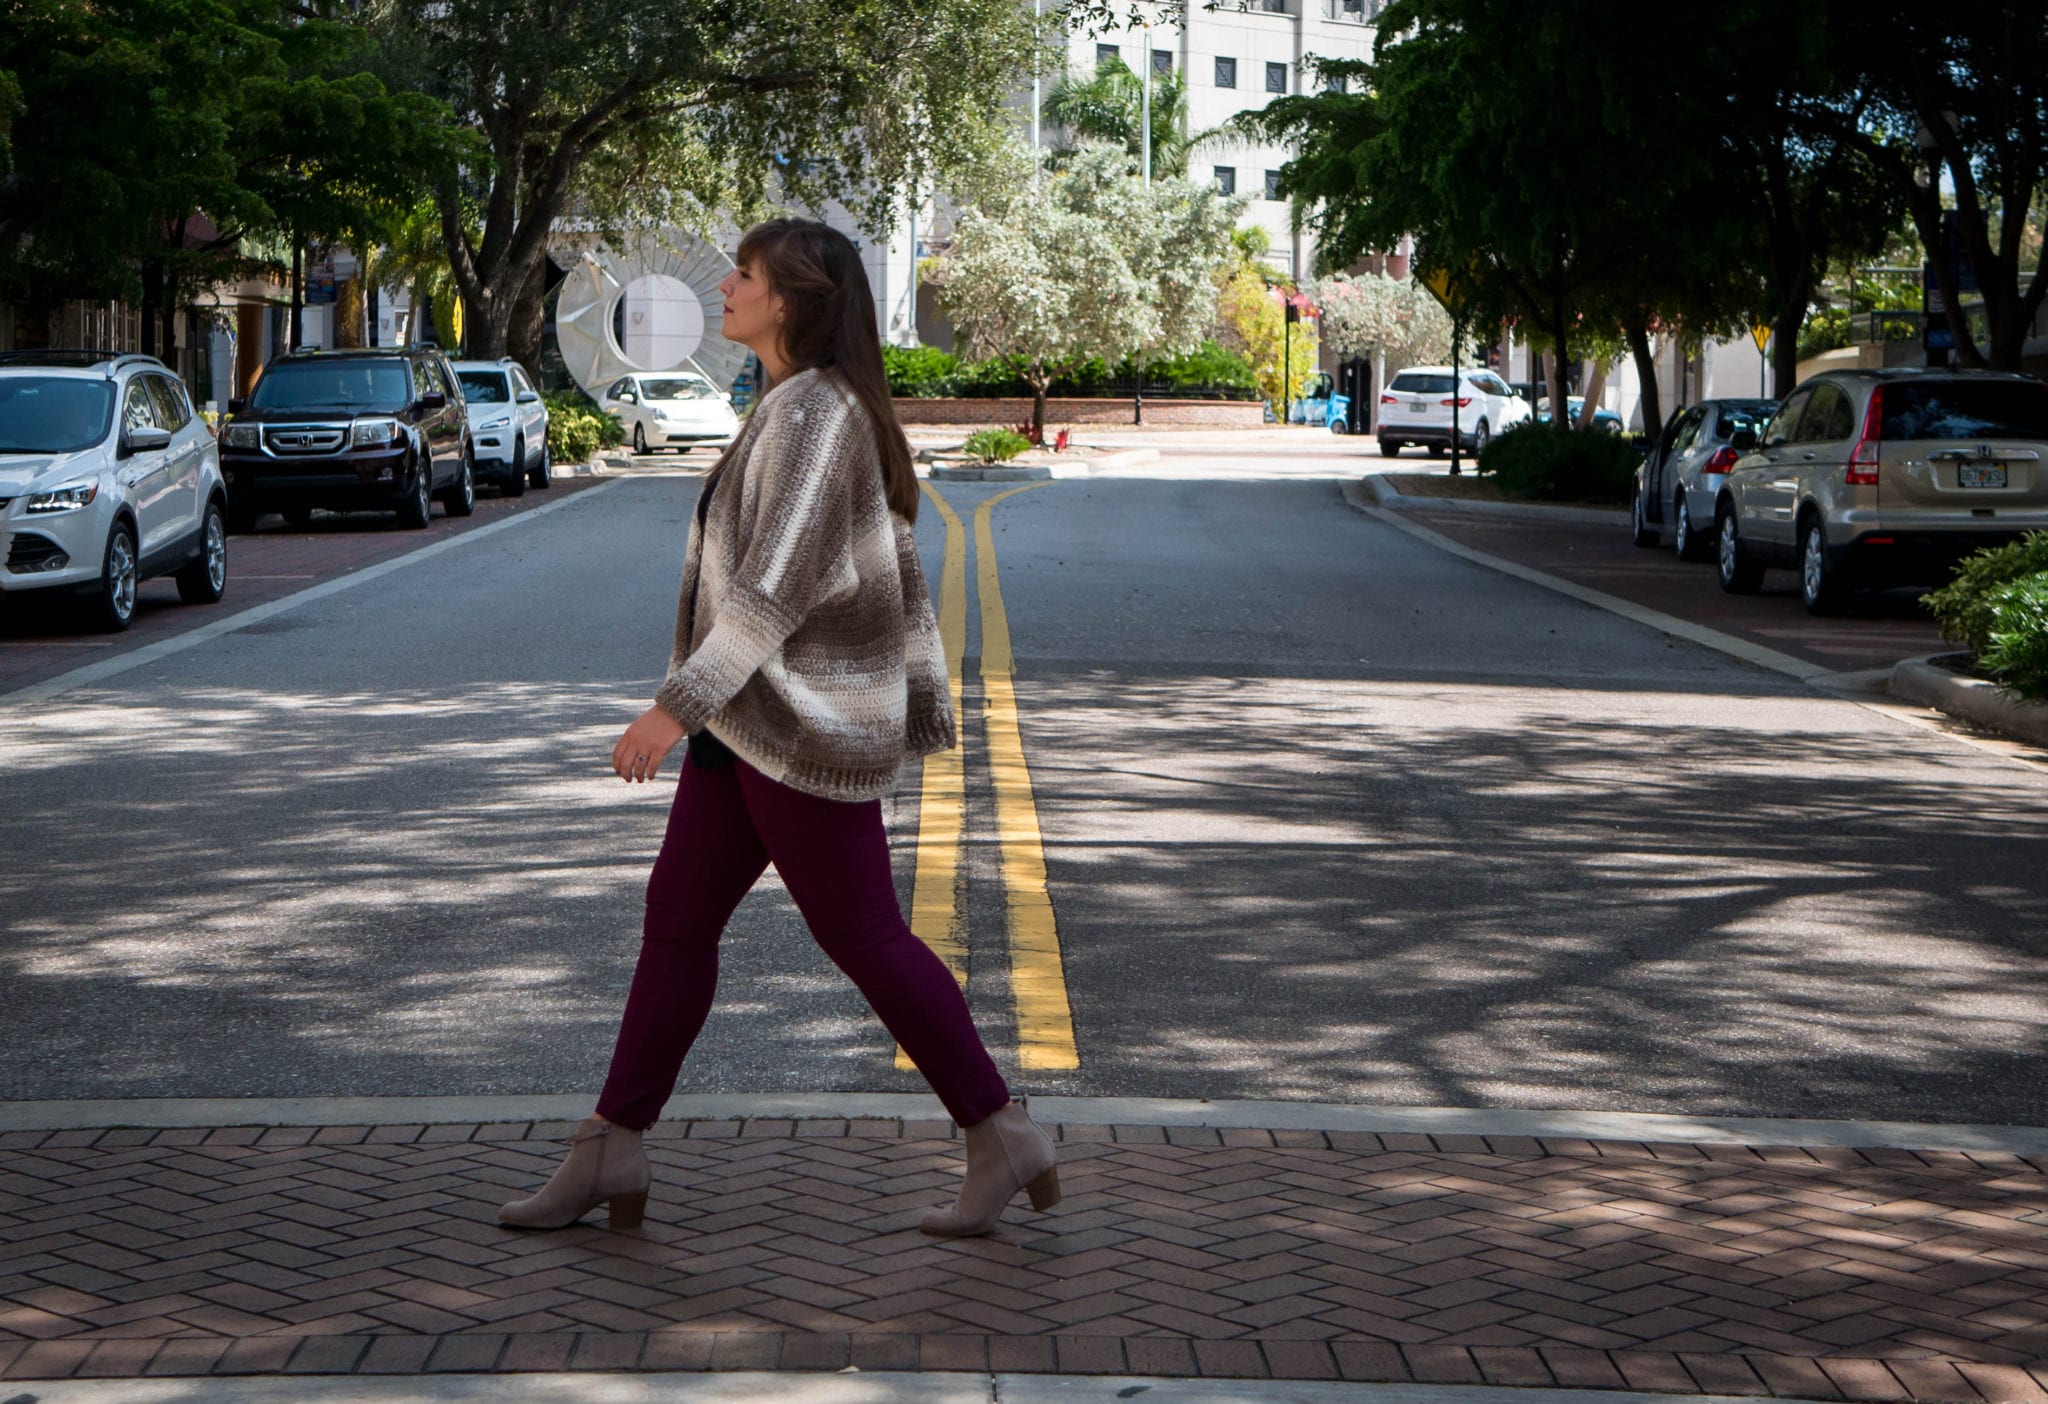
Before I get going talking about this sweater, I’d like to say: if you’re new to making wearables or haven’t ever made a sweater before STICK AROUND.
Now that that’s out of the way – hi friends! I’m so glad you’re here. Do you want to grab some coffee and chat for a while? Okay, good.
Today we are going to make the Crochet Cappuccino Cardigan! (How about that alliteration, eh?)


The construction of this cardigan is really easy peasy, similar to the Lana Kimono and the Laikini Cardigan (click those links to see video tutorials too!) just with sleeves added. If you’ve made either of those garments, this will be SO easy & if you haven’t – no sweat! I’m here for ya.
I knew I wanted to make a cozier, fuzzier version of the Lana Kimono and knew I wanted to add sleeves. I needed a yarn with great drape because the stitches would be a lot smaller and closer together than those of the Lana, giving me less wiggle room with the shape. Enter: Lion Brand Scarfie!


I haven’t met a Lion Brand Yarn I didn’t like, but this one really is something special. Not only is it soft and squishy, but it has SUCH great drape – which is so important when making an oversized sweater. Using a stiff yarn without great drape will make for a boxy, awkward looking sweater. No bueno.
The other thing I love about this yarn is its long self striping color changes. I used the colorway called Creme/Taupe but I think it looks more like coffee with lots of cream (thus the name, Cappuccino!). Scarfie comes in 19 color options and honestly all of them are stunning with amazing color changes like this. If you haven’t tried this yarn yet, you need to!
Lion Brand has put together a convenient kit that includes all the yarn you need for this cardigan and a printed copy of the entire pattern shipped right to your door! How awesome is that? It’s so easy, I almost can’t stand it. Click HERE to grab yours.

PATTERN
- Get the ad-free, large print, printable PDF pattern HERE.
- Grab the Ultimate Pattern Bundle that includes 150+ patterns just like this one on sale for $20 today HERE.
- PIN this pattern to your Pinterest boards for later HERE.
- Add this pattern to your Ravelry queue HERE.
Materials:
-Lion Brand Scarfie in Creme/Taupe (Small/Medium 4 balls, L/XL 5 balls, 2X-3X 6 balls)
Click HERE to grab this kit including everything you need from Lion Brand!
-Size I 5.5 mm crochet hook
-Tapestry needle
(Click HERE to shop all my favorite tools!)
Abbreviations (US terms):
ch – chain
sc – single crochet
dc – double crochet
fpdc – front post double crochet
bpdc – back post double crochet
rep – repeat
sk – skip
st(s) – stitch(es)
t – turn
Skill Level: Level 2 Easy
Notes:
-Many people may be able to float between sizes, as the fit of this sweater is very loose. For reference, model is 5’5” tall, wears a size Medium top & is wearing this pattern in the L/XL size for an oversized fit.
-Sizing listed in the pattern will be in Small/Medium with L/XL and 2X/3X listed in parenthesis such as “Ch 53 (58, 62)” whereas Ch 53 for size S/M, 58 for size L/XL, and 62 for size 2X/3X.
-Panel sizing is as follows (you may prefer a tighter stitched fabric, or replicating this pattern with another weight yarn – use these measurements to help you get the same look!)
S/M: 15 in. x 42 in.
L/XL: 17 in. x 46 in.
2X/3X: 19 in. X 48 in.
Gauge:
15 Dc = 4”
8 Rows = 4”

Panels:
*make 2 panels
Ch 56 (60, 64), Dc in 4th from hook and each ch, Ch 2, t (53, 57, 61)
Row 2: Dc in each st, Ch 2, t (53, 57, 61)
Row 3: Dc, Fpdc, repeat in each st, Dc in last, Ch 2, t (53, 57, 61)
Row 4: Dc, Bpdc, repeat in each st, Dc in last, Ch 2, t (53, 57, 61)
Row 5: Repeat Row 3
Row 6: Repeat Row 4
Row 7: Repeat Row 3
Row 8: Repeat Row 4
Row 9: Repeat Row 3
Row 10: Repeat Row 4
Rows 11-46(54, 62): Dc in each st, Ch 2, t (53, 57, 61)
Row 47(55, 63): Repeat Row 3
Row 48(56, 64): Repeat Row 4
Row 49(57, 65): Repeat Row 3
Row 50(58, 66): Repeat Row 4
Row 51(59, 67): Repeat Row 3
Row 52(60, 68): Repeat Row 4
Row 53(61, 69): Repeat Row 3
Row 54(62, 70): Repeat Row 4
Row 55(63, 71): Dc in each st, finish off, weave ends (53, 57, 61)

Assembly:
-Lay one panel over the other with right sides facing, lining up the foundation chain sides, or Row 1 from both panels together and Row 55(63,71) together. Cut a spare piece of yarn twice the length of the long side of your panels.
-With a tapestry needle, use a whip st or mattress st to seam up the long side of your kimono where the raw edges meet each other. Insert your needle through the turning chain from each panel. Stitch halfway down the long side, matching up each stitch.
-Once you reach halfway, whip stitch the last stitch 3 or 4 times (you should have seamed up half of that long side now). Weave your ends from this seam.
-Unfold your panels.

-Fold your piece across the middle line in the opposite direction you folded before. You should now have your first seam at the bottom and the open area of the seam (the front of the sweater) facing you. Wrong side of fabric should be facing out.
-Now we will seam up the sides to create arm holes. Cut a spare piece of yarn twice the length of the side.
-With a tapestry needle, use a whip stitch to seam up the short side of your sweater where these pieces meet each other, starting with where the rows of Dc meet each other. You are now stitching along the raw edge of each panel. Insert your needle through both loops of the turning chain from each piece. Stitch up the side, matching up each stitch until you have 26 (28, 30) Rows of the raw edge unworked to create the sleeve.
-Whip stitch the last stitch 3 or 4 times (you should have seamed up all but 26 [28, 30] sts around the arm hole). Weave your ends from this seam.

-Repeat on the other side.
Sleeves:
Join yarn to the sleeve opening raw edge next to your finishing whip stitch, Ch 2, Dc in the same st and in each st around the raw edge, do not join (26, 28, 30)

Round 2: Dc decrease, Dc in next 4 sts, rep around, Dc in any remaining sts (21, 23, 24)
Rounds 3-4: Dc in each st (21, 23, 24)

Round 5: Dc decrease, Dc in next 3 sts, rep around, Dc in any remaining sts (16, 18, 19)
Round 6: Dc in each st (16, 18, 19)
Round 7: Dc decrease, Dc in next 5 sts, rep around, Dc in any remaining sts (14, 15, 16)
Rounds 8-17: Dc in each st (16, 18, 19)
Rounds 18-20: Fpdc, Dc repeat in each st (14, 15, 16)
Round 21: Dc in each st, finish off, weave ends (14, 15, 16)
Repeat sleeve on other side.
Finishing:
To finish off the neckline, join yarn to the raw edge of the right side panel (when the sweater is worn), Ch 1, Sc evenly up raw edge of Panel 1, sk over mattress st panel join to Panel 2, Sc evenly down raw edge of Panel 2, Ch 1, t
Row 2: Sc in each st, finish off, weave ends

Can’t wait to try it! Have made both kimonos and loved them! Thank you so much for generously sharing these patterns and your talent.
Bernadette
Very pretty!! Thank you for sharing <3
ممكن شرح باللغة العربية
Im n ove with this sweater..is it inly available in the one color? Tried to purchase but seemed to be only one color choice
Absolutely stunning! Love this piece! Your patterns are so easy to follow and have been proven to make beautiful pieces
Awesome! I had already purchased some more of this yarn as I love it so much. perfect timing on posting this pattern. Thank you!
Hi I may be very dense but what are the #’s represented starting with row 11-46 in parentheses? I’ve crocheted 35 yrs never seen this on rows before
Thanks!