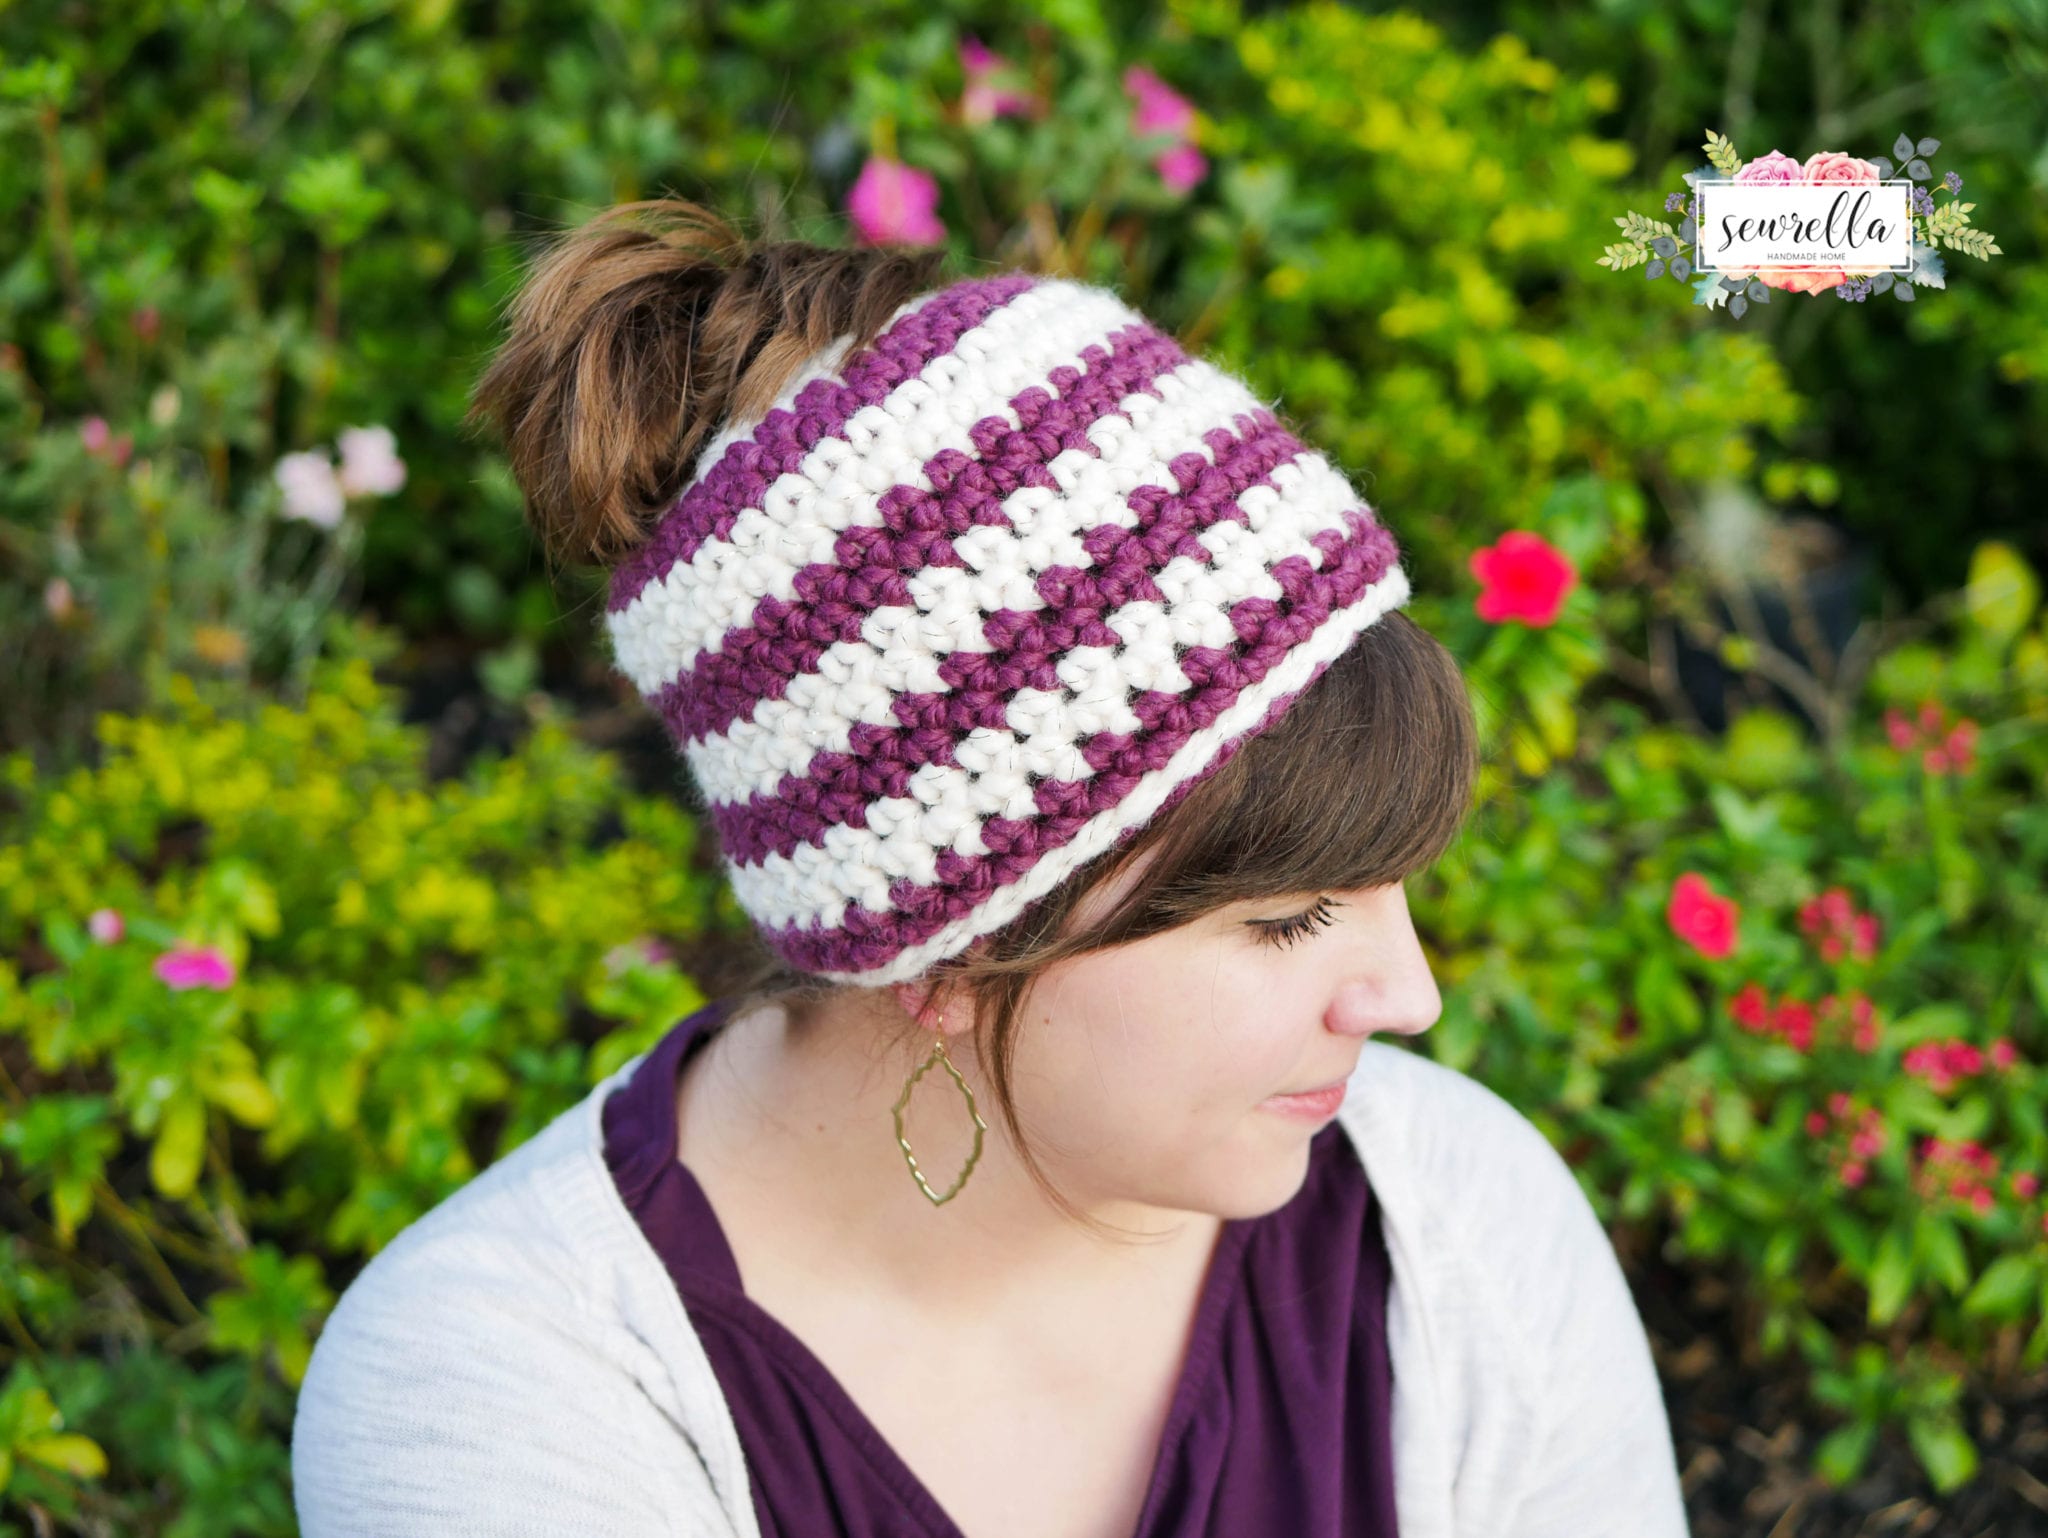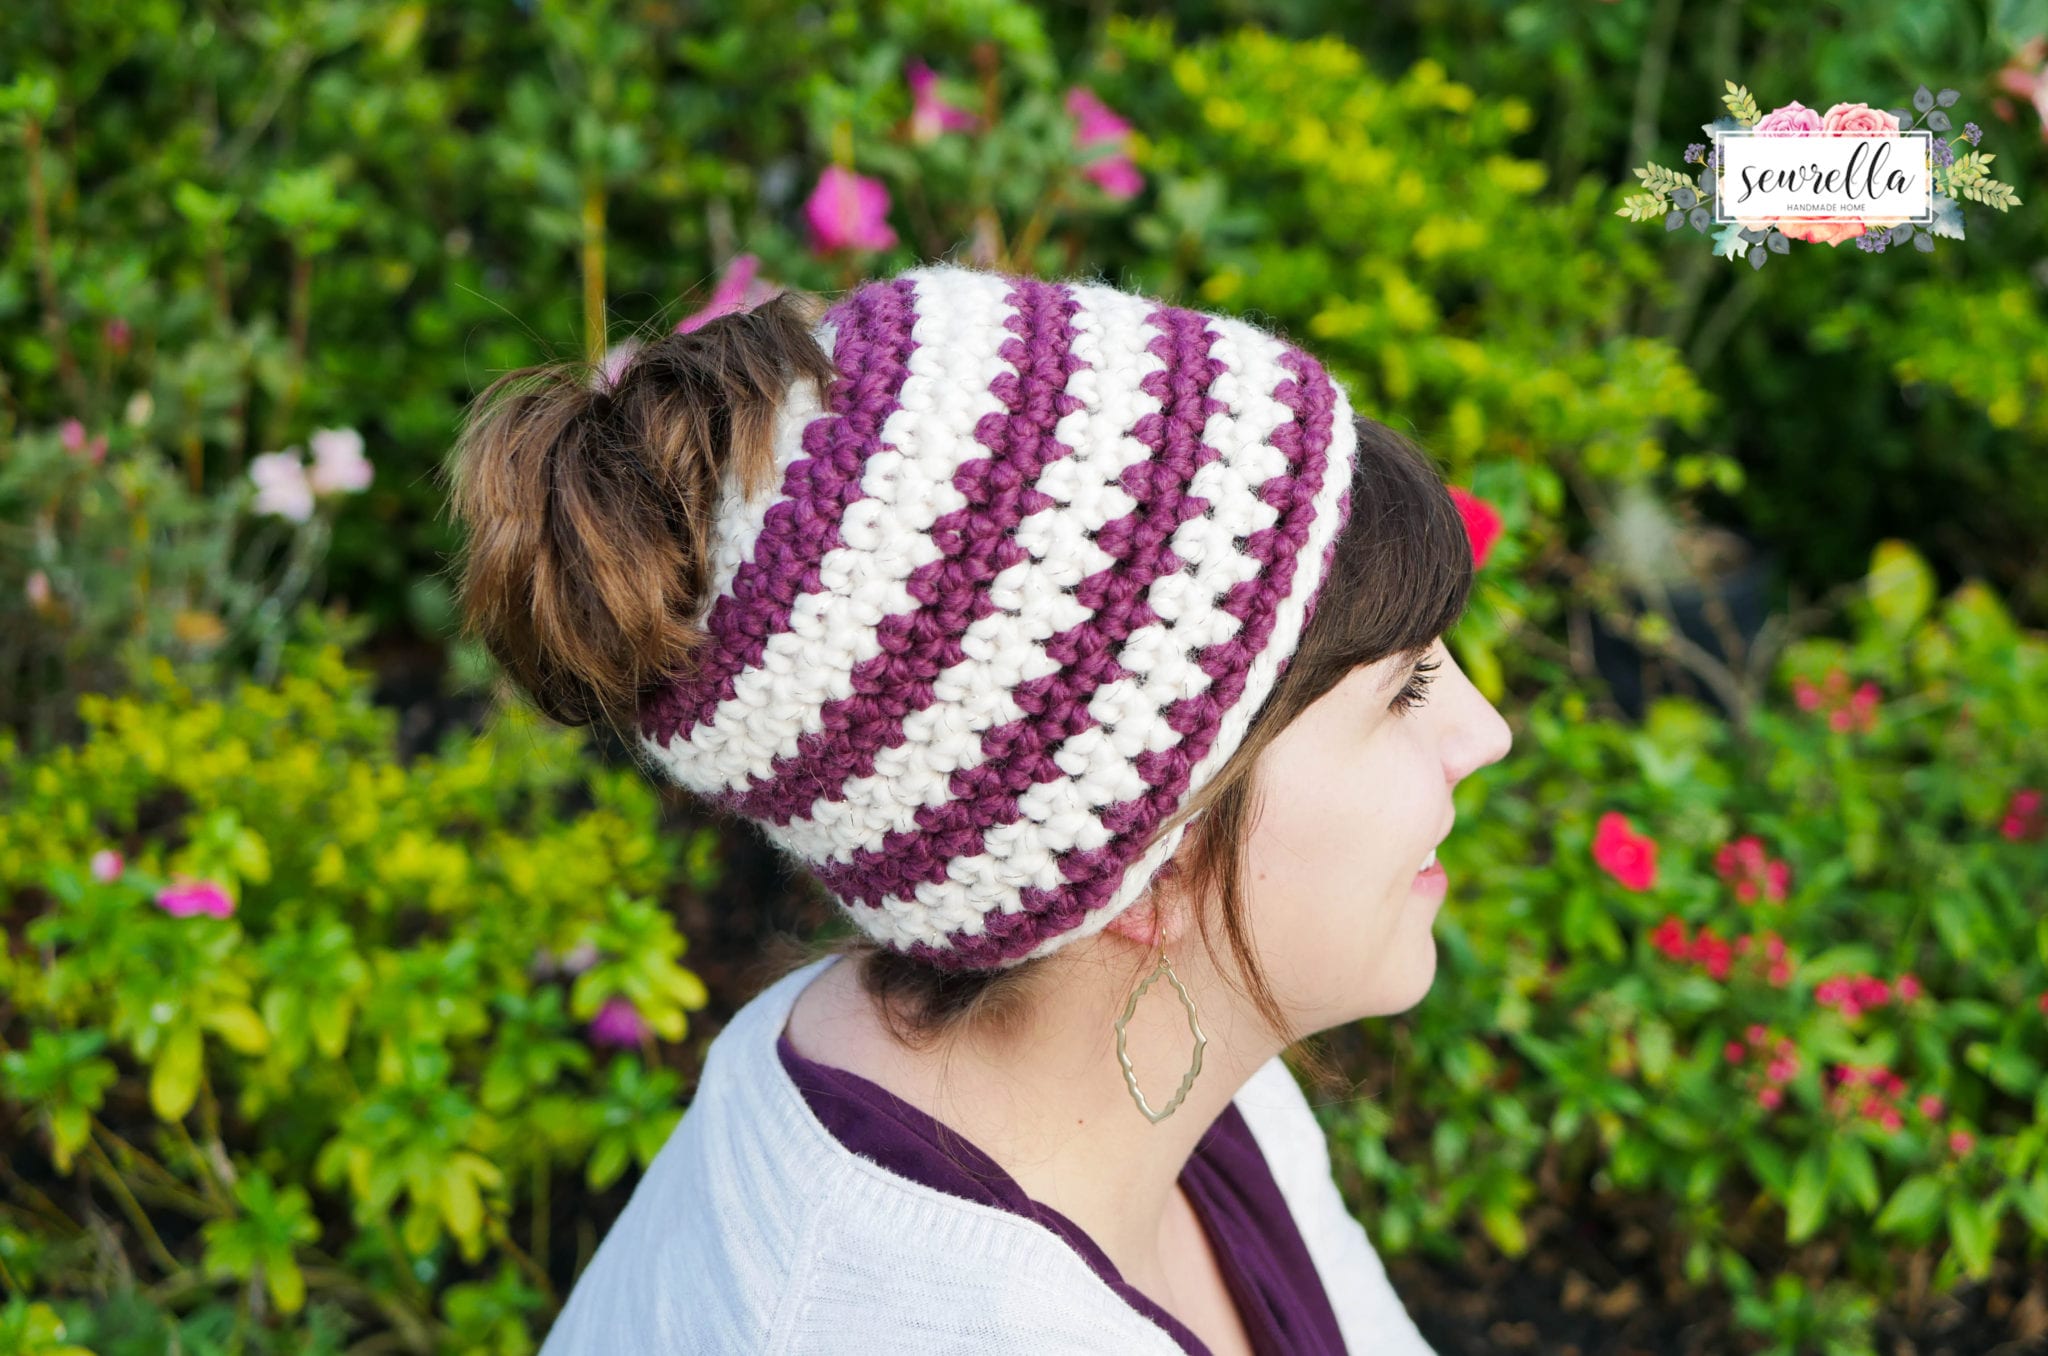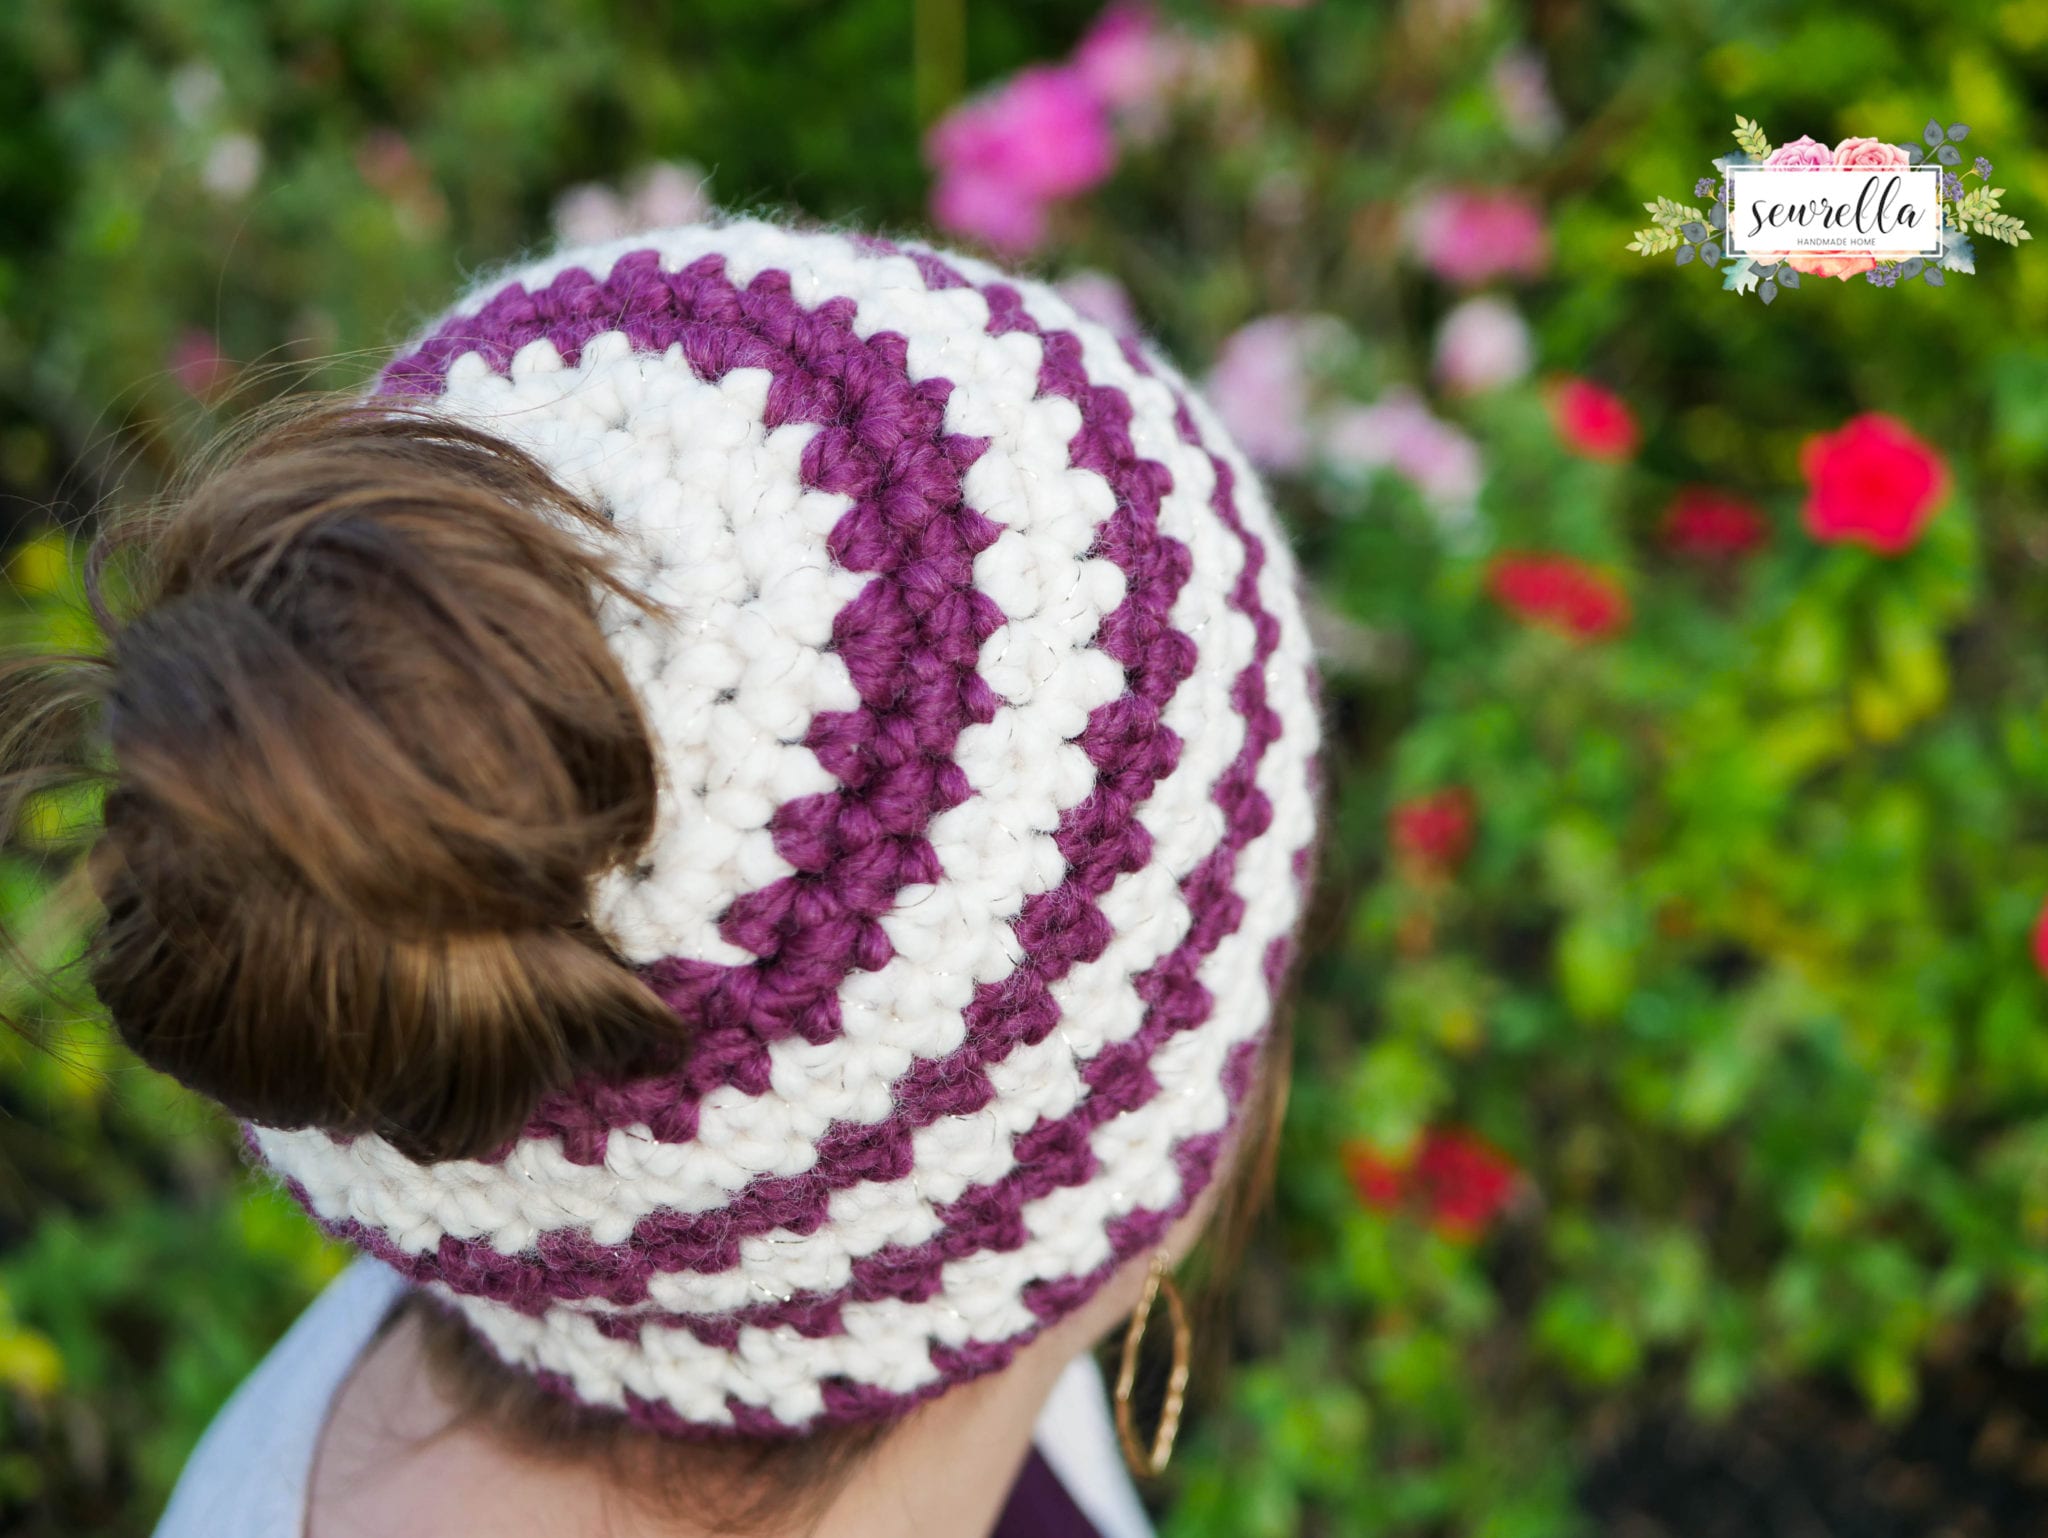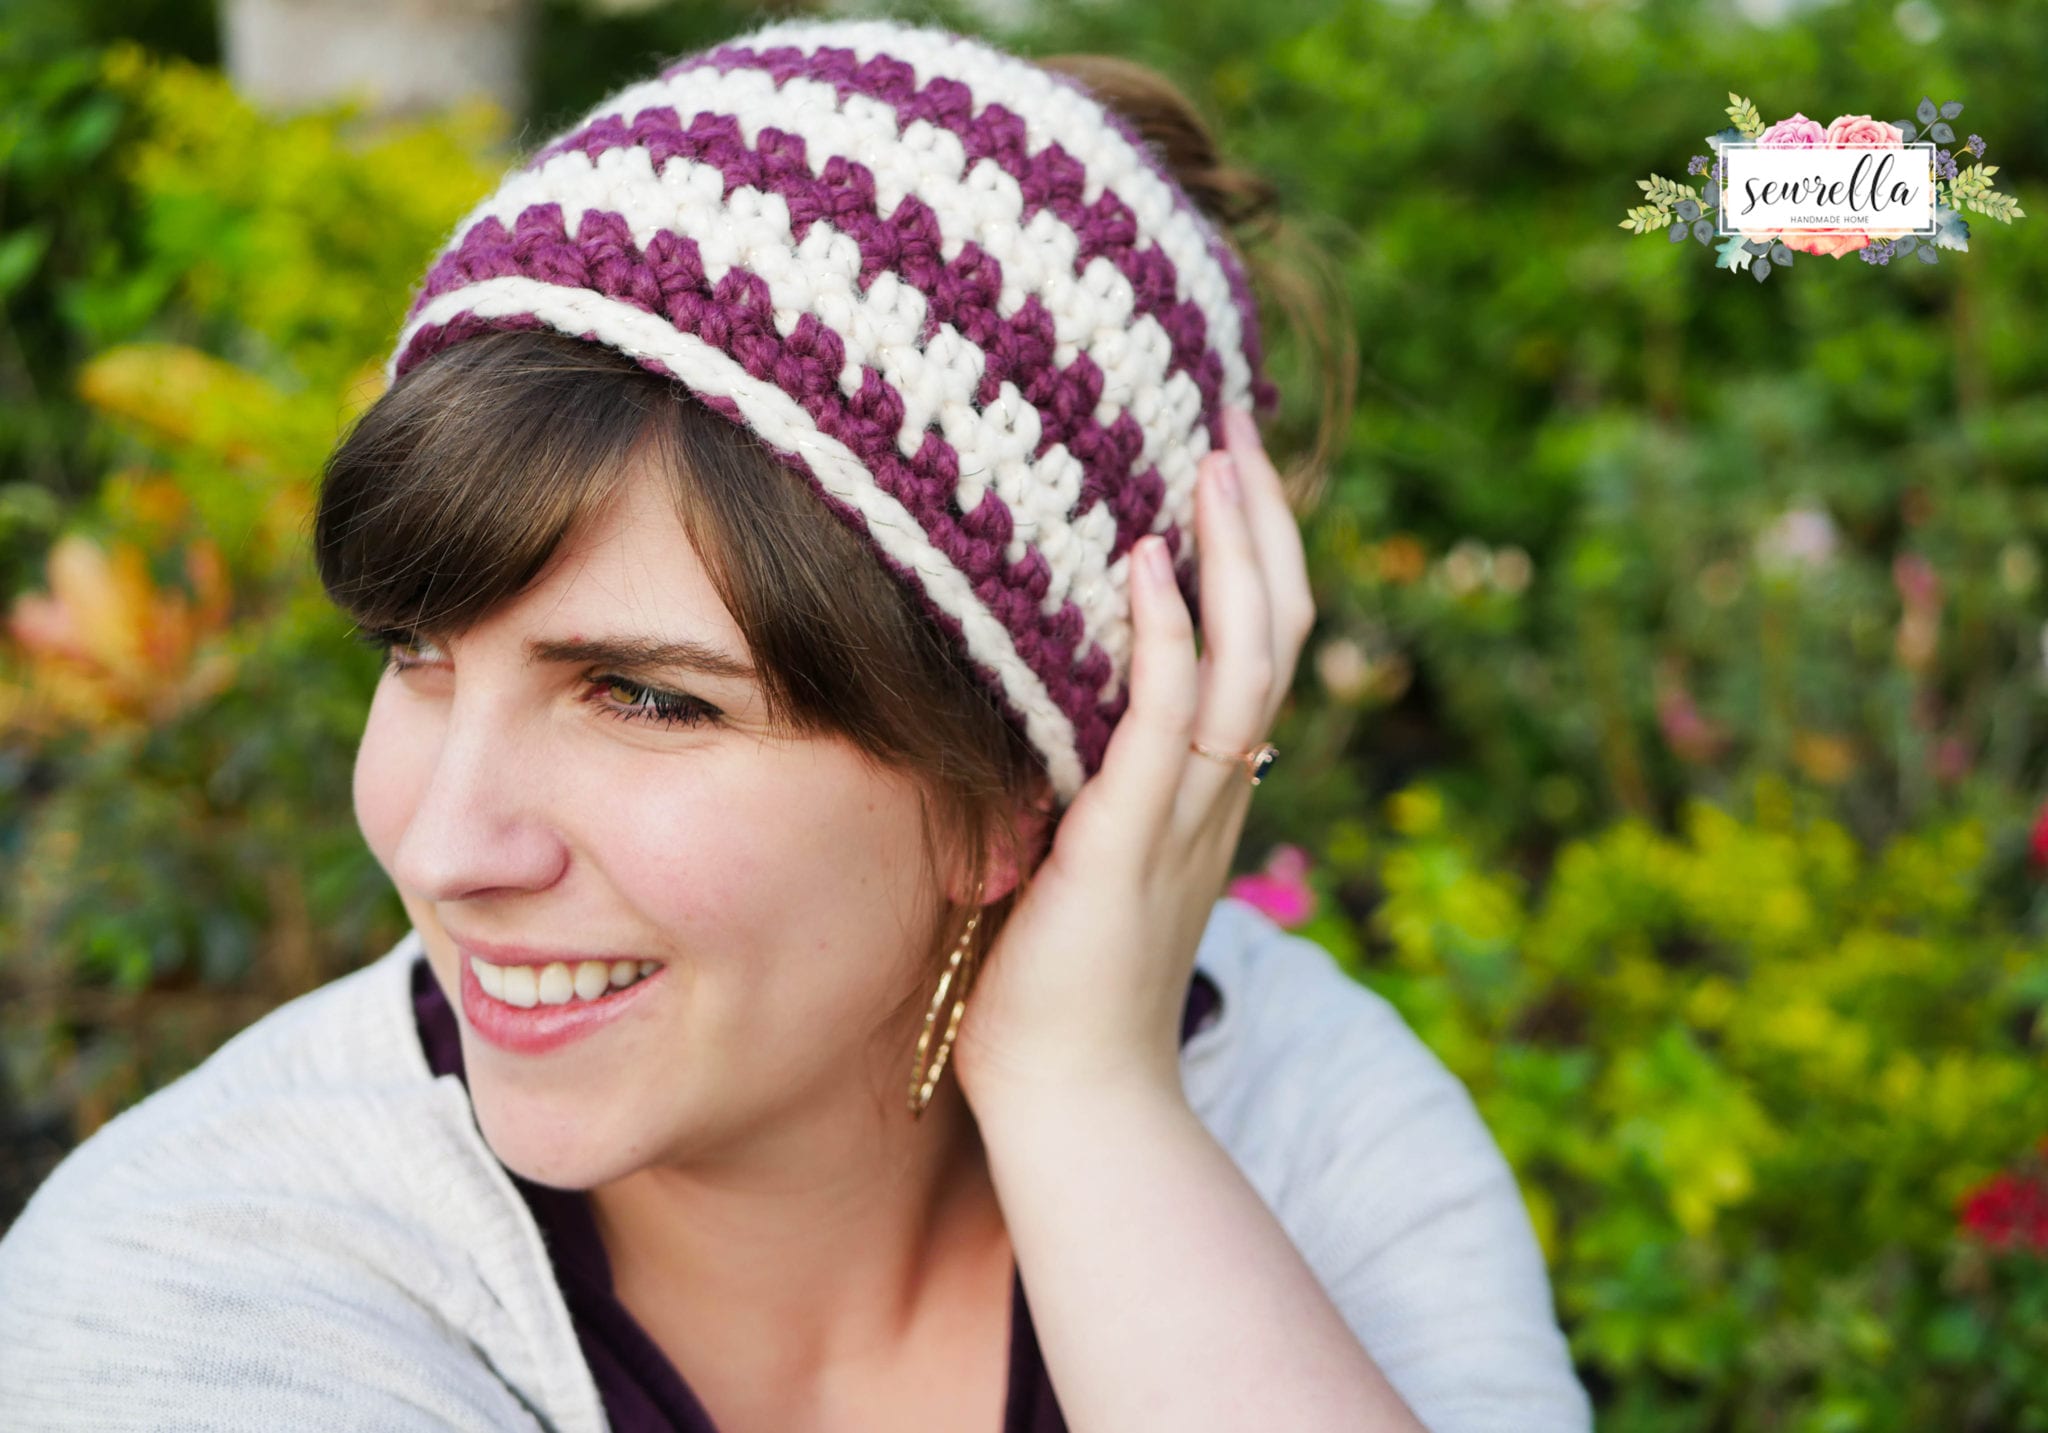
We are in the final Christmas countdown over here at my house.
The hot chocolate is on tap, the holiday music blaring, and the to do list is still a mile long.
Everyone is obsessed with these messy bun or mom bun beanies this holiday season (see my original puff stitch version HERE).
And although I love my puff stitch version – I needed a new pattern that I could whip up in an hour or less. I have gifts to get out people!

So because this holiday season I am in a RUSH (and I’m sure you are too) here is my 1 hour crochet messy bun beanie!
Did I mention you can make this baby with 1 skein of Lion Brand Wool Ease Thick & Quick? And with just single crochets?
That means this guy is easy, quick, and affordable – all the things I want my last minute handmade gifts to be!
Video tutorial below (with my secret trick to the perfect messy bun beanie!!) as well as the written pattern.


PATTERN
- Get the ad-free, large print, printable PDF pattern HERE.
- Grab the Ultimate Pattern Bundle that includes 150+ patterns just like this one on sale for $20 today HERE.
- PIN this pattern to your Pinterest boards for later HERE.
- Add this pattern to your Ravelry queue HERE.
Materials:
-Lion Brand Wool Ease Thick & Quick in Starlight & Fig (half a skein of each or use one skein of any color!)
-Size N/P 10mm crochet hook
-Jumbo tapestry needle
-Thick hair tie or hair elastic
Tie Starlight yarn onto the hair elastic as shown in the video, 12 Sc into the hair elastic, sl st to join, Ch 1
Round 2: 2 Sc, Sc, repeat around, sl st to join, Ch 1
Round 3: 2 Sc, Sc next 2, repeat around, sl st to join, color change to Fig (don’t break Starlight yarn), Ch 1
Round 4: 2 Sc, Sc next 3, repeat around, sl st to join, Ch 1
Round 5: 2 Sc, Sc next 6, repeat around, Sc in last 2 sts, sl st to join, color change to Starlight (carried up from Round 3, don’t break Fig yarn), Ch 1
Round 6: Sc around, sl st to join, Ch 1
Round 7: Sc around, sl st to join, color change to Fig, Ch 1
Round 8: Sc around, sl st to join, Ch 1
Round 9: Sc around, sl st to join, color change to Starlight, Ch 1
Round 10: Sc around, sl st to join, Ch 1
Round 11: Sc around, sl st to join, color change to Fig, Ch 1
Round 12: Sc around, sl st to join, Ch 1
Round 13: Sc around, sl st to join, color change to Starlight, Ch 1
Round 14: Sc around, sl st to join, Ch 1
Round 15: Sc around, sl st to join, color change to Fig, Ch 1
Round 16: Sc around, sl st to join, Ch 1
Round 17: Sc around, sl st to join, color change to Starlight, Ch 1
Round 18: Sl st in each around, sl st to join, finish off, weave ends
Dont’ forget to PIN this project to your Pinterest boards!

Thank you for the pretty pattern. Wish you and yours a very Happy Holiday and a Great New Year!!
I am a beginner..finally your pattern I understand..thank you! I have a question or two. Why can’t all the rows be single crochet instead of that 1, 2, 1, method? Also, that part of the video was just a tad fast! So that’s why I’m asking why can’t the entire beanie be all single crochet?
Thanks,
Judy
Hi Judy! It can’t all be single crochet because then it would be a really narrow tube. The 1, 2, 1 kind of stitches are increases and they help to make the hat gradually wider to fit the rounded top of your head. Hope this helps!
wow! That looked so easy! I just watched the video for now, I need to go get some hair elastics! Thank you for posting
I think this may be the best video tutorial I have seen on the messy bun hat. Simple, straight forward. I cannot wait to try it. Thanks!
I must have a huge head or did something very wrong …….way tight. Tore a part and did losser stiches, helped a little but not enough. Any suggestions?
Mine was snug too. Try doing a row of Sc around the bottom instead of sl sts. They may loosen things up a tad.
mine was too small too, so I frogged it and used a bigger hook and tried to crochet a little looser but it still seems a little small. I might want to add a row or two as well. Not sure if I will add more rows on the increase or try an even bigger hook. I used the P hook second time around, but I think the Q hook might be way too big. I am going to try it though, cause I like how simple this pattern is.
If it’s really too small, adding rows to the end probably won’t solve the problem. I would add a row of 2 Sc, Sc next 4, repeat after round 4. Then just proceed as usual. If that doesn’t work, come back here and let me know! 🙂
That’s brilliant. Thanks.
This is a great way to make a quick hat for gifts. As a beginner, it would be helpful if the video or pattern would tell you how many total stitches you should have on each row.
Thanks!
Yes!
I would also like to know how many is in each row! 🙂
Hi, this is great!! just wanted to ask if I wanted to make it just a little longer to cover the ears, could I add a few more rows? Thanks!!
Yes, exactly!
Where did you get your crochet hooks?!
If I’m not changing colors on this pattern how do I work this pattern. I’m using a multiple colored yarn. Thanks for the pattern and your help
I’m a beginner and plan to use one color NOT. Changing colors
How do I proceed with the pattern without the change. I’m sure it’s a silly question sorry!
Thanks for sharing your pattern
Just skip the color changes and proceed with everything else 🙂
This pattern looks so quick and easy to crochet, looking forward to making a few for some of my family.
I am attempting to make the hat with your instructions, but on the hair tie, can you put 18 singles instead of 12. I have tried but it is not taking shape of the hat.
How would you reduce for a child. I have 5 granddaughters ages 6-1 yr?
Hmm I’m not sure this hat would work well for a 1 year old… could you have meant 11? for a child size I would eliminate round 5 or rounds 4 & 5 depending on how much smaller you want it to be 🙂
I was able to follow this easily. I used only one color. It was fun and my daughter loves her new beanie! I will be making more. Thank you so much!
First off, love your pattern! I made mine, my sister asked me to make her one, so I did. One or two things happend, I made it to fit my head size, not thinking, and well…her head is bigger. Did I need to double up on the rows 1-4 for her head? Or just take out ending slip stitch?
Removing the ending slip stitch should do the trick. You can make that last row another round of Sc if that gives her a little extra room too 🙂
Thank you!??
Do you have a pattern using this same size hook and pattern but for a whole beanie rather than a bun beanie??
I’ve made the bun beanie and I love it but I’m also interested in making a regular beanie in this same manner.
Sure! You can start with these first two rounds, instead of starting with the open top. Then just proceed with the rest of the hat 🙂
—
Magic ring, 11 DC in magic ring, join to first DC, chain 2
Round 2: 2 DC in each around, join, chain 2
How do I get it?
Achei muito bonita atouca de crochê e vou fazer uma para mim. Obrigada.
Maceió – AL
03/01/2017.
This is such a simple and easy pattern. Thank you so much for sharing. This is the best and most user friendly pattern and video I have seen for this style hat. Thank you again!!!
I loved your easy instructions on the hat can’t wait to see how mine turns out
I haven’t tried crocheting yet. The task seems a little daunting to me. So as a beginner knitter I have tried looming hats with great success. Is there any way to adapt this pattern to a loom? Thanks so much!
Ooh that’s a good question – I’ve never loomed so I would have no idea how to convert it!
I suck at crocheting in the round. Can you tell me after row 6 do you have 36 stitches ? Is this how many stitches you should have for the rest of the rows?
Yes!
I made this for my 12 yr old granddaughter but it needs to be a little bigger. Guess she has a big head. Lol. Can you give directions to make it bigger please
The round of sl sts at the bottom of the hat tightens it up a lot. I would leave that out and make another round of Sc instead to finish off. That should loosen things up perfectly! 🙂
awesome
If it’s too small make the 6th row 2dc and 8 sc, repeat. Then proceed with sc for rest of rows.
Thank you for this pattern I love it!
Love love love this hat! Cannot wait to try the pattern and make one for myself!!
Really like this pattern
I love this pattern! Made several for my girls. It is so easy.
I want to use this pattern to make a regular beanie without hole for my grandson. How can I do this?
Hi! I love this hat! The pattern and video is so well done and so easy to follow. However, I’m new to following patterns and had to rip it out a few times. Somehow, I wasn’t coming up with extra stitches after the row with the “2sc 6sc” series. I don’t know where I messed up with my count on the stitches. Can u help me? Could you give us a stitch count for the first rows before the rows of sc? That may help. I’m going to try it again-I just love this pattern and your way of explaining it in your video. You did an excellent job! Thank you so much for sharing this. This is -by far- the BEST MESSY Bun Hat on Pinterest!
Thanks Pam! I’ll work on getting stitch counts together for you all very soon 🙂
Have ordered this pattern have not received the download payment has been deducted from my bank
Thanks
I’ve sent you a message on Etsy Sharon.
Love watching your videos, I’m learning so much.
Thanks, I’ve been lookin for a ponytail beanie!