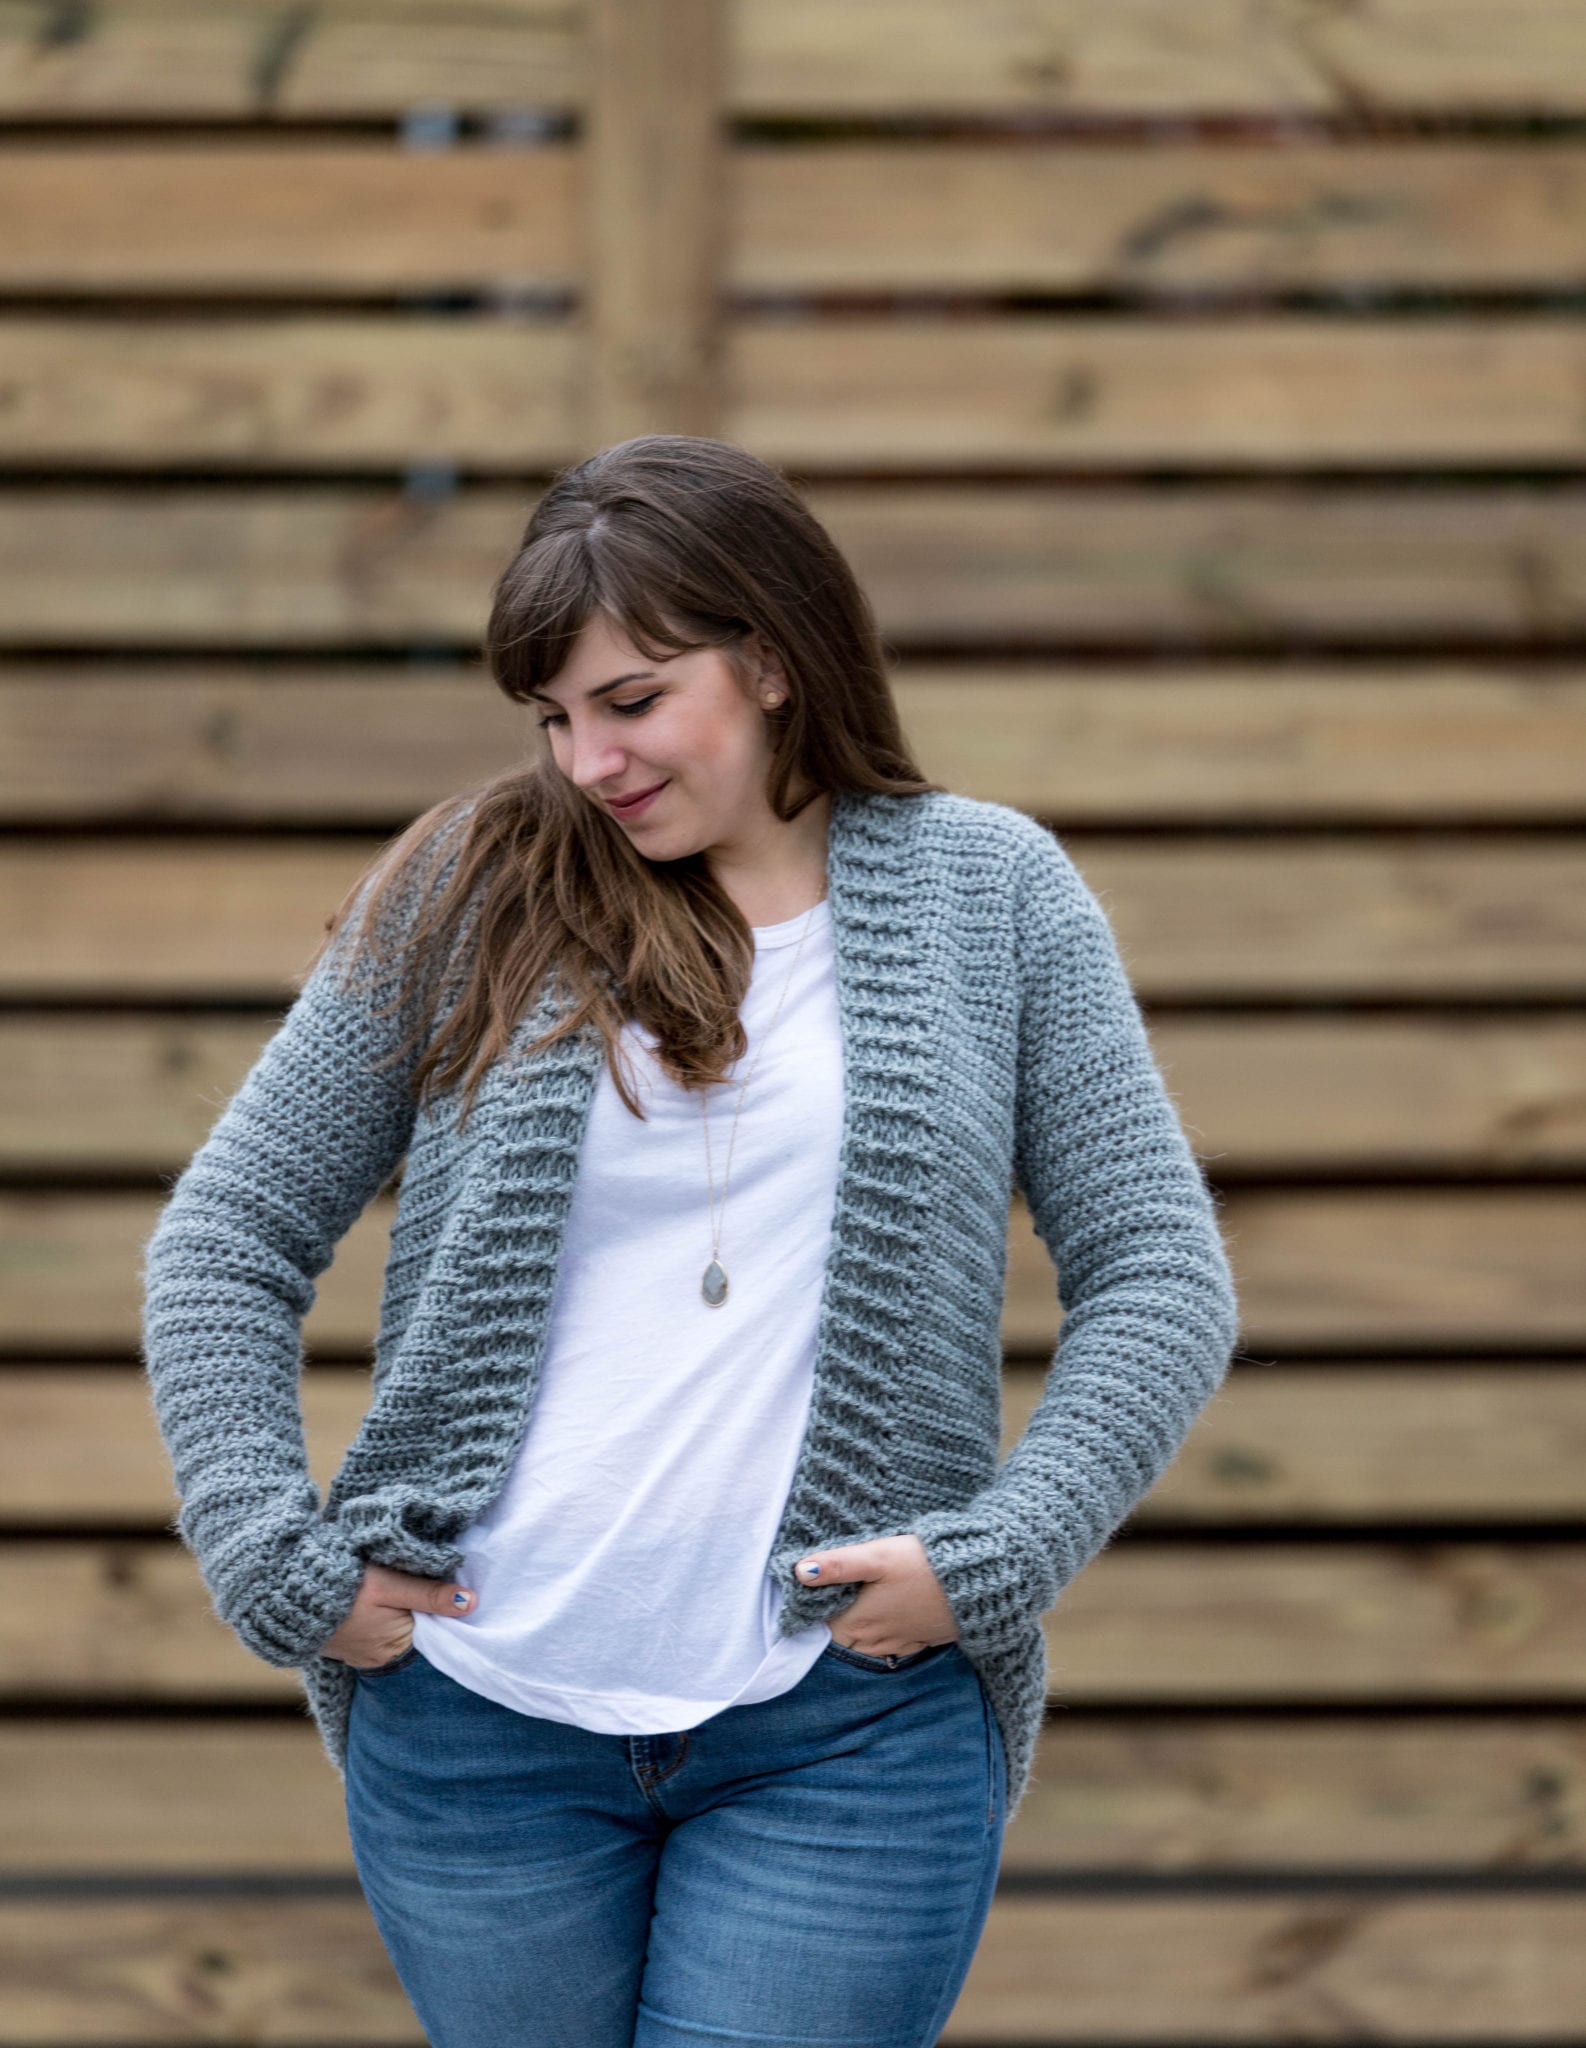
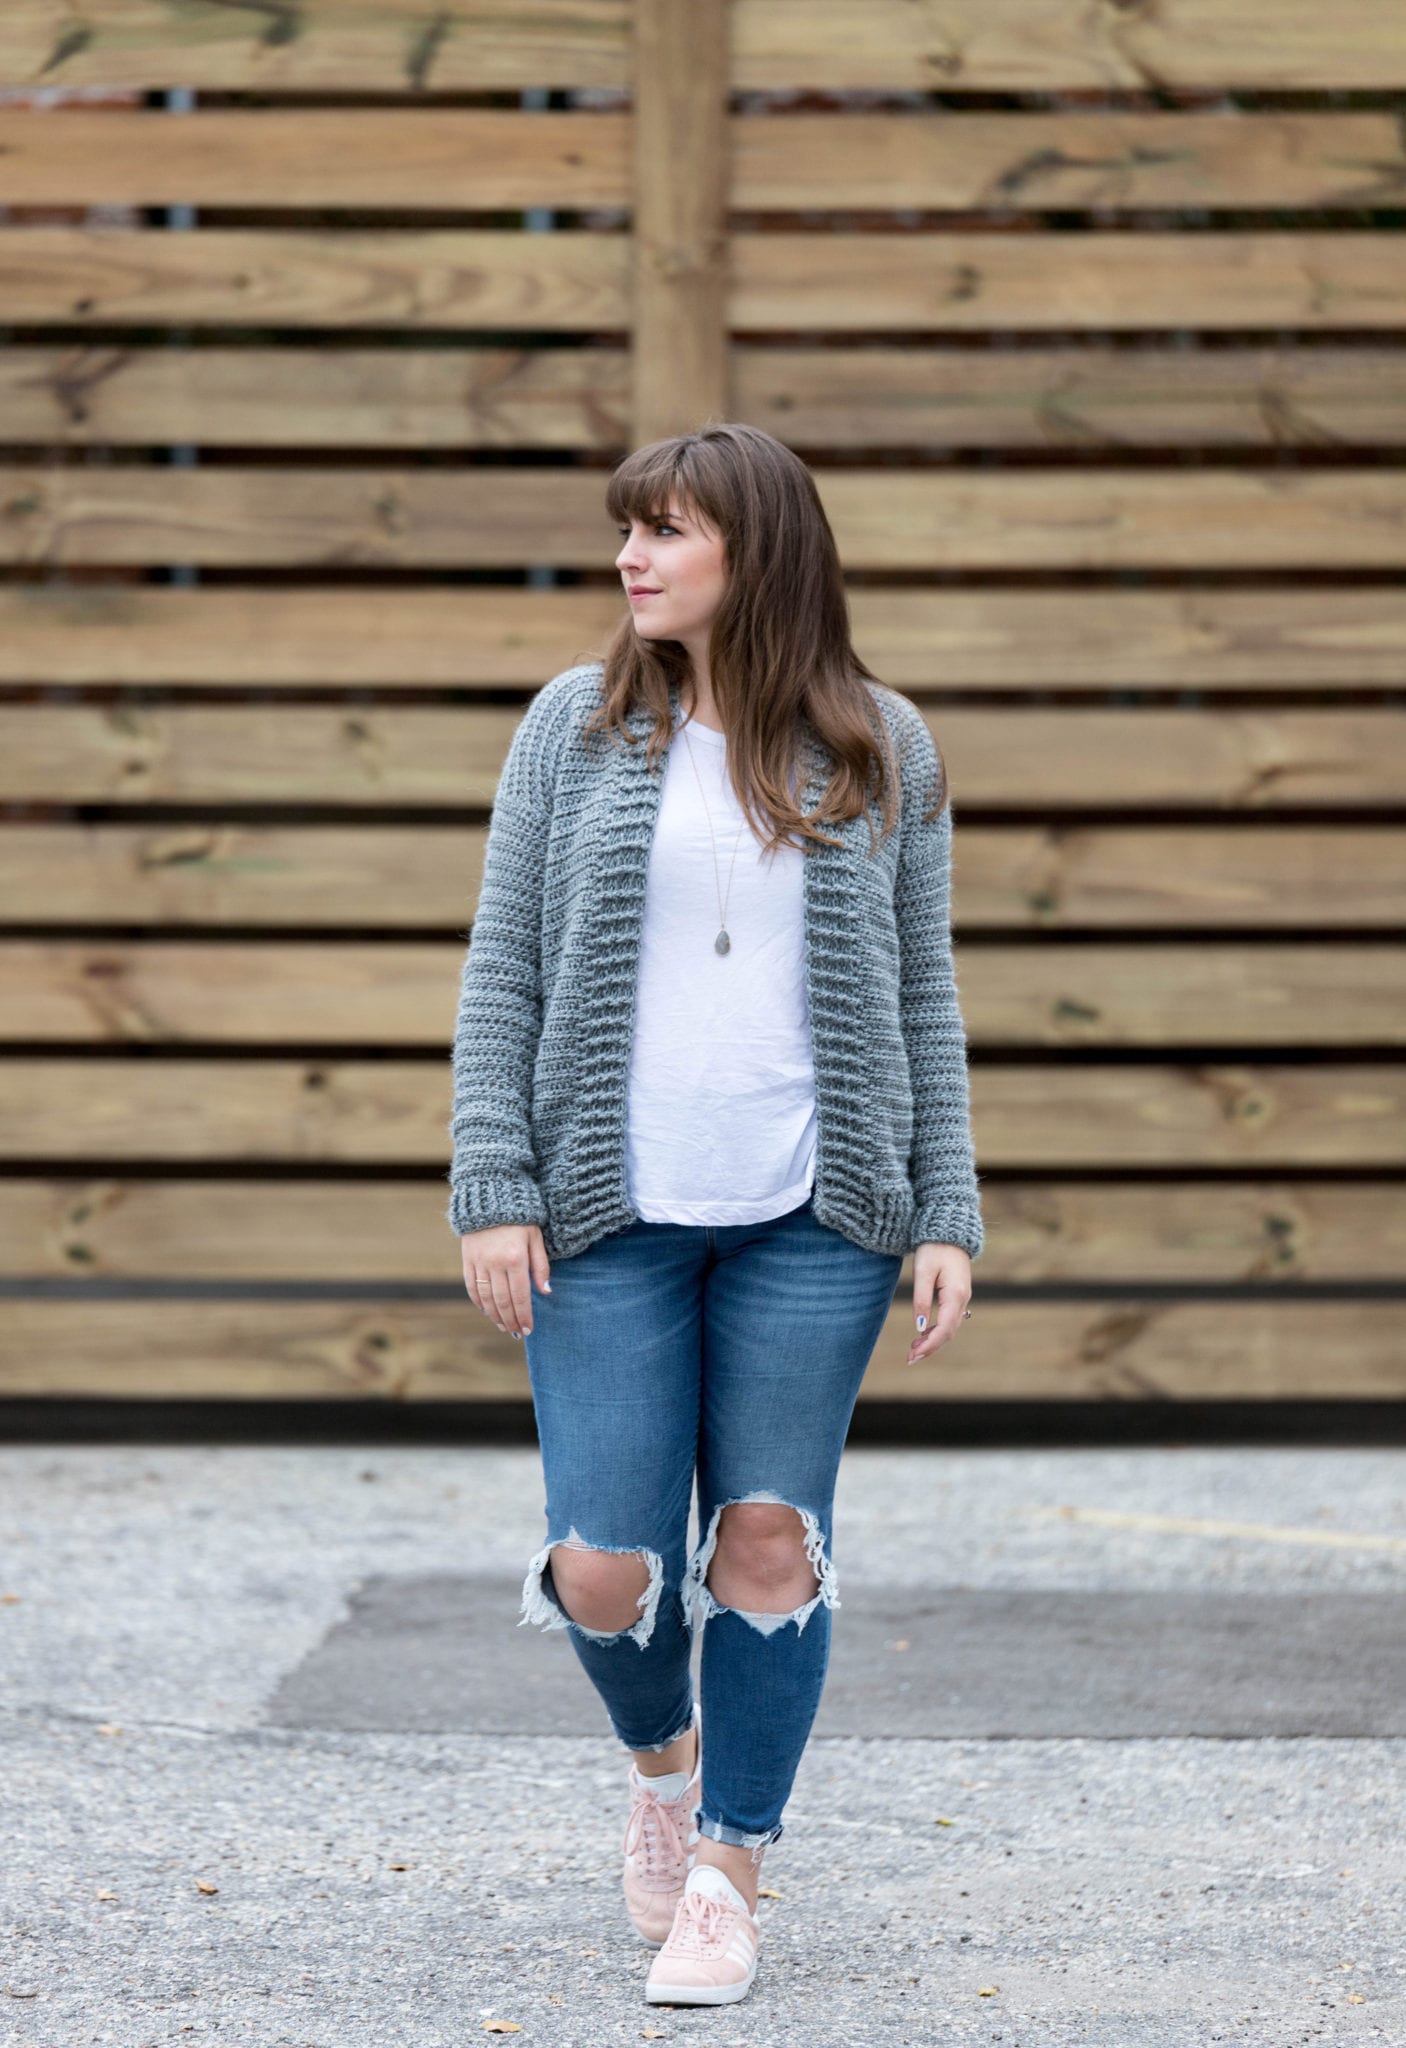
Free Crochet Cardigan Pattern – my everyday cardigan sweater pattern is simple and fun! All you need is some worsted weight yarn and a crochet hook to make this easy free crochet cardigan pattern. Check out the details on the design process and the yarn I chose or scroll down for the free pattern.

This Free Crochet Cardigan really *is* beginner friendly
You know how sometimes you look at a pattern and it’s gorgeous but devastatingly intricate? Not here. I designed the Everyday Cardigan to take you from an “I can only make scarves and blankets” crocheter to an “I can make my own clothes!!!” crocheter. All it takes is one good sweater to flip the switch and allow you to wrap your head around garment construction in a much bigger way.
Really this pattern is a series of rectangles that you sew together – that’s it! So I whole-heartedly believe that if you can crochet a simple scarf you can crochet a simple sweater, honest. I’ll take you through the whole thing in a video tutorial too so don’t stress. You got this!
The Inspiration + Design
Firstly, we all have that cardigan in our closet that is our go-to, right? It’s that sweater we always grab on the way out the door that goes great with every outfit, is super comfortable and soft. It’s got the perfect length and fit, while still being really REALLY comfortable (can you tell what I value in my clothes?).


For example, my go-to cardigan is an old olive colored one that (surprisingly) goes with everything! From blush colored dresses to a black t shirt, this cardigan goes with it all. So I used it as a template to crochet my own version! Most importantly, I wanted heavier ribbing on the hemline and neckline for my handmade sweater, with the same great drape and comfy fit.
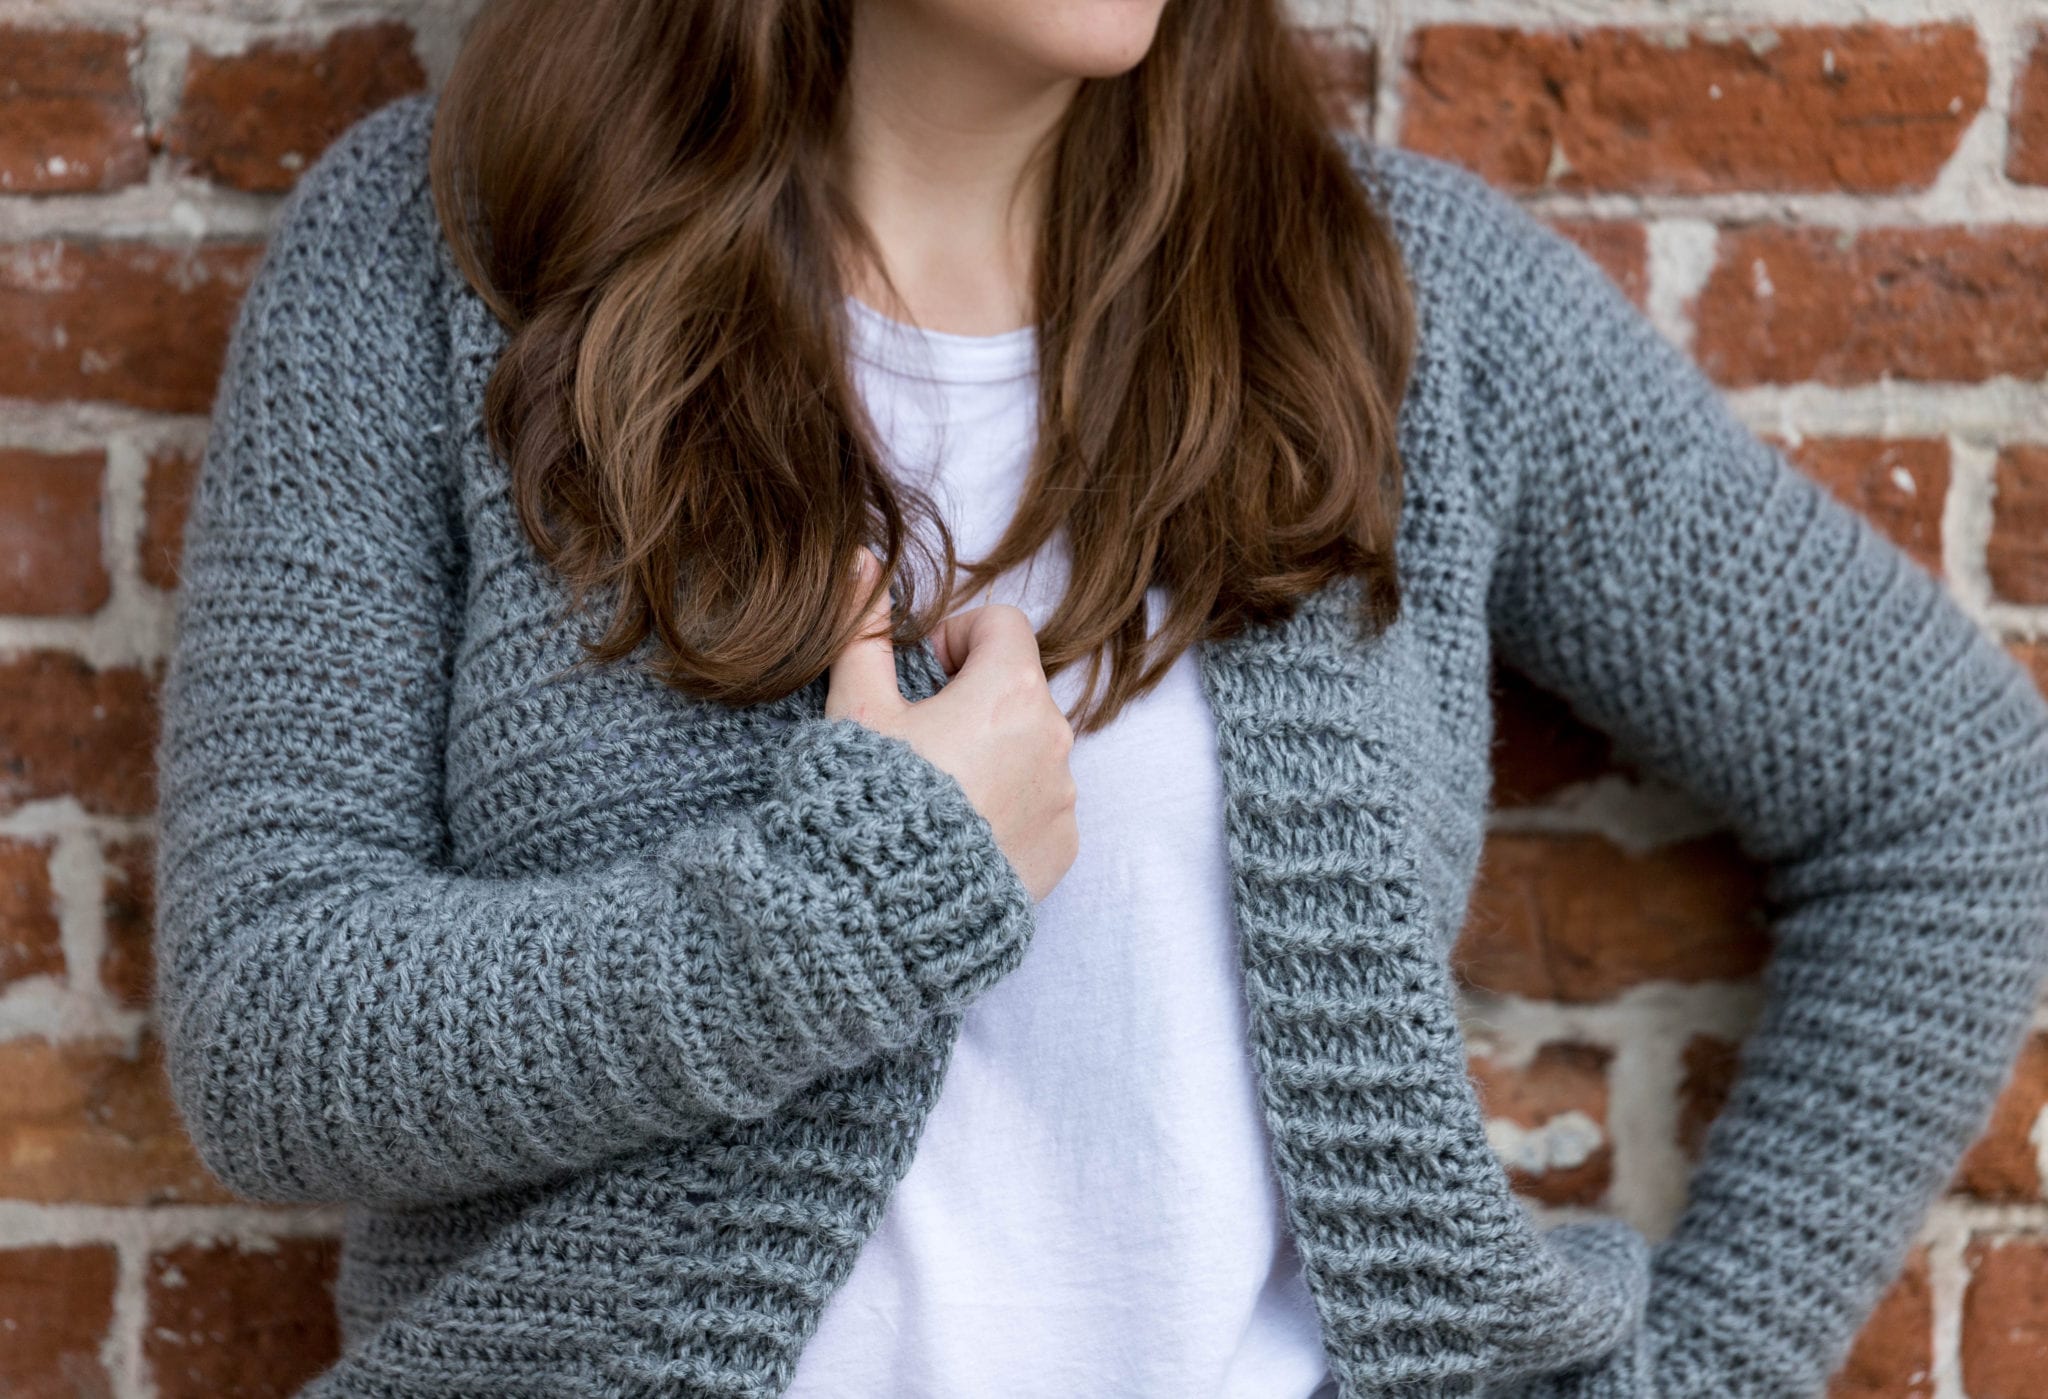
I thought about getting fancy with the type of stitching for the body of the cardigan, but when I worked up a test swatch of Lion Brand’s new Touch of Alpaca yarn in simple half double crochets, I realized that this was the stitch I wanted to stick with. It creates subtle lines in the body of the cardigan with enough drape to be super flattering.

To sum up, before you get too bummed that you’ve never made clothing and that this may be out of your wheelhouse, I promise – it’s not! I designed this pattern with the crochet newbie in mind. So welcome to the world of making your own clothes! It’s nice here, and I promise you’ll like it.
The Yarn
Grab the kit to make this pattern in your size with a printed copy of the instructions from the Lion Brand website! It’ll include all the Touch of Alpaca yarn you need to make this Free Crochet Cardigan Pattern in your size and a printed copy of the pattern below, delivered right to your door.
Just in case you need more visual aids, below is the handy video tutorial to watch how I make this pattern in size Medium.

PATTERN
- Get the ad-free, large print, printable PDF pattern HERE.
- Grab the Ultimate Pattern Bundle that includes 150+ patterns just like this one on sale for $20 today HERE.
- PIN this pattern to your Pinterest boards for later HERE.
- Add this pattern to your Ravelry queue HERE.
Materials:
–Lion Brand Touch of Alpaca yarn (4/Medium, 3.5 oz, 207 yds)
(5, 6, 6, 7, 7, 8, 8) skeins in Oxford Grey
Grab the kit with everything you need from Lion Brand Yarn here!
Shop all of my favorite tools & materials HERE!
Sizes:
XS, S, M, L, XL, 2XL, 3XL
Gauge:
13 sts x 11 rows in Hdc = 4”
Measurements:
Bust: 34 (38, 42, 46, 50, 54, 58)”
Length: 19.5 (20.25, 21, 21.75, 22.5, 22.5, 23.25)”
Armholes: 6 (6.5, 7, 7.5, 8, 8.5, 9)”
Skill Level: Level 2 Easy
Notes:
-This Free Crochet Cardigan Pattern fits true to size. For reference, model is 5’5” tall, and wearing the Everyday Cardigan size Medium.
-Sizing listed in the Free Crochet Cardigan Pattern will be in X-Small with Small, Medium, Large, Xl, 2X, 3X, and 4X listed in parenthesis such as 36 “(41, 46, 51, 56, 61, 66)” whereas Ch 36 for size XS, 41 for size S, 46 for size M, 51 for size L, 56 for size XL, 61 for size 2X and 66 for size 3X. When only one number is given, it applies to all sizes. Likewise, to follow pattern more easily, circle/highlight all numbers pertaining to your size before beginning.
-Free Crochet Cardigan Pattern is worked by first making the back panel, continuing with adding the front panels without seaming, seaming up the sides, adding hemline and neckline ribbing, and making sleeve pieces separately to seam later. Likewise, assembly instructions will be the same for all sizes.
-Additionally, the video tutorial helps a lot with this, be sure to view that above.

Free Crochet Cardigan Pattern
Back piece:
Ch 51 (55, 57, 61, 63, 65, 67) Hdc in 3rd st and across, t
Row 2: Ch 2, Hdc in each st, Ch 2, t <50, 54, 56, 60, 62, 64, 66>
Repeat Row 2 until you finish 54 (56, 58, 60, 62, 62, 64) Rows.
Proceed to front panels without breaking yarn.
Front Panels:
First panel
Row 1: Hdc in each of the next 24 (26, 27, 29, 30, 31, 32) sts, t
Row 2: Ch 2, Hdc in each st, Ch 2, t <24, 26, 27, 29, 30, 31, 32>
Repeat Row 2 until you finish 54 (56, 58, 60, 62, 62, 64) Rows.
Finish off yarn.
Second Panel
Continuing beyond last st of First Panel Row 1, skip 2, join yarn to next st
Row 2: Ch 2, Hdc in each st, t <24, 26, 27, 29, 30, 31, 32>
Repeat Row 2 until you finish 54 (56, 58, 60, 62, 62, 64) Rows.
Finish off yarn, weave all ends from front and back panels.
Side Seams:
With a spare piece of yarn (cut to about 3x the length of the side seam), use a mattress stitch to seam up the sides of your cardigan.
Leave armholes 6 (6.5, 7, 7.5, 8, 8.5, 9)” long.
Repeat side seam on the other side. Weave all ends.
Sleeves:
make 2
*Worked from the cuff up in the round and seamed to the armhole
Ch 22 (24, 26, 28, 30, 32, 34), sl st to the first Ch of the round (next to the slip knot) to form a ring
Round 1: Ch 2, Dc in each st around, sl st to join <22, 24, 26, 28, 30, 32, 34>
Round 2: Ch 2, *Fpdc, Bpdc, rep from * around, sl st to join
Rounds 3-5: Repeat Round 2
Round 6: Ch 2, Hdc in each st, sl st to join, t
Rounds 7-18: Repeat Round 6
Round 19: Ch 2, *2 Hdc, Hdc next 5 sts; repeat from * around, Hdc in any remaining sts, sl st to join, t
Rounds 20-24: Repeat Round 6
Round 25: Repeat Round 19
Rounds 26-29: Repeat Round 6
Round 30: Repeat Round 19
Repeat Round 6 until you finish Round 52 (54, 55, 56, 57, 59, 60)
Finish off leaving a very long tail for sewing, whip stitch sleeve onto armhole and weave ends.
Hemline Ribbing:
Join yarn to the last row of your front panel (if you are looking at the cardigan, not wearing it, this will be the corner on the right panel [or left panel if you’re left handed]), Ch 2, Dc in each st around the entire hemline of the cardigan (working over the first front panel, over the side seam, across the back panel [you’re working into the original foundation chain here], over the second side seam, and across the other front panel), t
Row 2: Ch 2, Dc, *Bpdc, Fpdc, repeat from * in each st, Dc in last st, t
Row 3: Ch 2, Dc, *Fpdc, Bpdc, repeat from * in each st, Dc in last st, t
Rows 4-7: Repeat Rows 2 – 3
Row 8: Sl st loosely in each st, Ch 2, turn your cardigan to work down the selvedge edge of your neckline, do not break yarn.
Neckline Ribbing:
Dc evenly in each st around entire neckline (working 1 Dc into each of 3 skipped sts between front panels) until you reach other side of ribbing, turn
Row 2: Ch 2, Dc, *Bpdc, Fpdc, repeat from * in each st, Dc in last st, t
Row 3: Ch 2, Dc, *Fpdc, Bpdc, repeat from * in each st, Dc in last st, t
Rows 4-7: Repeat Rows 2 – 3
Finish off, weave all ends.
Abbreviations (US terms):
ch – chain
hdc – half double crochet
dc – double crochet
fpdc – front post double crochet
bpdc – back post double crochet
st(s) – stitch(es)
t – turn
OTHER FREE CROCHET + KNIT CARDIGAN PATTERNS

1. Crochet Everyday Cotton Cadigan / 2. Knit Betty Cardigan / 3. Crochet Slouchy Stripe Cardigan
Thank You:) Looks great I am new to crochet garments.
Your pattern looks so easy. I love they way it looks. Will be trying it soon. This was sent to me in my email so hoping I can keep getting to it from my email since my printer is broken at this time. I want to make this for my daughter Thank you so much
I love love love this cardi, but only get the Not Found error message when I try to see the video demonstration, though I used the link provided above. How do I find it?
Also, the web page flat-out refused, ever, to make a PDF, in spite of me trying every method I know. None of the tricks up my sleeve worked. (I’m on an Apple laptop, not a mobile device.) I finally had to copy-paste the instructions manually, and download the individual jpgs to get the pictures. Shows you how much I want to make this sweater, LOL. But I really would love to see that video (and be able to PDF-ify your gorgeous patterns). Thanks!
video should be working now 🙂
Still no luck! Nothing seems to be hyperlinked – the HERE prompt just acts like ordinary text and doesn’t do anything, and I’ve tried in 3 different browsers. Is there an URL we can paste in? No address shows in my status bar. Thanks!
https://www.youtube.com/watch?v=qK5y82OLB7k&list=TLGGPmDm7G3Yh_gyNjExMjAxNw
try this??
I can’t wait to make this! I’m having trouble finding this yarn for a decent price or at all really. Will it be available as a kit on Lion Brand?
It will be as of next Monday!
I just bought the everyday cardigan and never received it my name is Samantha Ramsden and my email is [email protected]
Working on thi now. Anyway to get a downloadable version?
This is a gorgeous cardigan and I think it will be one of the first I make as I’m new when it comes to garments and from seeing the video I feel confident I can manage this.
I wanted to ask your advice as I’m vegan so can’t use the recommended yarn. Do you have any suggestions that would work well for a garment that doesn’t have any animal fibres in the yarn? I recently worked with Lion Brand Heartland I think it was called and this ended up lovely and soft once worked up (I made a hat – yarn also felt sift to touch as a ball before working up), do you think this would be a good alternative? I’d love any advice you can give me as this will be my first garment. I usually work mostly with cotton so I’m not sure if that’s a good option for this or whether you’d suggest another yarn.
I hope you can help and thank you so much for your time.
Rosie aka Bedcrafter x
Heartland would be beautiful!
Thank you so much :-). I’ll look at costing this up as an option. Is there any other suggestions you have that are non animal fibres? I’d be grateful for any suggestions you have.
Thanks again so much, I can’t wait to make one for me next year when I have some more time to make for me.
Rosie 🙂
Hi,
Lion brand pound of love , I think would also be a great choice and economical!
Can’t wait to make this, thanks for sharing. Is there a sizing guide? I tend to fall between sizes.
I follow the Craft Yarn Council size charts. You can find them here: https://www.craftyarncouncil.com/womansize.html
I really like this pattern. But I am confused between the written pattern and your video. You say use a K hook, but your pattern says a J hook. Plus you said you are doing the medium with 57 chains, but the pattern calls for 46 chains for the medium. I don’t think I want to attempt this pattern with these huge discrepancies since I would need the 3XL size cardigan.
I haven’t started mine yet… I bought my yarn yesterday ? However I’m confused when reading through this section of the pattern for the sleeves…
“Round 25: Repeat Round 19
Rounds 26-29: Repeat Round 2
Round 30: Repeat Round 19
Repeat Row 2 until you reach the correct length for your size as follows:”
This appears to instruct me to repeat the row with front post and back post dc. Is that correct?
I should also note that the photo doesn’t seem to match the instructions for the sleeves..
yes correct karetha miller. i made xs size for me, width size is ok but length is too big. you follow this pattern with lion brand mean goes very big and need extra more than 6 balls. but very nice pattern i love it. please can you put correct lengh size after tutorials Sewrella 🙂
In the blog post you say to use a J hook and to skip 3 stitches before starting the second panel, in the video you say you use a K hook and to only skip 1 stitch… I’m just wondering which one is the correct one? 🙂
Do you have any sizes for children?
Hi Ashleigh,
I have been working on your everyday crochet cardigan all weekend long and so far I have frogged more times than I can count.
First all I think it would be helpful if at the end of every row how many stitches we should have and if the chain two counts as a stitch.
Also what I. Finding confusing and where I’m stuck at is in the back panel where it says skip 3 stitches but then on the video it says skip only one , which one to do I’ve done already the first panel but the second panel it’s not making sense and the stitches are not adding up and I’ve counted plenty of times my stitches and my stitches are correct from when I started the back panel and the fist panel.
Please help I really want to finish my cardigan!
Thanks ? in advance!
hi do u have any free patterns for doing dk easy cardigan? and could I use dk wool to do this pattern ?
How come for the sleeve rounds 20 to 24 to repeat around 2?
Round 2: *Fpdc, Bpdc, rep from * around, sl st to join, Ch 2, do not t
I am kind of confused.
Thank you so much for sharing your talents with us. I am making this cardigan for a family member of mine and I have never been so confident in making an article of clothing like I am with this one. I will definitely be making more and following your work.
I bought the pattern yesterday and haven’t received it yet. hoping I will be receiving it today. said my receipt was emailed to me I haven’t received it either. my email is [email protected]
Hi I’m a new at crocheting. I have picked it up fast my problem is I have started this project but I guess my stitches are loose it seems like its to wide. Stitches are the same count for every row it just seems to get wider. I have done 20 rows for a large I need to do 60 rows but its already half way up my back.
Hi, I’m loving this cardigan. It’s working up nicely. I have a question, though about where to put double crochets around the neckline. I’ve watched the video but still can’t tell where the dc goes exactly. I’ve tried a few ways and I either get too much space between stitches or they are too crowded. Can you please post a picture of where to insert my hook on the end rows of hdc?
Work into the end of each row, where you see the turning chain or first stitch – if you stitch into a turning chain (you’ll see a tiny gap), stitch in the next spot, and then stitch in the next turning chain, you should be good!
Hi Ashleigh,
Great video and pattern. Just want to know whether, every Chain 2 at the beginning of a row counts as a HDC too? So when we are doing the next row, we HDC into that one too?
Thanks
Always stitch into the first stitch and never into the turning chain 🙂
Hey I’m fairly new to crochet but I would like to ask and hopefully get a reply, how do I size a cardigan that will fit me? I’ve looked on your patters for help but it just given nothing now
Greetings Ashleigh
thank you for your wonderful pattern..i am just about finishing my second sleeve and I’m so excited because it’s so easy make and its a perfect fit.
i keep trying it on.lol
I.Thank you Ashleigh for your hard work.much appreciated