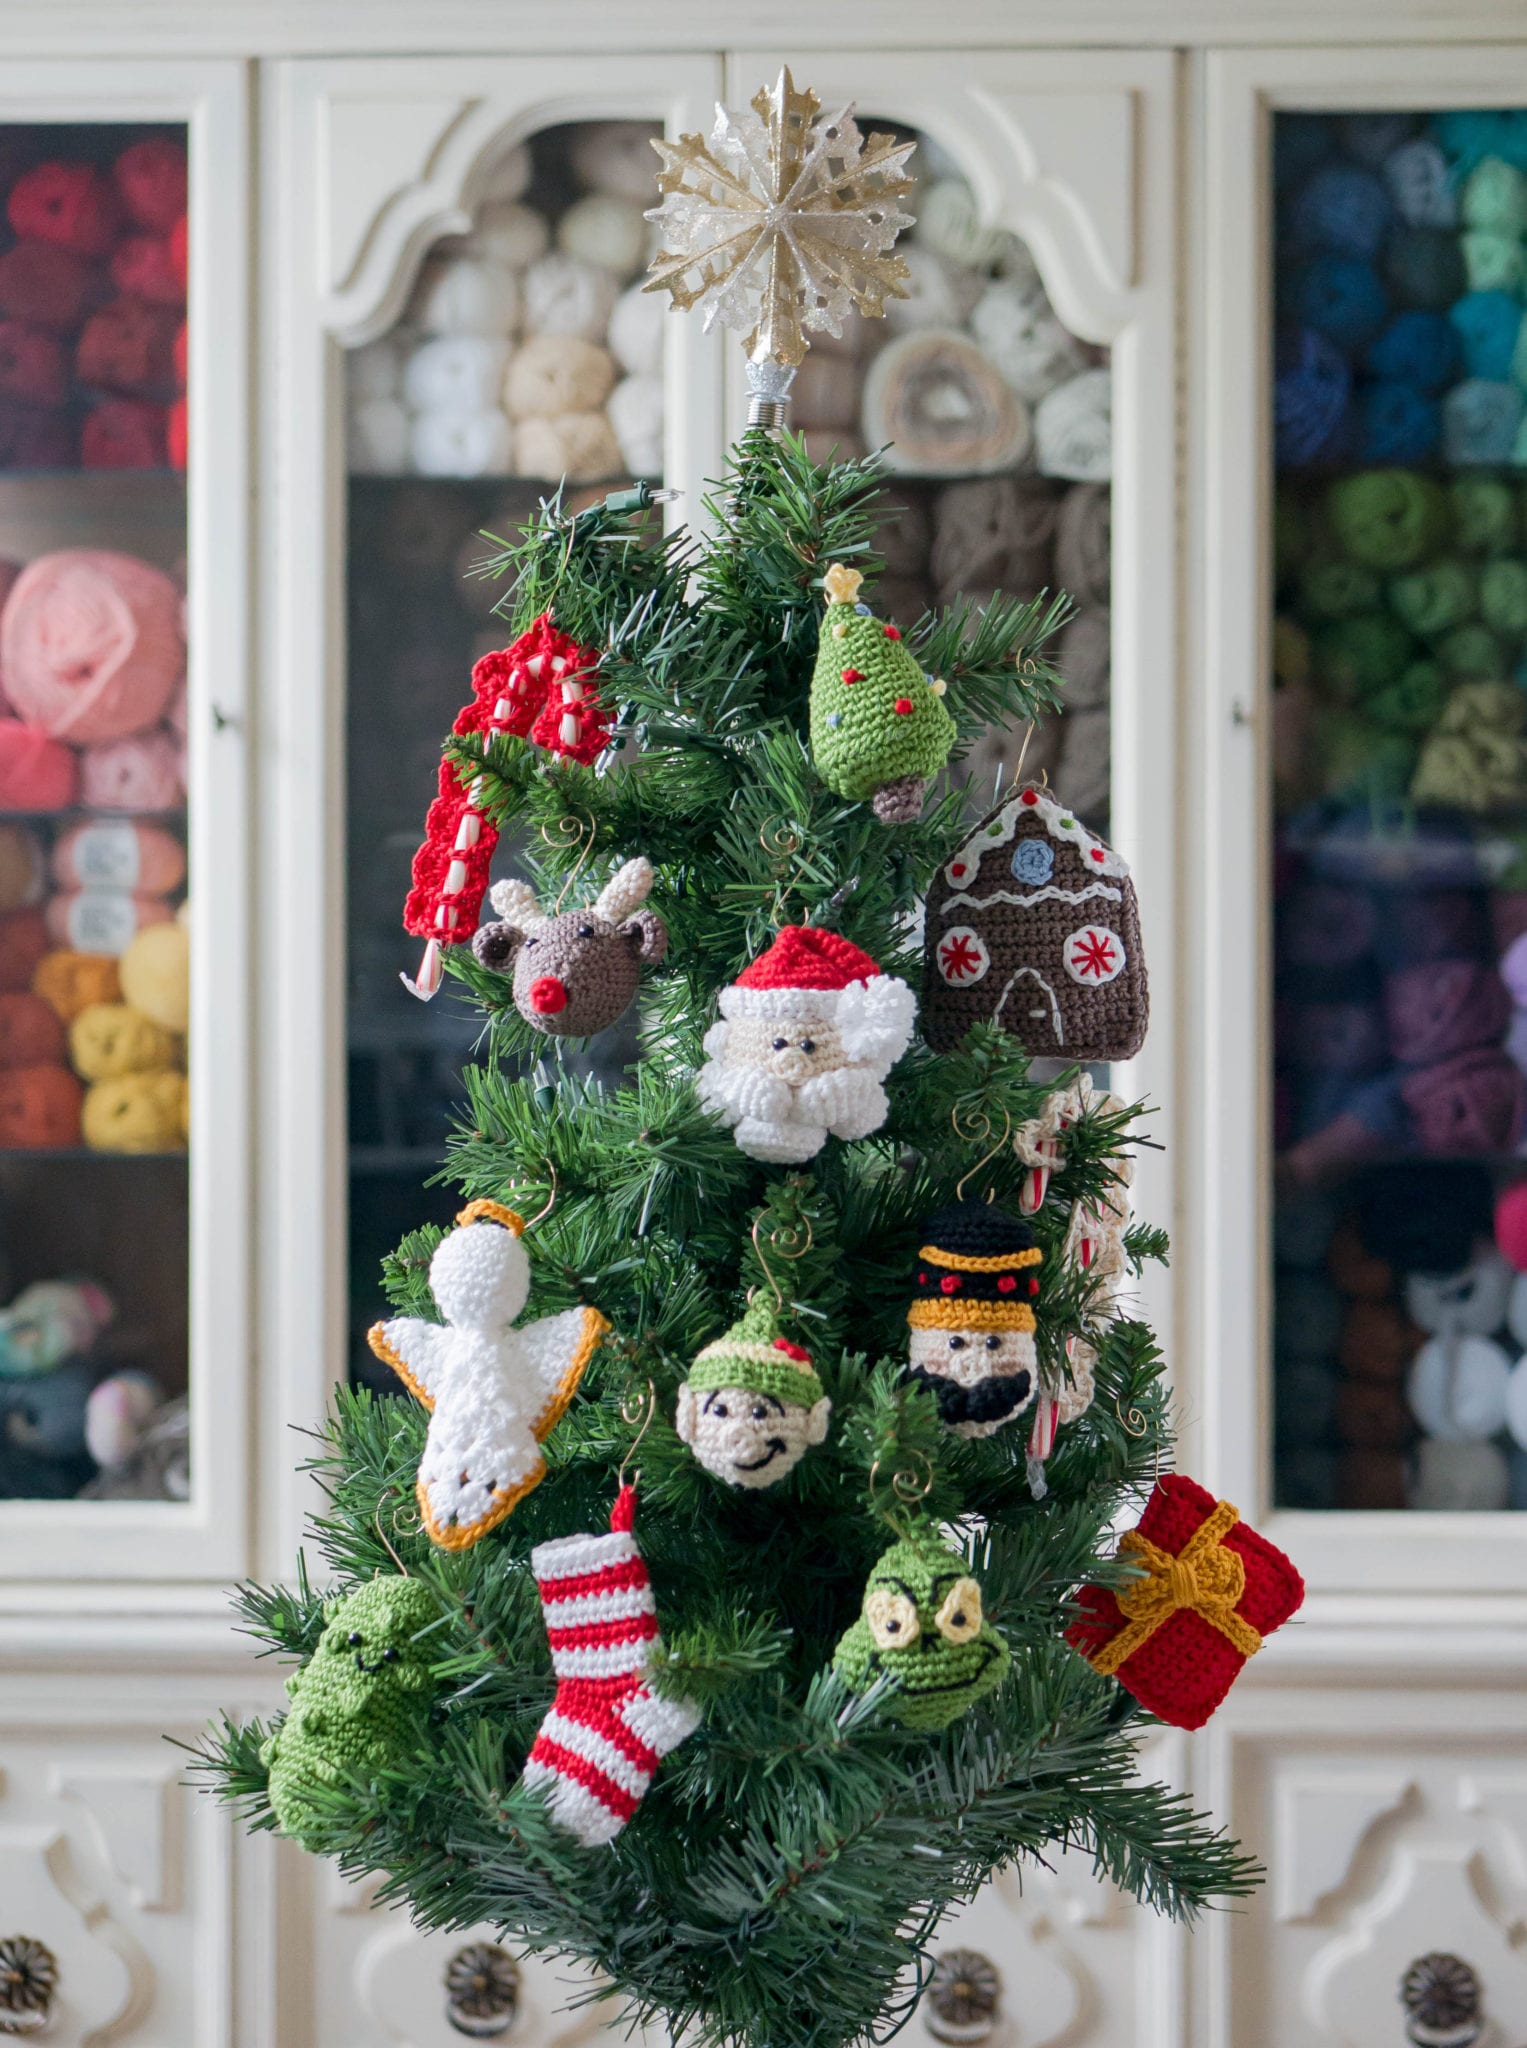
Hello, Merry Christmas and welcome to the Christmas Traditions Ornament Crochet -A-Long here on my blog!
If you are just joining us for this CAL or would like to get all the info on our Christmas Traditions Ornaments – please click HERE to read through the introductory post!

Without further ado, let’s get to our ornament!
{I’d like to mention that even if you are unfamiliar with amigurumi techniques, this pattern is very easy to follow for anyone who knows the basic crochet stitches, don’t be discouraged – you can do it!!}
THE TRADITION: O Christmas Tree! This one is pretty straightforward – put up your Christmas tree! I’ll be practicing this tradition with my family on the first of December, as we always do. Go pick out a fresh tree, or haul your artificial one out of the attic, and put her up for all the family to see.
We don’t decorate the tree the same day as we pick it out and get it up in the stand. Usually, to be honest, that is enough work for one day and we spend some time the following day decorating our tree (hint: watch out later this week for that tradition ornament!). So this ornament’s tradition is to simply put up the tree!
As with this entire project, I’ll be using Lion Brand’s amazing 24/7 Cotton – check out the kit for this project HERE!
PATTERN
- Get the ad-free, large print, printable PDF pattern from Etsy HERE.
- PIN this pattern to your Pinterest boards for later HERE.
Materials:
–Lion Brand 24/7 Cotton in grass, cafe au lait, and a small amount of yellow, sky, and red
-Size E 3.5 mm crochet hook
-Small amount of polyfil stuffing
-Tapestry needle
-Stitch marker
Body of the tree:
**For the body of the tree, don’t join your rounds. Place a stitch marker on the first stitch of each round so that you know when to continue on to the next round.
With grass, make a magic ring, 6 Sc inside ring (6)
Round 2: 2 Sc in the same st, Sc in next 2 sts, repeat around (8)
Round 3: 2 Sc in the same st, Sc in next 3 sts, repeat around (10)
Round 4: 2 Sc in the same st, Sc in next 4 sts, repeat around (12)
Round 5: 2 Sc in the same st, Sc in next 5 sts, repeat around (14)
Round 6: 2 Sc in the same st, Sc in next 6 sts, repeat around (16)
Round 7: 2 Sc in the same st, Sc in next 7 sts, repeat around (18)
Round 8: 2 Sc in the same st, Sc in next 8 sts, repeat around (20)
Round 9: 2 Sc in the same st, Sc in next 9 sts, repeat around (22)
Round 10: 2 Sc in the same st, Sc in next 10 sts, repeat around (24)
Round 11: 2 Sc in the same st, Sc in next 11 sts, repeat around (26)
Round 12: 2 Sc in the same st, Sc in next 12 sts, repeat around (28)
Round 13: 2 Sc in the same st, Sc in next 13 sts, repeat around (30)
Round 14: 2 Sc in the same st, Sc in next 14 sts, repeat around (32)
Finish off, leaving a long tail for sewing
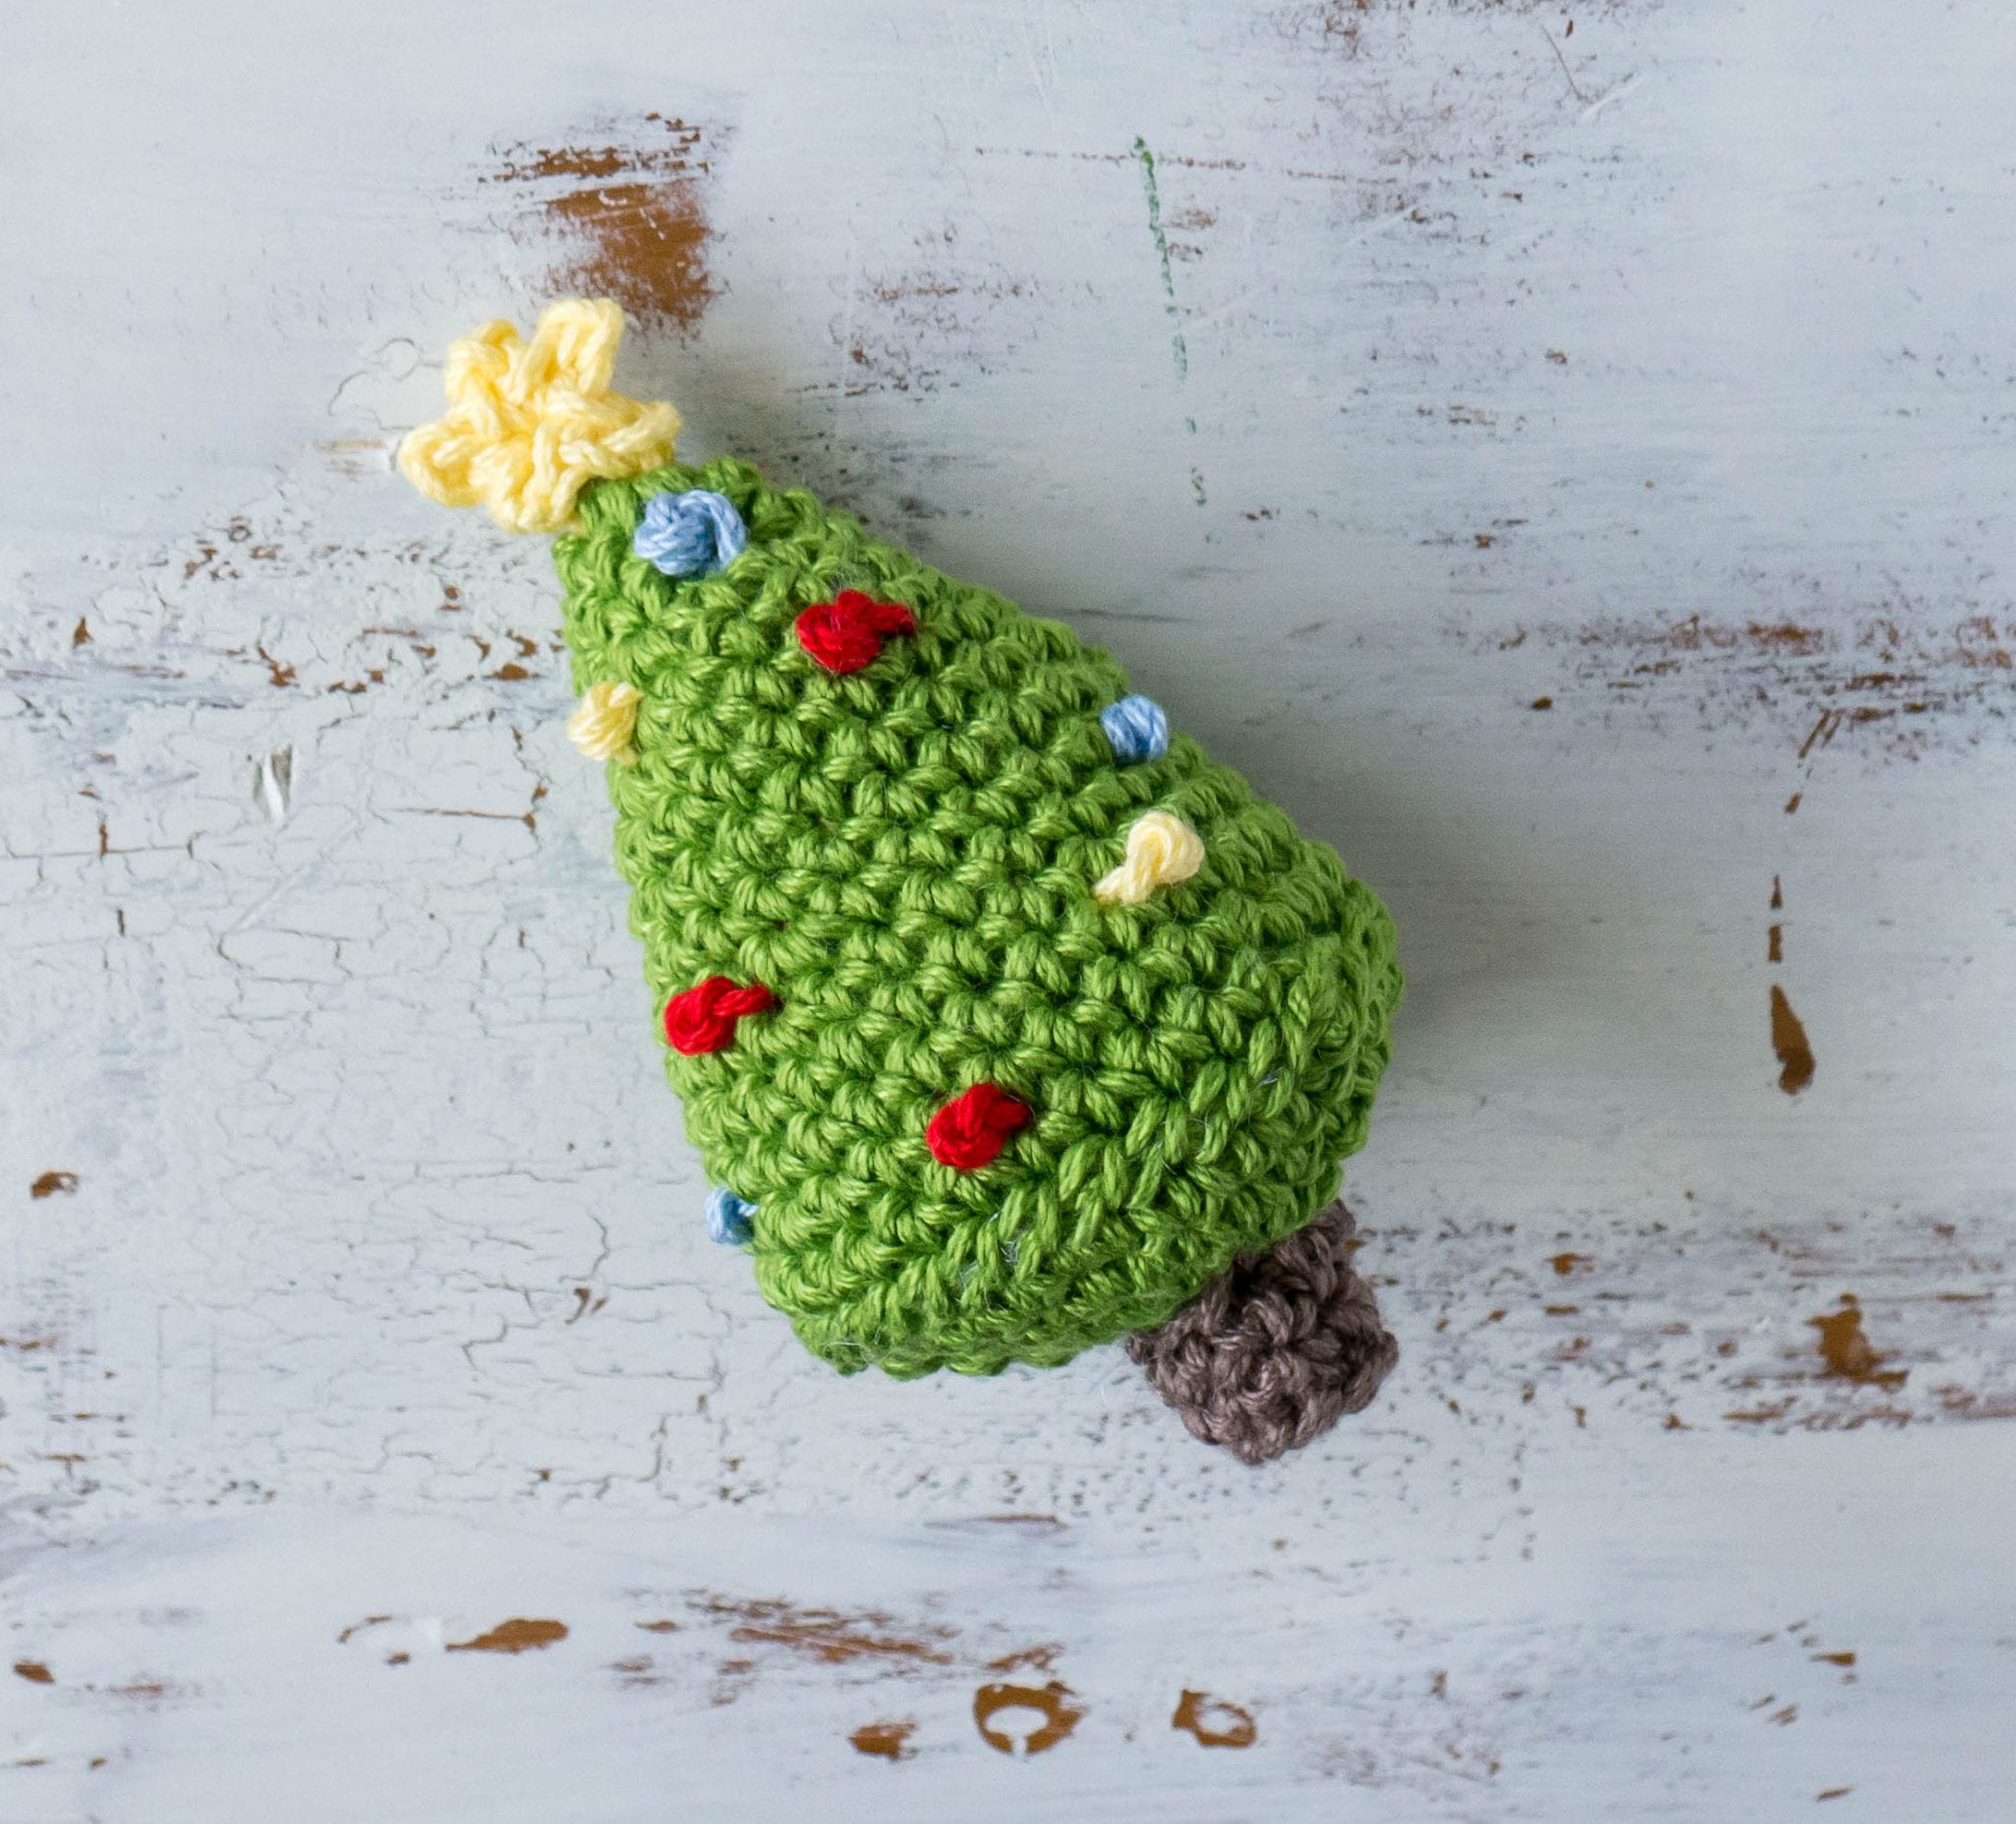
-With yellow, sky, and red, embroider some french knots randomly around the tree
Star:
With yellow, make a magic ring, *Ch 2, sl st in the 2nd Ch from hook, sl st into the magic ring, repeat from * 4 more times (total of 5 points to your star), tighten your magic ring, and finish off leaving a long tail for sewing.
-Sew onto the peak of the body of the tree
Bottom of the tree:
With grass, make a magic ring, 8 Sc inside ring, sl st to join, Ch 1 (8)
Round 2: 2 Sc in each st around, sl st to join, Ch 1 (16)
Round 3: 2 Sc in the same st, Sc in next, repeat around (24)
Round 4: 2 Sc in the same st, Sc in next 2 sts, repeat around (32)
Round 5: Sc in each st around, sl st to join, finish off (32)
Tree Stump:
With cafe au lait, make a magic ring, 6 Sc inside ring, sl st to join, Ch 1 (6)
Round 2: Sc in the back loops only in each st around, sl st to join, Ch 1 (6)
Round 3: Sc in each st around, sl st to join, finish off leaving a long tail for sewing (6)
-Sew onto the center of the bottom of the tree
-Stuff the body of the tree with polyfil stuffing – packed pretty tight so that your ornament holds its shape. It should still have some give when you gently squeeze though, and you shouldn’t see the stuffing through your stitches
-Sew bottom of the tree onto body of the tree – I used a whip stitch and my tapestry needle for this, not a slip stitch or single crochet as you’ll see in some amigurumi joining!
Don’t forget to PIN this project to your pinterest boards!
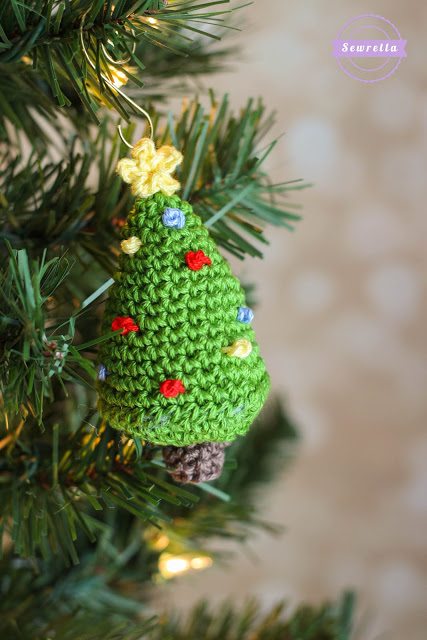
I used some ornament hooks from Amazon to hang this little cutie on my tree and he looks just darling! Put this one on your tree just as soon as it’s up at home!

