Howdy!
It’s August which means it’s back to school season!
“New York in the fall always makes me want to buy school supplies” – name that movie!
^One of my favorite chick flicks ever. I digress.
BACKONTOPIC
I love love love the back to school, supply-buying season. At the moment my little peanut is 2.5 months old so he has no need for school supplies but dangit, I feel the need for all the things!
So I’ve put together a Back to School Series of crochet goodies with Lion Brand using their new 24/7 Cotton – I love this yarn for its mercerized, shiny, durable quality – perfect for standing up to little hands! I’ll have several more super cute back to school designs coming out in the next few weeks so be sure to stay tuned {make sure you follow me on Instagram, Facebook, and Pinterest!}.
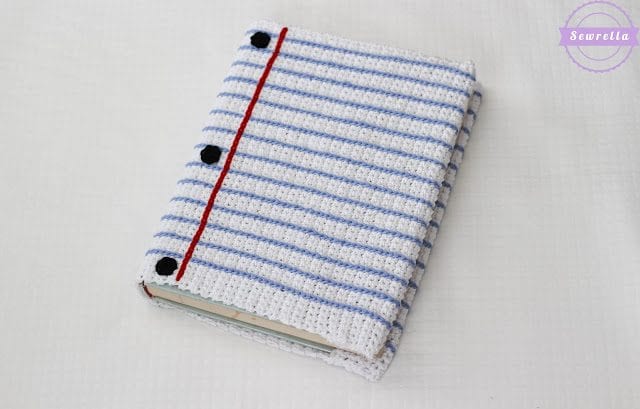
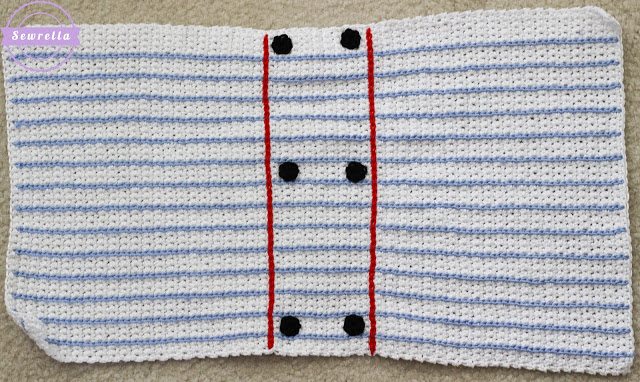
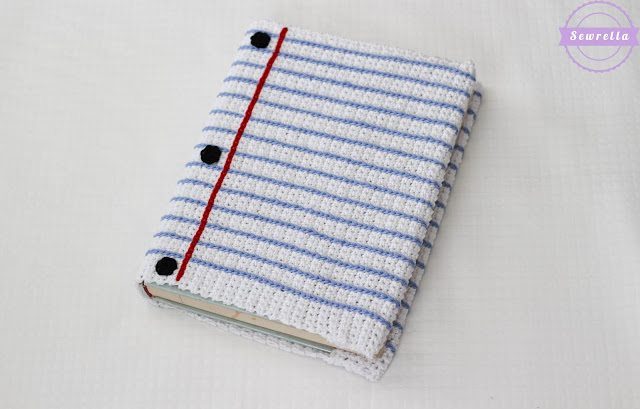
Without further ado, here is my crochet textbook cover, made to look like notebook paper! You could easily stitch the school subject name on the binding part of the cover – “Math” “Science” or “English.” I chose to leave mine blank so that I can add it in later!
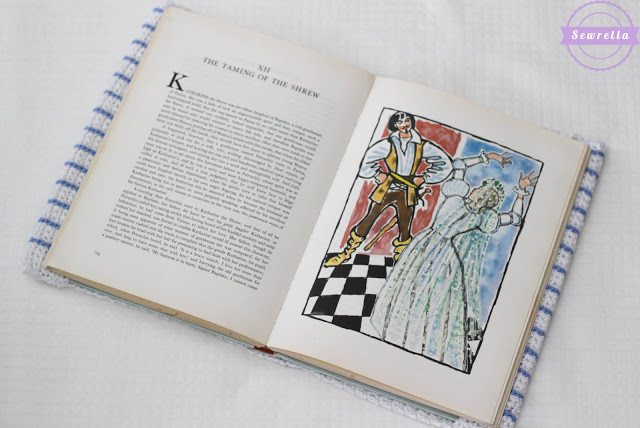
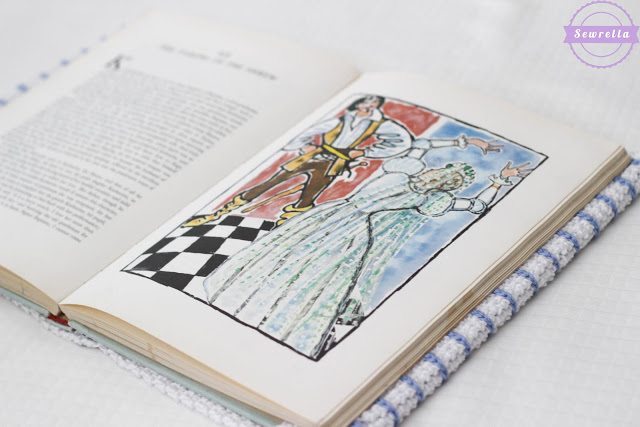
Please be aware, not all textbooks are the same exact size. I used an old Shakespeare textbook for my sample measurements which may or may not be the same size as kids textbooks nowadays. The assembly of this project, however, is fairly simple and you can adjust the number of stitches in each row (height of the book, top to bottom) and the number of rows (the width of the cover side to side). This will make more sense as you look through the pattern below.
All of that being said, 24/7 Cotton, although it does not have much stretch, will move and mold to your book fairly well. I would advise starting the pattern with your textbook handy and if my exact pattern looks to be in the same ballpark size as your textbook – just roll with it. The cover will stretch around your book just fine in the end!
PATTERN
Materials:
-Lion Brand 24/7 Cotton in white (2 skeins), sky (1 skein), red & black (small amounts)
-Size F 3.75mm crochet hook
-Tapestry needle
-Textbook
With white, Ch 49, Sc in 2nd Ch from hook, Sc across, Ch 1, turn
Rows 2-104: Sc in each st across, Ch 1, turn
Finish off, weave ends
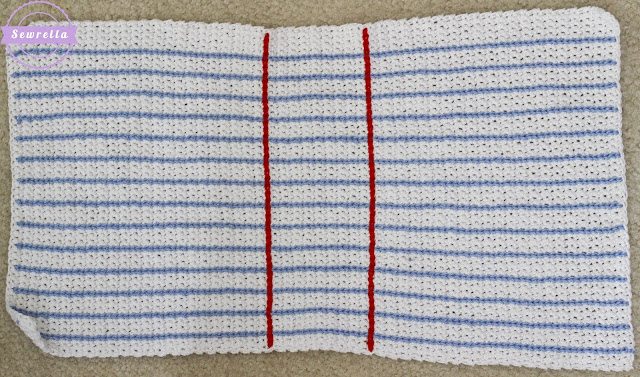
Hold your work so that the rectangle is oriented horizontally (your stitch rows look vertical).
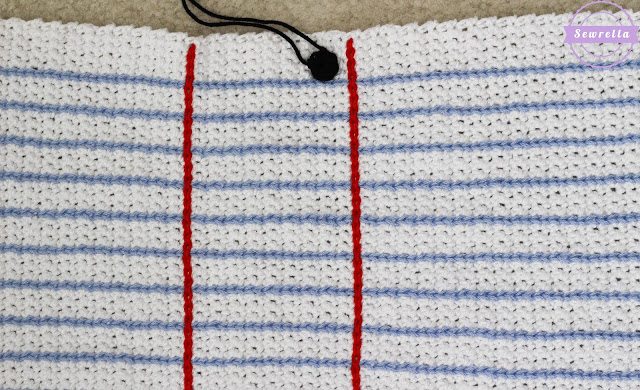
With sky, surface stitch straight lines horizontally skipping 3 rows of stitches in between each row of sky stitches. After each row finish off and weave ends.
Using stitch markers (or bobbi pins!) mark where you want your red lines to lie. To do this I found the center of my work and counted out in each direction 5 rows of stitches. Place your stitch markers.
With red, surface stitch straight lines vertically from top to bottom of your work where your markers lie. Finish off after each row and weave ends.
With black, make a magic ring, Ch 1, 6 Sc inside ring, sl st to join, finish off.
Make 6 black “hole punches.”
Sew each hole punch just inside each of your red lines, one at the top, one in the middle, and one at the bottom on each side.
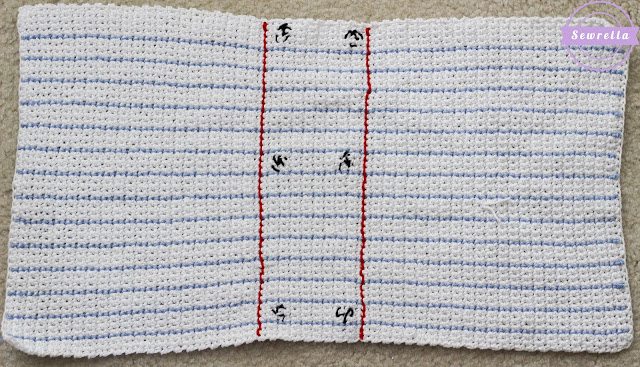
Now we need to whip stitch the edges to make the cover fit onto our book – almost done! Flip over your work (looking at the wrong side).
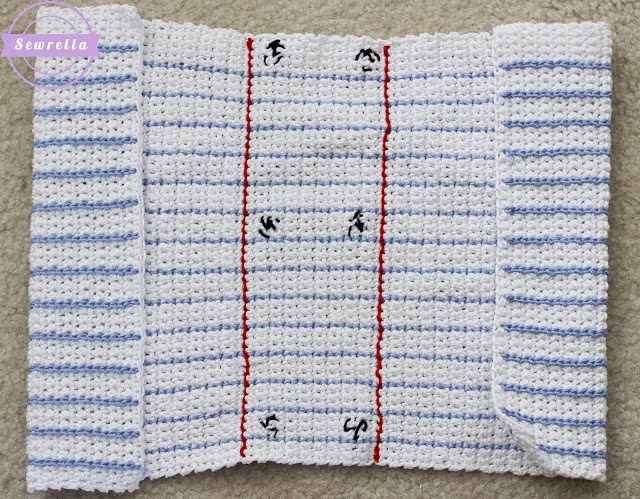
Fold in each end by 12 rows of stitches (about 2in. long).
Cut a piece of white yarn and thread your tapestry needle. Sew up the overlapping edges at top and bottom. Repeat on the other side. Weave in all ends.
Don’t forget to PIN this project to your pinterest boards!
Happy school season!
