Row 10: Sc in back loop of slip st, Sc in next 6, Ch 1, turn
Row 11: Sc in next 7, sl st in next st of Row 4, Ch 1, turn
Row 12: Sc in back loop of slip st, Sc in next 4, Ch 3, turn
Row 13: Skip first Ch, Sc in next 2 Chains, Sc in next 5, sl st in next st of Row 4, Ch 1, turn
Row 14: Sc in back loop of slip st, Sc in next 4, Ch 1, turn
Row 15: Sc in next 5, 2 Sc in Ch 3 space at the bottom, do not turn, continuing up the other side of Row 4 Sc next 7, Ch 3, turn
Row 16: Skip first Ch, Sc in next 2 Chains, Sc in next 3, sl st in next st of Row 4, Ch 1, turn
Row 17: Sc in back loop of slip st, Sc in next 5, Ch 3, turn
Row 18: Skip first Ch, Sc in next 2 Chains, Sc in next 6, sl st in next st of Row 4, Ch 1, turn
Row 19: Sc in back loop of slip st, Sc in next 6, Ch 1, turn
Row 20: Sc in next 7, sl st in next st of Row 4, Ch 1, turn
Row 21: Sc in back loop of slip st, Sc in next 4, Ch 3, turn
Row 22: Skip first Ch, Sc in next 2 Chains, Sc in next 5, sl st in next st of Row 4, Ch 1, turn
Row 23: Sc in back loop of slip st, Sc in next 4, Ch 1, turn
Row 24: Working across bottom of the whole leaf Sc in next 5, sl st in next 2, Sc in next 3, Ch 1, turn
Row 25: Sc in next 3, sl st in next 2, Sc in next 3, Ch 1, turn
Row 26: Sc in next 3, sl st into next, Ch 6, Sc in 2nd Ch from hook and in next 4, sl st in next, sl st in next 3, finish off leaving a long tail for sewing onto wreath
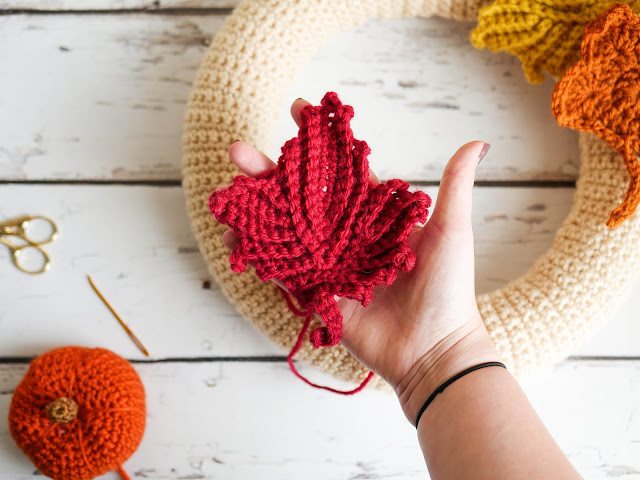
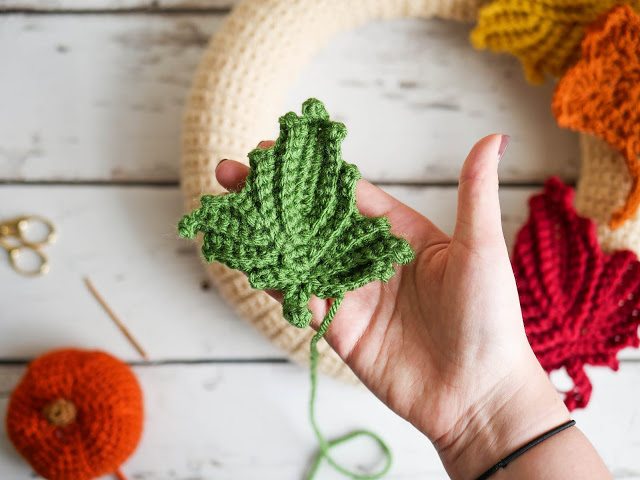
Maple Leaf (small):
*make 1 in fern
*Crochet in the back loop only unless otherwise specified
With G 4.5mm hook Ch 11, Sc in 2nd Ch from hook and across, Ch 2, don’t turn but keep working back up the other side of the Ch, Sc in next 8 sts (not all the way back up), Ch 1, turn
Row 2: Sc in next 8 sts, (Sc, Ch 2, Sc) in Ch 2 space at the bottom, coming back up the other side Sc in next 8 sts, Ch 1, turn
Row 3: Sc in next 9 sts, (Sc, Ch 2, Sc) in Ch 2 space at the bottom, coming back up the other side Sc in next 6 sts, Ch 1, turn
Row 4: Sc in next 7 sts, (Sc, Ch 3, Sc) in Ch 2 space at the bottom, coming back up the other side Sc in next 7 sts, Ch 1, turn
Row 5: Sc in next 4, sl st in next, Ch 1, turn
Row 6: Sc in back loop of sl st, Sc in next 2, Ch 3, turn
Row 7: Skip first Ch, Sc in next 2 Chains, Sc in next 3, sl st in next st of Row 4, Ch 1, turn
Row 8: Sc in back loop of slip st, Sc in next 5, Ch 3, turn
Row 9: Skip first Ch, Sc in next 2 Chains, Sc in next 6, sl st in next st of Row 4, Ch 1, turn
Row 10: Sc in back loop of slip st, Sc in next 6, Ch 1, turn
Row 11: Sc in next 7, 2 Sc in Ch 3 space at the bottom, do not turn, continuing up the other side of Row 4 Sc next 7, Ch 3, turn
Row 12: Skip first Ch, Sc in next 2 Chains, Sc in next 3, sl st in next st of Row 4, Ch 1, turn
Row 13: Sc in back loop of slip st, Sc in next 5, Ch 3, turn
Row 14: Skip first Ch, Sc in next 2 Chains, Sc in next 6, sl st in next st of Row 4, Ch 1, turn
Row 15: Sc in back loop of slip st, Sc in next 6, Ch 1, turn
Row 16: Sc in next 7, sl st in next st of Row 4, Ch 1, turn
Row 17: Sc in back loop of slip st, Sc in next 4, Ch 3, turn
Row 18: Skip first Ch, Sc in next 2 Chains, Sc in next 5, sl st in next st of Row 4, Ch 1, turn
Row 19: Working across bottom of the whole leaf Sc in next 5, sl st in next 2, Sc in next 3, Ch 1, turn
Row 20: Sc in next 3, sl st in next 2, Sc in next 3, Ch 1, turn
Row 21: Sc in next 3, sl st into next, Ch 6, Sc in 2nd Ch from hook and in next 4, sl st in next, sl st in next 3, finish off leaving a long tail for sewing onto wreath
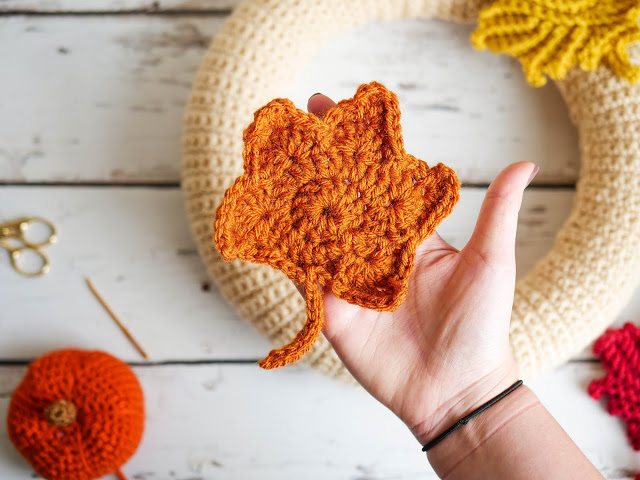
Alternate Maple Leaf:
{I had one of these lying around from a past project and added it to the wreath! I believe this color is Rust but you could more of your skein of Terracotta for this one. I followed THIS PATTERN over at The Painted Hinge}
Oak Leaf (large):
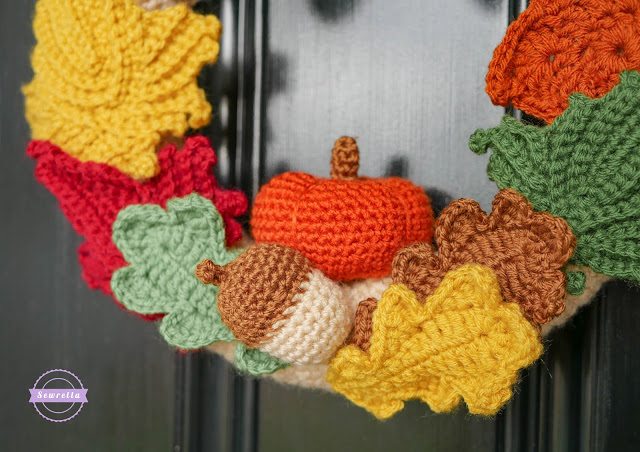
*make 1 in toffee
With H 5mm hook Ch 20, Sc in 2nd Ch from hook and next 3 sts, Hdc next 4, Dc next 5, Trc next 5, 6 Dc in last st, turn to work down the other side of the Ch, Trc next 5, Dc next 5, Hdc next 4 Sc next 4, sl st in last
Round 2: Hdc in 1st st, skip 1, (3 Dc, Ch 3, sl st) in next, skip 1, sl st, Sc, Hdc, Dc, (3 Trc, Ch 4, sl st) in next, skip 1, sl st, Sc, Hdc, 3 Dc, (3 Trc, Ch 4, sl st) in next, skip 1, sl st, (Hdc, Dc, Trc) in next
*Repeat Round 2 in reverse back down the other side, sl st to join, finish off leaving a long tail for sewing
Oak Leaf (small):
*make 1 mustard and 1 fern
With H 5mm hook, Ch 15, Sc in 2nd Ch from hook and next 2 sts, Hdc next 3, Dc next 4, Trc next 3, (Trc, 6 Dc, Trc) in last st, turn to work down the other side of the Ch, Trc next 3, Dc next 4, Hdc next 3 Sc next 3, sl st in last
Round 2: Hdc in 1st st, skip 1, (3 Dc, Ch 3, sl st) in next, skip 1, sl st, Sc, Hdc, Dc, (3 Trc, Ch 4, sl st) in next, skip 1, sl st, Sc, Hdc, Dc, (3 Trc, Ch 4, sl st) in next, skip 1 sl st, Sc, (Hdc, Dc, Trc) in next
*Repeat Round 2 in reverse back down the other side, sl st to join, finish off leaving a long tail for sewing
Acorn:
*Don’t join rounds, place a stitch marker in the first stitch of each round and move it up with each round
With beige yarn, make a magic ring, 6 Sc inside ring
Round 2: 2 Sc in each around
Round 3: 2 Sc, Sc in next 5, repeat around
Round 4: 2 Sc, Sc in next 2, repeat around
Rounds 5-10: Sc in each around
Round 11: Sc decrease, Sc, repeat around, finish off
With toffee (or chocolate) yarn, make a magic ring (leave a tail from your magic ring about 2 feet long), 6 Sc inside ring
Round 2: 2 Sc in each around
Round 3: 2 Sc, Sc in next, repeat around
Round 4: 2 Sc, Sc in next 3, repeat around, Sc in next 2
Round 5: Sc in each around
Round 6: Sc decrease, Sc in next 9, repeat around, finish off leaving a long tail for sewing
– Pick up magic ring tail through the center of the magic ring, Ch 6 with it, Sc in 2nd Ch from hook and across, weave end back into top of acorn
– Place brown cap on beige acorn and sew into place with a tapestry needle
Pumpkin:
*Don’t join rounds, place a stitch marker in the first stitch of each round and movie it up with each round
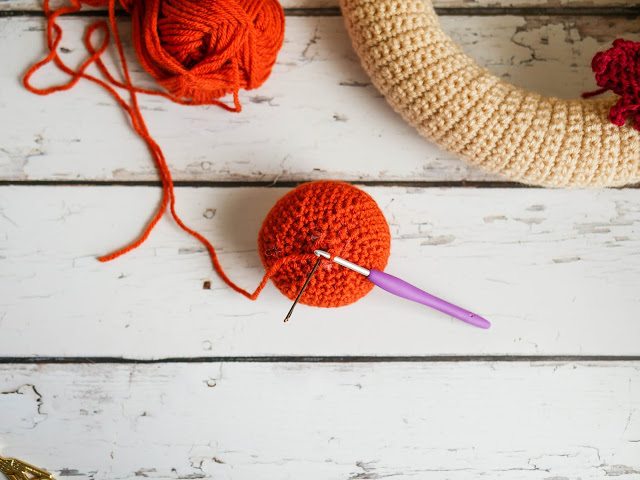
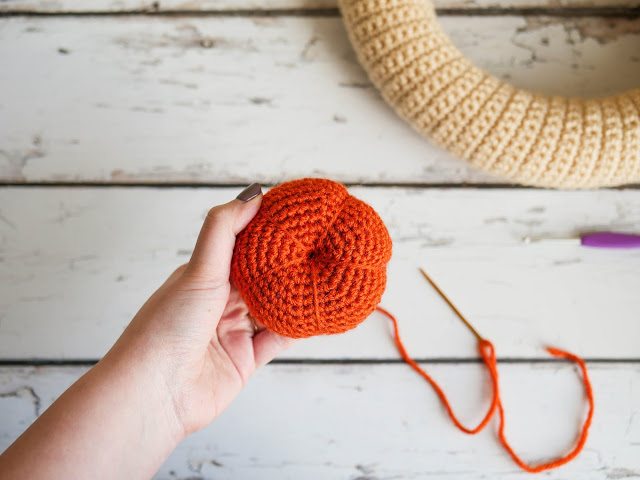
With G 4.5mm hook and terracotta yarn, make a magic ring, 6 Sc inside ring
Round 2: 2 Sc in each around
Round 3: 2 Sc, Sc, repeat around
Round 4: 2 Sc, Sc next 2, repeat around
Round 5: 2 Sc, Sc next 3, repeat around
Round 6: 2 Sc, Sc next 4, repeat around
Round 7: 2 Sc, Sc next 5, repeat around
Rounds 8-14: Sc in each around
Round 15: Sc decrease, Sc in next 5, repeat around
Round 16: Sc decrease, Sc in next 4, repeat around
Round 17: Sc decrease, Sc in next 3, repeat around
Round 18: Sc decrease, Sc in next 2, repeat around
Round 19: Sc decrease, Sc in next, repeat around
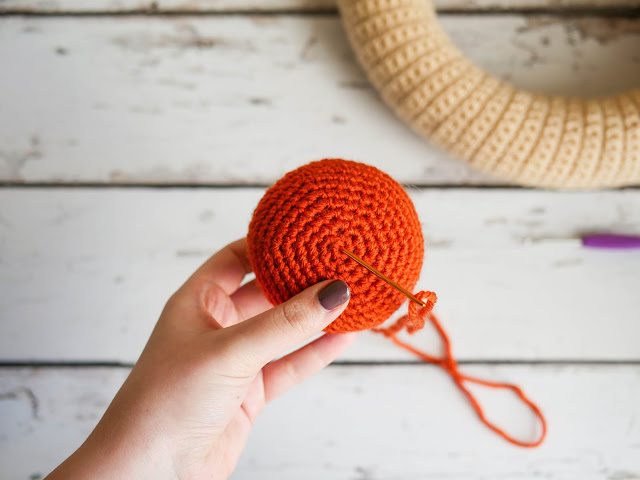
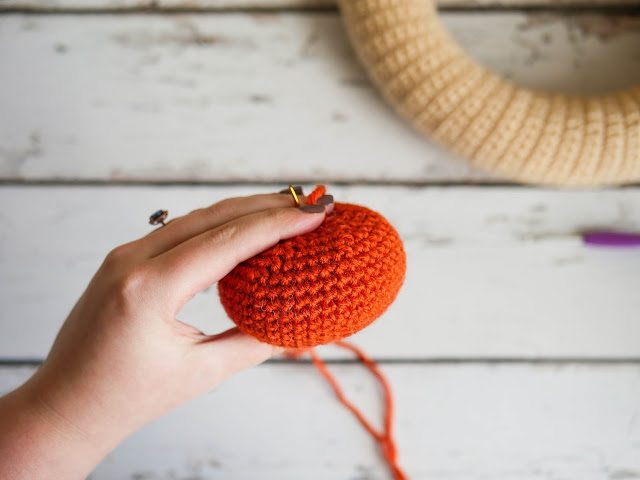
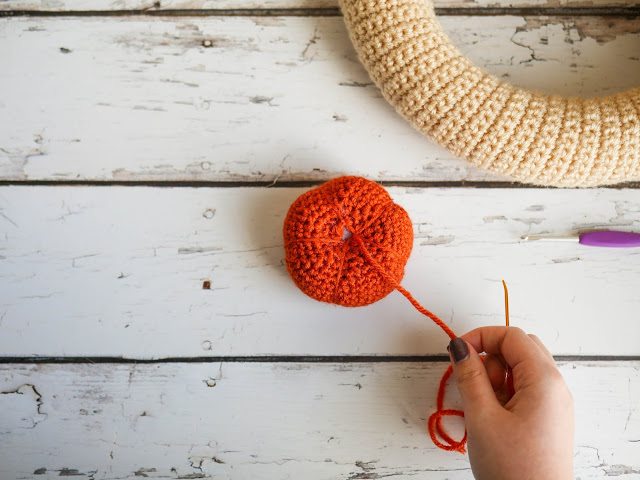
Round 20: Sc decrease 6 times, finish off leaving a tail about 3 feet long
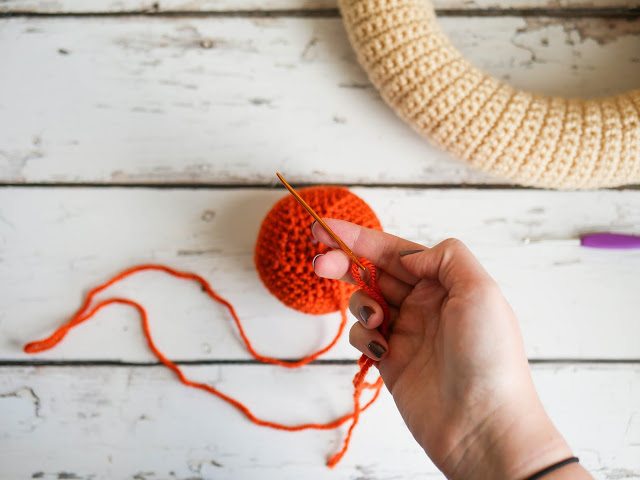
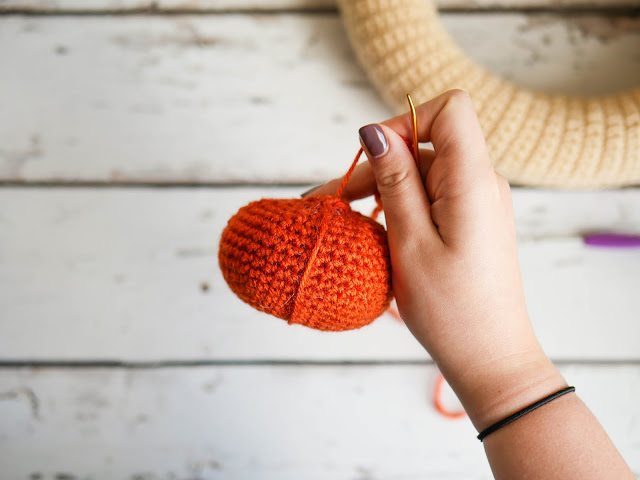
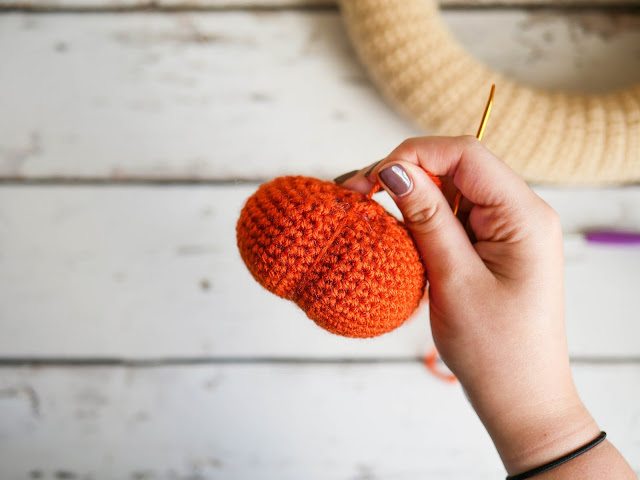
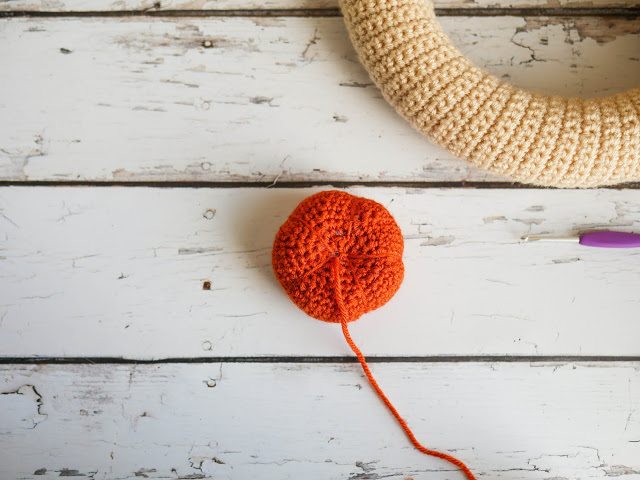
– Thread tapestry needle with tail, insert into magic ring, and down out through Round 20, pull tight to create seam, repeat four more times
Stem:
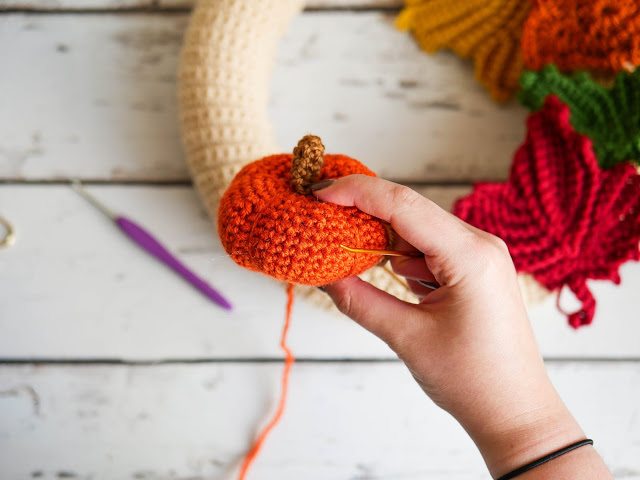
With toffee Make a magic ring, 5 Sc inside ring
Rounds 2-3: Sc in each around, fasten off leaving a long tail for sewing, sew onto top of pumpkin
Bow:
With H 5mm hook and Wine yarn Ch 13, Sc in 2nd from hook and each across, Ch 1, turn
Rows 2-53: Sc in each across, Ch 1, turn
Row 54: Sc in each across
Row 55: Sc Row 54 to Row 1 holding the ends together (as you did with the wreath cover), don’t finish off just yet
– flatten the loop you’ve created with the seam in the back, cinch the center of the bow into place, and wrap the working yarn around the center roughly 30 times (be sure you don’t pull out your seam stitches when you do this!), finish off and weave ends
Bow tails:
*make 2
Ch 5, Sc in 2nd and across, Ch 1, turn
Rows 2-19: Sc in each across, Ch 1, turn
Row 20: Sc in each across, finish off leaving a very long tail for sewing
– Sew each tail into place on the back of the bow, and sew the bow to the center of your wreath, weave your tails back at forth at least three times to secure it
– With beige Ch 9, Sc in 2nd and across, finish off leaving a long tail. Sew your string of single crochets to the top center of your wreath for hanging and weave ends
Hanging your wreath!
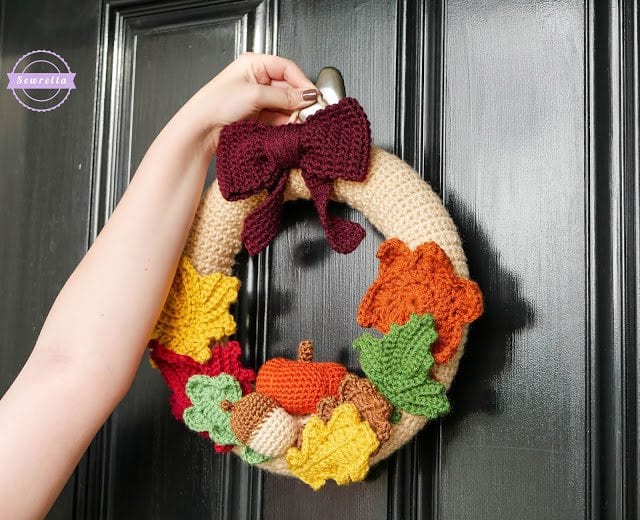
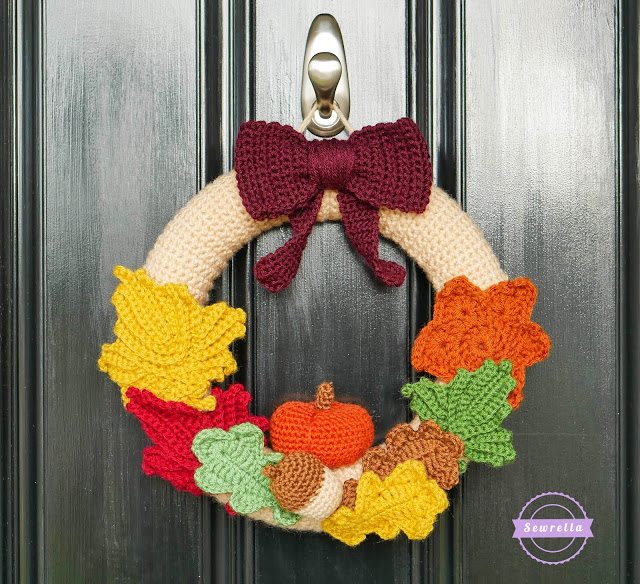
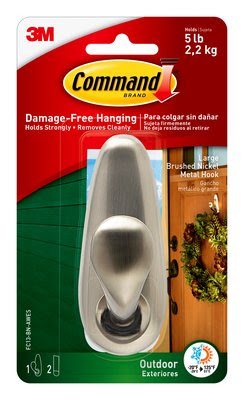
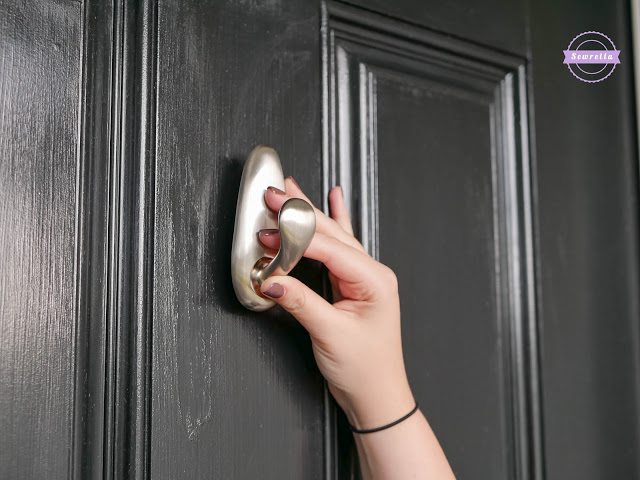
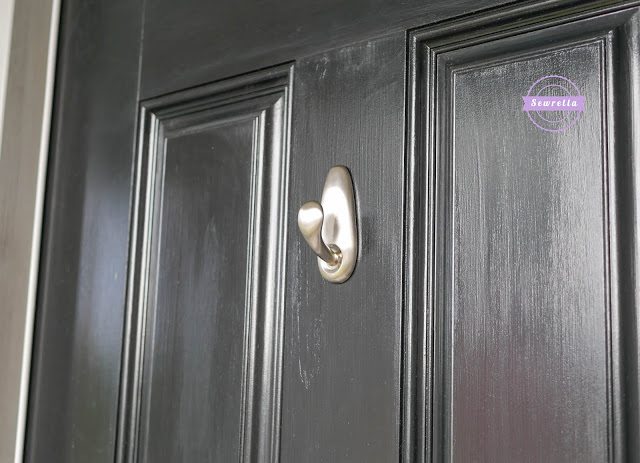
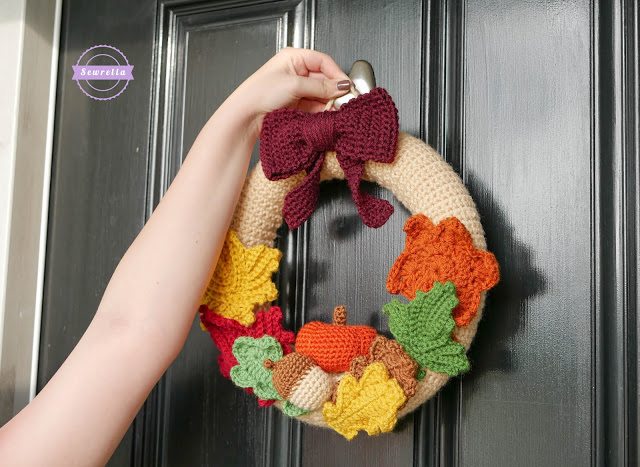
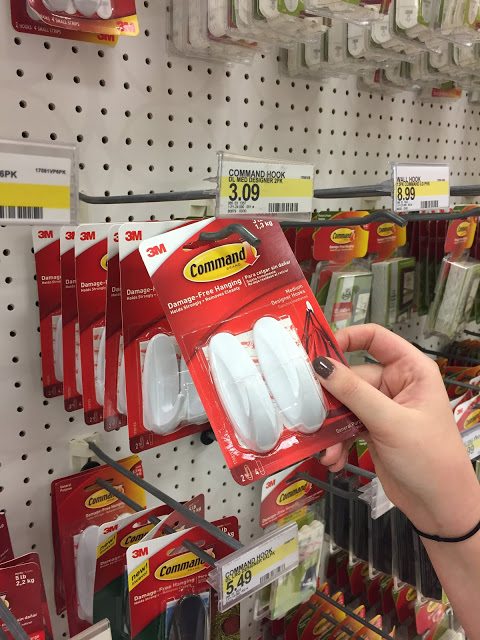
I chose an Outdoor Command™ Metal Hook for my wreath – I needed something both sturdy (holding up to 5 pounds, way more than my wreath!) and beautiful.
a wreath hanging device that would match and look like it belonged with or
without a wreath on it – this metal hook in “brushed nickel” was
perfect!
looked like it came on the door and was always meant to be there!
help from the hubs – yay girl power! If you need help applying your hook CLICK HERE.
AND NO NAILS IN MY DOOR! Also no tacky metal over-the-door wreath hangers. I’d
much rather have a simple hook that comes off without any fuss (although why
would you ever take this handy hook off your door, I ask you?)
dollars and that means more money in the yarn budget!
hooks, the plain ole utility ones. They’re not as fancy looking as my Metal
Hook out front but they are every bit as purposeful!
from tiny hands. I also use a couple of them to hang a dollar store wire basket
for knick knacks near my desk – super handy to have extras of these little
hooks all around!
around the house this holiday season – check out allof that great content HERE!
Don’t forget to PIN this project to your Pinterest boards!
I hope you all loved this Mornings of Autumn Crochet Wreath and make yours soon! What other autumn decorations will you be putting up? Leave a comment below!
