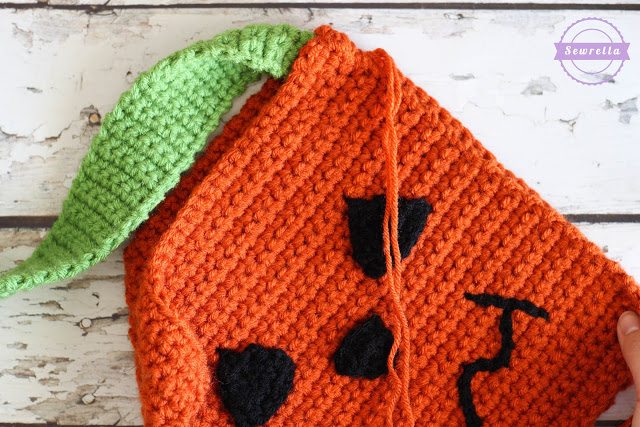
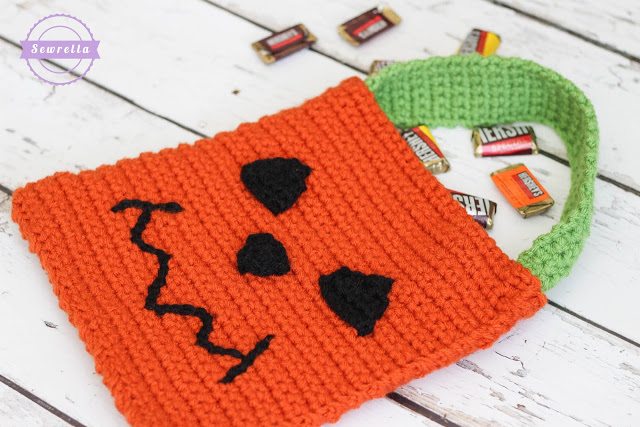
Who remembers those jack-o-lantern plastic candy buckets that we all carried around trick-or-treating as kids? Perhaps some of you still use them? Or some of you buy a bag that lights up, sings, and has custom embroidery.
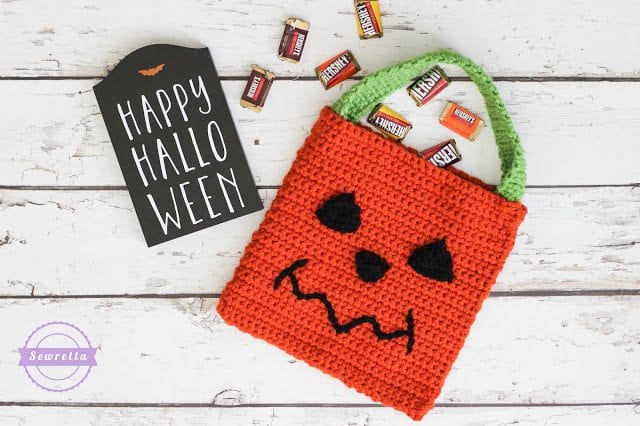
Well these handmade trick-or-treat bags are so much better, and so much more fun! Inspired by the good-ole-bags, this pumpkin candy-carrier is the perfect thing to tote around all those treats in!
A bit larger, this guy is made for the big kids. Those who gather enough candy to get them through til Christmas… or at least Tuesday. Because let’s be honest, we are sneaking all those goodies after bedtime, aren’t we? I’m tellin’ ya, there are perks to being a mom!
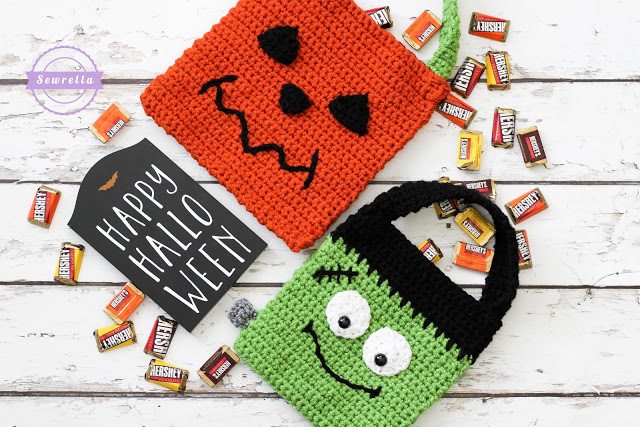
I also have a matching, slightly smaller Frankenstein Trick-or-Treat Bag Pattern HERE!
I am using Lion brand Vanna’s Choice yarn for this project and it creates the softest feel while still being so sturdy! I’ve teamed up with Lion Brand to package this project up into a kit, complete with a FREE PDF download of the pattern!
CLICK HERE to take advantage of this awesome kit!
I hope you all have a happy, safe Halloween!
PATTERN
Materials: (By shopping through the affiliate links below, you will help support this blogger & her free content with no additional cost to you – thank you!)
–Lion Brand Vanna’s Choice yarn in terracotta, fern, and black (1 skein each)
–Size H 5mm crochet hook
–Large tapestry needle
**For the entirety of this project (every piece) I held a double strand of yarn. I pulled from the inside of the skein and the outside. Using an H hook this makes for a very tight stitch and a very sturdy bag. You could crochet with only one strand of yarn, you would just come out with a softer, less sturdy bag.**
Bag:
*make 2 (front and back)
With Terracotta, Ch 31, Sc in 2nd Ch from hook and across (30)
Rows 2-33: Sc in each across, Ch 1, turn (30)
Row 34: Sc in each across, finish off, weave ends (24)
Strap:
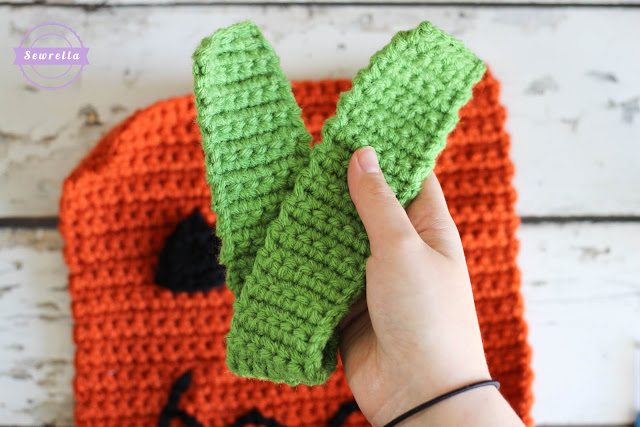
With Fern (double strand), Ch 7, Sc in 2nd st and in each across, Ch 1, turn (6)
Rounds 2-59: Sc in each across, Ch 1, turn (6)
Round 60: Sc in each across, finish off leaving a long tail for sewing (6)
Eyes:
*make 2
With black (double strand), Ch 7, Sc in 2nd and across, Ch 1, turn (6)
Row 2: Sc decrease, Sc in next 2, Sc decrease, Ch 1, turn (4)
Row 3: Sc decrease 2 times, Ch 1, turn (2)
Row 4: Sc decrease, finish off leaving a long tail for sewing (1)
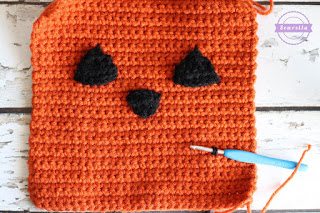
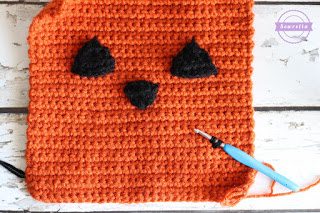
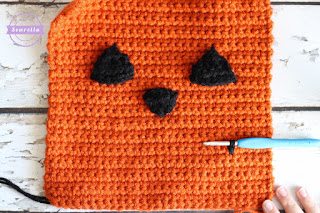
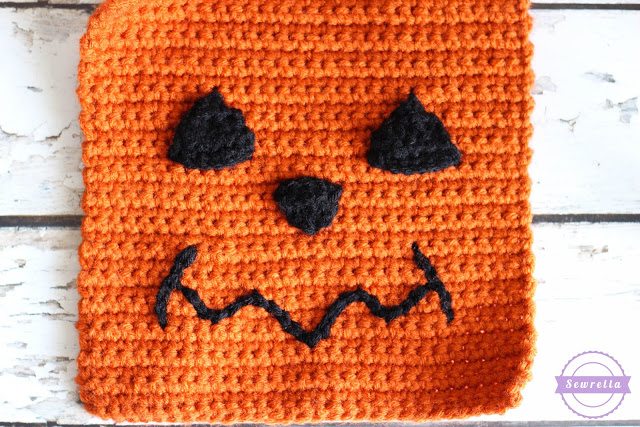
– Sew eyes onto the bag
Nose:
With black (double strand), Ch 5, Sc in 2nd and across, Ch 1, turn (4)
Row 2: Sc decrease 2 times, Ch 1, turn (2)
Row 3: Sc decrease, finish off leaving a long tail for sewing (1)
– Sew nose onto the bag
Assembly:
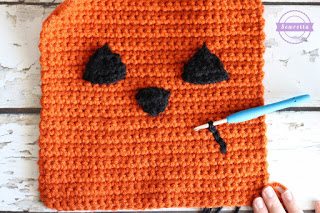
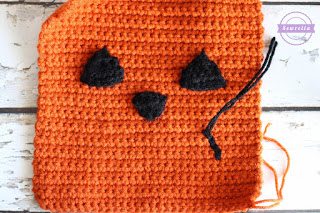
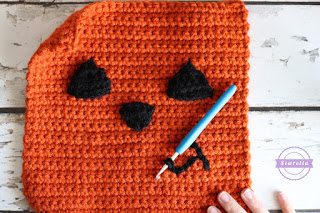
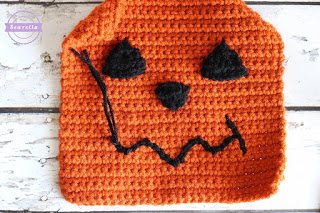
– With black (double strand), surface slip stitch the smile
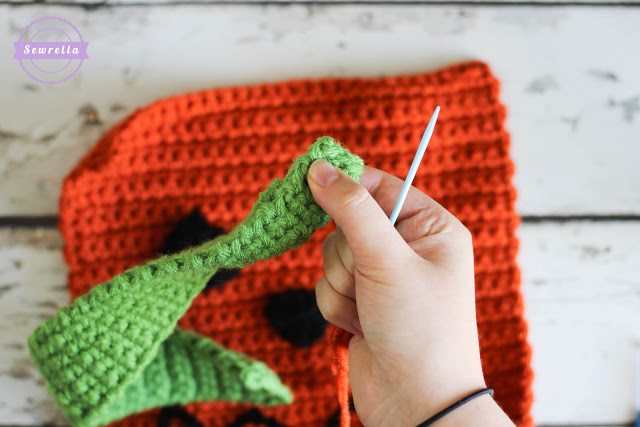
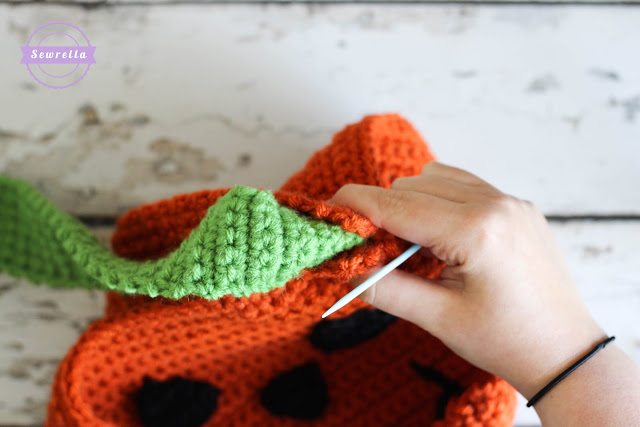
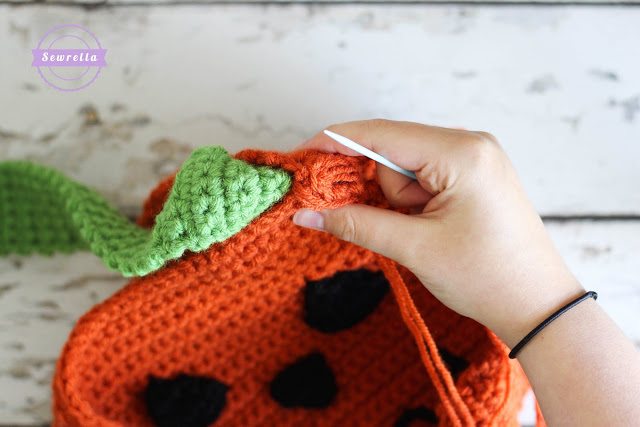
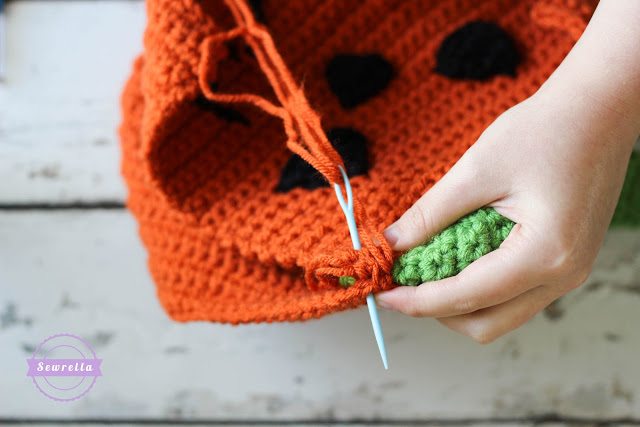
– Thread a large tapestry needle with a piece of terracotta yarn, sew each end of the strap to the inside of the bag corner. Weave ends.
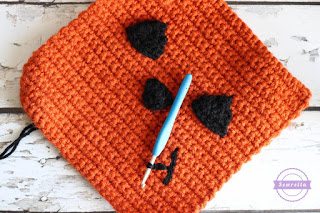
– Thread a large tapestry needle with a piece of terracotta yarn, whip stitch the front and back of the bag together. Weave ends.
Don’t forget to PIN this project to your Pinterest boards!
You’re all ready for a boo-tastic (is that a word?) Halloween!
