Howdy!
Do you remember when the teacher would ask the class what their favorite school subject is? And there would always be that one kid who would scream “Lunch!” and then beam with clever pride.
Oh, to be a child again.
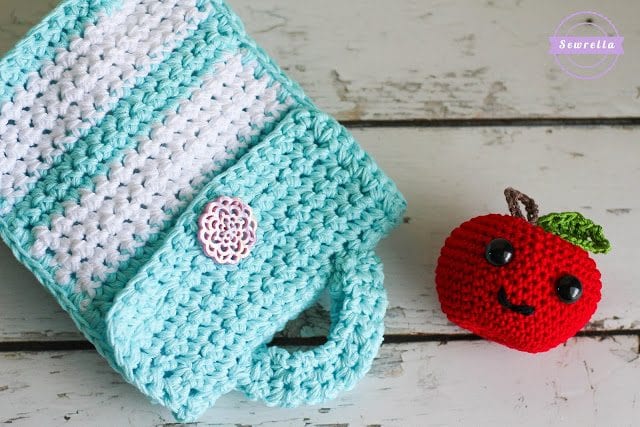
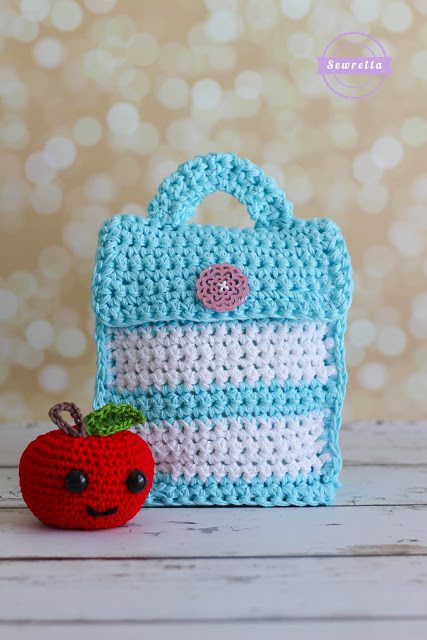
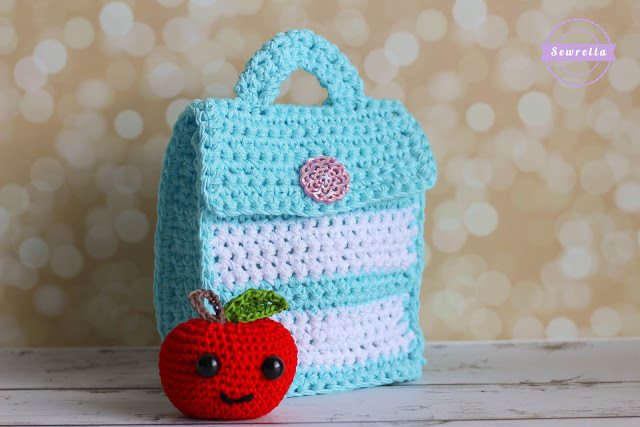
Well, this little lunch bag is just the perfect thing for that kid in the classroom! Or any kid who eats lunch. So basically any kid ever.
Ain’t that apple the cutest little thing? Find that pattern HERE!
This little guy is the perfect child’s size. If you have a high school junior on the football team, this may not be the lunch bag for him. Those dudes will eat you out of house and home. It really is something to marvel at.
However this little lunch bag is the perfect size for a sandwich, an apple, and a couple of cookies – yum! The size would also work perfectly for a snack bag to take to soccer practice or ballet lessons!
I used Lion Brand 24/7 Cotton for this project (as well as the rest of my Back to School Series) – and for a very important reason. It holds up great to WASHING. I do recommend hand washing and laying flat to dry just to preserve vivid color and shape, but in a pinch you can toss this lunch bag in the machine!
Little hands + food = frequent lunch bag washing
So grab some 24/7 Cotton for this project HERE – it’s even on sale right now!
I used a pretty unisex color palate, and made it a bit girly with a pink button. You could easily make this exact same bag with a brown or green button to make it a bit more boyish – or leave it pink, because who says pink is just for girls? Not me!
PATTERN
Materials:
-Lion Brand 24/7 Cotton yarn in White and Aqua (2 skeins each)
-Size K 6.5mm crochet hook
-Tapestry needle
-1 Button (I got this decorative pink one from Joann’s)
***Note: The entire bag will be made holding a double strand. Crochet holding 2 strands of the same color together, and working with them as if they were one chunkier strand.
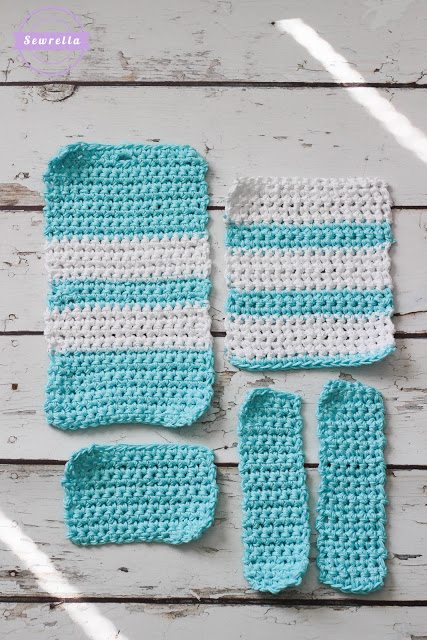
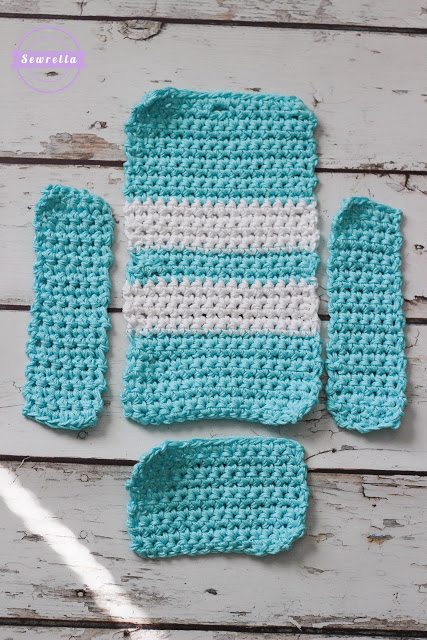
Bag Base:
With Aqua, Ch 18
Row 1: Sc in 2nd Ch from hook, Sc in each st across, Ch 1, turn
Rows 2-9: Sc in each st across, Ch 1, turn
Row 10: Sc in each st across, finish off, weave ends
Bag Sides:
*Make 2
With Aqua, Ch 9
Row 1: Sc in 2nd Ch from hook, Sc in each st across, Ch 1, turn
Rows 2-21: Sc in each st across, Ch 1, turn
Row 22: Sc in each st across, finish off, weave ends
Bag Back:
With Aqua, Ch 18
Row 1: Sc in 2nd Ch from hook, Sc in each st across, Ch 1, turn
Rows 2-7: Sc in each st across, Ch 1, turn
Row 8: Sc in each st across, color change to White, Ch 1, turn
Rows 9-12: Sc in each st across, Ch 1, turn
Row 13: Sc in each st across, color change to Aqua, Ch 1, turn
Rows 14-15: Sc in each st across, Ch 1, turn
Row 16: Sc in each st across, color change to White, Ch 1, turn
Rows 17-20: Sc in each st across, Ch 1, turn
Row 21: Sc in each st across, color change to Aqua, Ch 1, turn
Rows 22-30: Sc in each st across, Ch 1, turn
Row 31: Sc in first 7 sts, Ch 2, skip 2 (*this is your buttonhole), Sc in last 7 sts, Ch 1, turn
Row 32: Sc in each st across making 2 Sc in the Ch space, finish off, weave ends
Bag Front:
With Aqua, Ch 18
Row 1: Sc in 2nd Ch from hook, Sc in each st across, color change to White, Ch 1, turn
Rows 2-5: Sc in each st across, Ch 1, turn
Row 6: Sc in each st across, color change to Aqua, Ch 1, turn
Rows 7-8: Sc in each st across, Ch 1, turn
Row 9: Sc in each st across, color change to White, Ch 1, turn
Rows 10-13: Sc in each st across, Ch 1, turn
Row 14: Sc in each st across, color change to Aqua, Ch 1, turn
Rows 15-16: Sc in each st across, Ch 1, turn
Row 17: Sc in each st across, color change to White, Ch 1, turn
Rows 18-21: Sc in each st across, Ch 1, turn
Row 22: Sc in each st across, finish off, weave ends
Assembly:
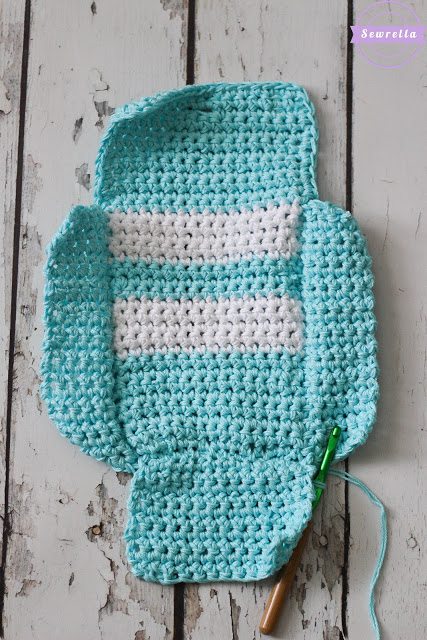
With Aqua, hold together the Bag Back and one Bag Side, lining up Row 1 with Row 1 (by this I mean – the beginning of the side and the beginning of the back. There will be extra on the Bag Back. This is the overflap that will button later. Be sure you are NOT stitching the Bag Side to the end of the Bag Back with the buttonhole)
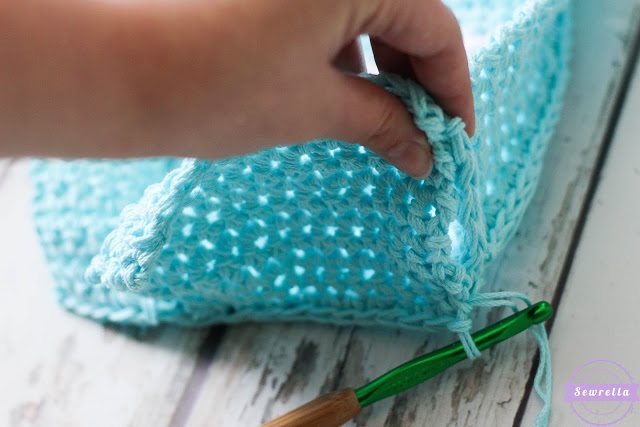
Insert your hook into the corner sts, Sc these pieces together ALONG THE SIDE OF YOUR WORK (along the ends of your rows) until you reach the end of the Bag Side. Continue Sc around the top of the bag back (this will just finish of the edging nicely). Make 2 Sc in each corner.
Coming down the other side of the Bag Back, hold your other Bag Side in place, and Sc these pieces together as you did with the first side.
When you reach the bottom, 2 Sc in the corner. Hold together Row 1 of the Bag Base and Row 1 of the Bag Back. Sc these pieces together along both Row 1’s.
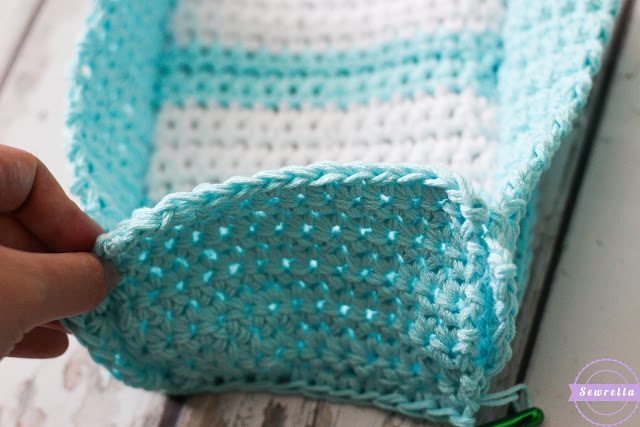
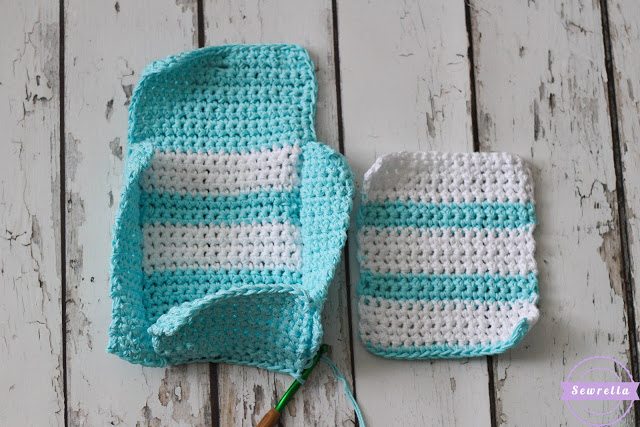
Work 2 Sc in each corner, and continue around the Bag Base, joining each short side to the Bag Sides with the same methods as above, and joining the other long side of the Bag Base to Row 1 of the Bag Front.
Your lunch bag should be looking like a lunch bag right about now!
Sc along the edges to join the Bag Front to the open long sides of the Bag Sides. Finish off and weave all ends.
Using a tapestry needle, sew your button onto the Bag Front directly underneath where your buttonhole lies when the over flap is folded over (the exact Row may be different depending on your button size, sew where appropriate).
Handle:
With Aqua, Ch 8 –leave a long tail on the slip knot for sewing–
Row 1: Sc in 2nd Ch from hook, Sc in each st across, Ch 1, turn
Rows 2-13: Sc in each st across, Ch 1, turn
Row 14: Sc in each st across, finish off leaving a long tail for sewing, weave ends
Sew onto top of the bag, on the over flap. I sewed onto Row 24 of the Bag Back.
