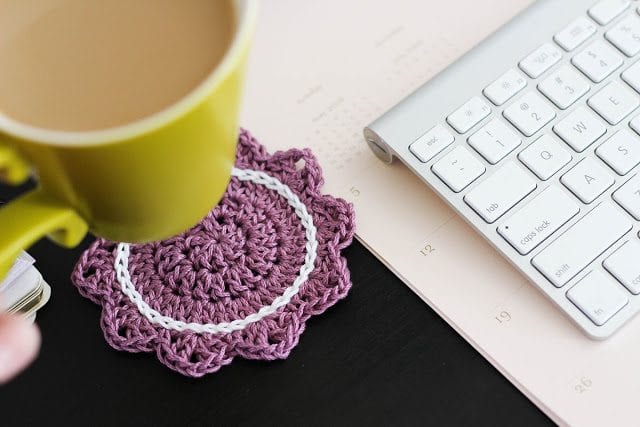
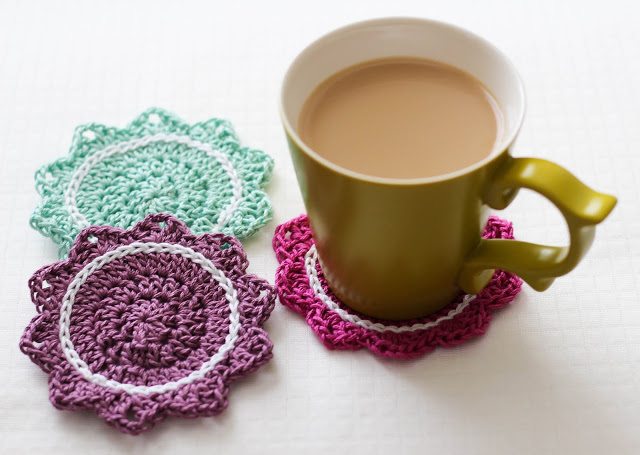
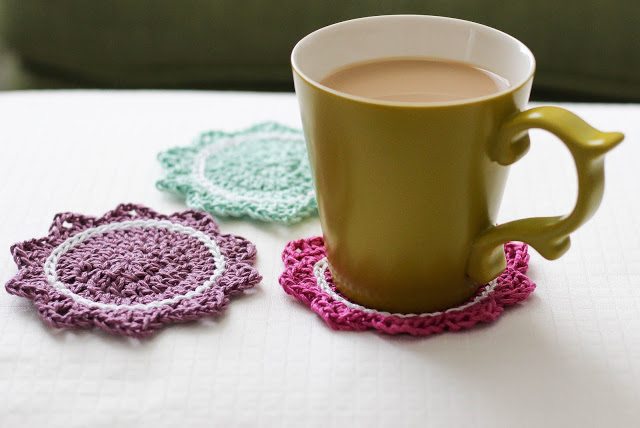
Join me with some coffee, won’t you?
I’d like to tell you about someone very special to me.
My great-grandmother was a simple woman. She loved family, sewing, and her cats without much need for anything else. She was incredibly feminine, never visiting with company without her “face on.” She was a homemaker, taking care of her kids, their kids, and their kids for her entire life – and she loved every minute of it. She was gracious and delicate, a proper lady. She always wore jewelry – beaded necklaces, dainty little earrings, and her uber-gorgeous wedding rings. She was a fabulous cook, often making things in a traditional, simple, 50s era style. She had a tiny kitchen but never once complained – she still cranked out Christmas dinner with ease.
She was the kindest, most honest & loving soul. She was the kind of woman I hope to be.
So when I was thinking up a summer series, I decided that a kitchen collection inspired by this wonderful woman. With feminine colors (as chosen by my lovely readers in a poll last month!) and simple, delicate design.
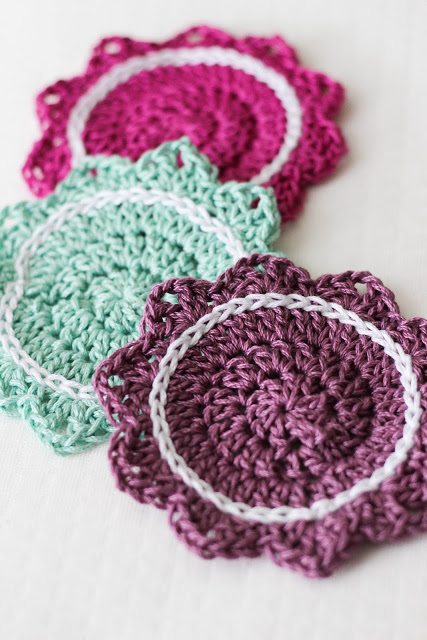
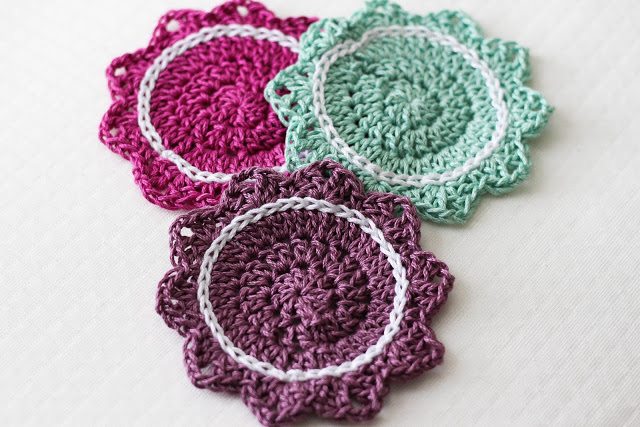
These coasters are the first of 6 pieces that make up the Summer Kitchen Series, all named for my great-grandmother Betty. Be sure to keep checking back for more kitchen goodies!
See the handy video tutorial below, because I love ya.
PATTERN:
Materials
-Cotton yarn: I used Lion Brand 24/7 Cotton in Lilac, Rose, Mint, and White (1 skein will make about 6 coasters)
-Size H 5mm crochet hook
-Tapestry needle
Begin with a magic ring, Ch 2
Round 1: 10 Dc inside the ring, sl st to join, Ch 2
Round 2: 2 Dc in each st around, sl st to join, Ch 2 (20 sts)
Round 3: 2 Dc in each st around, sl st to join, Ch 2 (40 sts)
Round 4: (Dc, Ch 2, 2 Dc) in first st, skip a st, Sc in next st, skip a st, *(2 Dc, Ch 2, 2 Dc) in next st, skip a st, Sc in next st, skip a st, repeat from * around 8 more times, sl st to join, finish off, weave ends
-With accent color (I used white) surface slip stitch between rounds 3 and 4, sl st to join, finish off, weave ends
[To surface slip stitch, begin with a slip knot at the back of the work. Insert your hook where you want your first st to lie and pull the slip knot to the front of the work, holding the working yarn at the back. Insert your hook in between the next two sts, yarn over (hook and yarn should be behind the work), pull up a loop to the front of the work, and pull through the loop on your hook to complete the slip stitch. Continue around.
Don’t forget to PIN this project to your Pinterest boards so you don’t lose it!
Make lots of these in all different colors! They are a great stash buster project and I can’t wait to show you what else will be coming up for this Summer Kitchen Series!
Til then,
