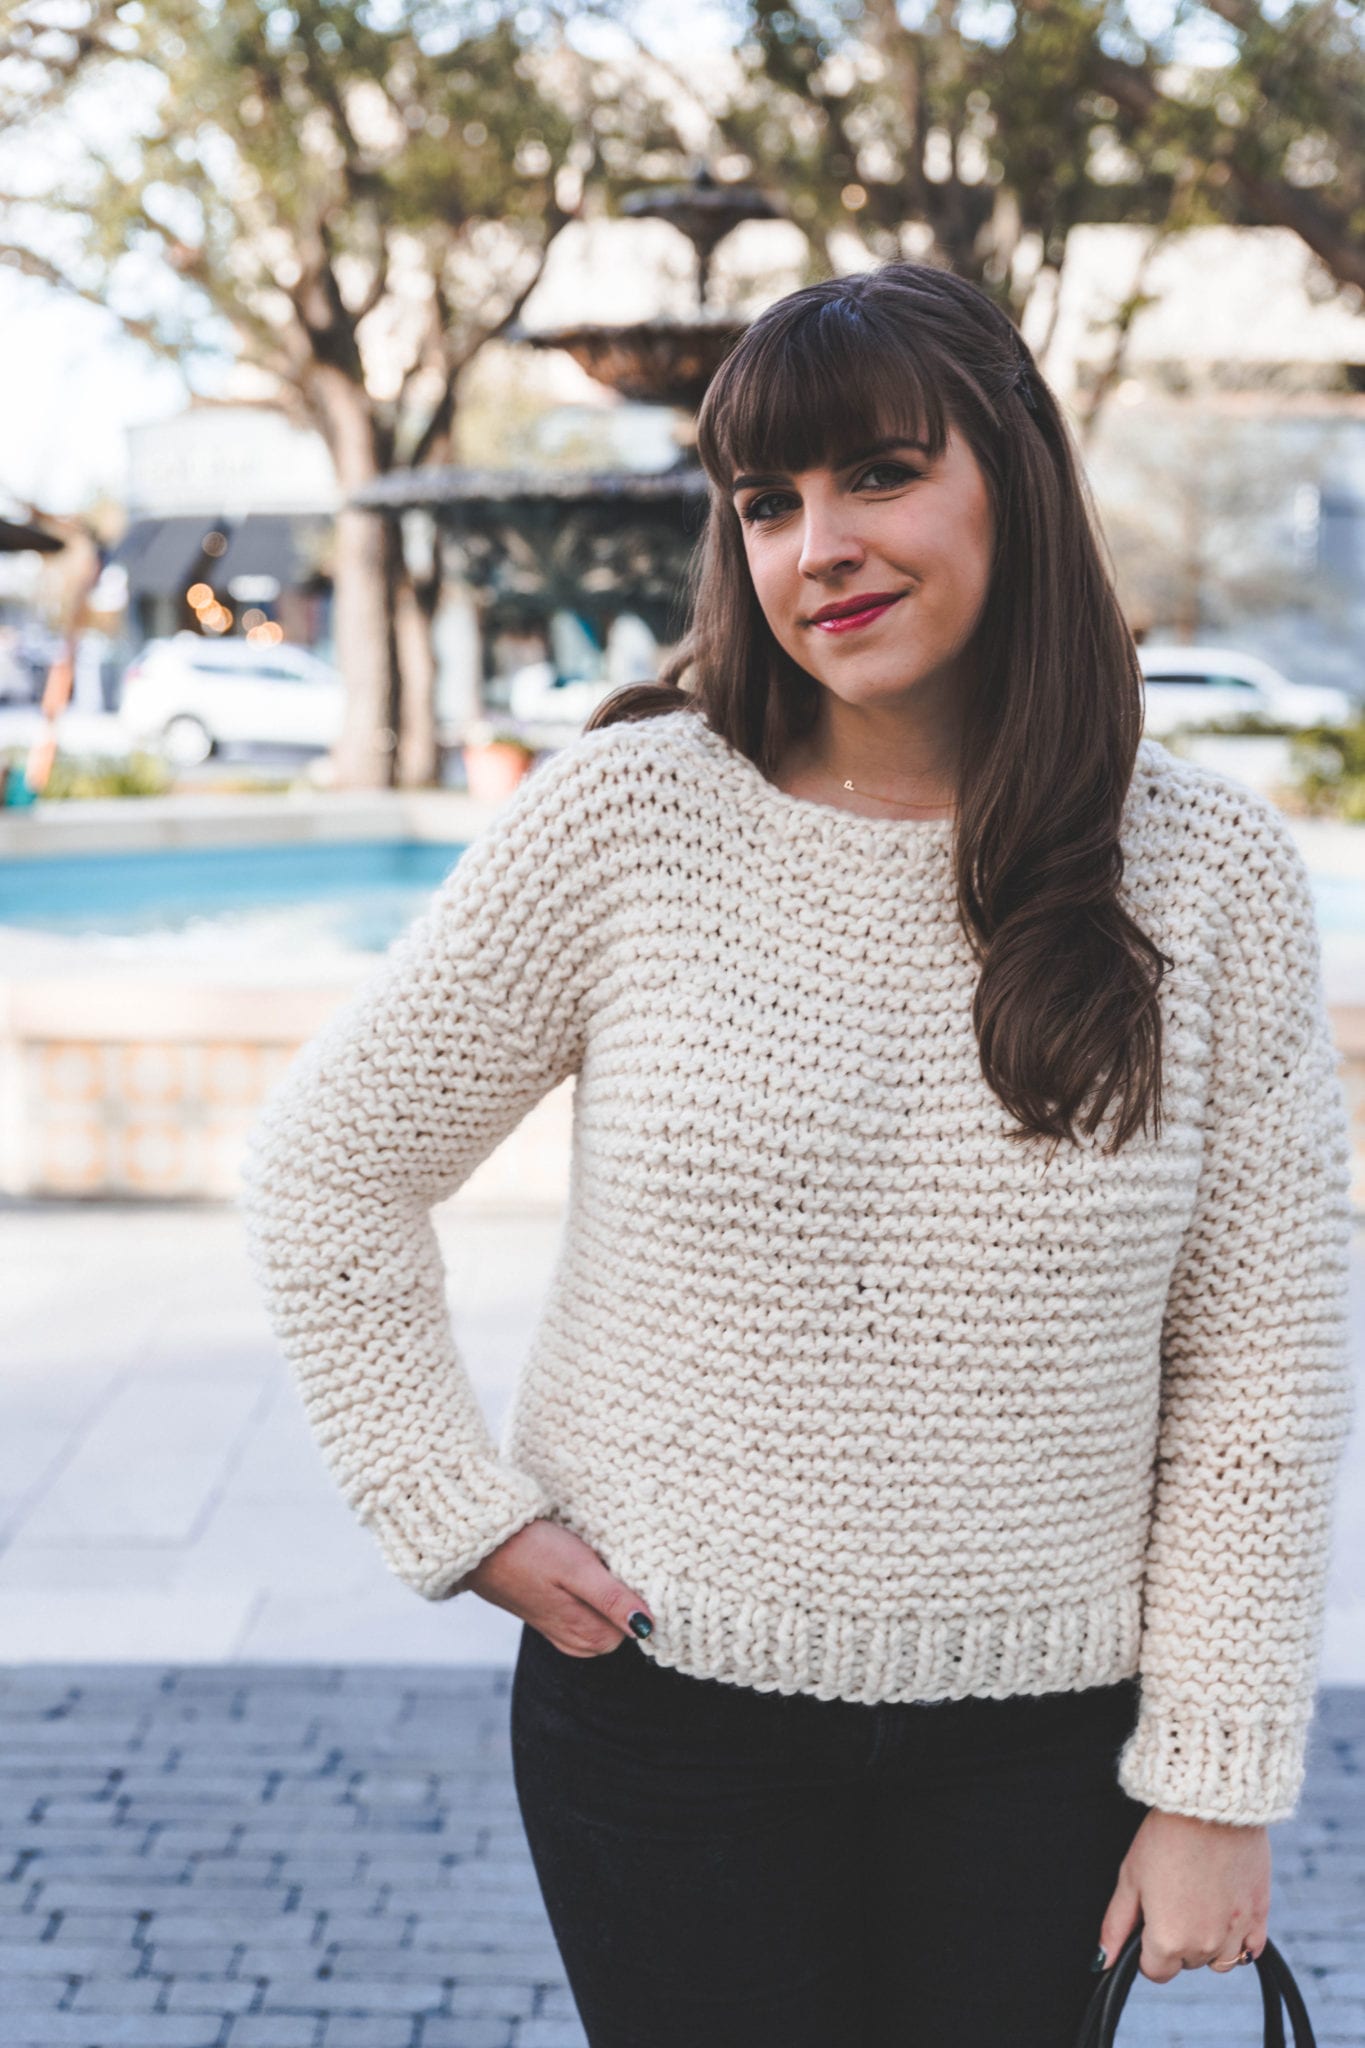
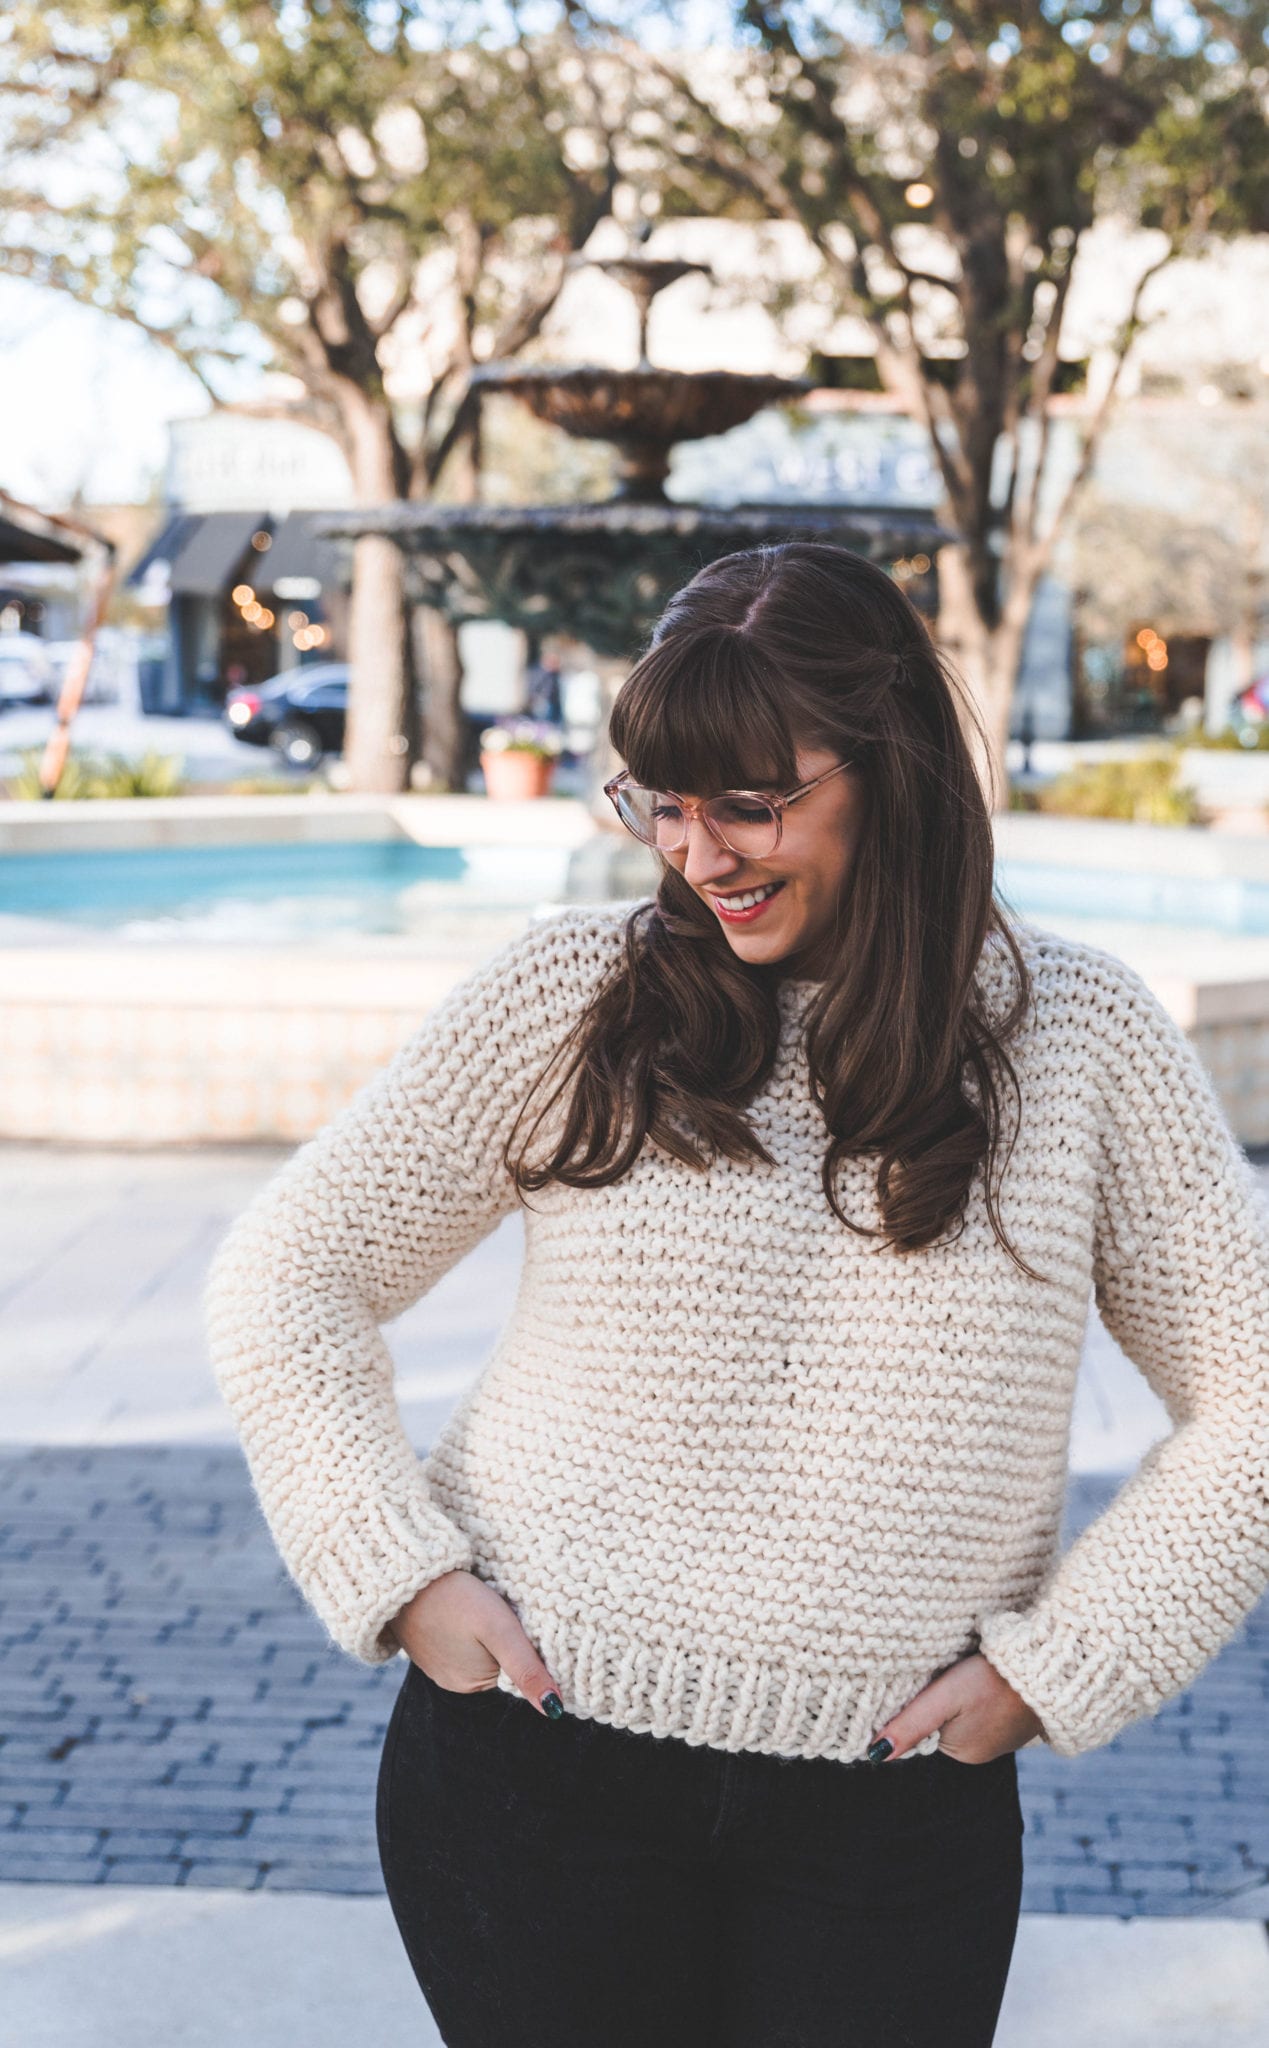
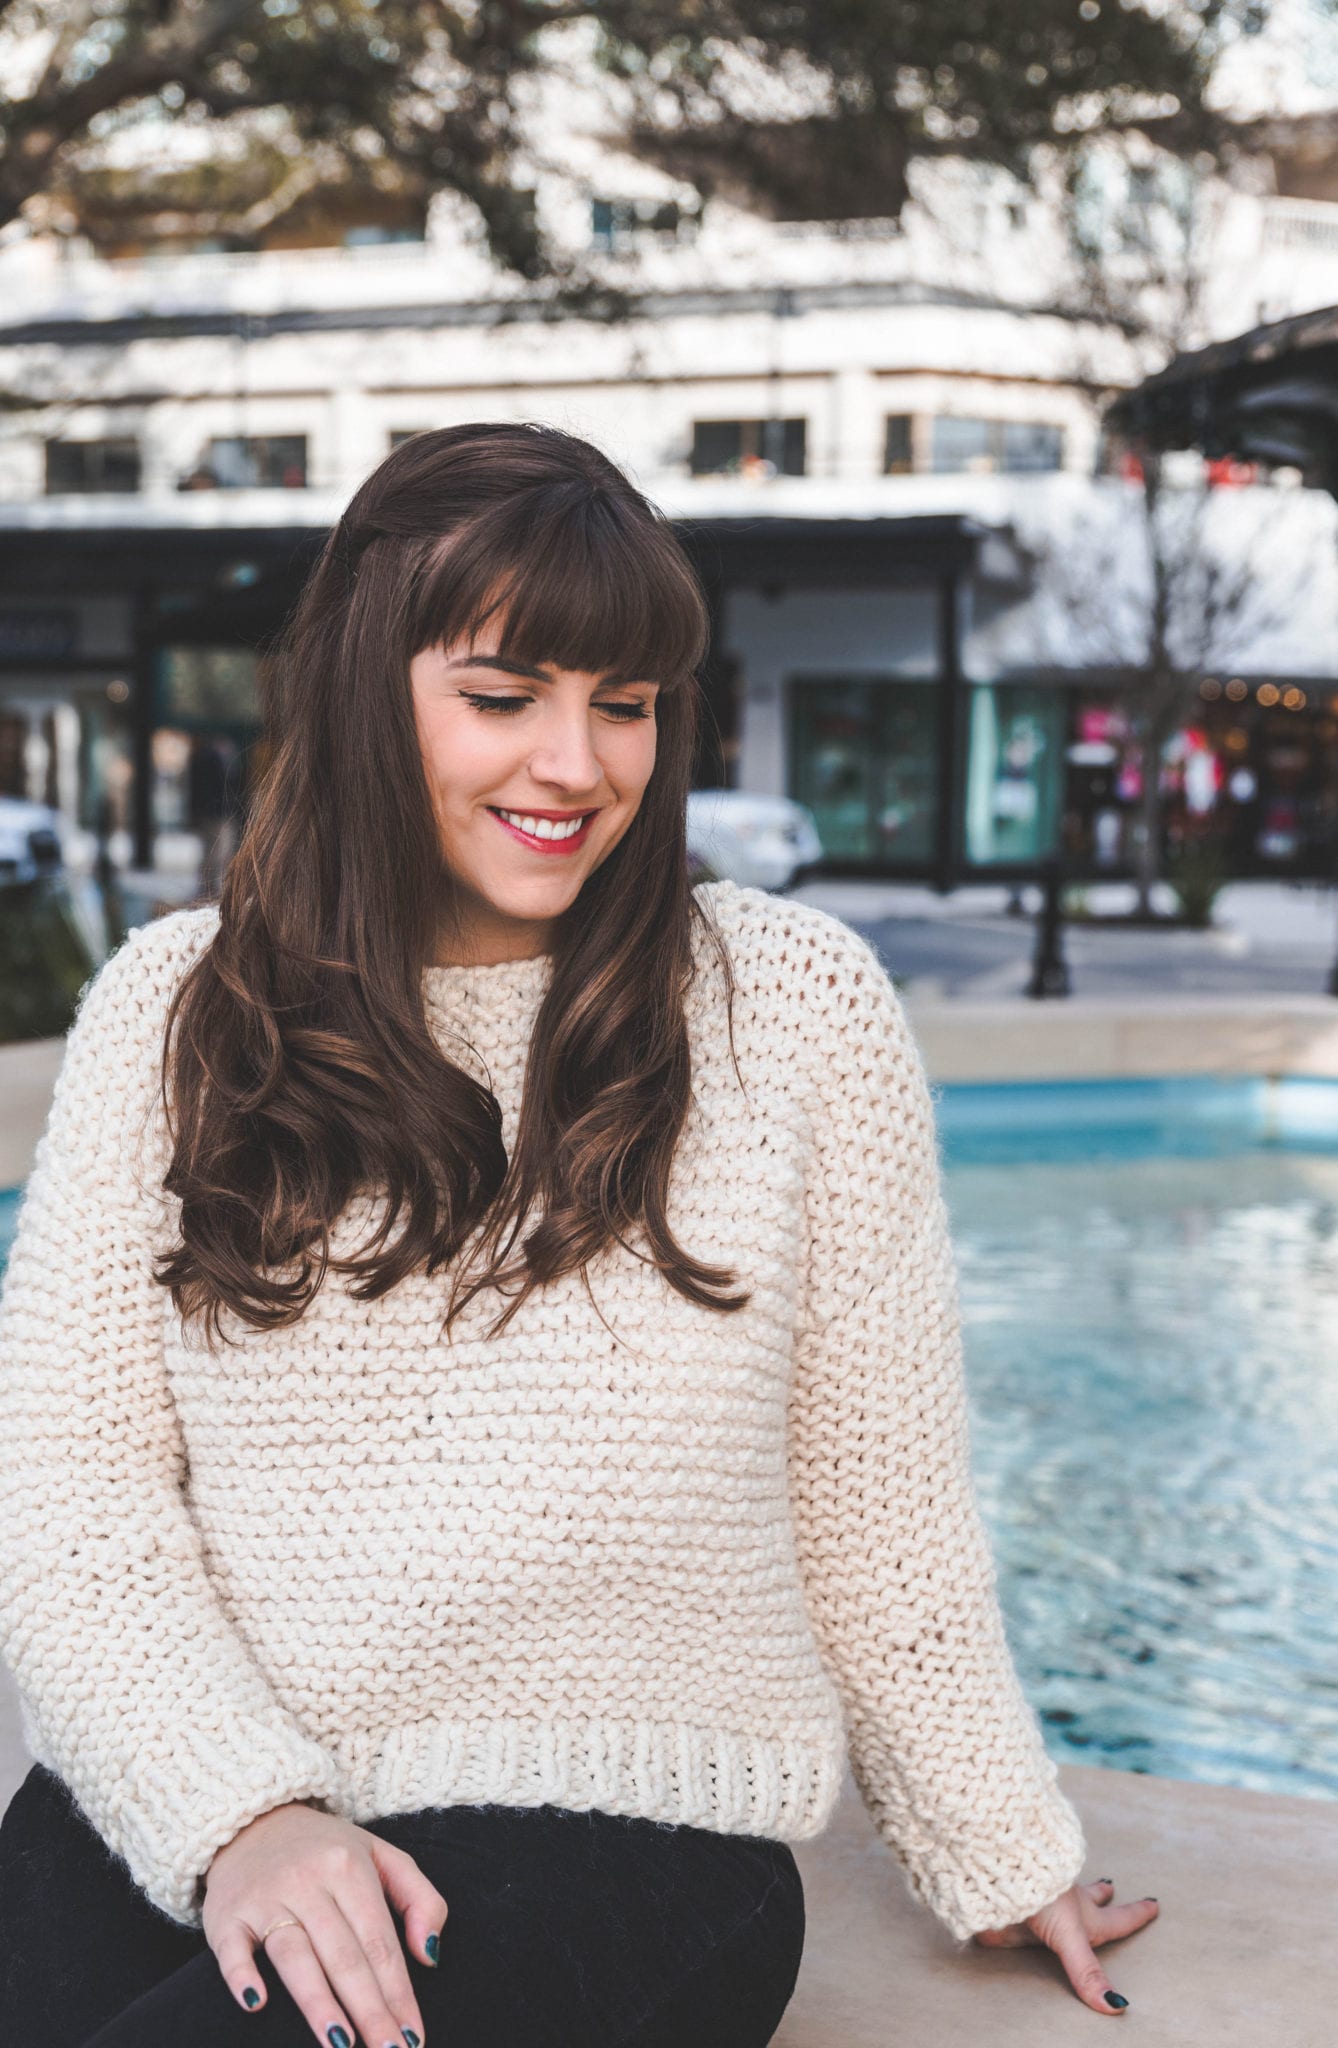
Check out the free pattern for my Simple Knit Sweater! It’s the perfect beginner level pattern for all those new knitters out there.

Have you been thinking to yourself “Hey, I would love to knit myself a sweater but I can’t knit and that’s wayyyyy too hard.”
Well fear not my friend – this simple knit sweater pattern and tutorial is the answer to all of your knit sweater fears. It’s easy, it’s fun, and you’ll be super cuddly before you know it. Promise!

I made this simple knit sweater with one event in mind: my trip to visit New York City with Lion Brand Yarn! I’m going to be talking yarn with a clan of other yarn-y bloggers in the big apple and I’ll need some warm clothes. Enter: the simple knit sweater. It’s a necessary piece for staying warm this winter.
The video embedded below will be a huge help to anyone new to knitting or new to making garments. The seaming can be especially tricky but I have some helpful hints toward the end of the video that will make your seams look professional and polished. Yay!

PATTERNS I LOVE (& you should too)

1. Crochet Homemaker Gingham Throw / 2. Crochet Everyday Cardigan / 3. Crochet Le Nuage Wrap/Triangle Scarf

This easy simple knit sweater pattern has been made into a kit from Lion Brand themselves and you can make this pattern with all the yarn you need and a printed copy of the pattern. Yay! Grab that kit for 20% off in a whole range of colors this week only HERE.

The video below is a complete step-by-step walkthrough of the simple knit sweater pattern in size Medium. Be sure to watch it if you’re having trouble in any areas of the pattern!

- Get the ad-free, large print, printable PDF pattern HERE.
- Grab the Ultimate Pattern Bundle that includes 150+ patterns just like this one on sale for $20 today HERE.
- PIN this pattern to your Pinterest boards for later HERE.
- Add this pattern to your Ravelry queue HERE.
Materials:
-Lion Brand Yarn Wool Ease Thick & Quick in Fisherman (XS-S: 5 skeins, M-L: 6 skeins, XL-2XL: 7 skeins, 3XL: 8 skeins)
Grab the kit with everything you need from Lion Brand HERE!
-Size 17/12mm knitting needles (I love using the Takumi Bamboo circular needles with a 24″ cord from Clover USA)
-Large eye tapestry needle
-Stitch markers
Gauge:
8 sts in garter stitch = 4 in.
16 rows = 4 in.
Measurements:
Bust: 30″ (XS) 34″ (S) 38″ (M) 42 ” (L) 46″ (XL) 50″ (XXL) 54″ (XXXL)
Width across back: 17″ (XS) 18″ (S) 19″ (M) 20″ (L) 21″ (XL) 22″ (XXL) 23″ (XXXL)
Length: 21″ (XS) 22″ (S) 23″ (M) 23.5″ (L) 24″ (XL) 24.5″ (XXL) 24.5″ (XXXL)
Armhole: 6″ (XS) 6.5″ (S) 6.5″ (M) 7″ (L) 7″ (XL) 7.5″ (XXL) 8″ (XXXL)
Sleeve Length: 16.5″ (XS) 17″ (S) 17″ (M) 17.5″ (L) 17.5″ (XL) 18″ (XXL) 18″ (XXXL)
Abbreviations:
co – cast on
k – knit
k2tog – knit 2 stitches together
p – purl
rep – repeat
rs – right side
st(s) – stitch(es)
ws – wrong side
Pattern Notes:
Difficulty level: 1/Beginner
-For reference, model is 5’5” tall, and wearing the Simple Knit Sweater in a size Medium. Fit is oversized, for a more fitted sweater size down.
-Sizing listed in the pattern will be in X-Small with Small, Medium, Large, Xl, 2X, and 3X listed in parenthesis such as 36 “(41, 46, 51, 56, 61, 66)” whereas co 36 for size XS, 41 for size S, 46 for size M, 51 for size L, 56 for size XL, 61 for size 2X and 66 for size 3X. When only one number is given, it applies to all sizes. To follow pattern more easily, circle/highlight all numbers pertaining to your size before beginning.
-This pullover sweater is worked in 5 pieces, the front and back panels, 2 sleeve panels then seamed together. The neckline ribbing is stitched on last by picking up stitches.
-All sizing is a bit oversized and based on the CYC sizing regulations.

Simple Knit Sweater
Back Panel
Co 30 (38, 46, 54, 62, 70, 78) sts
Ribbing
Rows 1 – 6: K1, P1, rep across
Body
Rows 7 – 58 (62, 66, 70, 74, 78, 82): K all sts (garter st)
Bind off all sts
Front Panel
Co 30 (38, 46, 54, 62, 70, 78) sts
Ribbing
Rows 1 – 6: K1, P1, rep across
Body
Rows 7 – 52 (56, 60, 64, 68, 72, 76): K all sts (gater st)
Shoulder shaping
Row 1: K 9 (12, 15, 18, 21, 24, 27) sts, bind off 12 (14, 16, 18, 20, 22, 24) sts for the neckline, K remaining 9 (12, 15, 18, 21, 24, 27) sts for the other shoulder
Row 2: K all sts on one shoulder side (first 9, 12, 15, 18, 21, 24, 27 sts), leave remaining sts on the needle unworked (finish one shoulder at a time)
Row 3: K2tog, K all remaining sts on that shoulder side
Row 4: K all sts
Row 5: Repeat Row 3
Bind off all sts on that shoulder side
Join yarn to other shoulder side (close to neckline) and K all sts
Row 2: K all sts
Row 3: K2tog, K remaining sts
Row 4: K all sts
Row 5: Repeat Row 3
Bind off all sts
Weave ends.
Sleeves
*make 2
Co 26 (28, 30, 32, 36, 38, 40) sts
Rows 1 – 32: K all sts (garter st)
Row 33: K 3, K2tog, rep across
Rows 34 – 54 (56, 56, 58, 58, 60, 60): K all sts
Ribbing
Rows 1-6: K1, P1, rep across
Bind off all sts
Seaming
Shoulder seams: Sew front shoulder shaping with a mattress stitch to back panel with WS facing you.
Sleeve: Open your sweater with seamed shoulders to lie flat with RS facing up. Lie sleeves flat with RS facing up. Count to center of sleeve Co sts, match up with shoulder seam and place a stitch marker to hold centered in place. Sew sleeve’s Co edge to sweater bodice with a whip stitch. Repeat on other side.
Side seams: Fold sweater to match the side seams and sleeve underarm seam. Sew with an invisible vertical seam beginning with sleeve ribbing, along underarm, and continuing along the front and back panel body and finish with bodice ribbing. Repeat on other side
Weave all ends.
Neckline
Pick up stitches all along the neckline of the sweater (working into the shoulder seams themselves and all cast off stitches).
# of neckline stitches will vary depending on your size, just make sure you’ve picked up an even number of stitches.
Rows 1-2: K 1, P 1, rep around
Bind off all sts
Weave all ends.

Earning a Living with my Handmade Home
If you love crocheting and knitting, you should think about starting a blog! I’ll help you get started to turn your hobby into a money-making career with my free “Start a Blog” guide.
Or you can check out my latest income report to see how this blog earned over $10,000 last month!
I’ve been looking for an easy beginner sweater and this looks like it will be perfect! I tried finding the kit on sale, but the link doesn’t seem to work. Can you post the link so we can save on this awesome pattern/kit!
Here’s the kit link Laura, thanks for pointing this out!
http://shrsl.com/qx56
Why can’t I pin this?
Hi, I found out, lost my internet connection…Duh!
Pins should be working now!
Im too fat to ware this….but its so cute. Good Luck look like your losing weight!!!!
Like the sweater and the bubblegum sweater. Can I use a #5 weight yarn ? How would I adjust the pattern? thank you!
I typically stick with crochet, as I just can’t seem to understand how to shape garments in knit. BUT this looks easy enough that I’m going to dig out my knitting needles and attempt this.
So glad to hear it!
i really like your sweater i am a knitter and i been afraid to try a sweater but this looks pretty easy thank you for sharing
A little short for me. How much more yarn for longer length?
Hi,Just loved your tutorials.You are so clear n precise.Thank you.Hoping to start knitting from tomorrow.I am from India n cannot get the kit but can I try with substitute materials available?
Very cool.
Ciao e grazie.
Cinzia
Hi I’ve just watched the entire video and you are an excellent teacher. Going to pick up my wool soon and start this great simple sweater. Thank you for making it easy
Hi, I am a beginner knitter, and was looking for a really easy to understand sweater, and I chanced upon your youtube video tutorial. I could understand it very clearly, and even your accent is so extremely precise and clear to follow, and your instructions are extremely easy to understand even for us beginners. I have started with your medium size pattern, and have completed the back panel, and am now on the front panel. But I have a small doubt Ashleigh, you have mentioned in your youtube video, that for medium size, for the back panel one should cast on 46 stitches, but you did not mention that clearly for the front panel how much should be cast on? I tried with 45 stitches for front panel, as it can be split up into equal 3 parts for the 2 shoulders and for the neckline, but however, with 45 stitches, the ribbing rows do not end in purl stitches. So how to solve this problem? Please kindly let me know asap, as I have completed the back panel, and cannot start on the front panel, until you clear this particular doubt of mine. Thanks in advance. Sudha