This shop has been compensated by Collective Bias, Inc. and its advertiser. All opinions are mine alone. #BearyMerryVTechMom #CollectiveBias
Hi there and happy holidays everyone!
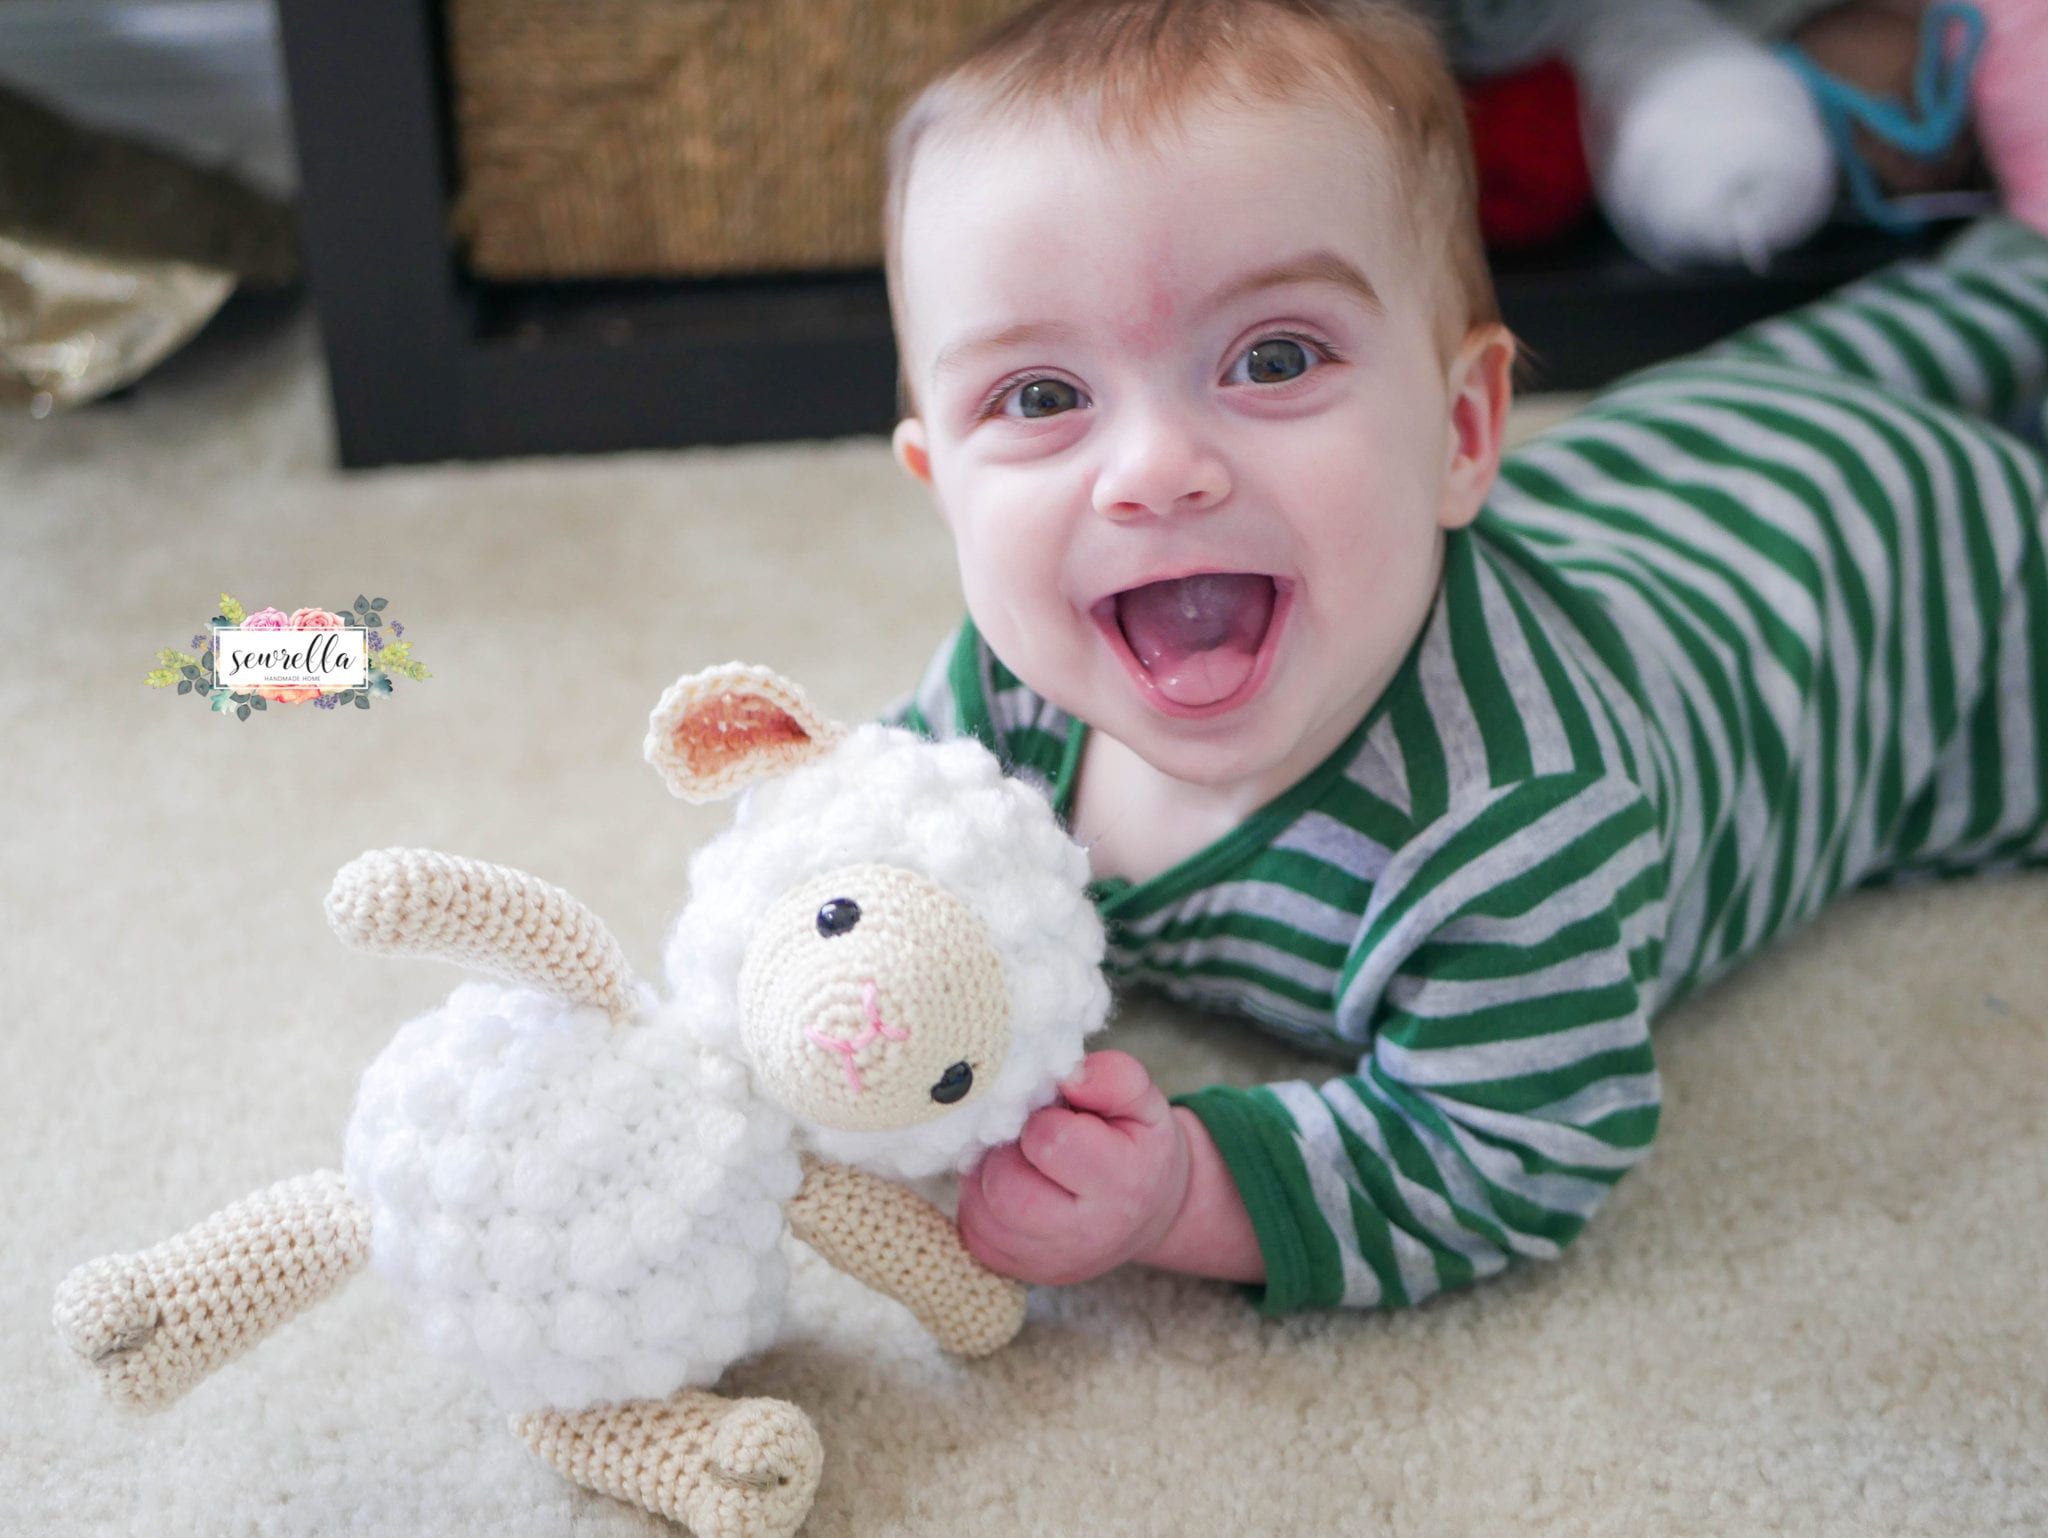
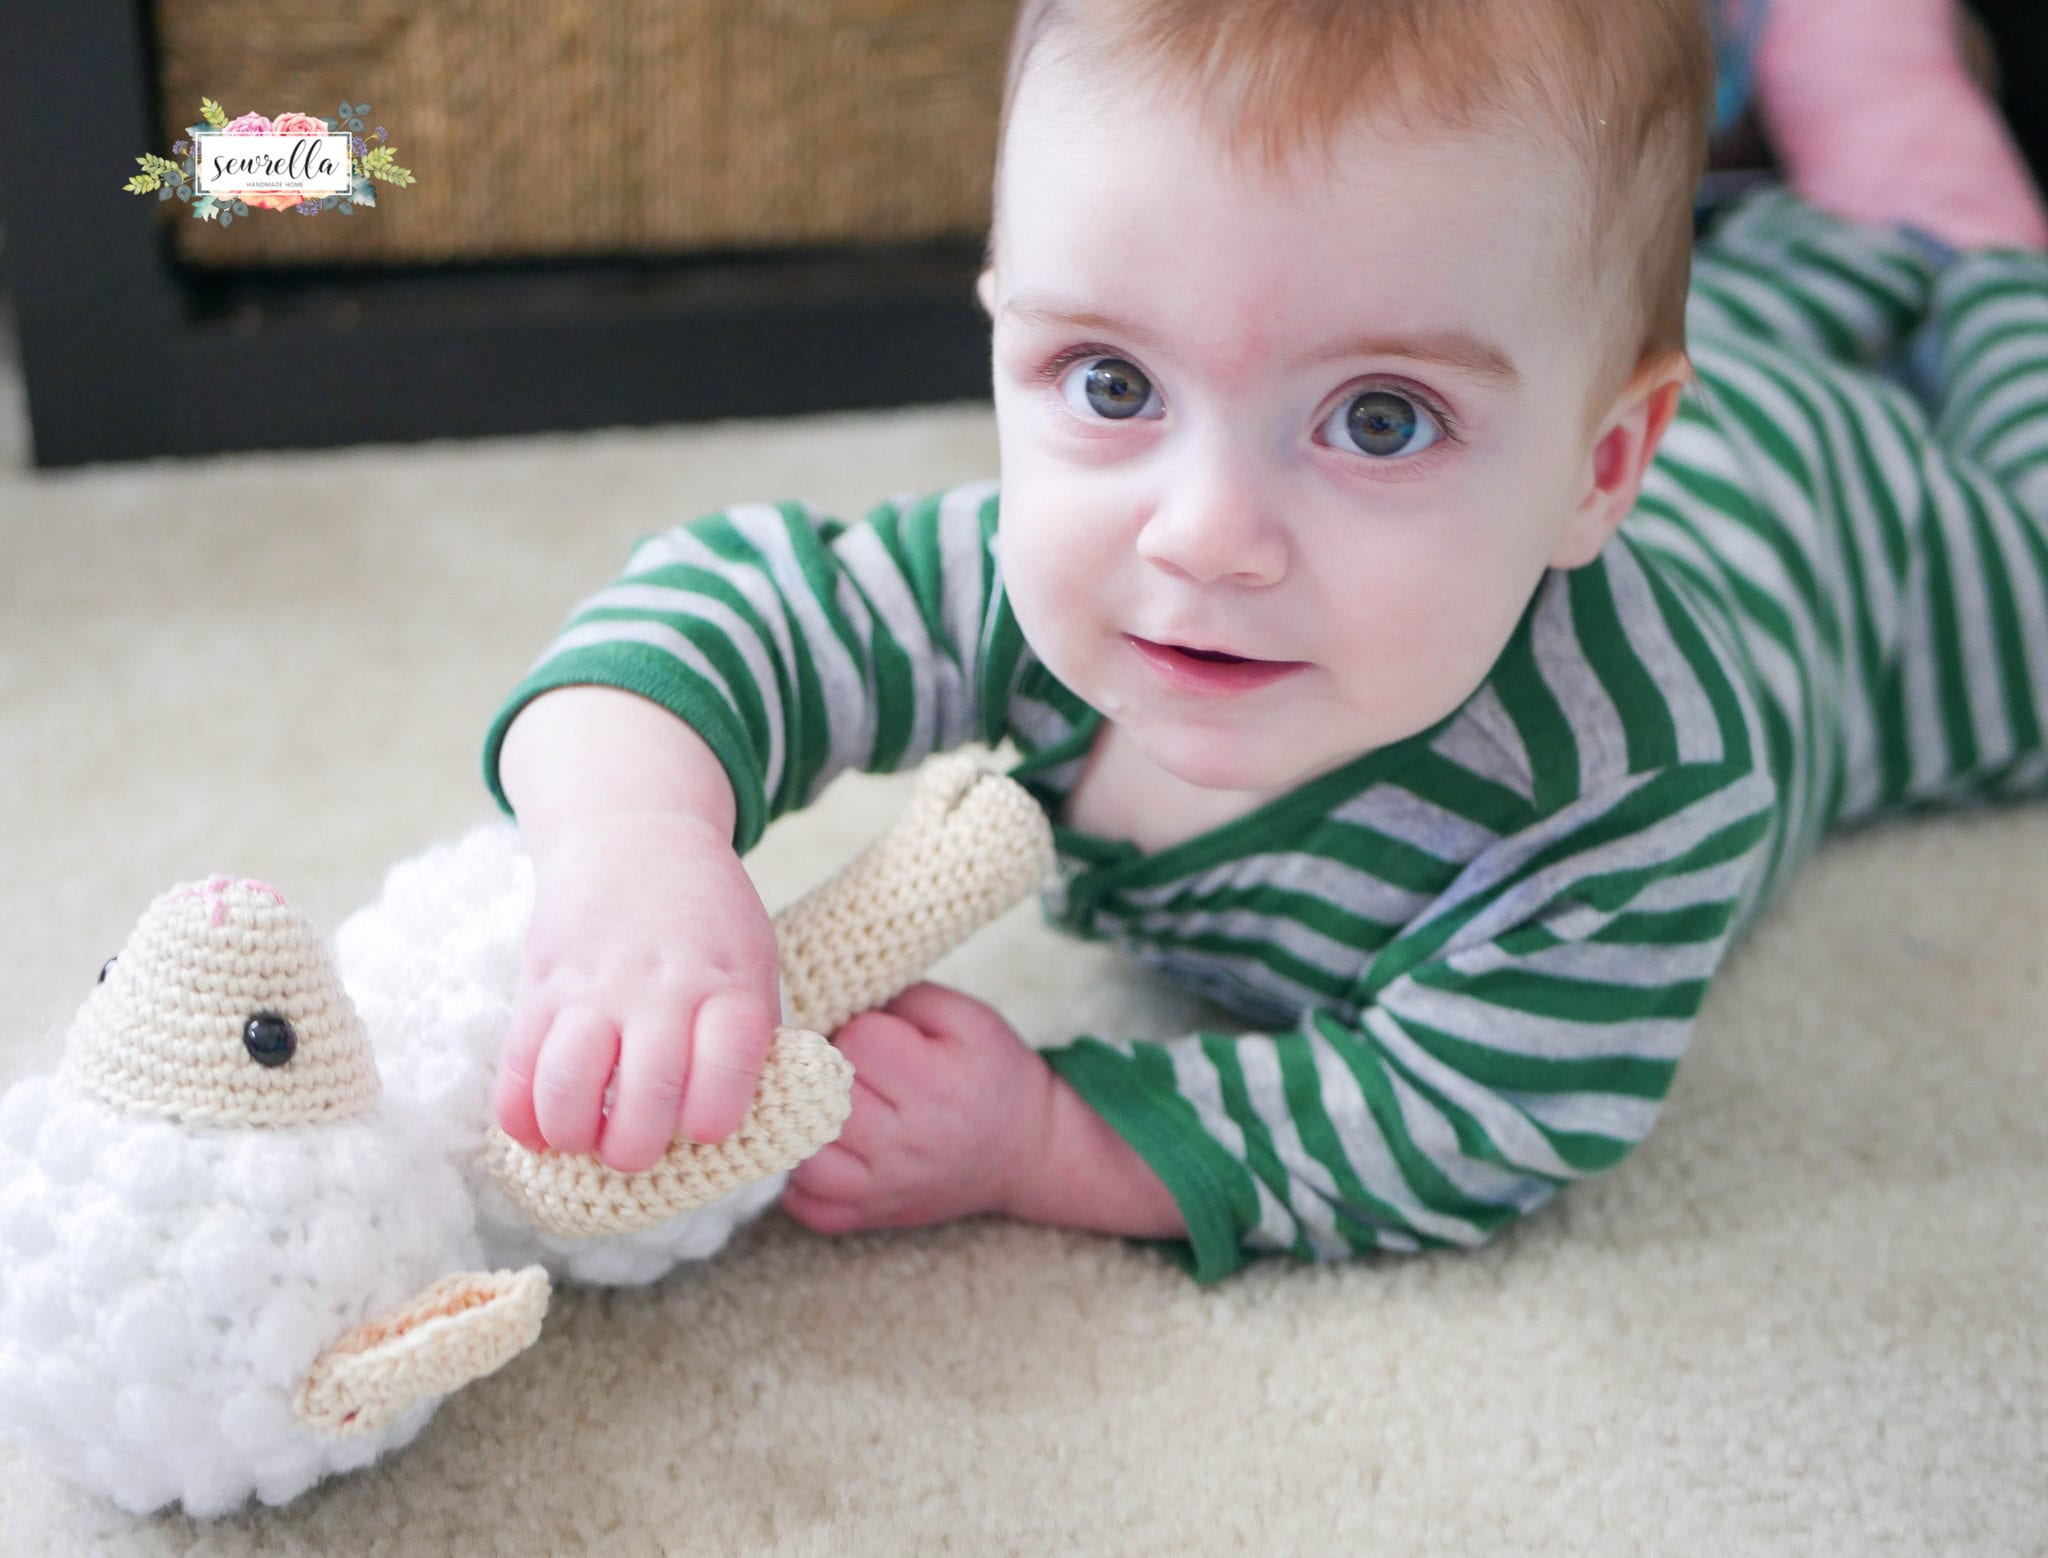
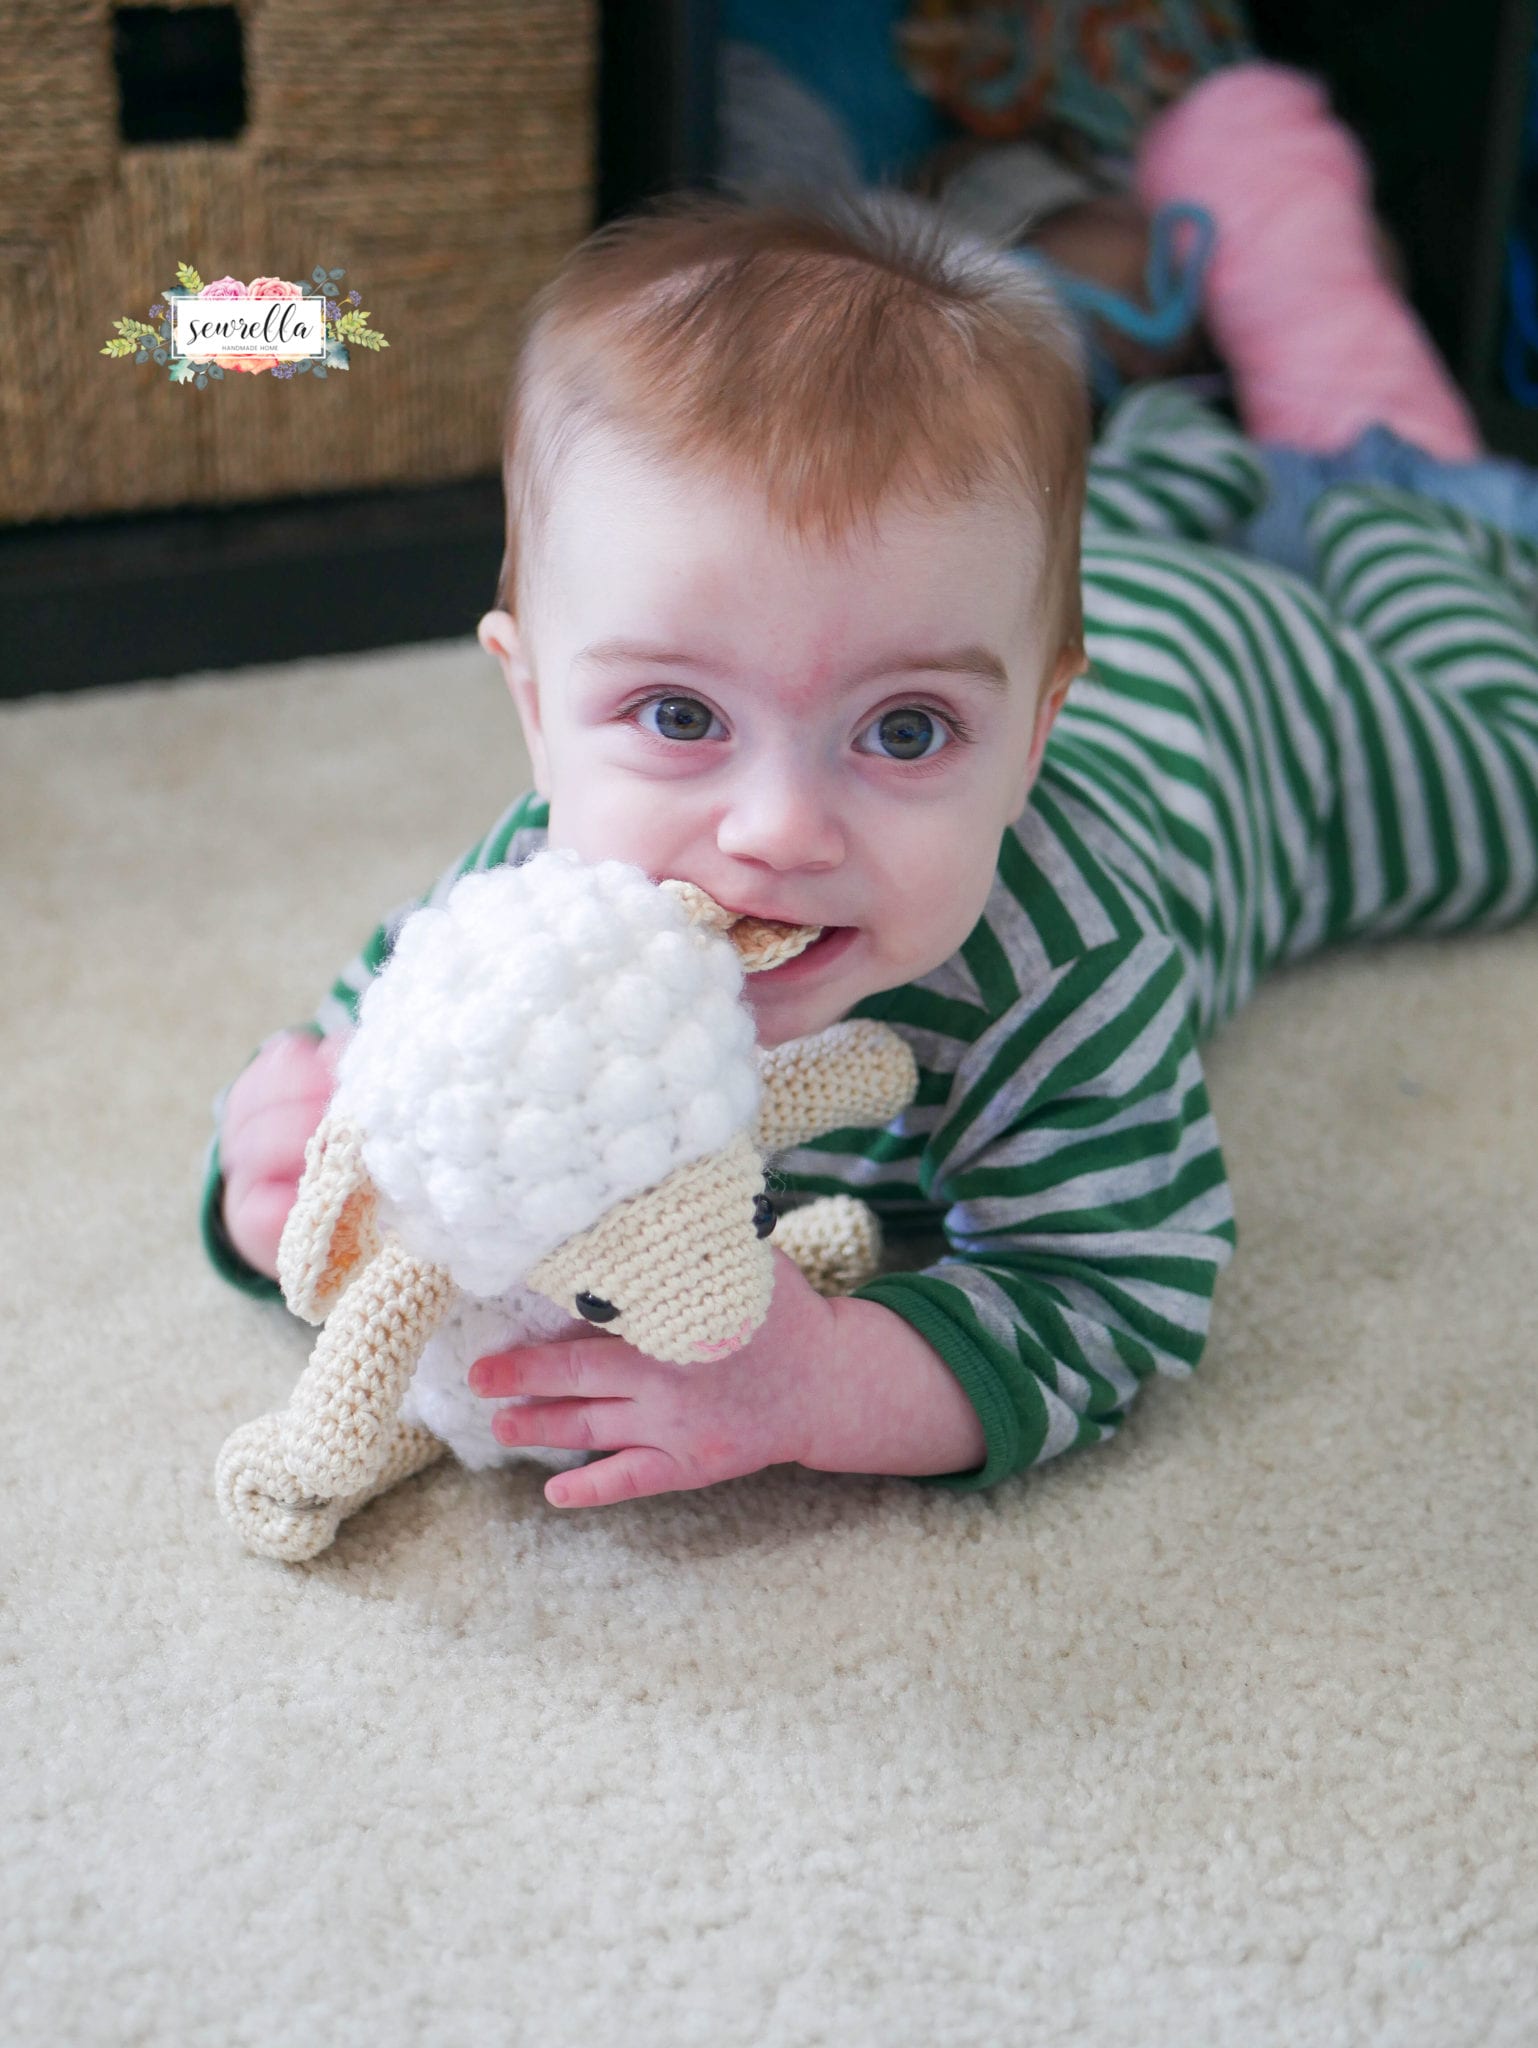
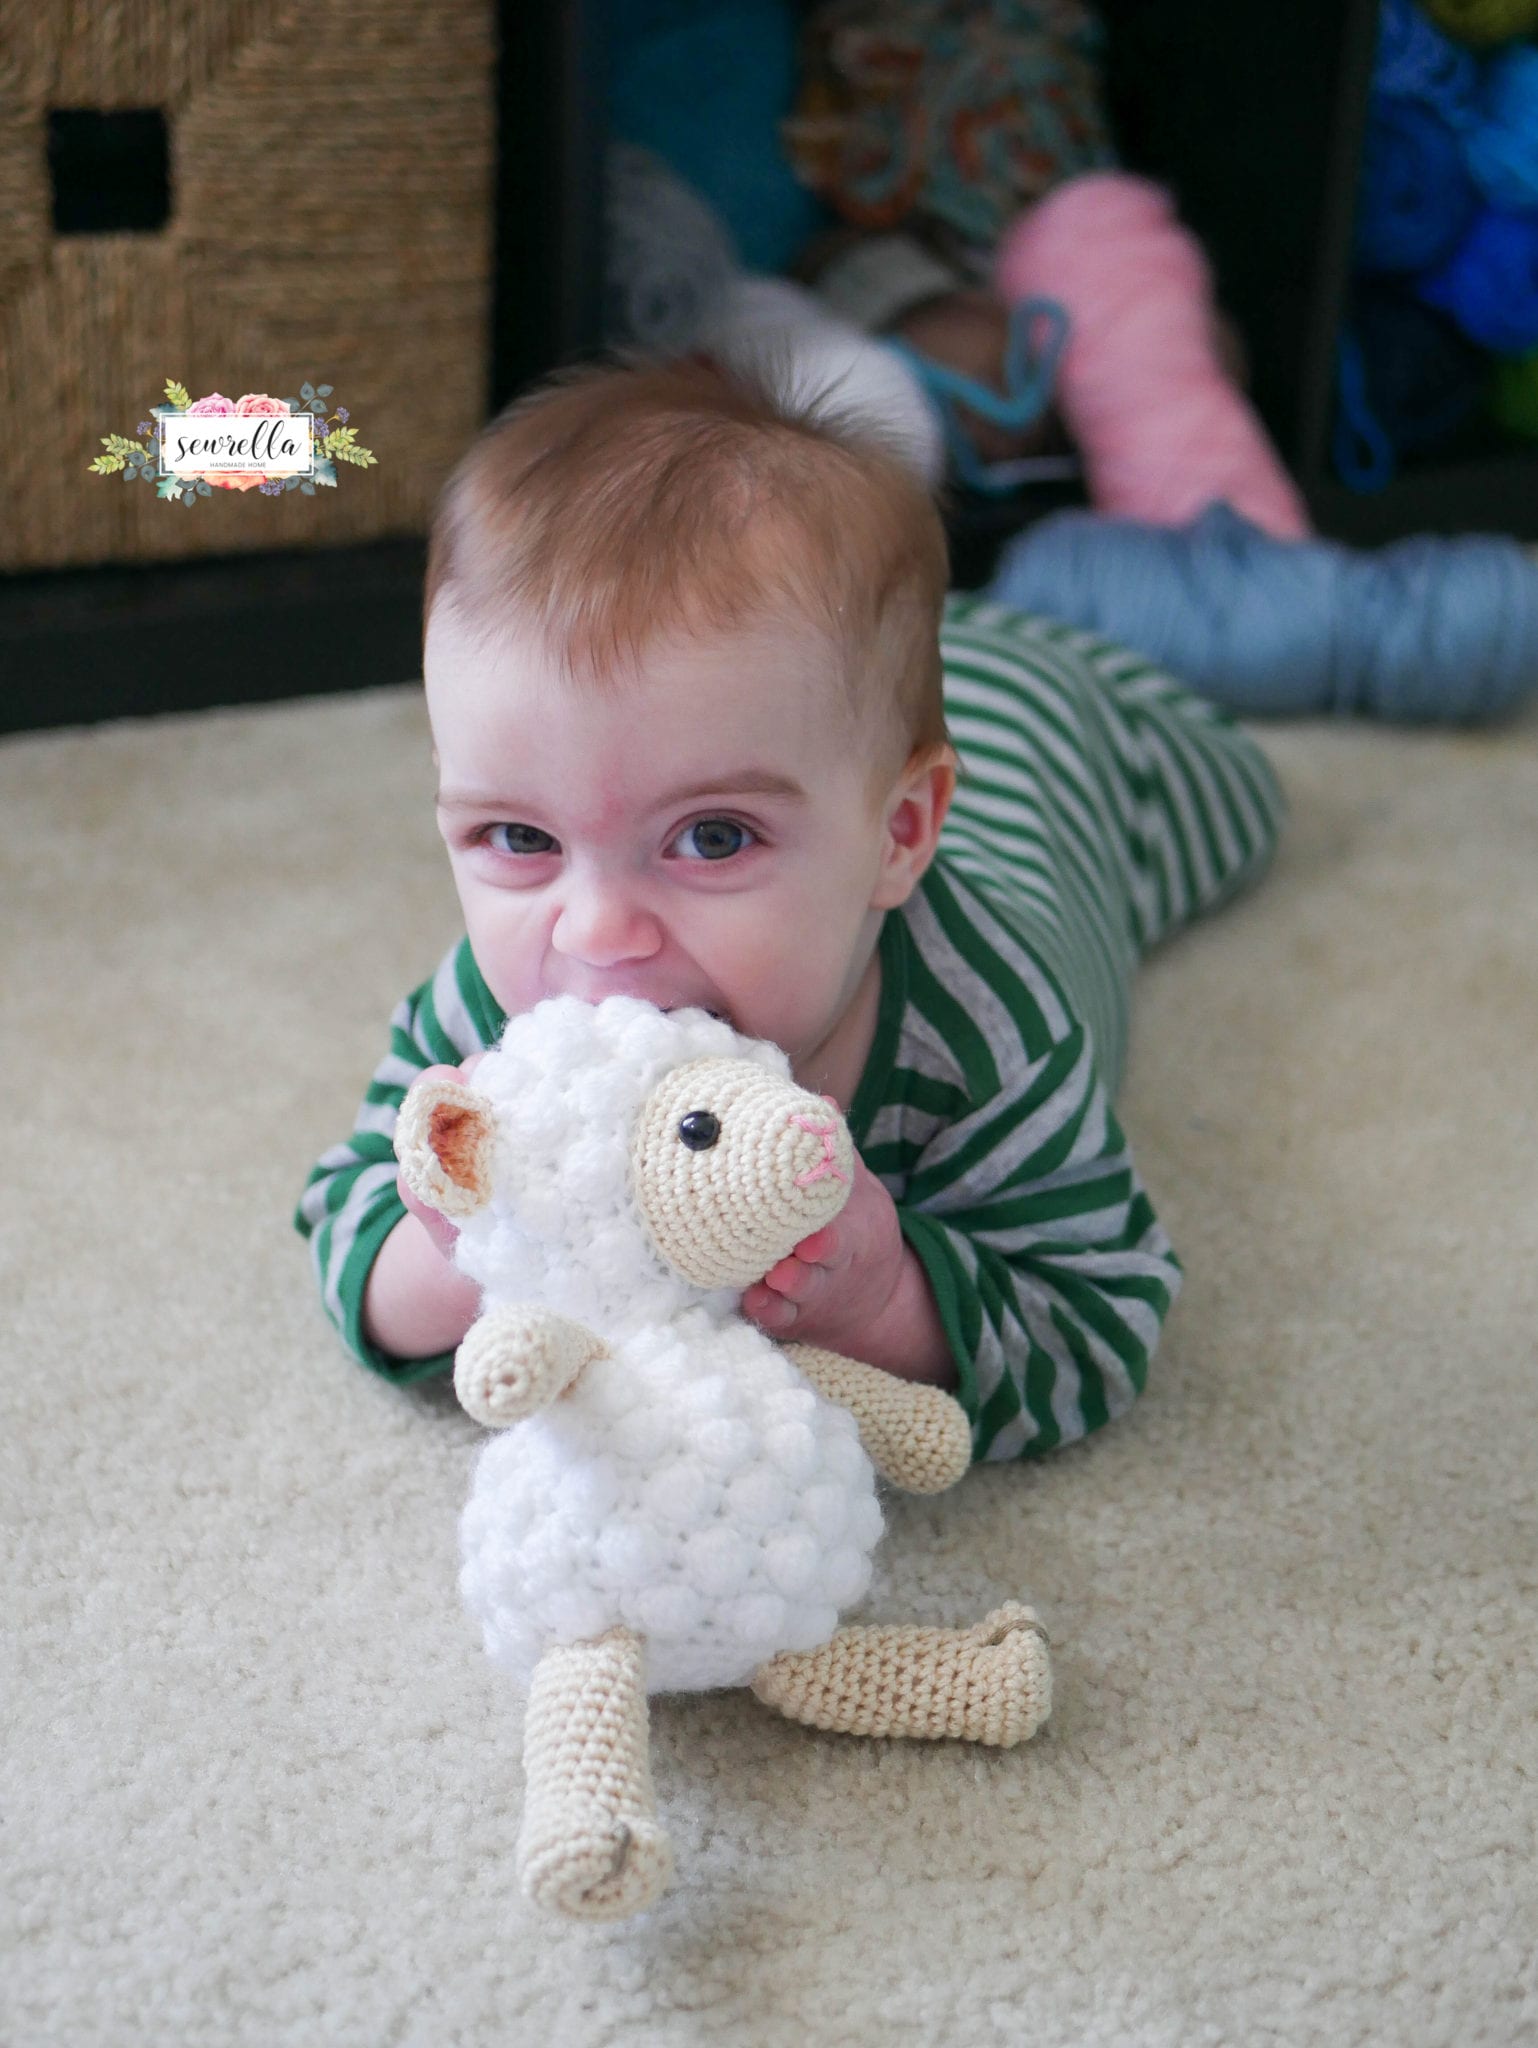
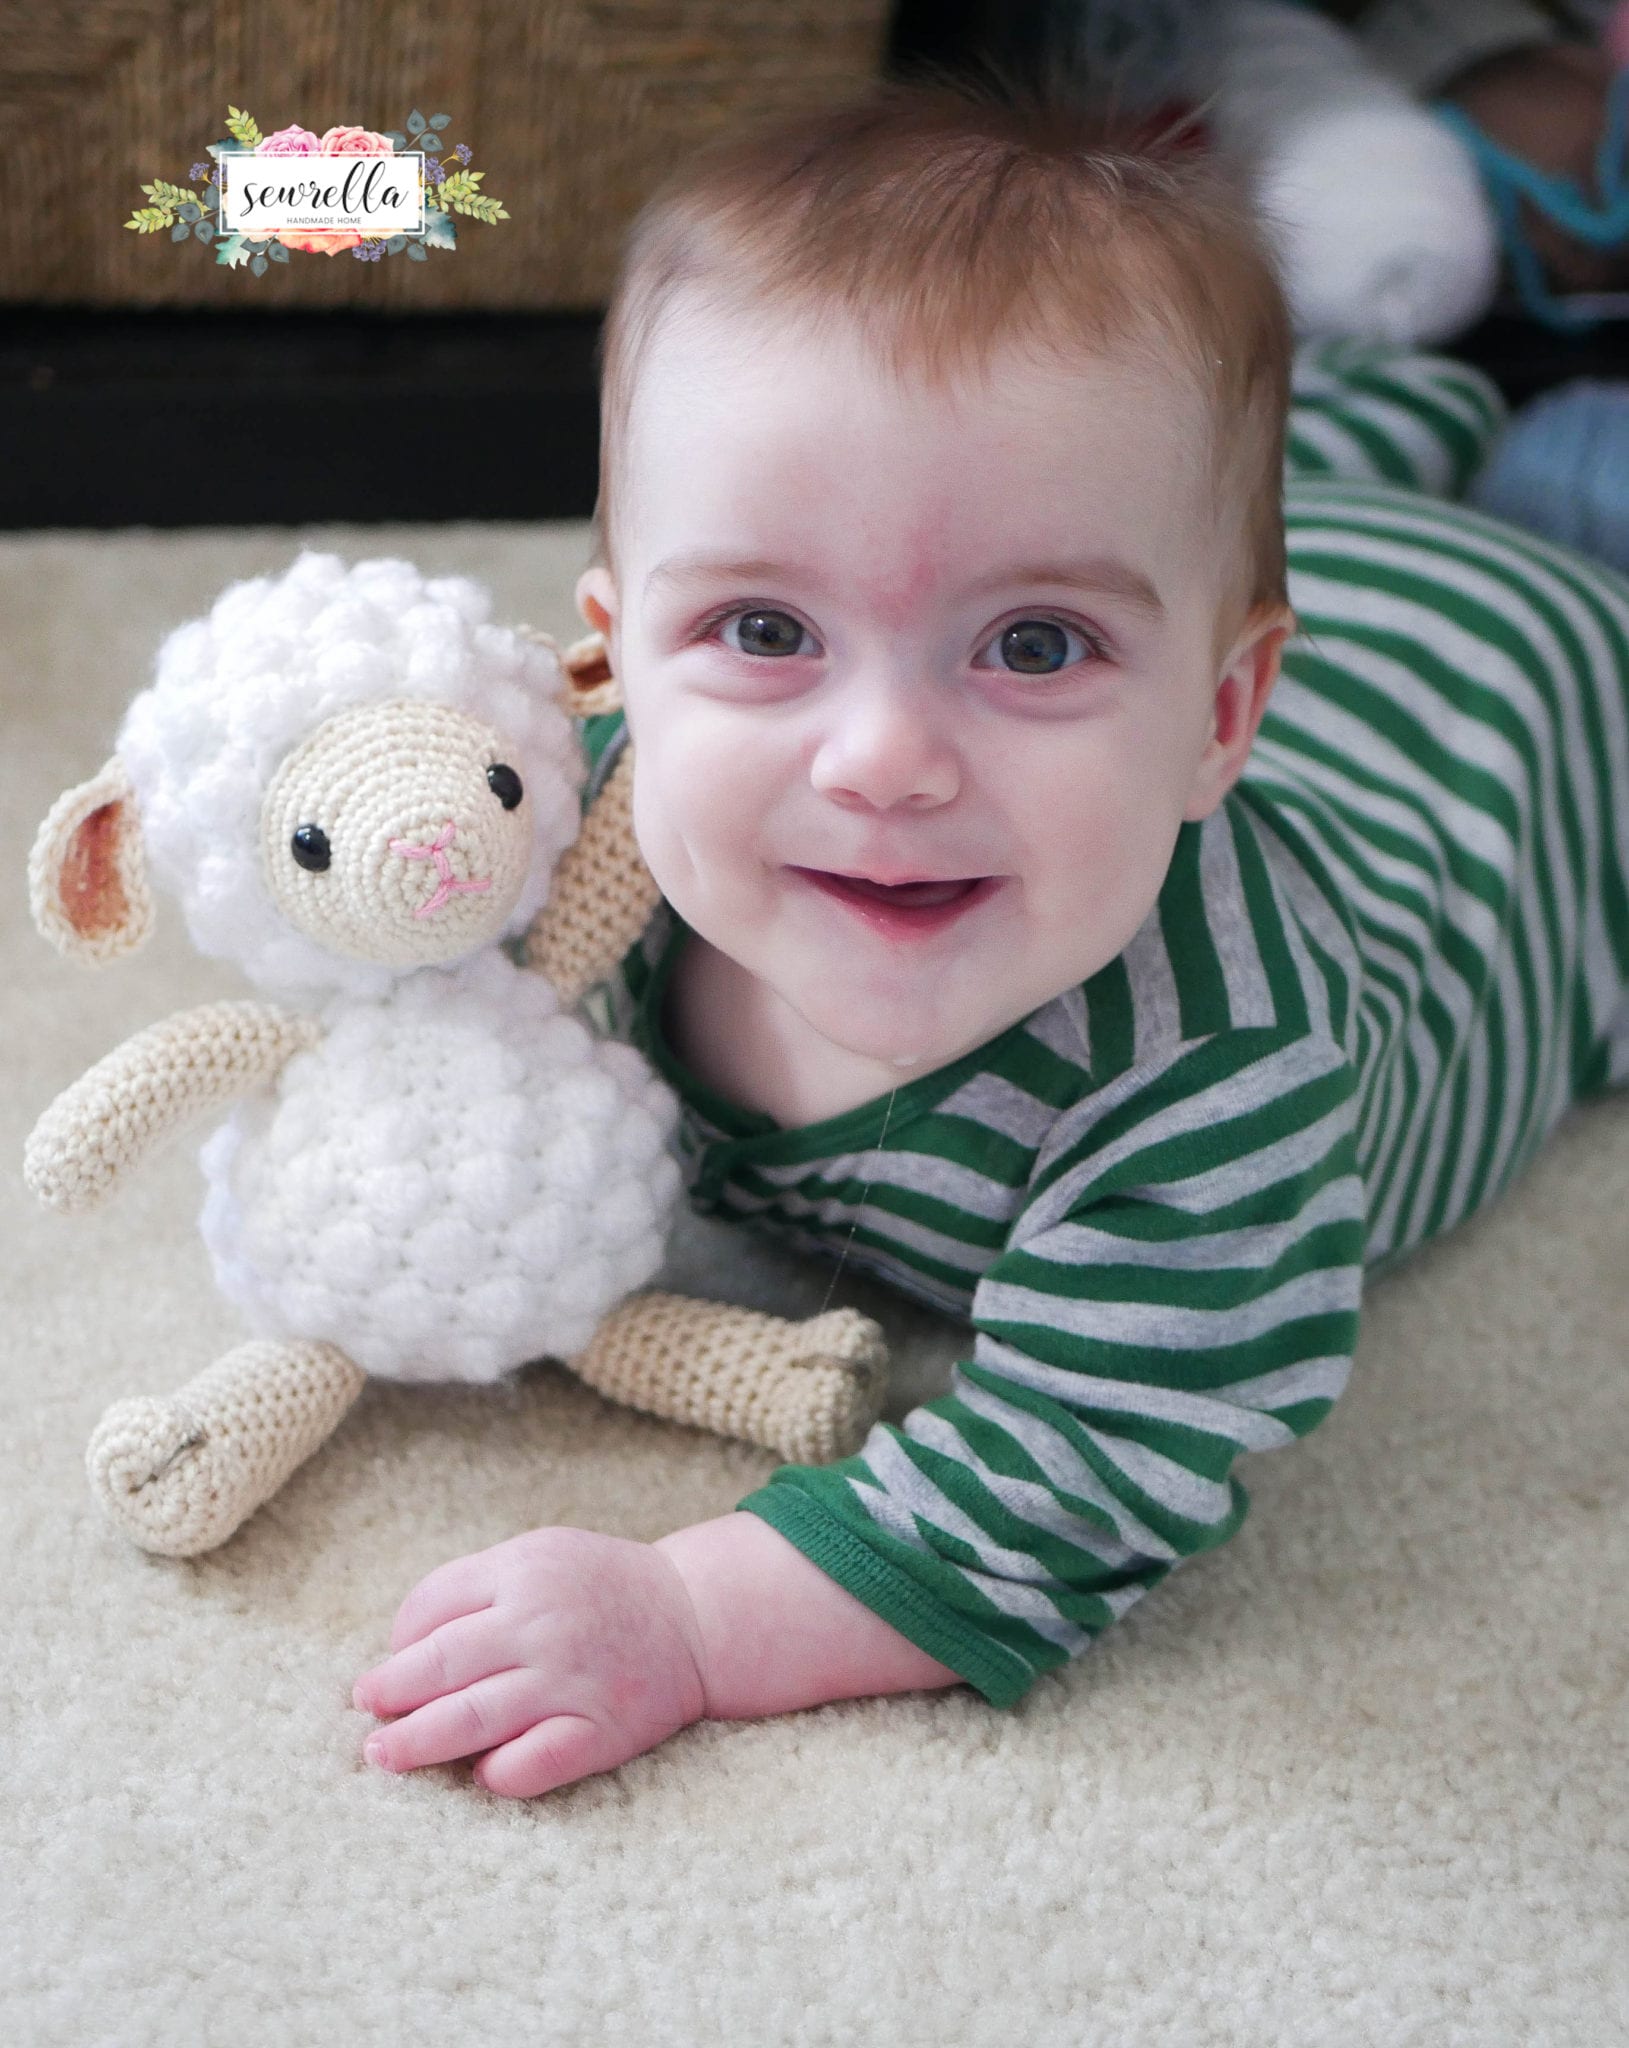
I have a SUPER cute amigurumi toy pattern for you today – the most adorable little lamb!
This baby or kids toy is just the right size for carrying everywhere, playing with on the go, or snuggling during quiet time.
I made her as a gift to a new mom & baby for Christmas.
Since having my little 6 month old Parker, I’ve made lots of new mom friends and they are always asking for recommendations – techniques, sage wisdom, and products are always on the list of questions.
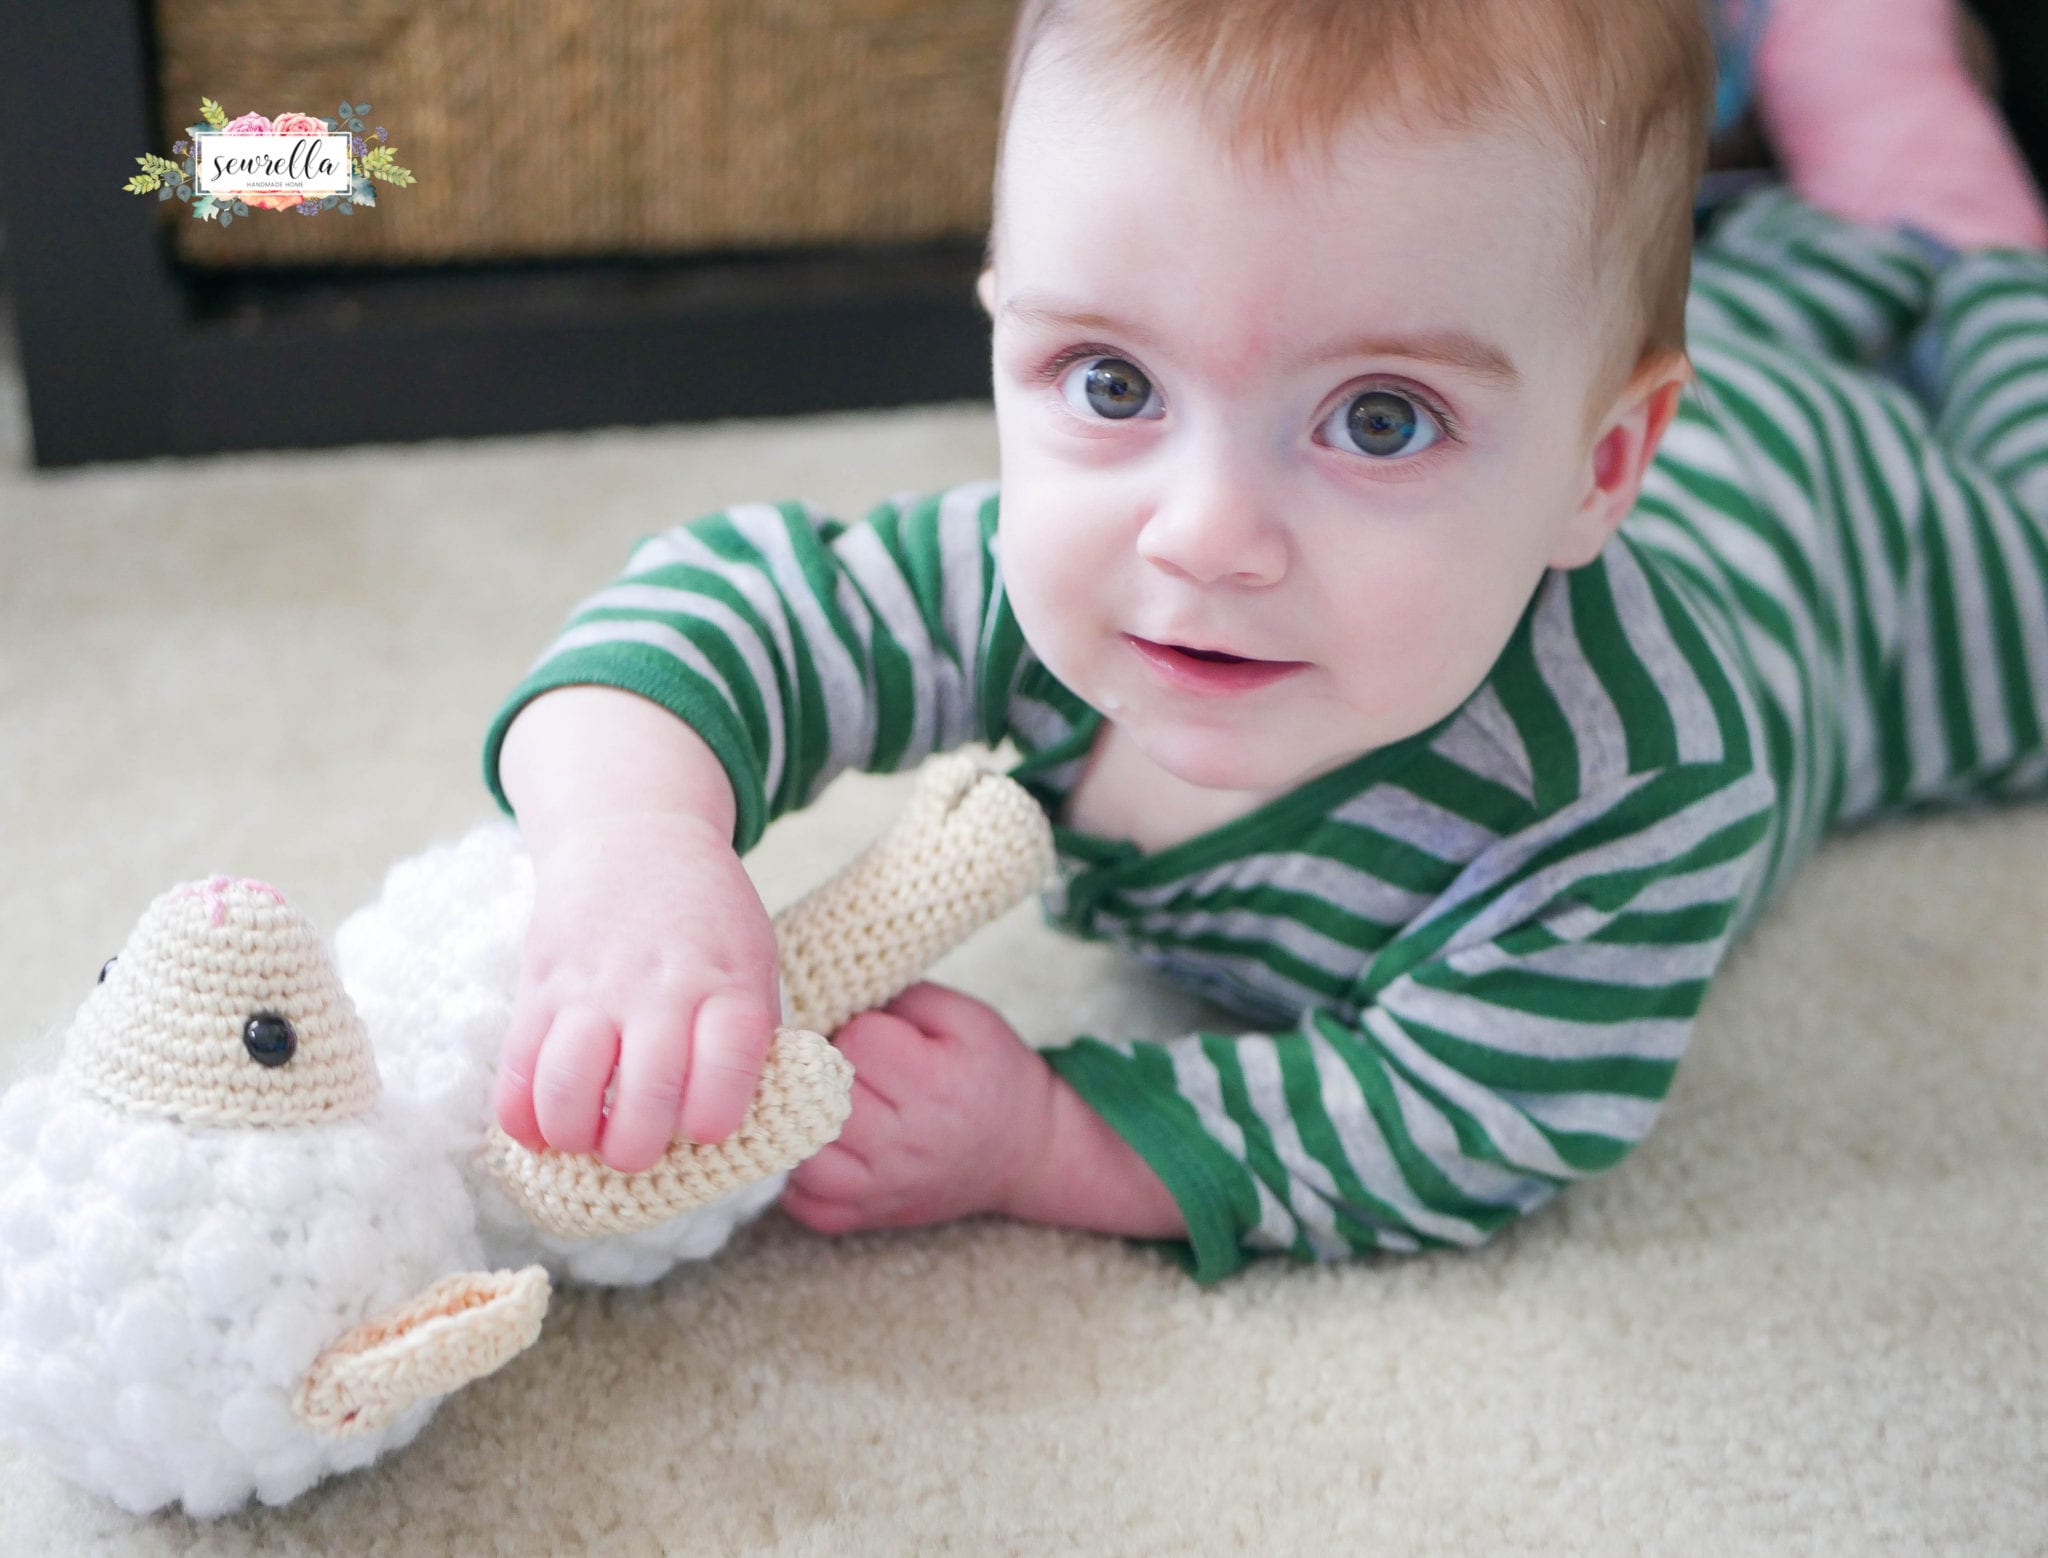
I have a few solid standbys that I always recommend, chief among them – a good baby monitor.
I’ve been spoiled, and use the VTech VM341-216 Bear 2 Camera Full Color Video Monitor (from Babies R Us ).
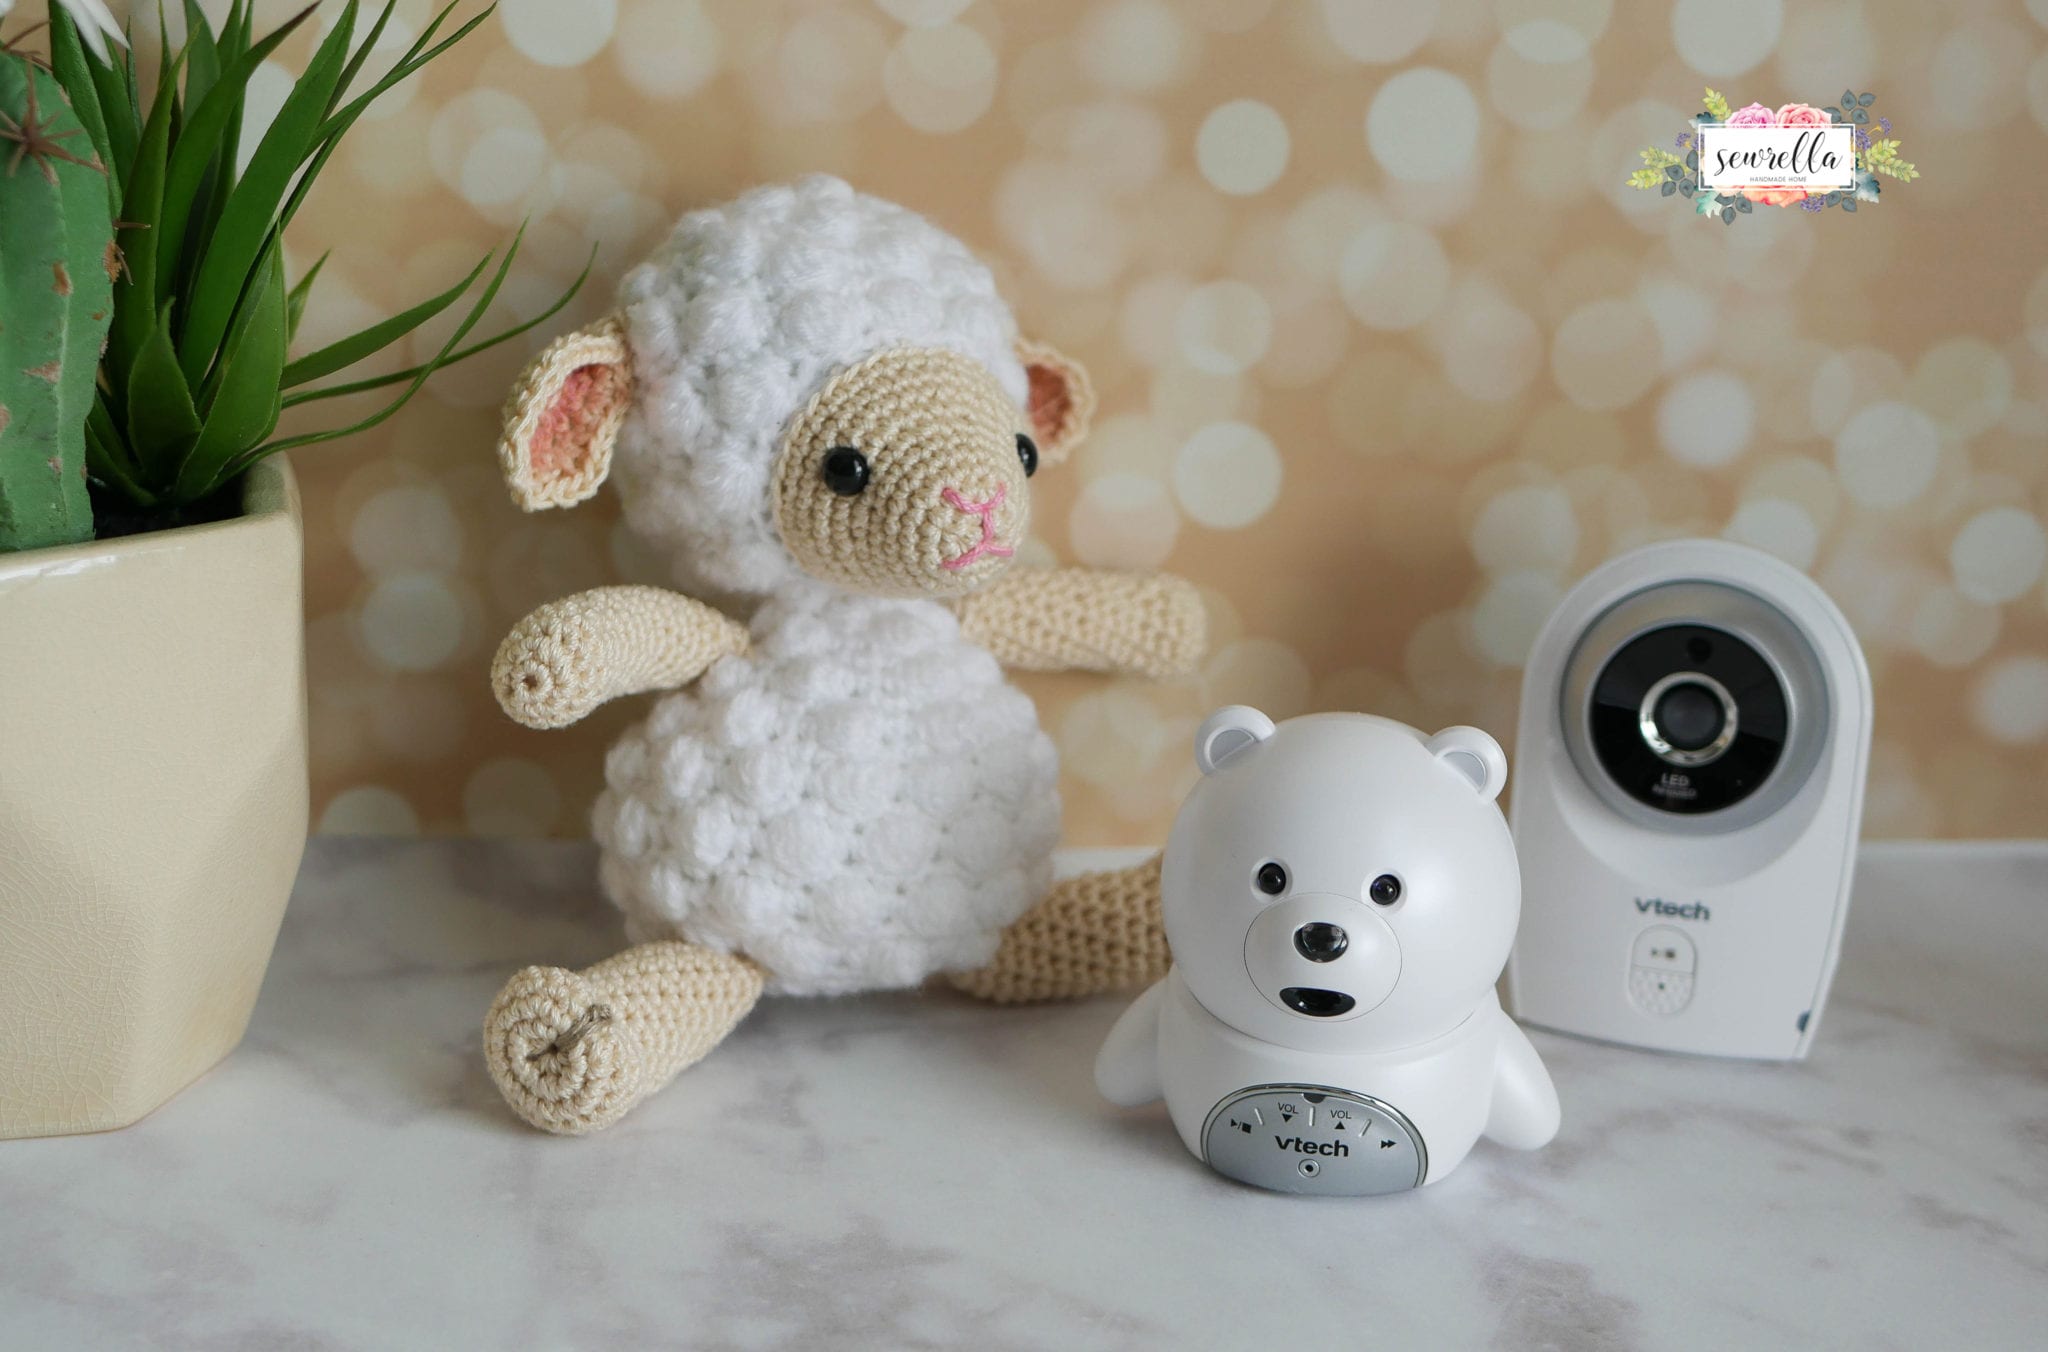
This cute little VTech Bear Video Monitor comes with a teddy bear shaped camera and an additional camera that can be placed in separate rooms for monitoring – I have one set up in the nursery and one in Parker’s play space. Perfect for my peace of mind no matter where he is!
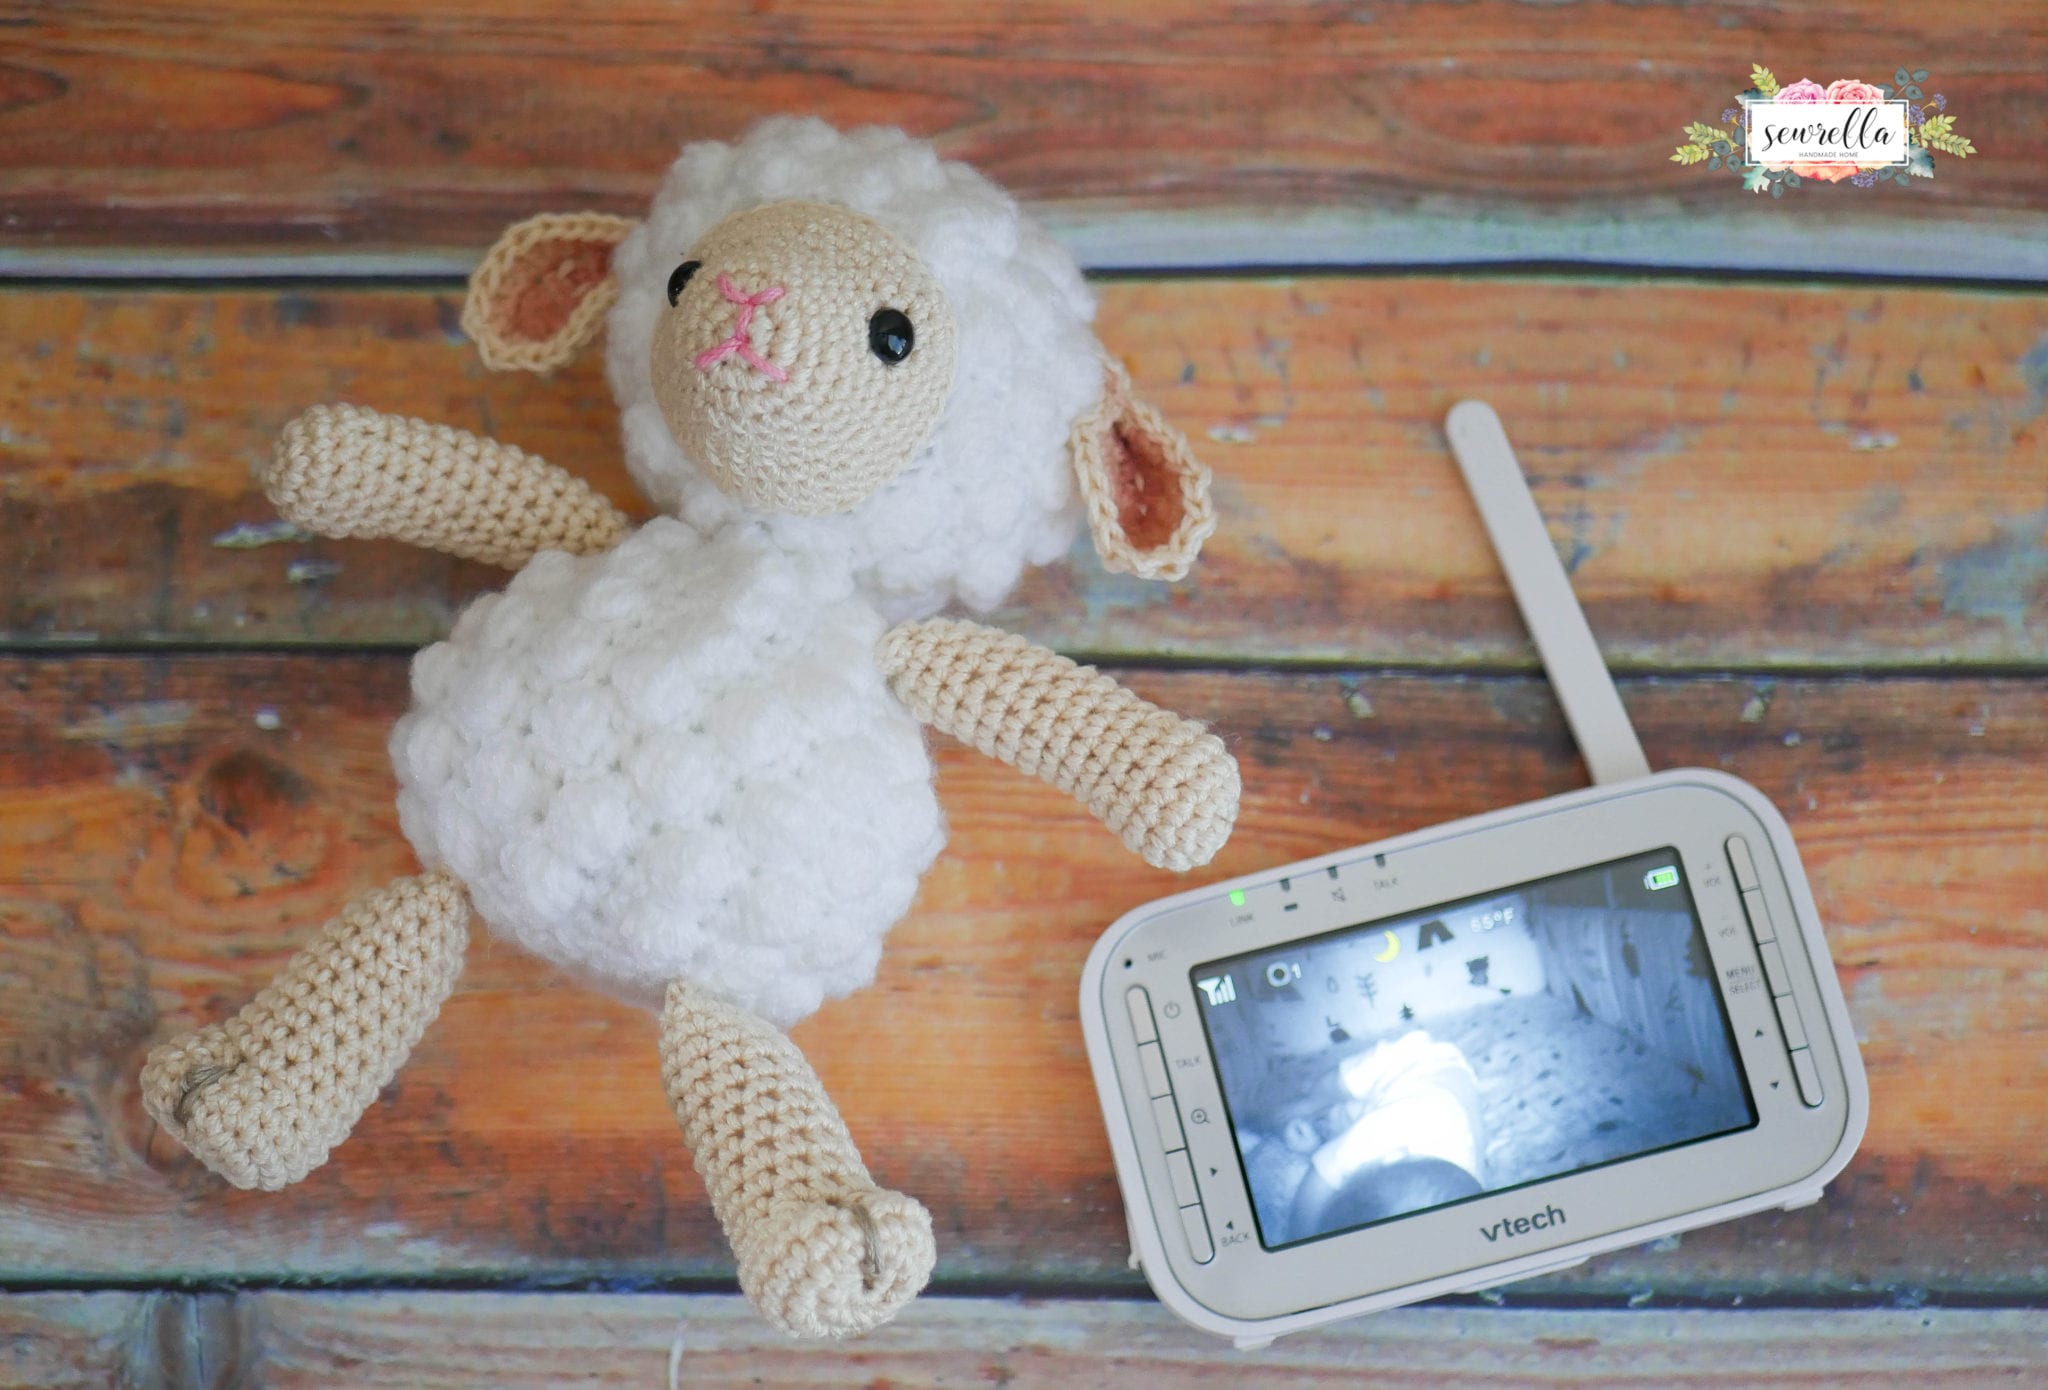
Both cameras have automatic night vision (no turning lights on to see baby!) and a full color LCD screen for the parents. I keep mine next to my bed at night so that I can check on him without getting up – saving precious mama energy.
I love recommending this monitor to all my new mama friends – but what’s better than giving a handmade gift along with this monitor? Nothing is better, I tell ya!
I will be packing mine up in a stocking for baby and new mom this season – I dare you to find a better stocking stuffer than this combo right here!
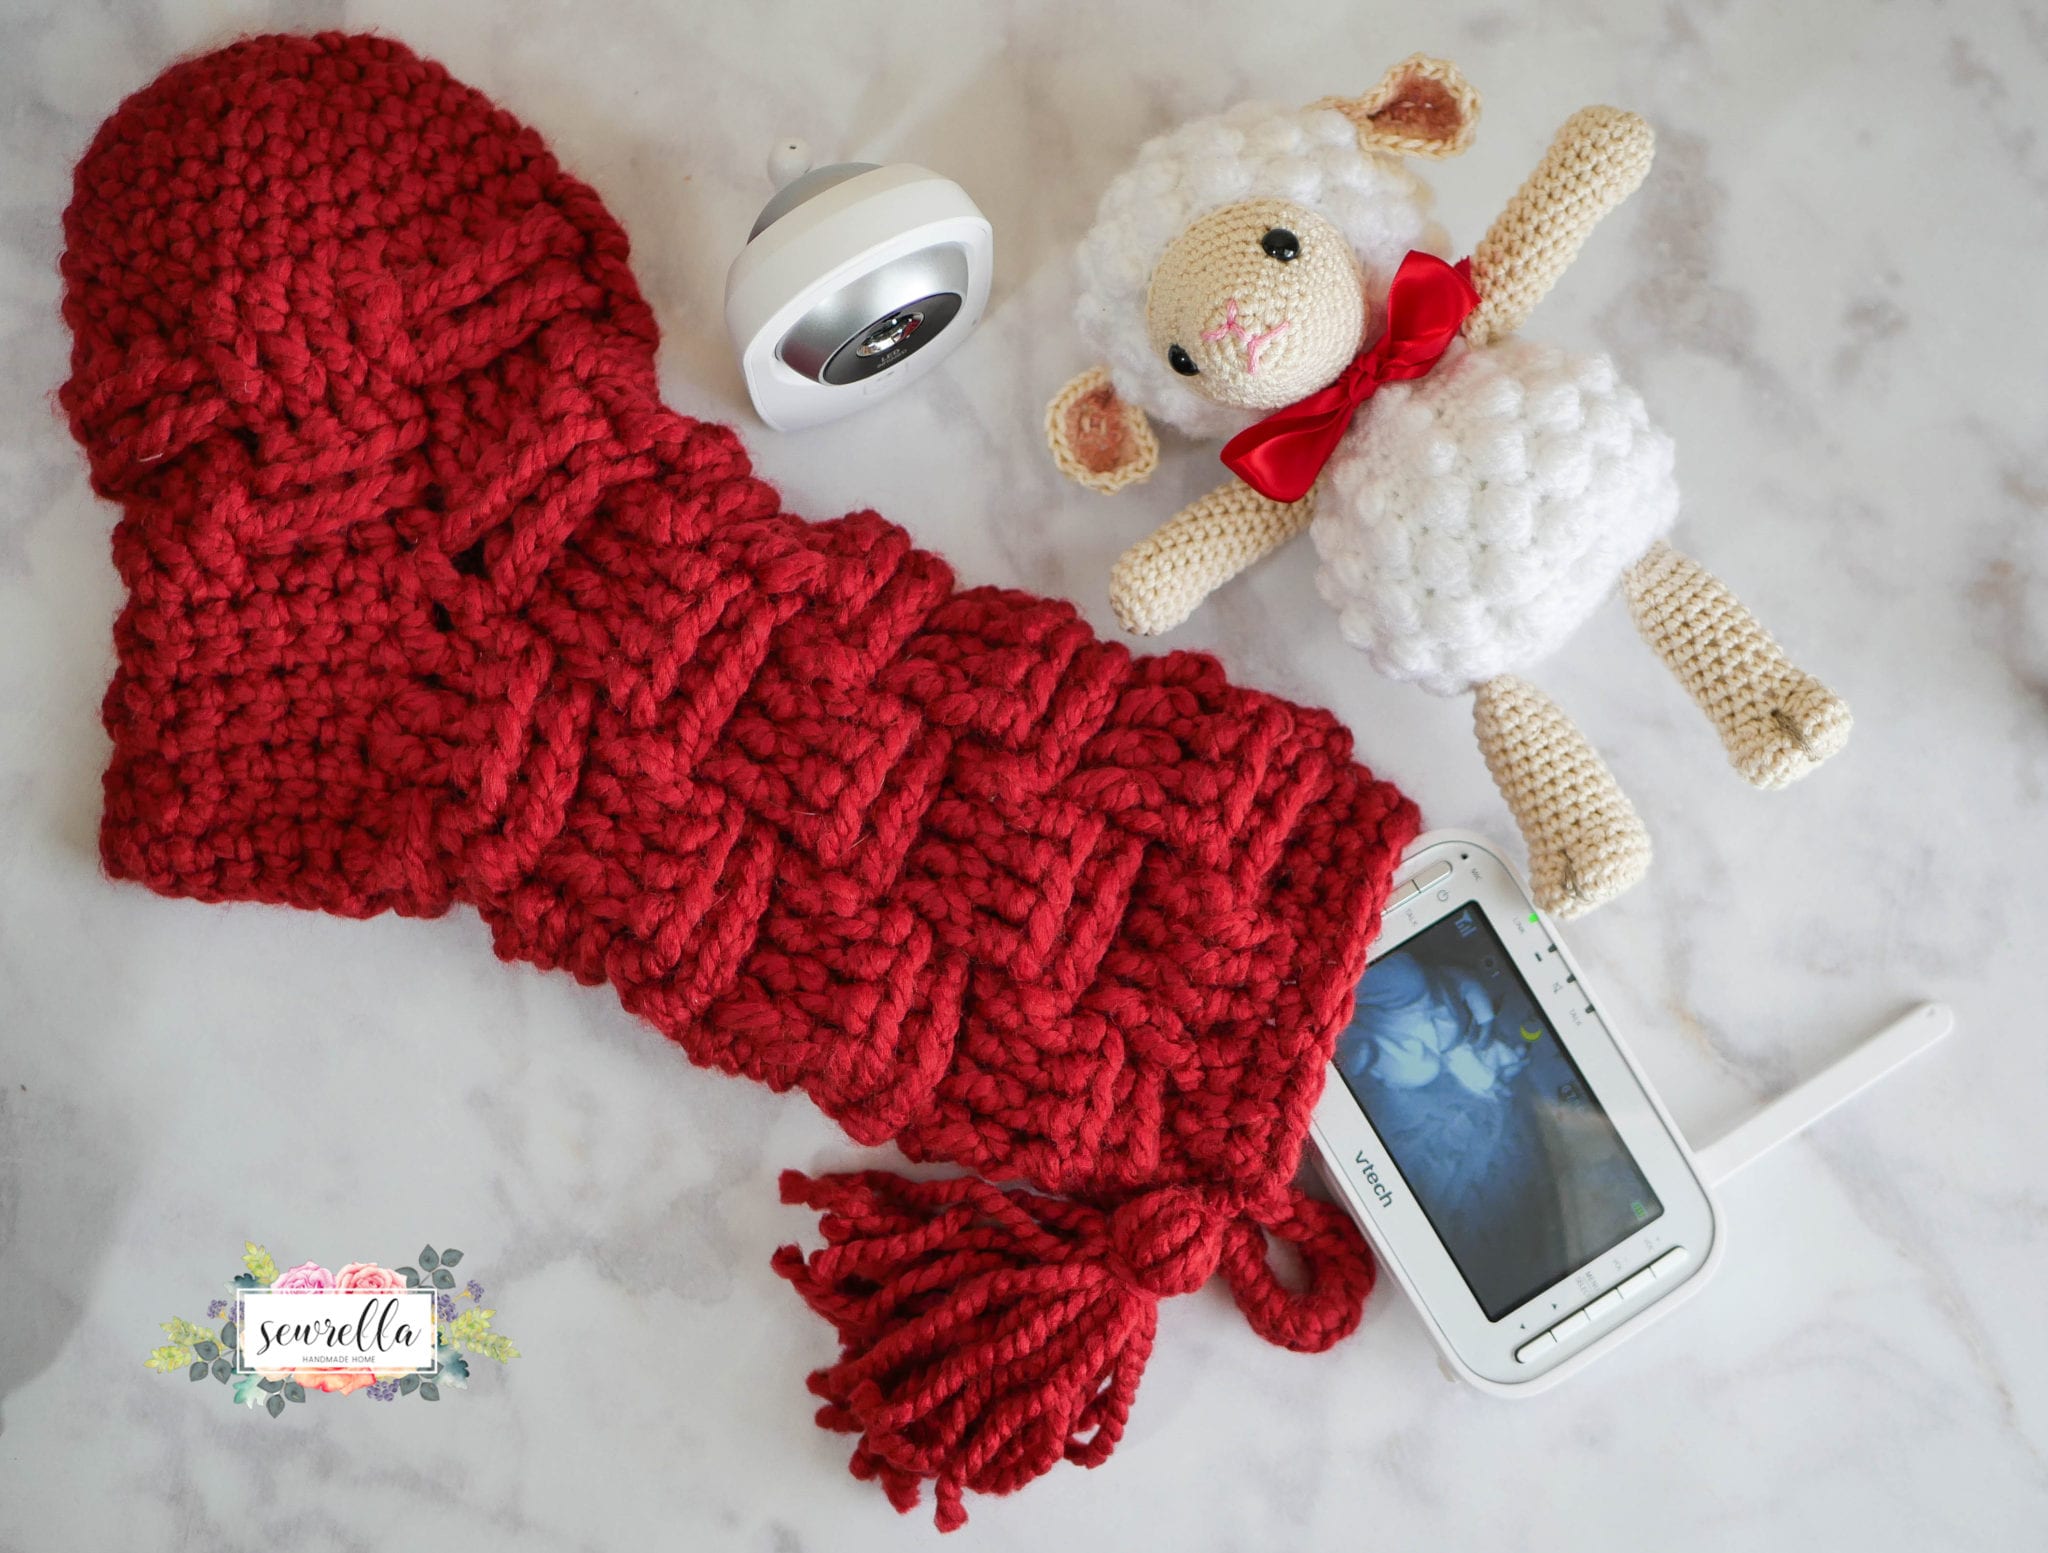
While this monitor gives Mom warm happy thoughts (who doesn’t just love watching baby snooze?) – this little lamb will give baby some warm, happy moments too!
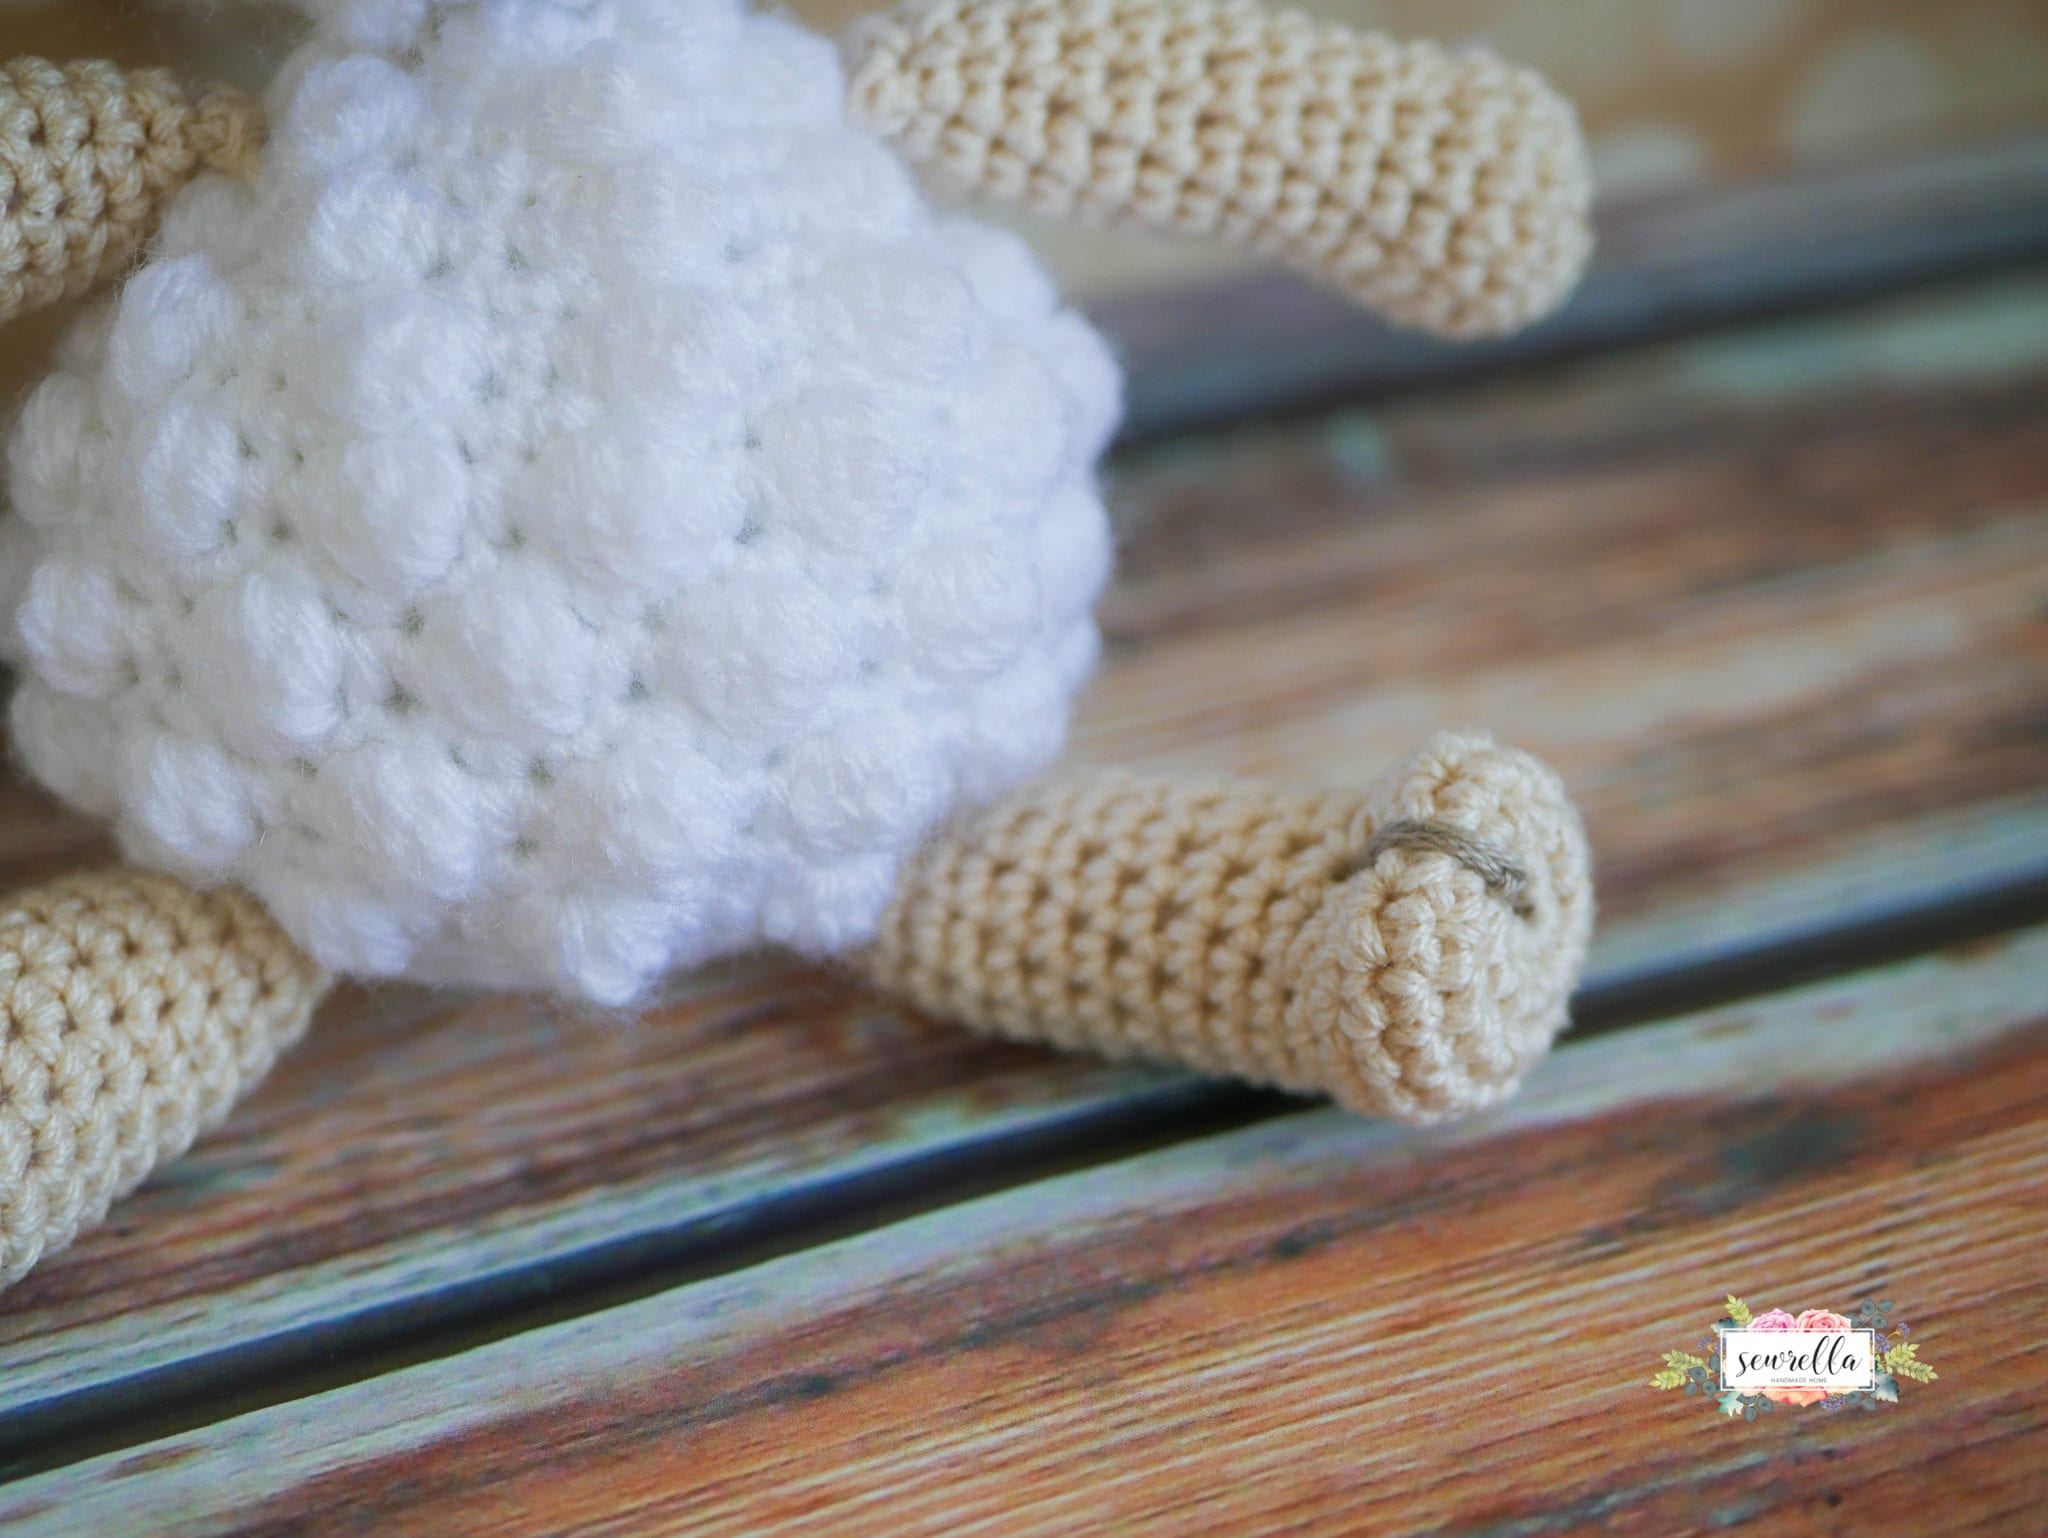
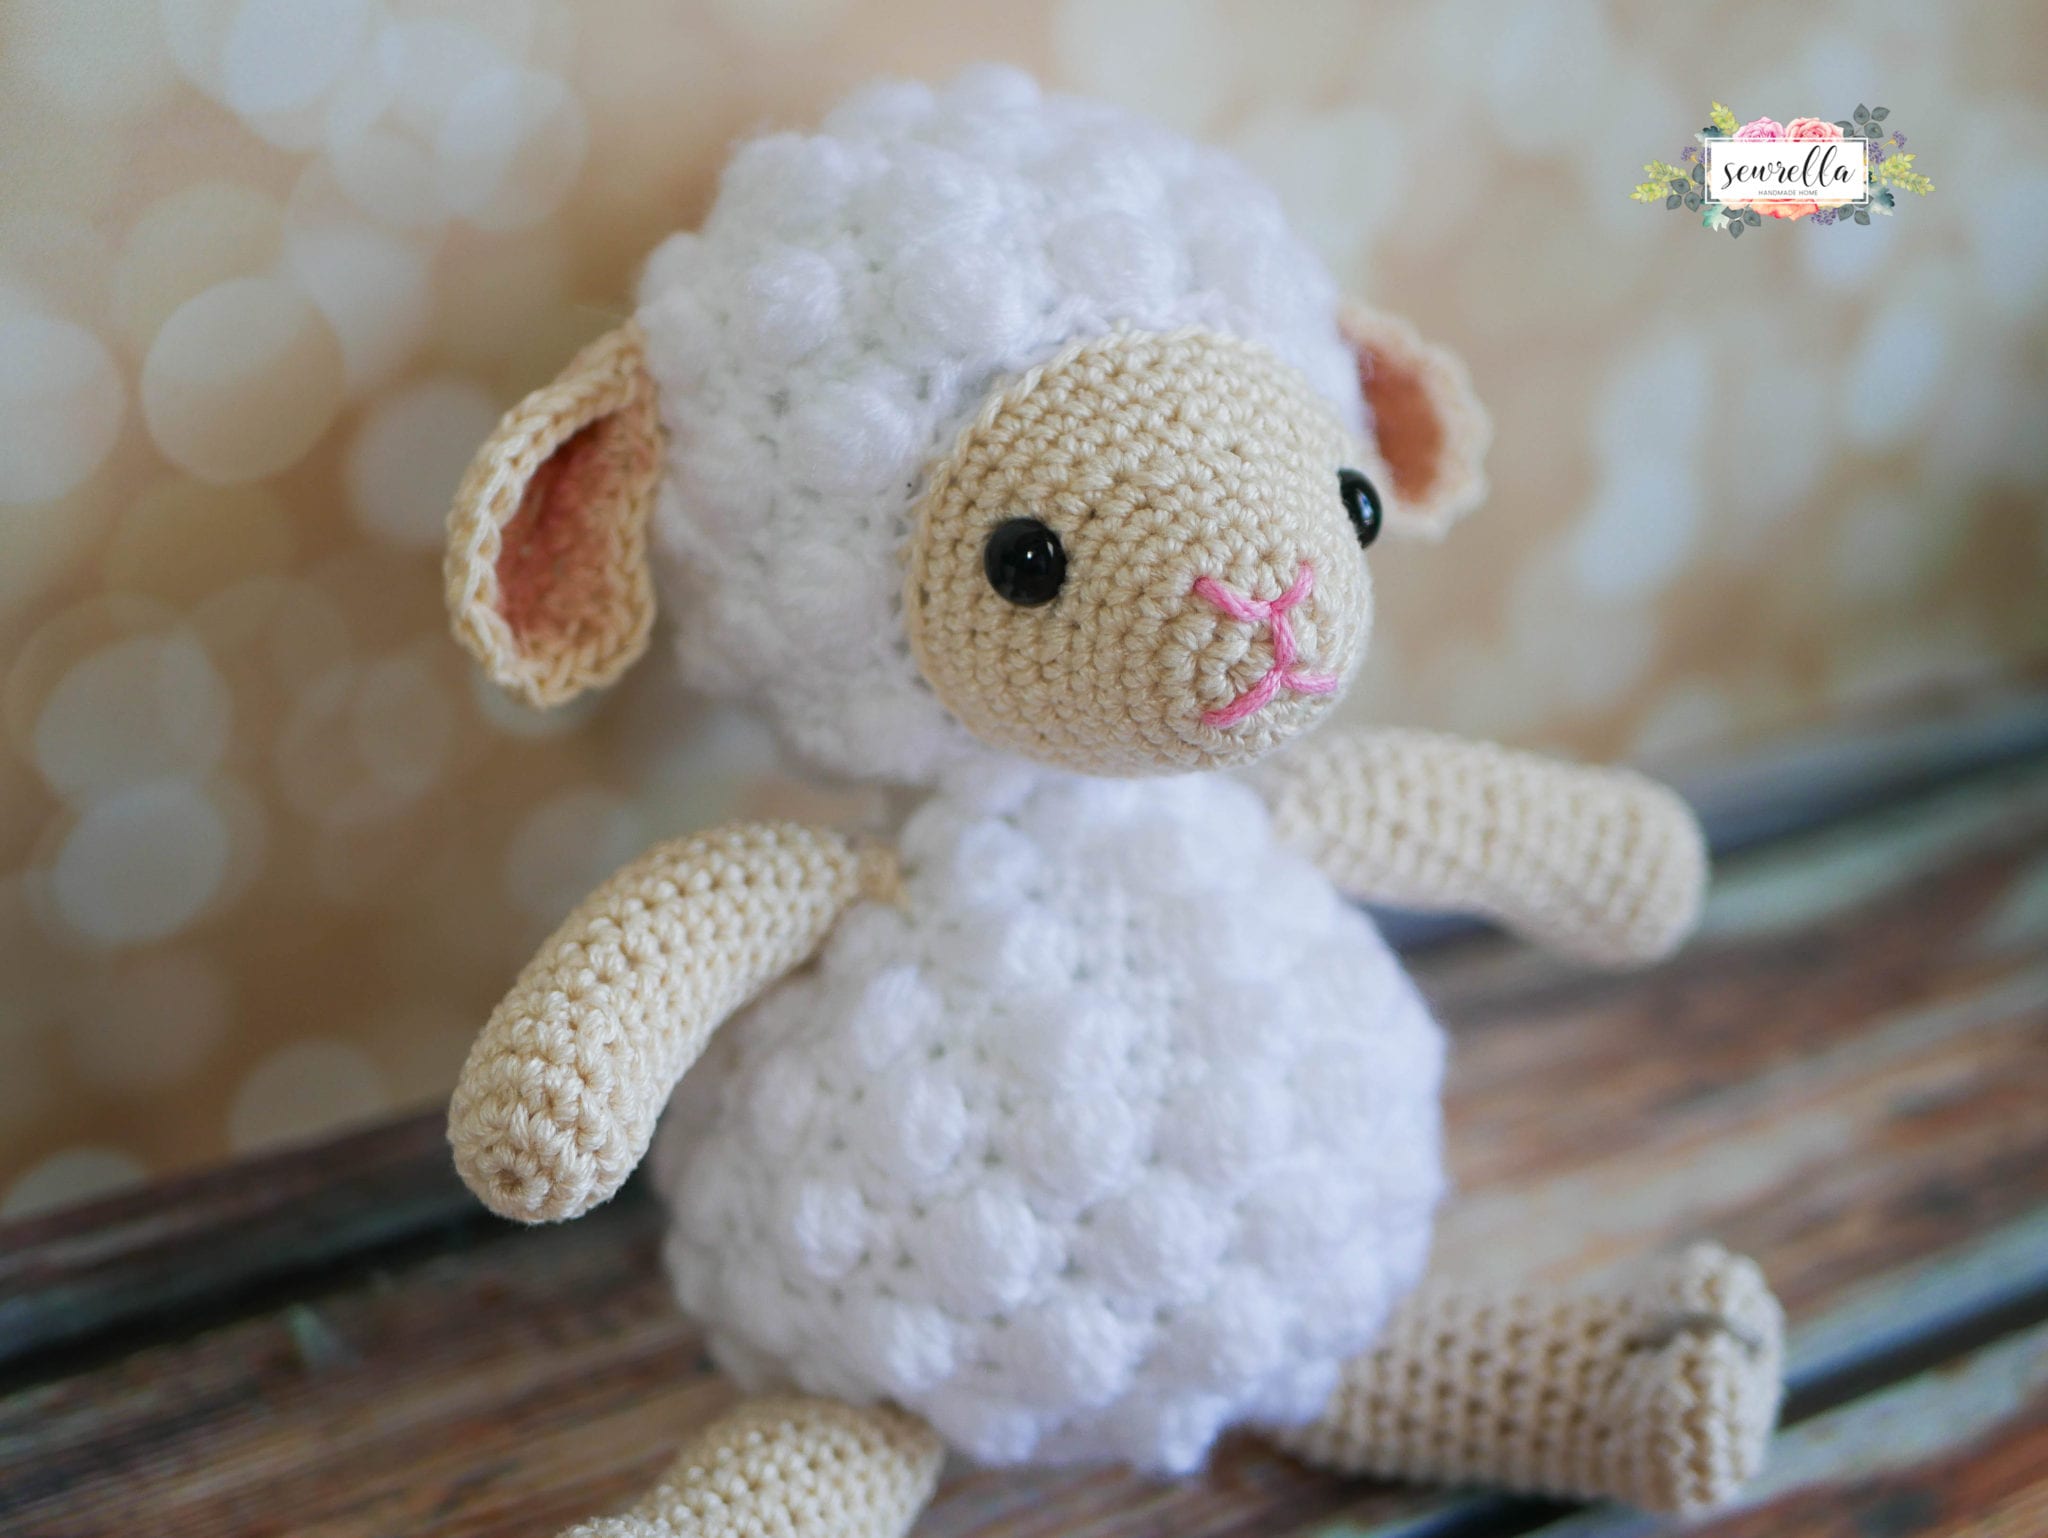
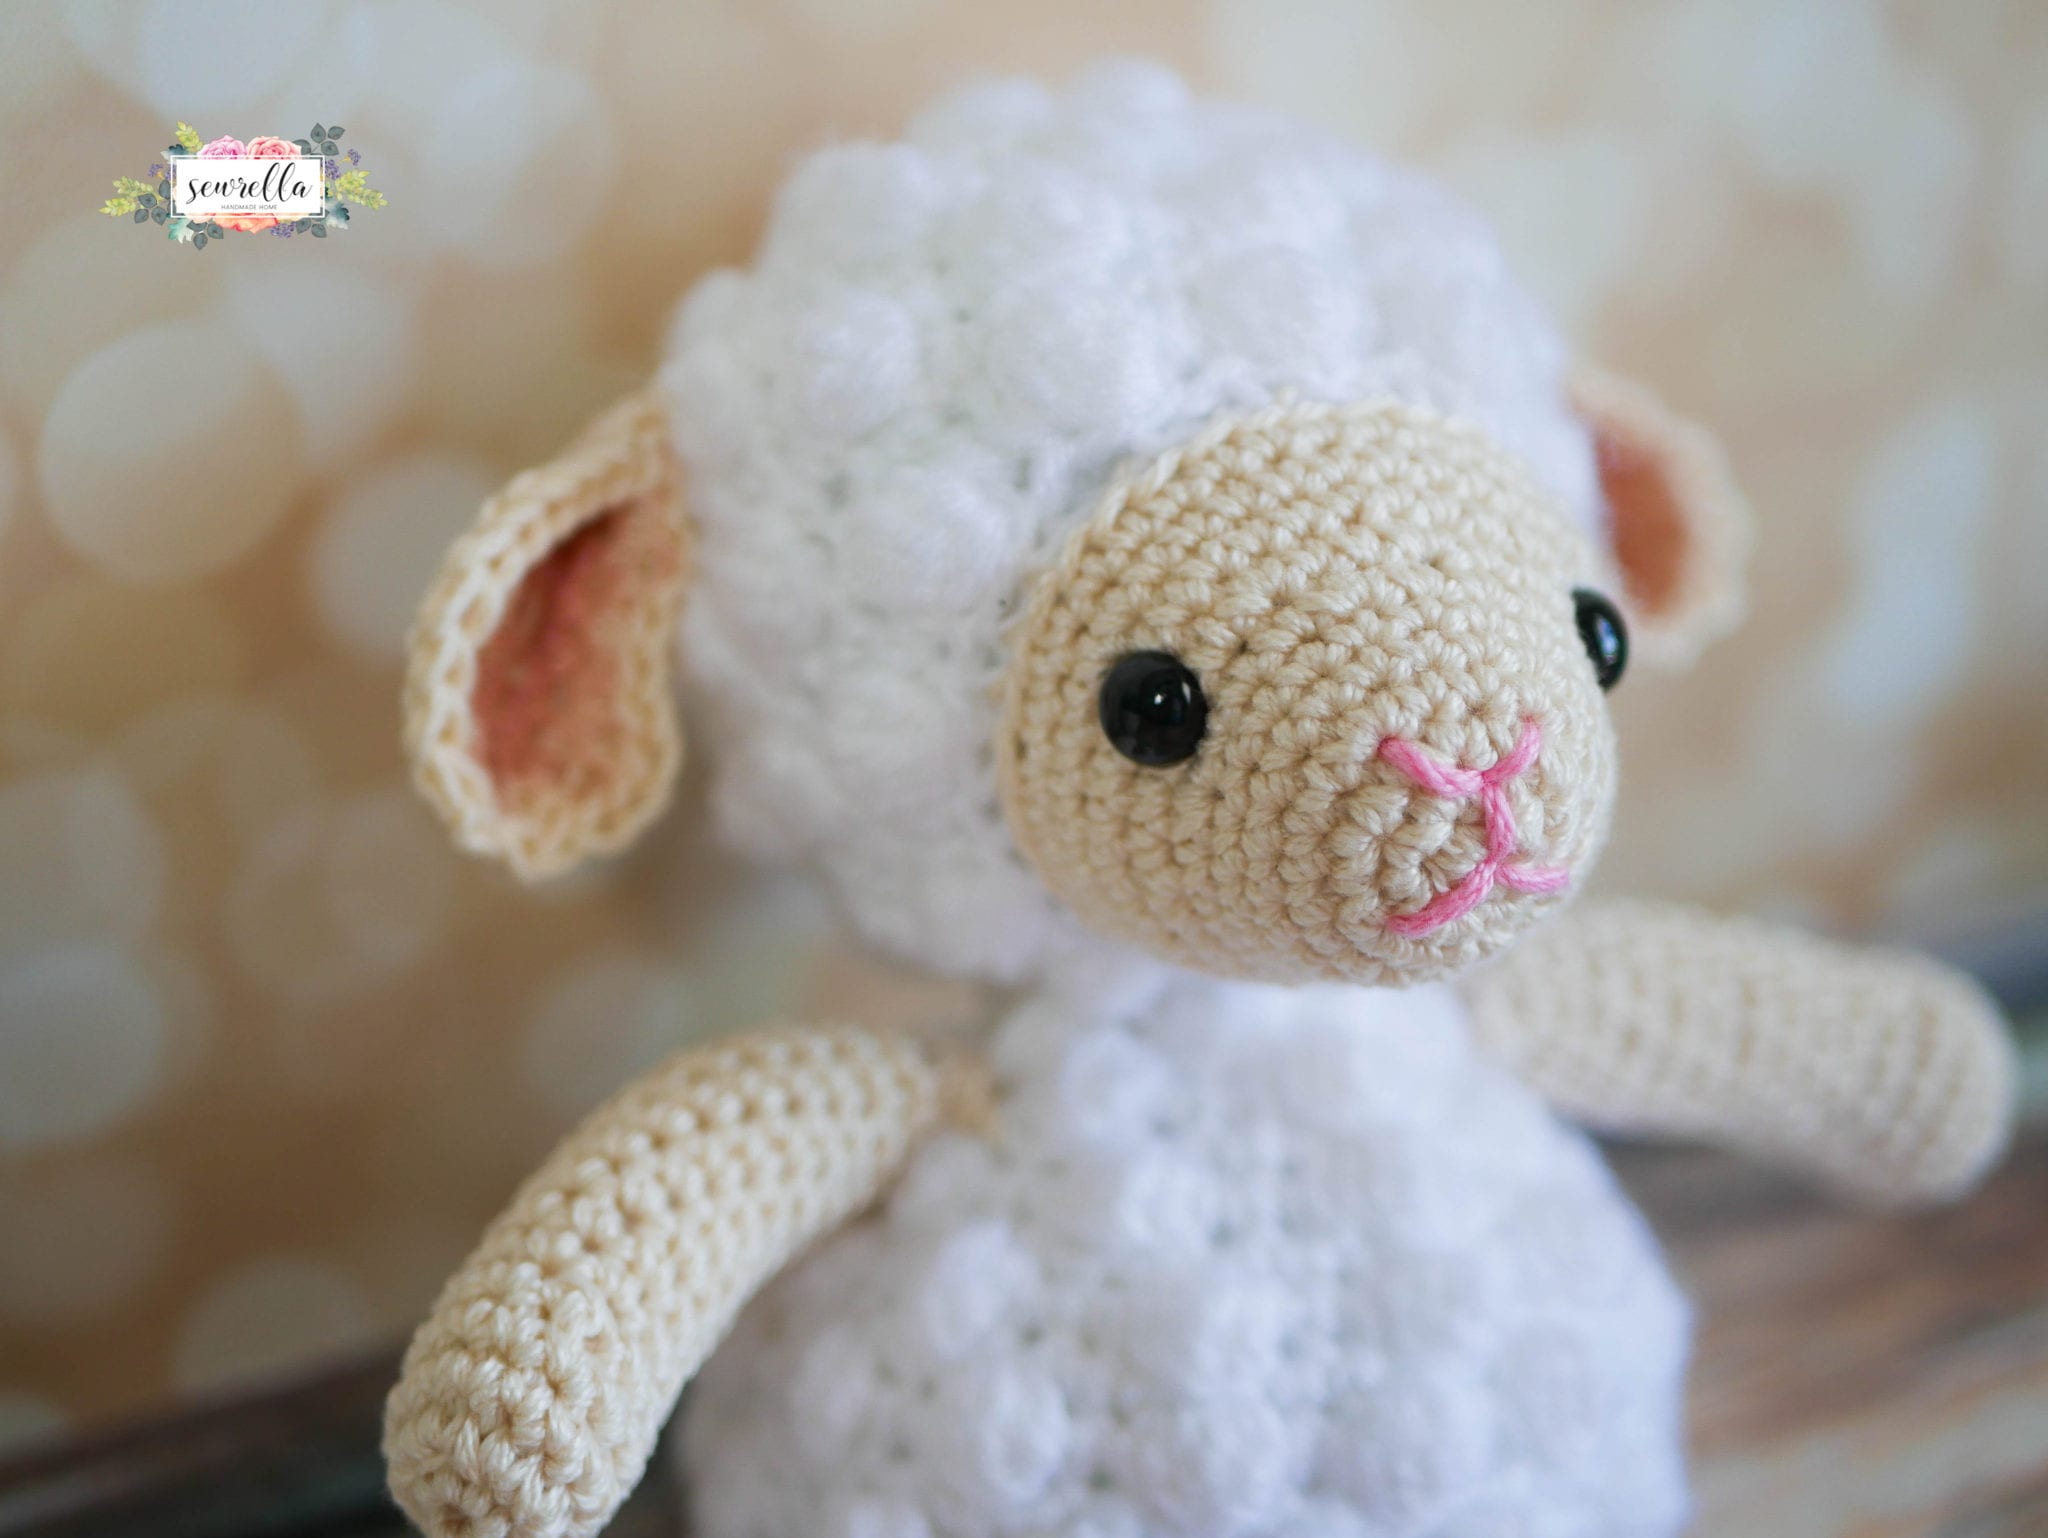
I made her using 2 different kinds of yarn, a cotton for the face and limbs (more durable and baby-proof!) and a fuzzier acrylic yarn for the body and head. The best of both worlds!
She works up pretty quickly and is so much fun to give to any little one – I know this isn’t the last lamb in my life, I may have to make another one for Parker!
PATTERNS I LOVE (& you should too)

1. Crochet Homemaker Gingham Throw / 2. Crochet Everyday Cardigan / 3. Crochet Le Nuage Wrap/Triangle Scarf

PATTERN
- PIN this pattern to your Pinterest boards for later HERE.
- Grab the Ultimate Pattern Bundle that includes this pattern and 100+ others for under $30 HERE.
Materials:
-Category 4 worsted weight yarn in ecru or beige, white, and small amounts of yarn in pink and taupe
Click HERE to grab the kit with everything you need from Lion Brand for under $10!
-Safety Eyes
-Sizes 2mm and E crochet hooks
-Blush (optional)
Shop all my favorite tools & materials HERE!
*Don’t join rounds throughout this project unless otherwise stated
Face:
With ecru and 2mm crochet hook, make a magic ring, Ch 1, 6 Sc in ring (6)
Round 2: 2 Sc in each around (12)
Round 3: 2 Sc, Sc in next, repeat around (18)
Round 4: 2 Sc, Sc in next 5, repeat around (21)
Rounds 5-6: Sc in each around (21)
Round 7: 2 Sc, Sc in next 2, repeat around (28)
Round 8: 2 Sc, Sc in next 3, repeat around (35)
Rounds 9-14: Sc in each around (35)
-Finish off and weave ends.
-With pink yarn sew on nose and mouth. Add safety eyes.
-Proceed with head.
Head:
With white and E crochet hook, make a magic ring, Ch 1, 10 Sc inside ring (10)
Round 2: Sc in first, (bobble st, Sc) in next, repeat around (15)
Round 3: Sc in next 2, 2 Sc in next, repeat around (20)
Round 4: Sc in next, (bobble st, Sc) in next, repeat around (30)
Round 5: Sc around (30)
Round 6: (bobble st, Sc) in next, Sc in next, repeat around (45)
Round 7: Sc in next 4, 2 Sc in next, repeat around (54)
Round 8: Sc in next 2, bobble st in next, repeat around (54)
Round 9: Sc around (54)
Round 10: bobble st, Sc, Sc decrease, repeat around until 2 sts left to work, bobble st, Sc (41)
Round 11: Sc around (41)
Round 12: bobble st, Sc in next 2, repeat around (41)
Round 13: Sc around (41)
Round 14: bobble st, Sc, Sc decrease, repeat around, Sc in last (31)
-Break yarn leaving a long tail for sewing
-Stuff with polyfil and sew head to face (sew through back loops only of Round 14 of face
-Weave ends
Ears:
*make 2
With ecru and 2mm hook, Ch 8, Hdc in 2nd from hook and across, make 2 Hdc in last st of the row, turn the work to Hdc in each stitch up the other side of the foundation Ch, sl st to first st of the round to join, Ch 2 (14)
Round 2: 2 Dc in next 3, 2 Hdc in next, 2 Sc in next 6, 2 Hdc in next, 2 Dc in next 2, sl st to join, finish off leaving a long tail.
-Using a makeup brush and cheap blush, apply softly to the inner part of the ear just over Round 1
-Pinch the wide end closed and sew onto the head (the pinched part of the ear should be sewn about halfway down the head)
Body:
With white and E hook, make a magic ring, 6 sc in ring (6)
Round 2: 2 Sc in each around (12)
Round 3: (Bobble st, Sc) in each around (24)
Round 4: Sc around (24)
Round 5: (Bobble st, Sc) in next, Sc in next, repeat around (36)
Round 6: Sc around (36)
Round 7: (Bobble st, Sc) in next, Sc in next 2, repeat around (48)
Round 8: Sc around (48)
Round 9: (Bobble st, Sc) in next, Sc in next 2, repeat around (64)
Round 10: Sc around (64)
Round 11: Bobble st, Sc in next 2, repeat around (64)
Round 12: Sc around (64)
Round 13: Bobble st, Sc in next 2, repeat around (64)
Round 14: Sc around (64)
Round 15: Bobble st, Sc in next 2, repeat around (64)
Round 16: Sc decrease, Sc next 2, repeat around (48)
Round 17: Bobble st, Sc next 2, repeat around (48)
-Stuff with polyfil to desired firmness
Round 18: Sc decrease, Sc next 2, repeat around (36)
Round 19: Sc decrease, Sc next 2, repeat around (27)
Round 20: Sc decrease, Sc, repeat around (18)
Round 21: Sc decrease around (9)
-Finish off leaving a long tail, sew bottom closed and weave ends
Legs:
*make 2
With ecru and a 2mm hook, make a magic ring, Ch 1, 6 Sc inside ring (6)
Round 2: 2 Sc around (12)
Round 3: 2 Sc, Sc in next, repeat around (18)
Rounds 4-5: Sc around (18)
Round 6: Sc decrease, Sc next, repeat around (12)
-Start adding polyfil every few rounds from here on
Rounds 7-19: Sc around (12)
-Finish off leaving a long tail for sewing
-Smoosh Round 19 flat and whip stitch closed, then sew to Round 18 of body
-With a small piece of taupe or brown yarn, sew through magic ring of each leg and back out through Round 7 a few times and pull tight (to create a “hoof). Repeat on other leg.
Arms:
*make 2
With ecru and a 2mm hook, make a magic ring, Ch 1, 6 Sc inside ring (6)
Round 2: 2 Sc around (12)
Round 3-4: Sc around (12)
Round 5: Sc decrease, Sc next, repeat around (9)
-Start adding polyfil every few rounds from here on
Rounds 6-18: Sc around (9)
-Finish off leaving a long tail for sewing
-Smoosh Round 18 flat and whip stitch closed, then sew to Round 4 of body
Don’t forget to PIN this project to your Pinterest boards!
Who will you be gifting this little lamb toy to? Comment below!
Earning a Living with my Handmade Home
If you love crocheting and knitting, you should think about starting a blog! I’ll help you get started to turn your hobby into a money-making career with my free “Start a Blog” guide.
Or you can check out my latest income report to see how this blog earned over $10,000 last month!
Now that is an awesome gift for a new Mom! Something for her (the monitor) and something for baby (the lamb). Brilliant! #client
Baby and Lamb are the cutest. As a grandma, I will make this, probably multiple times. Thank you!
Cutest lamb ever. But I love that red stocking too! Do you have the pattern or are thinking about posting it? It is very original.
Thanks so much,
Michele
I’ll be posting that stocking next week! 🙂
I was so busy looking at the baby (beautiful baby) I nearly missed the lamb!! Nice pattern, thank you so much!
The lamb is too cute. Which yarn in white would you recommend? The. Cotten I have some left over from the CAL
I used 24/7 Cotton in Ecru and Vanna’s choice for the white. I tried it with 24/7 cotton in white but preferred mixing textures 🙂
Hello, I’m in the middle of making this cute lamb and for some reason no matter how I try on the head between Row 9 and 10 it’s not adding up.
Round 9 I end with a count of 54 stitches. When I get done with Row 10 I end up with 42 stitches. Any idea of what I’m doing wrong?
This is so cute. Thanks for sharing so many lovely ideas. I really wanted to save this pattern, but Pinterest would not bring up a picture on my iPad. Looked in Ravelry and it’s not there yet. I’ll try to come back and try again.